Windows 10 completely uninstall oracle19c
1. Stop service
Win+R input service.msc to enter the service list, stop all services

2. Uninstall the product
Click the start menu to find Oracle, then click Oracle to install the product, and then click Universal Installer to

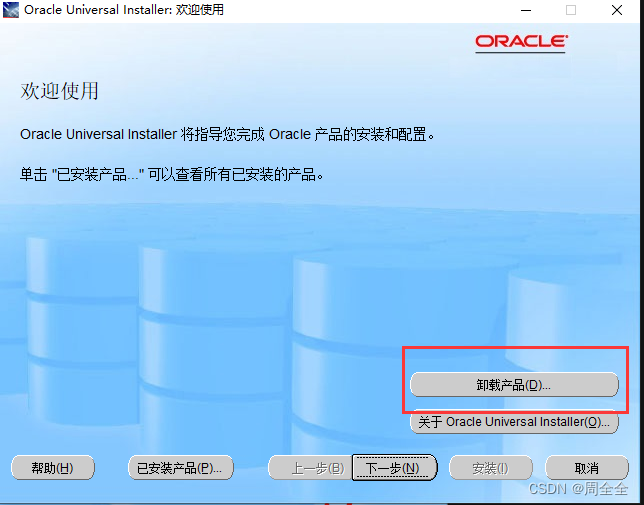
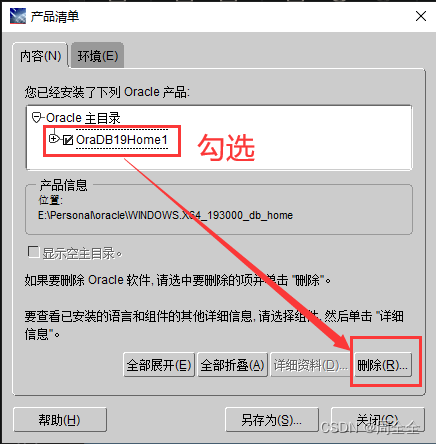
pop up a pop-up window
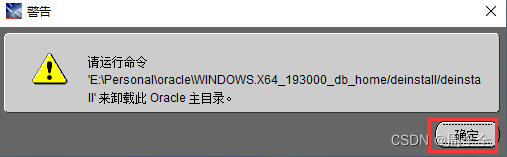
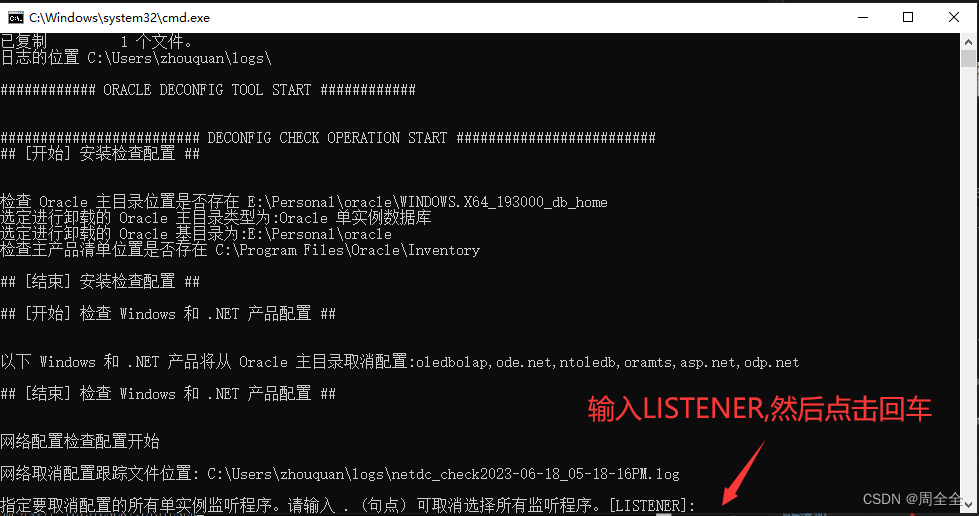
. Find the directory prompted by the pop-up window, double-click to run,
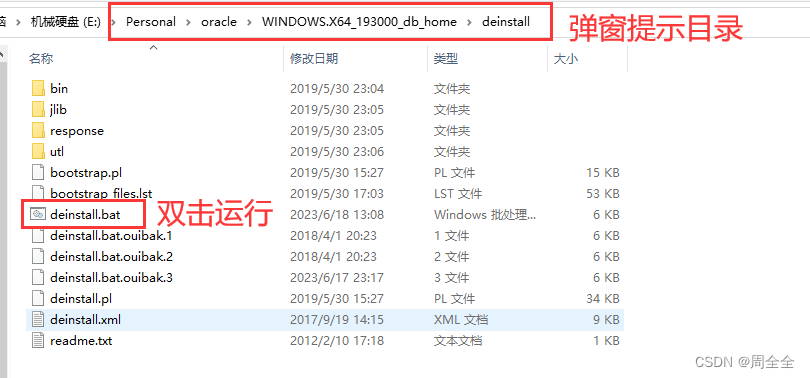
and specify all single-instance listeners to be unconfigured. Please enter . (period) to deselect all listeners. [LISTENER]: LISTENER
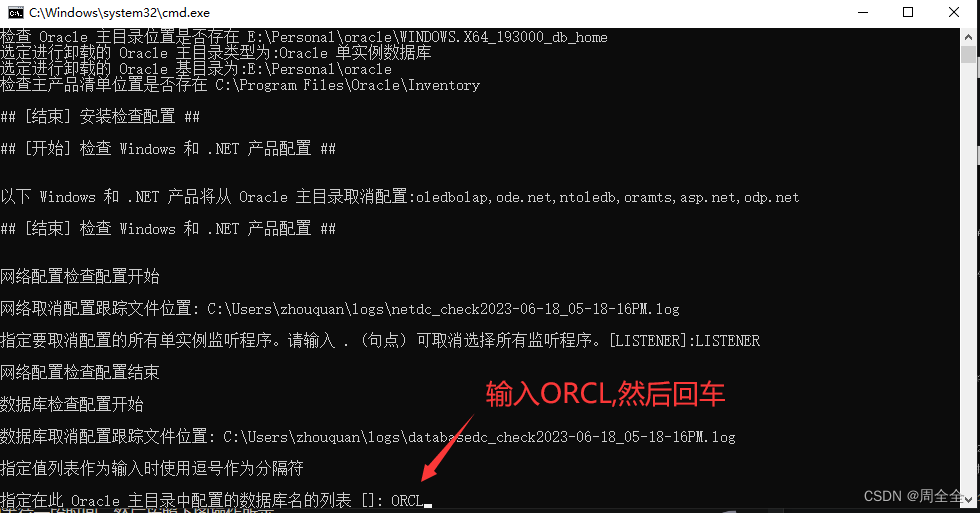
Specify the list of database names configured in this Oracle home directory []: ORCL, wait a while after the carriage return to
specify the type of this database (1. single instance database | 2. database with Oracle Restart enabled) [ 1]:
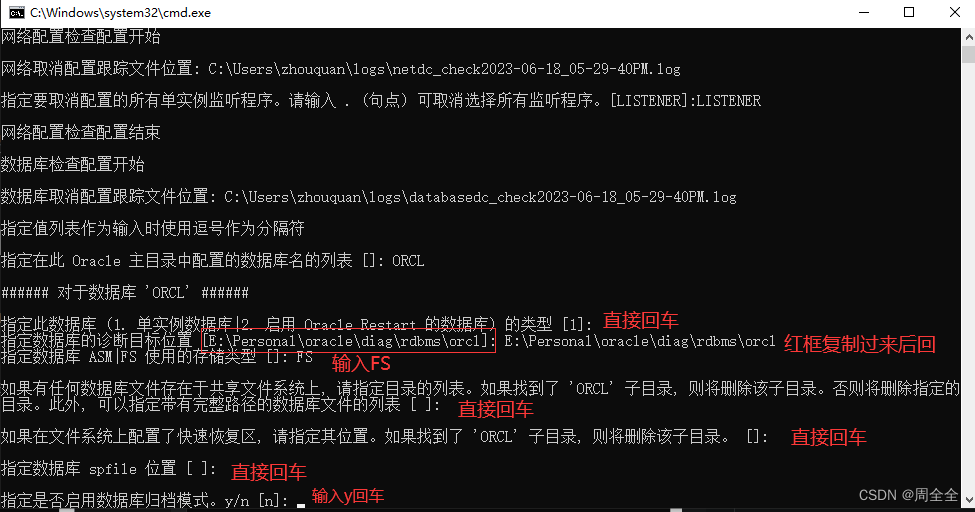
Do you want to continue (Yes-Yes, No-No)? [No]: Yes At

this point, the CMD operation is completed, wait for the interface to close automatically
3. Clean the registry
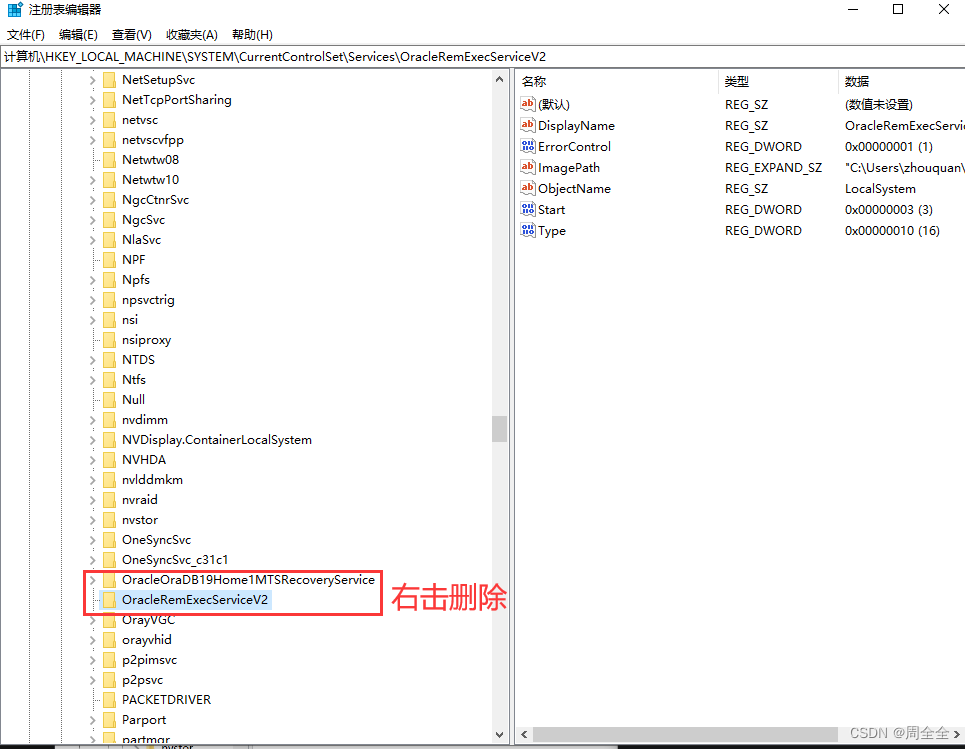
Win+R to open the running interface, enter regedit, and press Enter to enter the registry editor
. Delete the service name beginning with Oracle, path: HKEY_LOCAL_MACHINE\SYSTEM\CurrentControlSet\Services\
delete the service name beginning with Oracle, path: HKEY_LOCAL_MACHINE\SYSTEM\CurrentControlSet\Services\Eventlog\Application
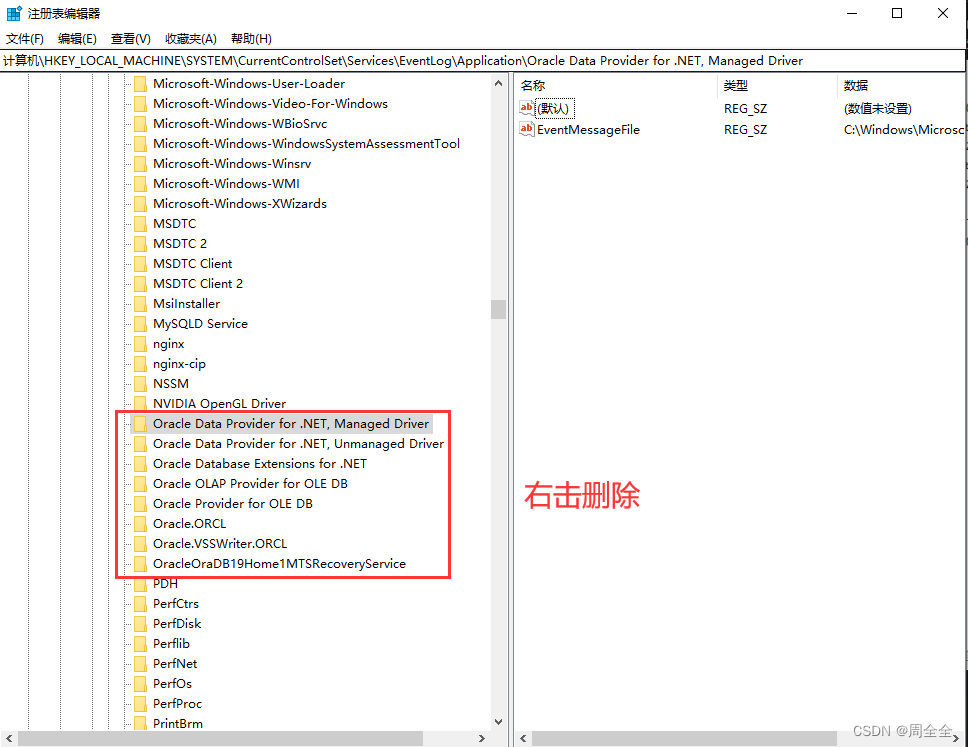
delete: HKEY_LOCAL_MACHINE\SOFTWARE\ORACLE registry

4. Clean up environment variables
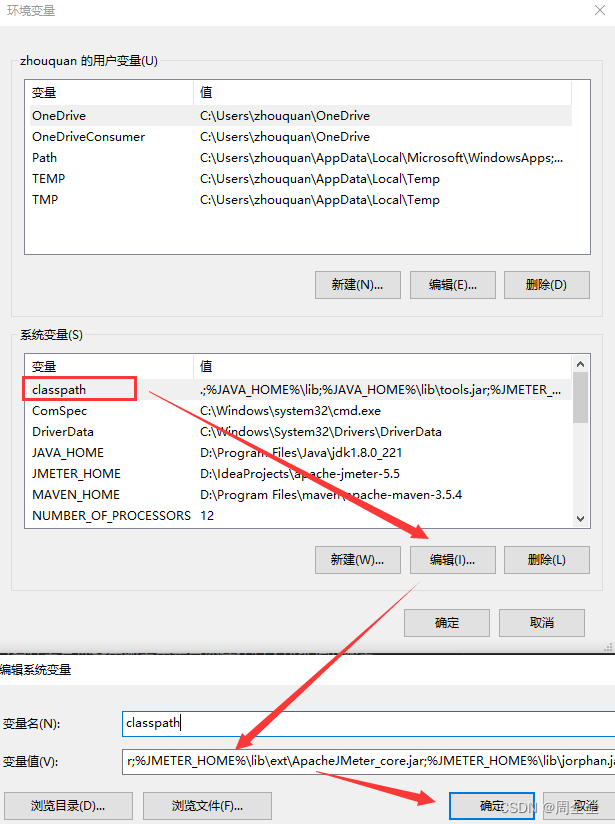
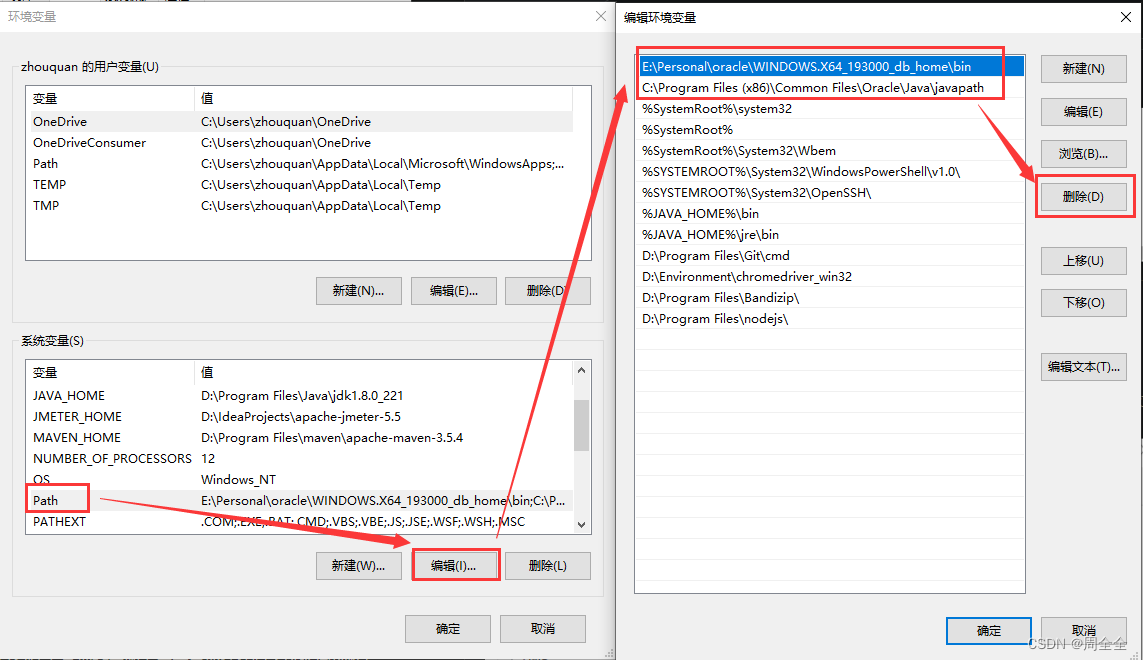
My Computer—>Properties—>Advanced—>Environment Variables, delete the Oracle settings in the environment variables CLASSPATH and PATH
5. Clean folder
Delete the installation directory

Delete the C:\Program Files\Oracle folder.

The uninstallation has been completed here. If you need to reinstall oracle after uninstallation, it is recommended to restart the host and then reinstall