Java is an object-oriented programming language that can cross multiple platforms and has high portability. It is easy to learn and powerful. More and more programmers like to join the Java camp.
I. Introduction
Java has the following functional characteristics:
-
Cross-platform : Java programs can run on any computer that supports the Java Virtual Machine (JVM), because Java programs are first compiled into bytecodes and then interpreted and executed on the JVM. This makes Java a very flexible and portable language.
-
Object-Oriented : Java is a fully object-oriented programming language, all code is the interaction between classes and objects. This object-oriented feature makes the Java program structure clear, easy to maintain and expand.
-
Memory management : Java has a built-in garbage collection mechanism that can automatically manage memory, reducing the risk of memory leaks and program crashes.
-
Security : Java has built-in security mechanisms that can avoid many security holes, such as buffer overflows, pointer issues, and crashes.
-
Multithreading : Java has built-in multithreading support which facilitates the implementation of multithreaded applications.
-
Exception handling : Java has a powerful exception handling mechanism that can catch and handle runtime errors to avoid program crashes.
-
High performance : Java programs generally perform much better than interpreted languages because the Java virtual machine can use just-in-time compilation (JIT) to optimize code execution.
-
Easy to learn : Java syntax is concise and clear, easy to learn and use. Java also provides a large number of class libraries and tools that can speed up the development process.
Java is widely used in developing desktop applications, enterprise applications, web applications, mobile applications, and embedded systems. Commonly used Java development tools include Eclipse, NetBeans, and IntelliJ IDEA.
2. Software download
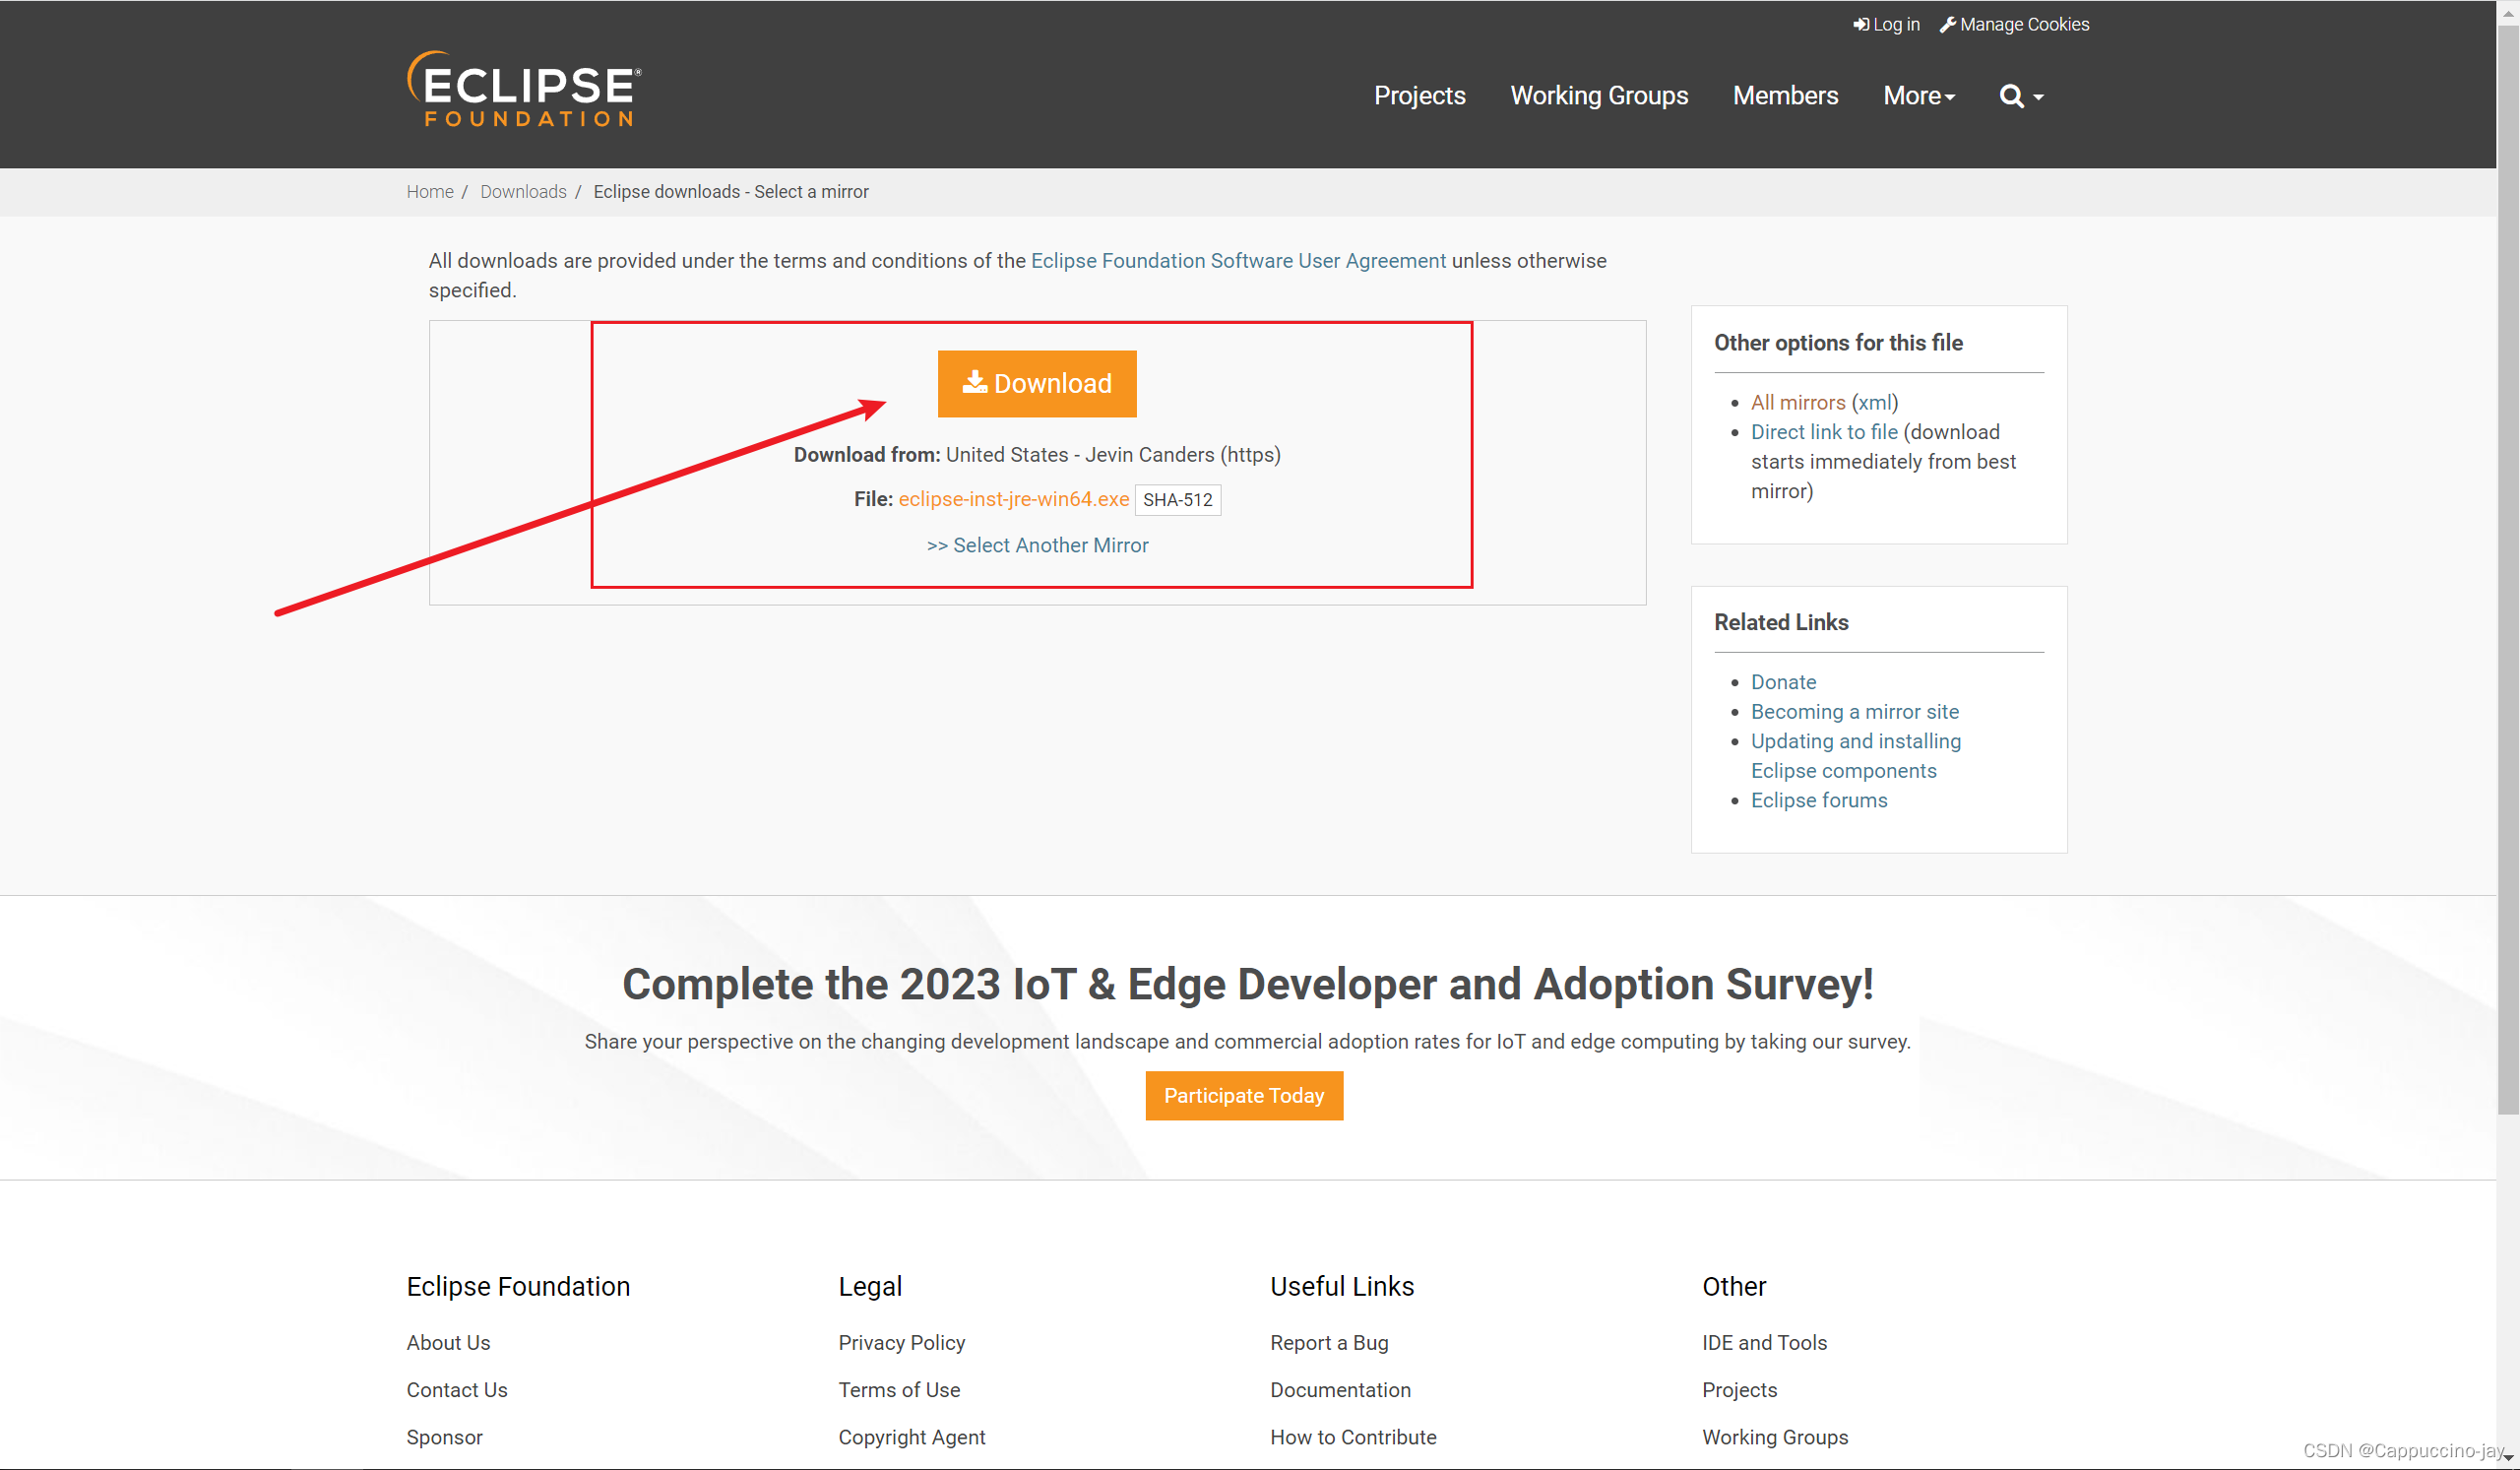
1. Download Eclipse
Eclipse's official website address: https://www.eclipse.org/


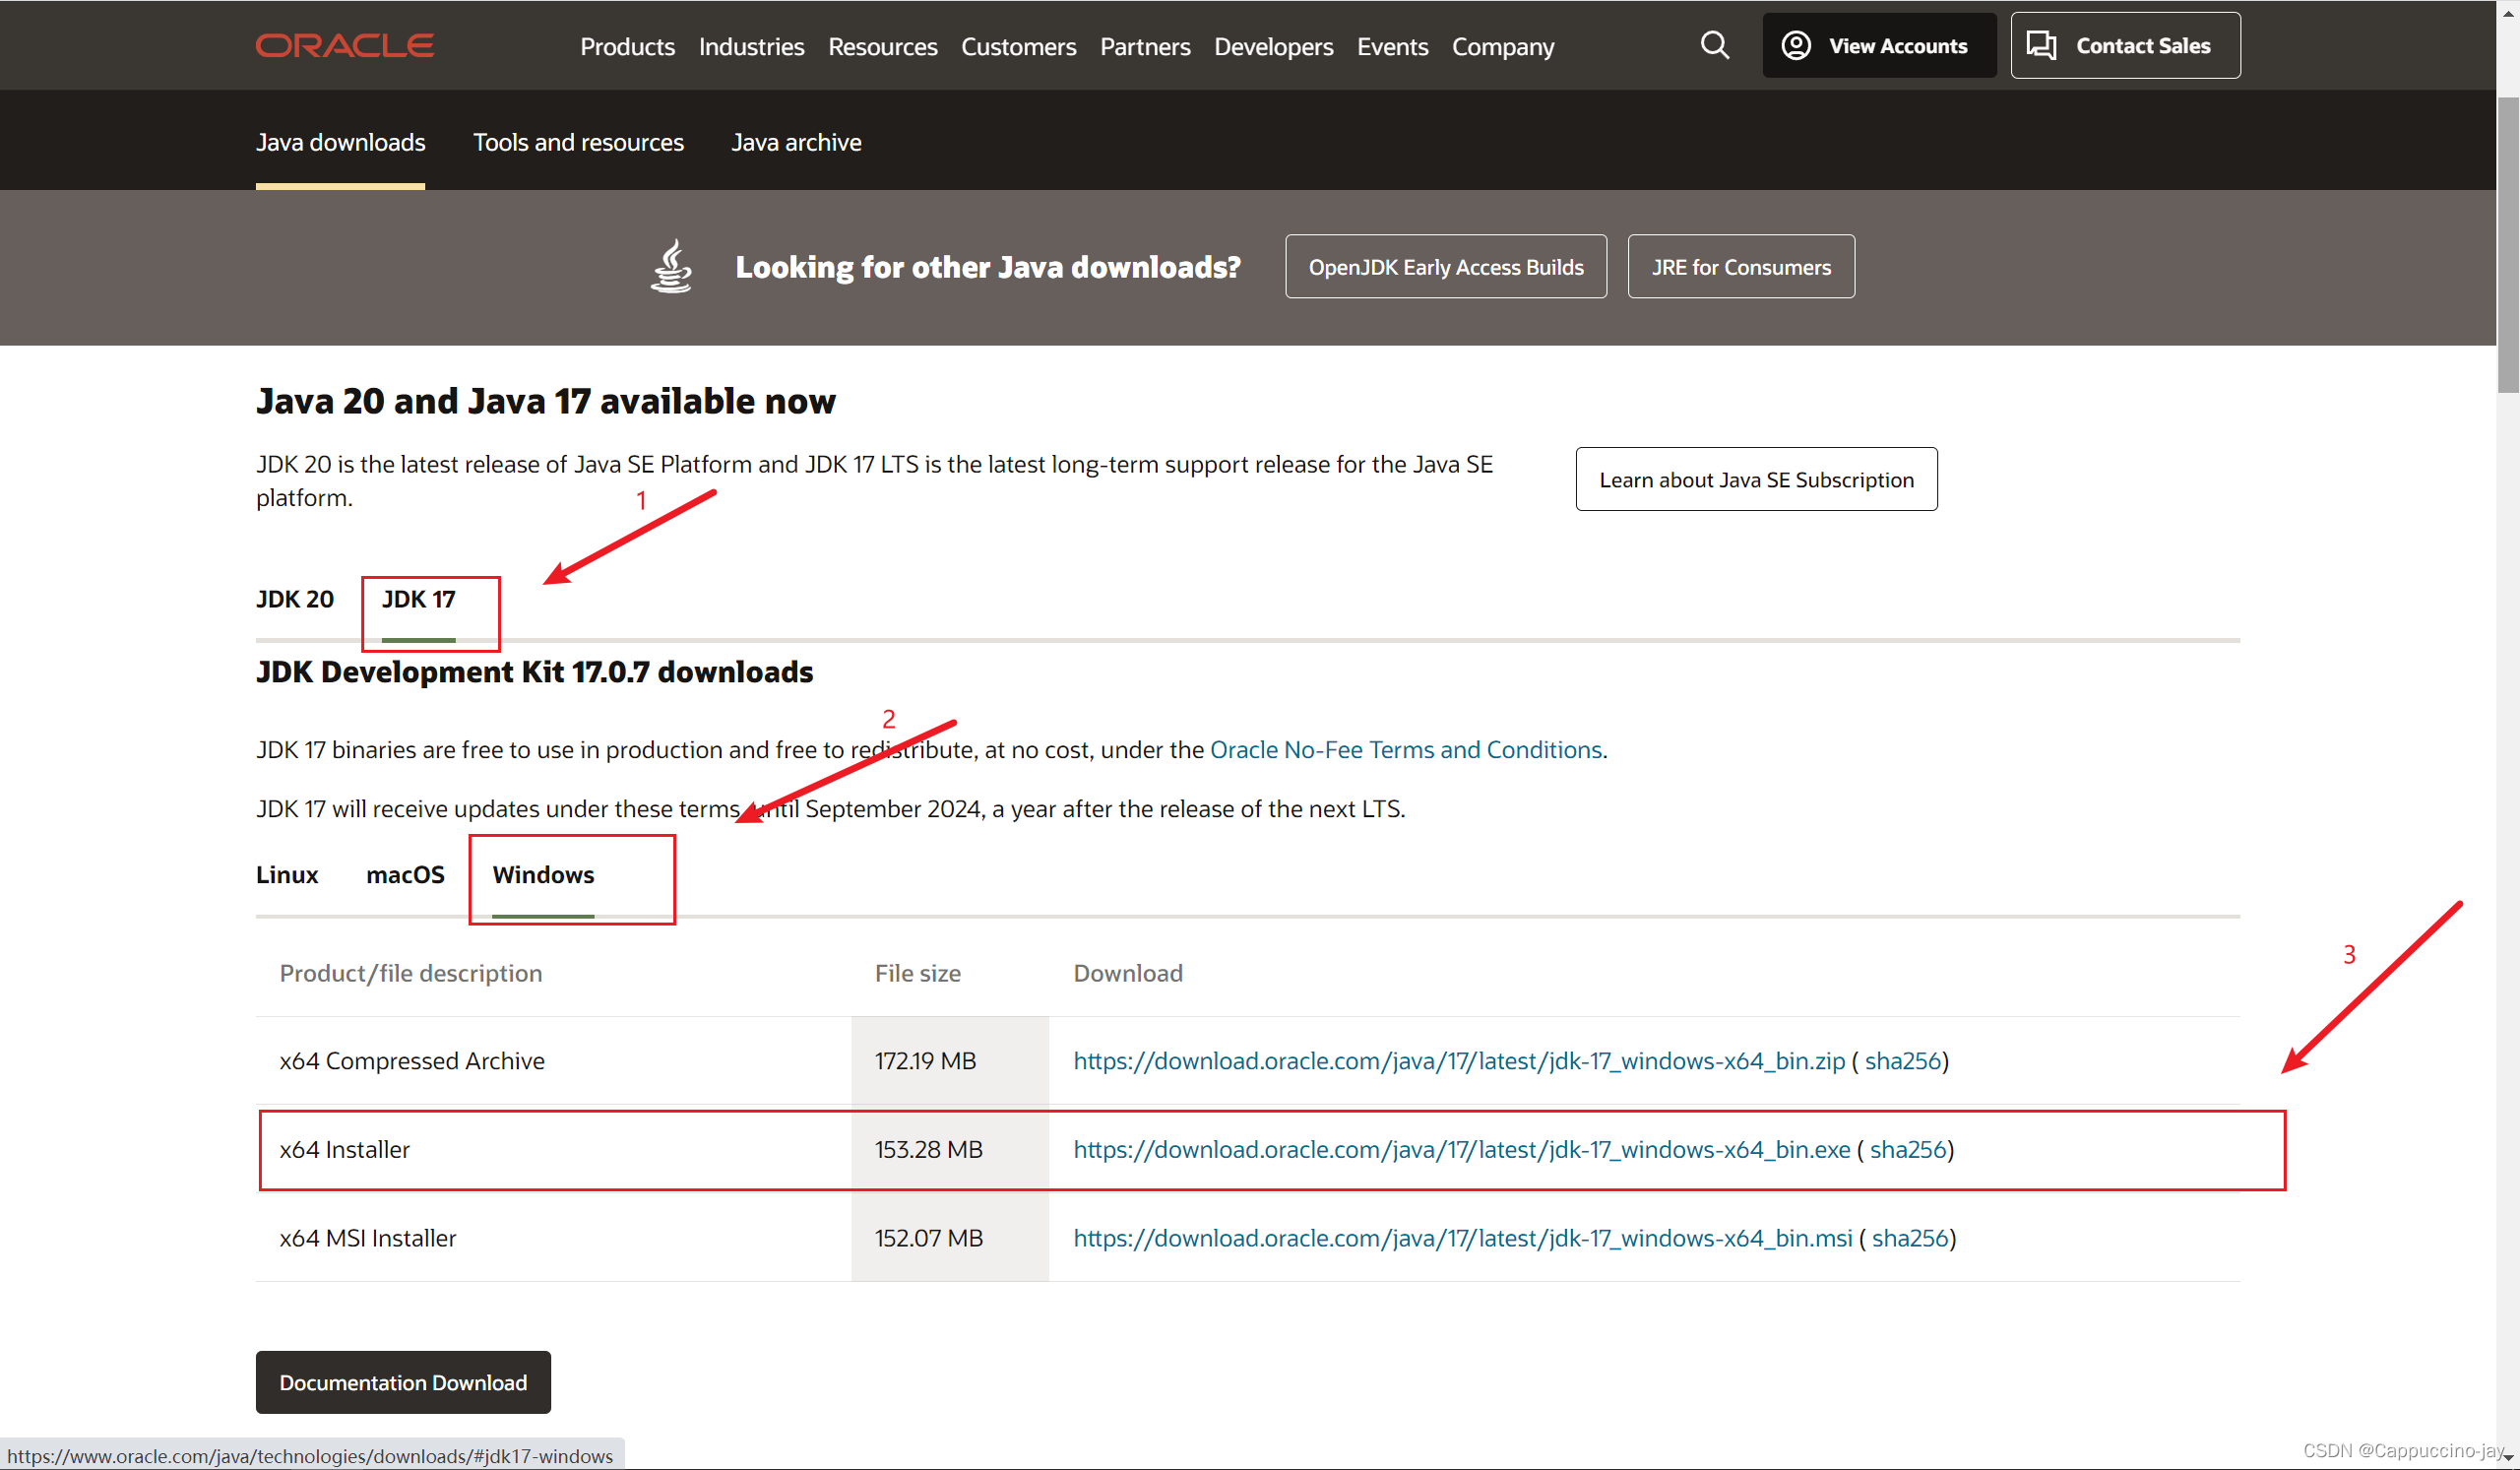
2. Download JDK
The official version of JDK can be downloaded from the homepage of Oracle’s official website (note: the official website download is very slow and requires an oracle account)

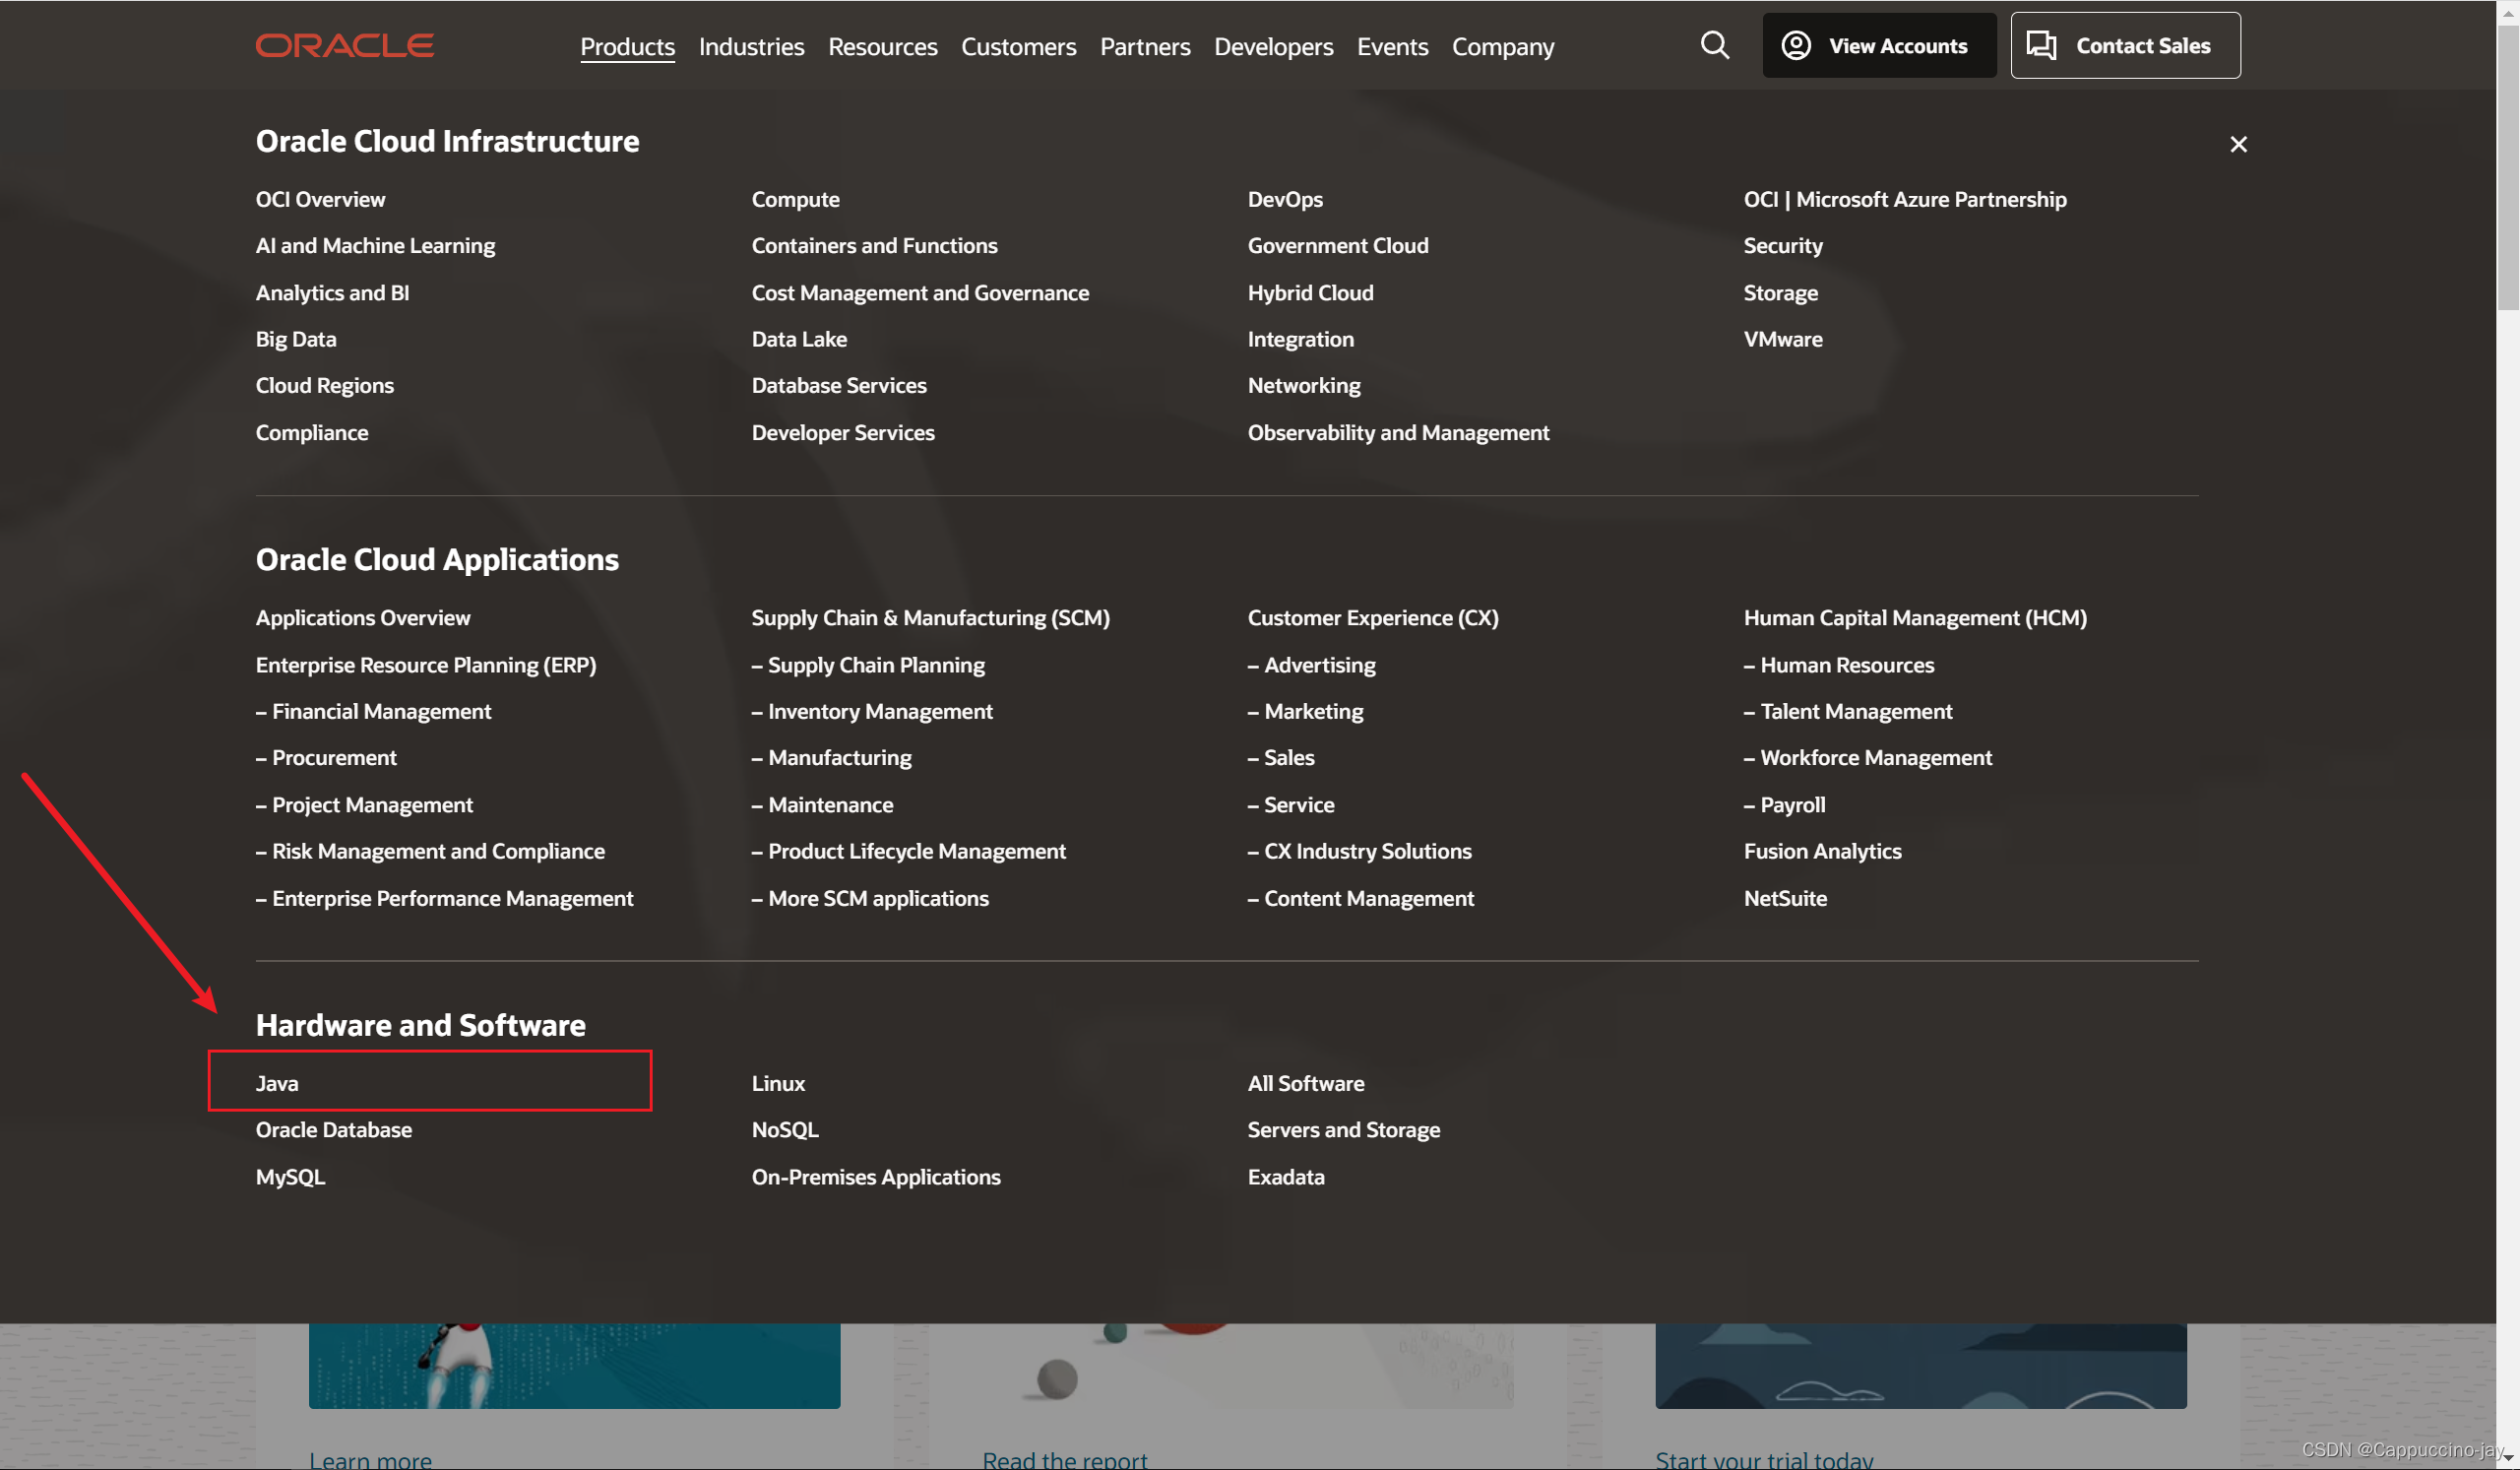
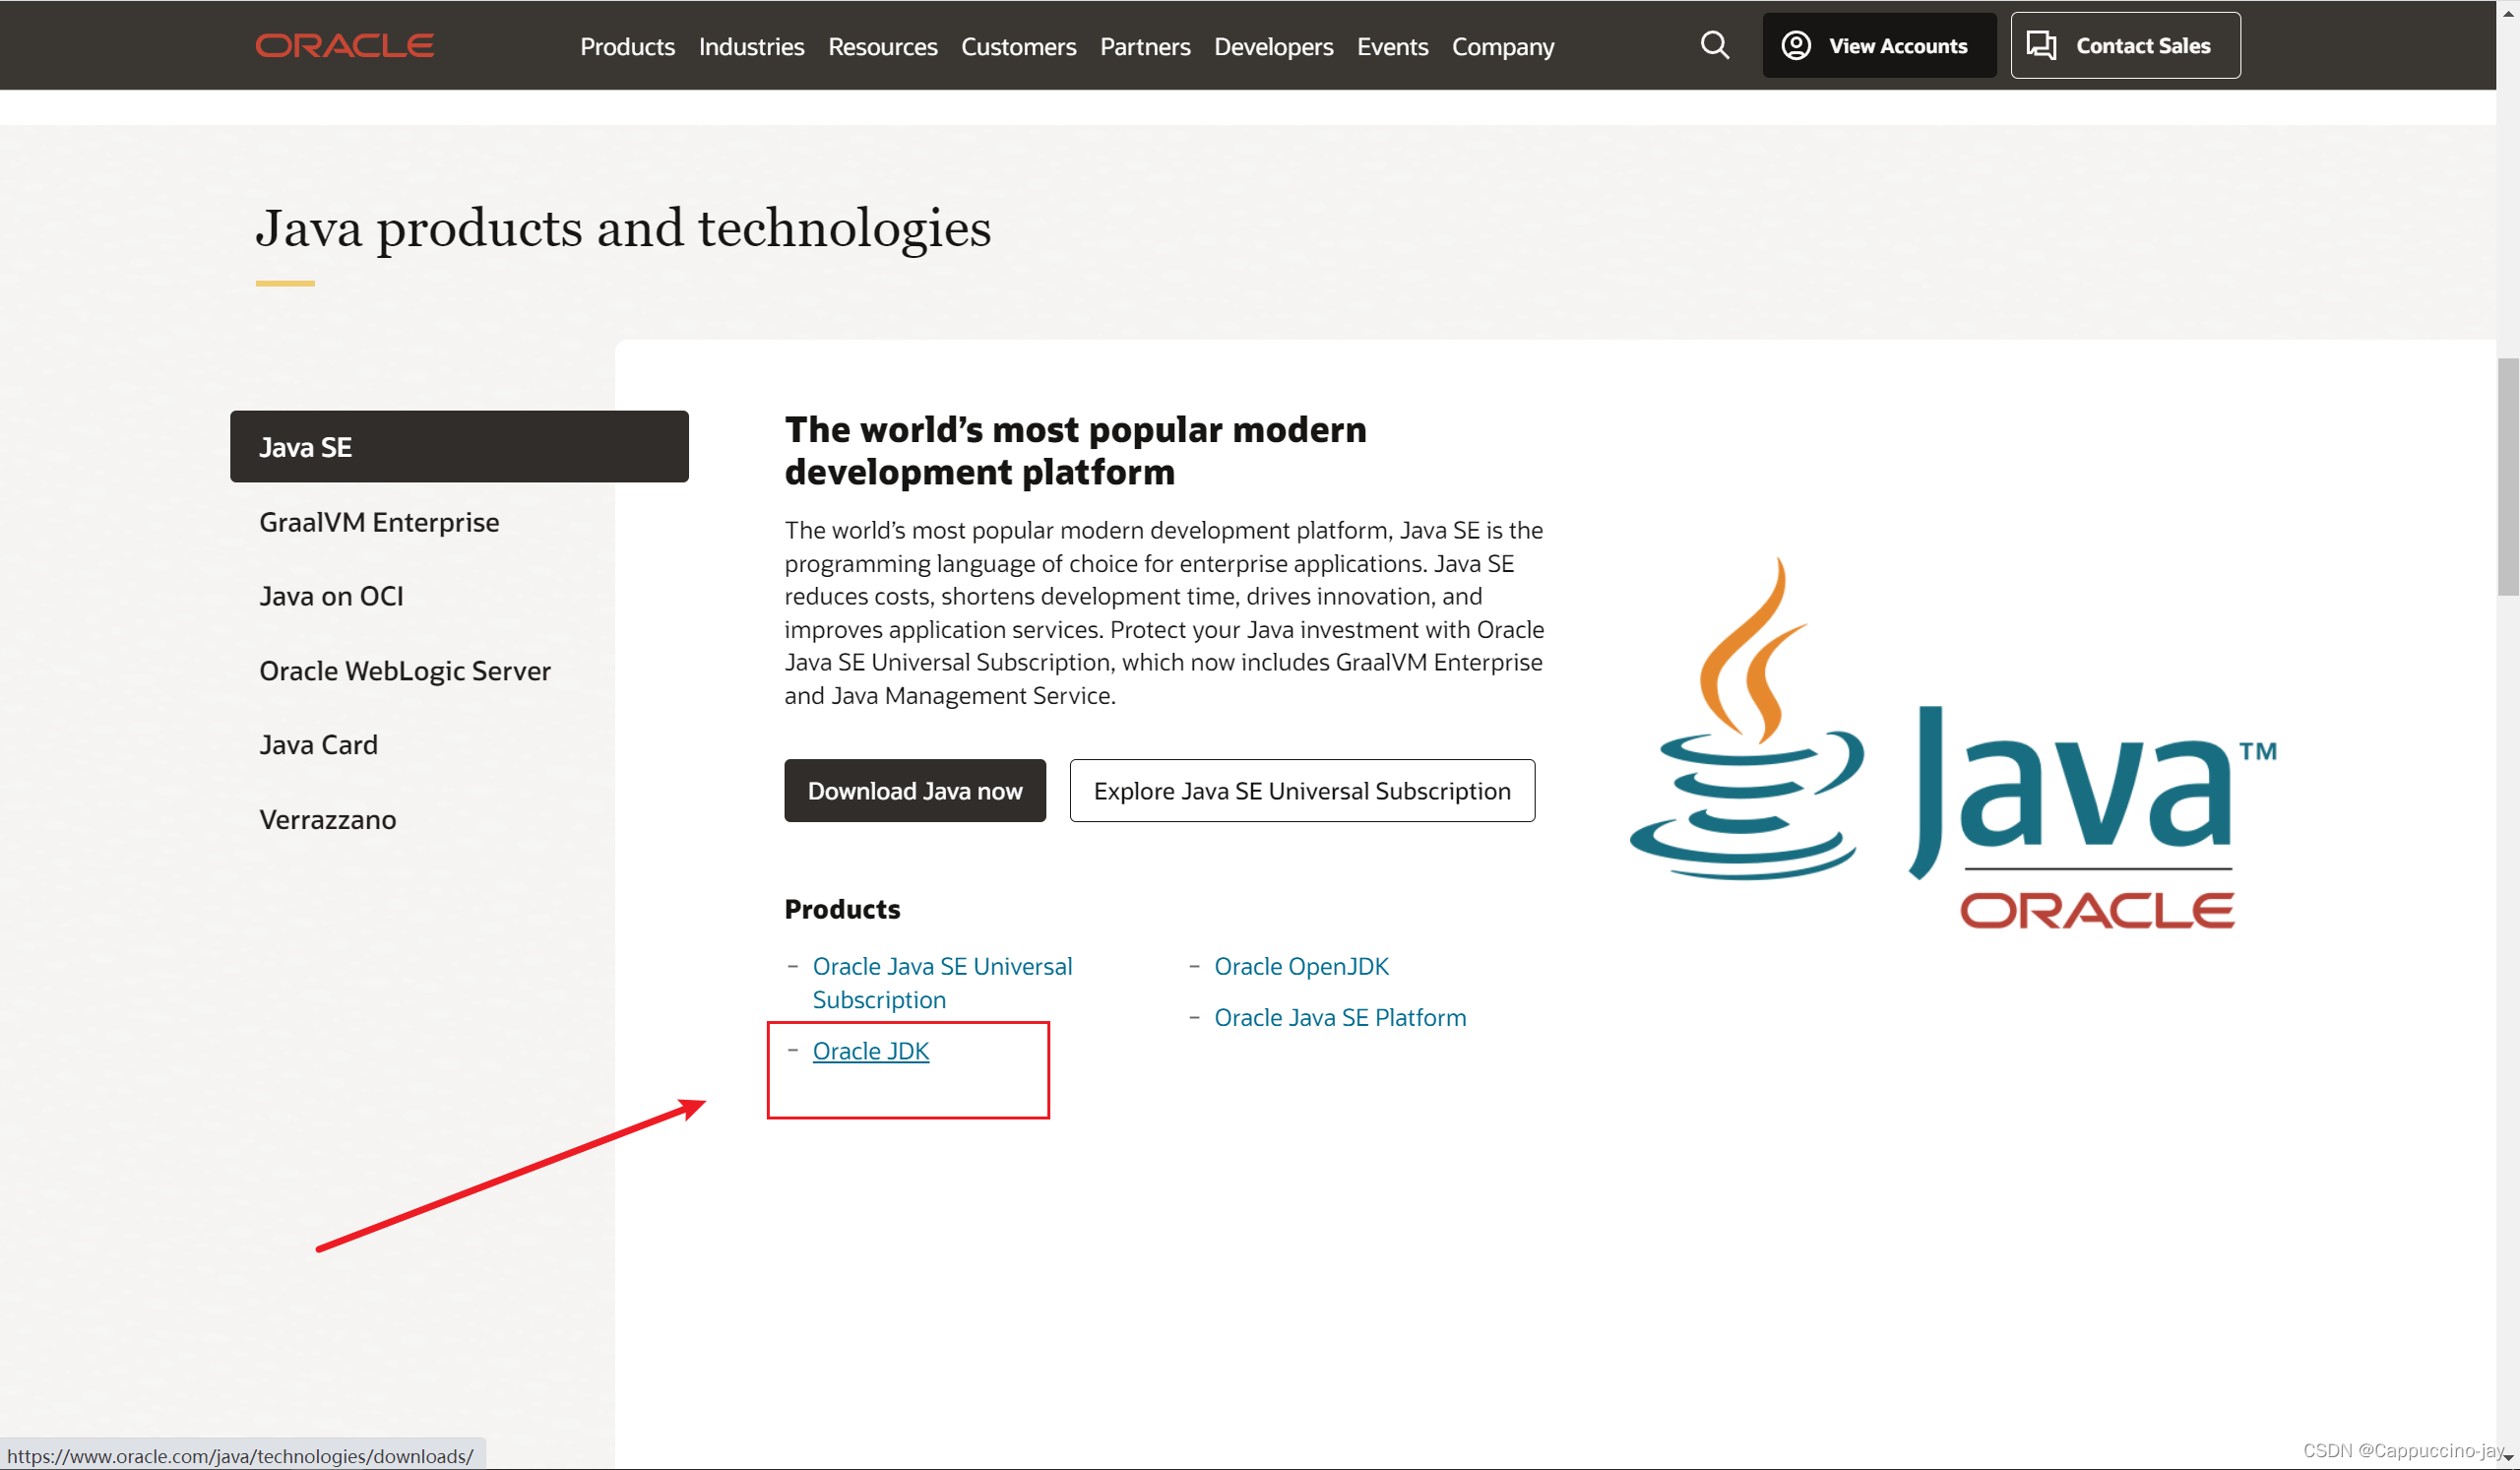
or you can directly click on the URL: https://www.oracle.com/java/technologies/downloads/
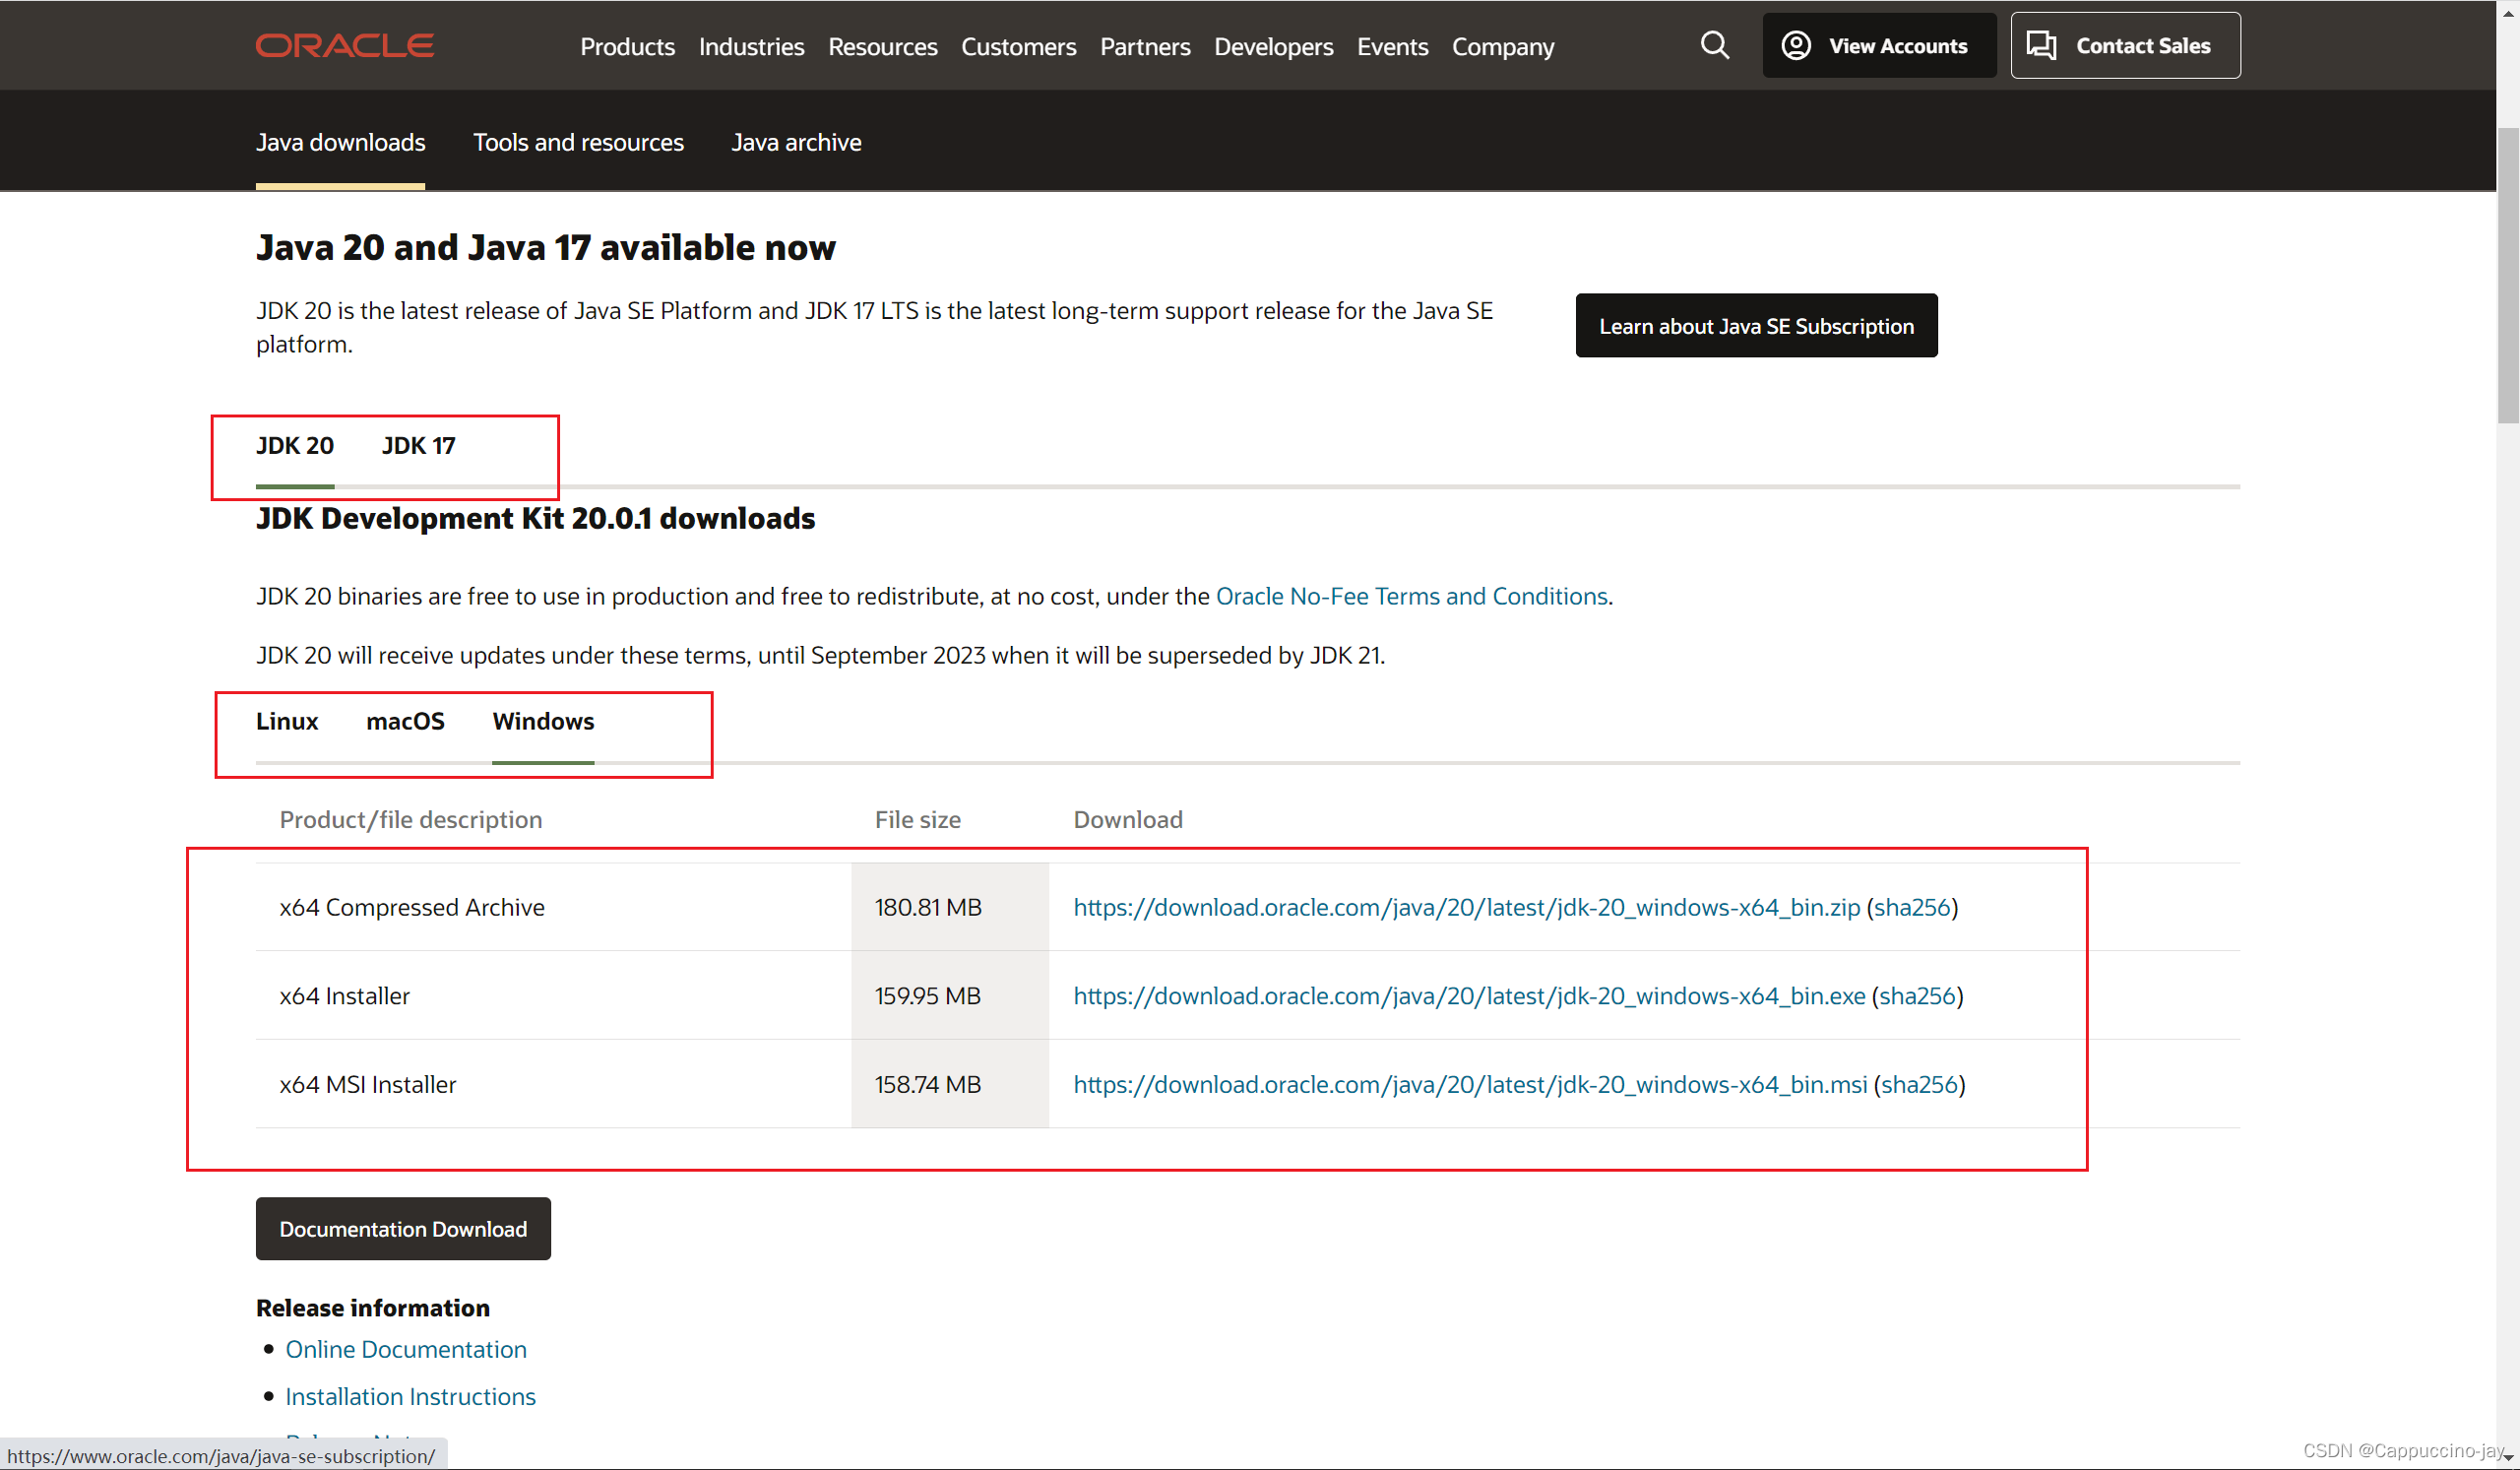
Remarks: Chinese version URL: https://www.oracle.com/cn/java/technologies/downloads/
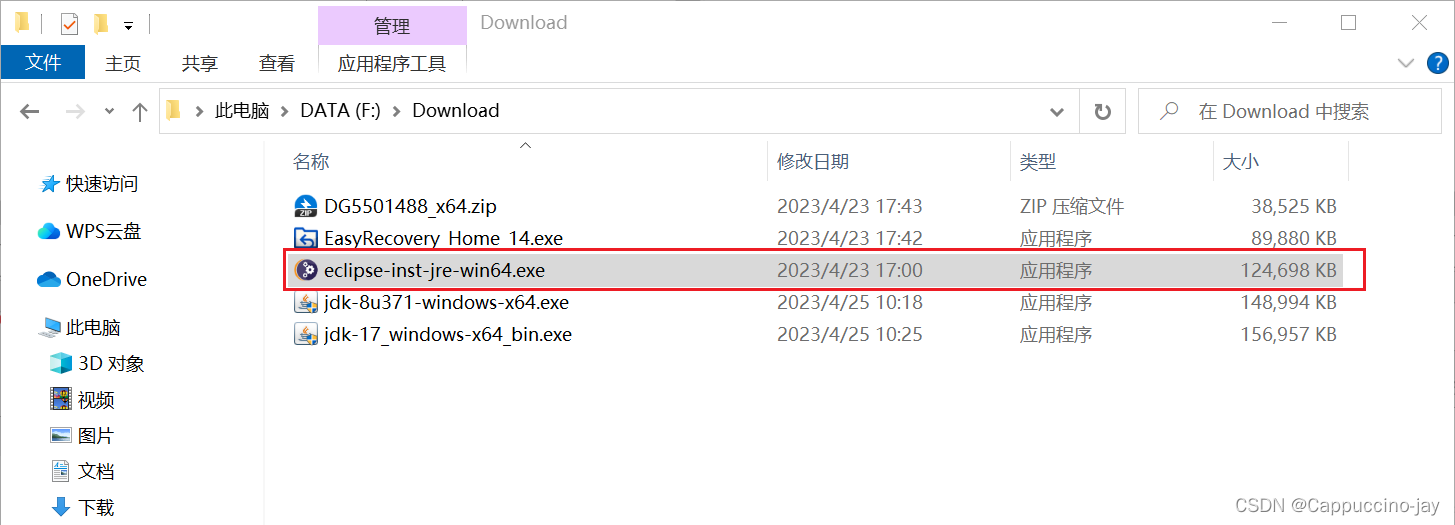
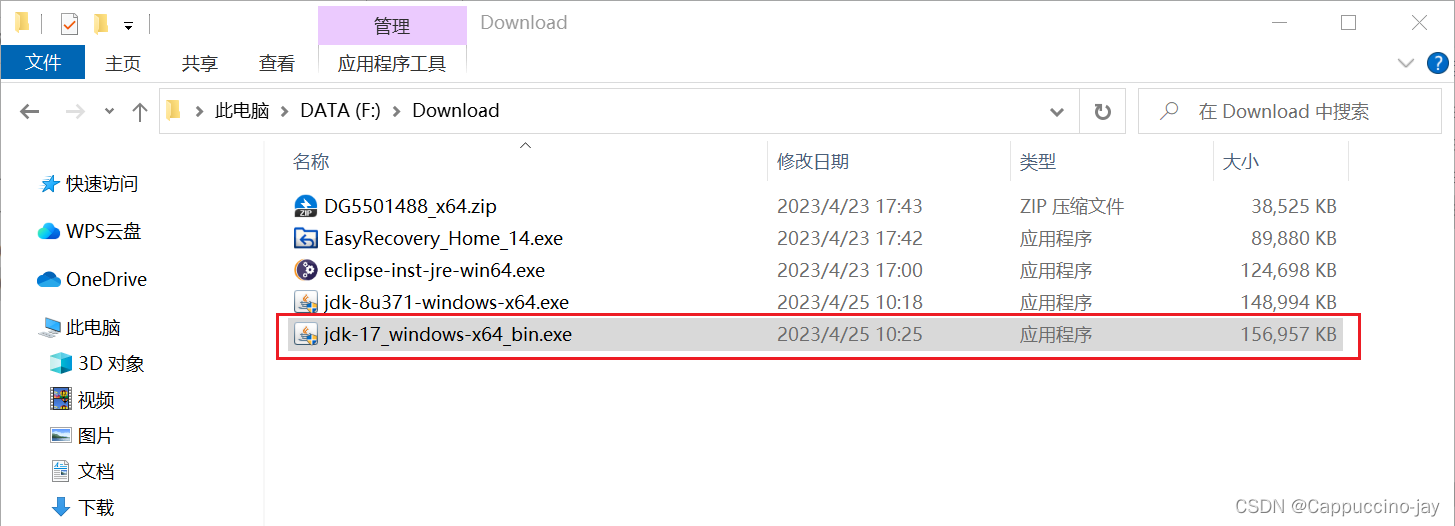
Because I only need JDK17 or above, I downloaded the JDK17 version under Windows

3. Software installation
Preparation:
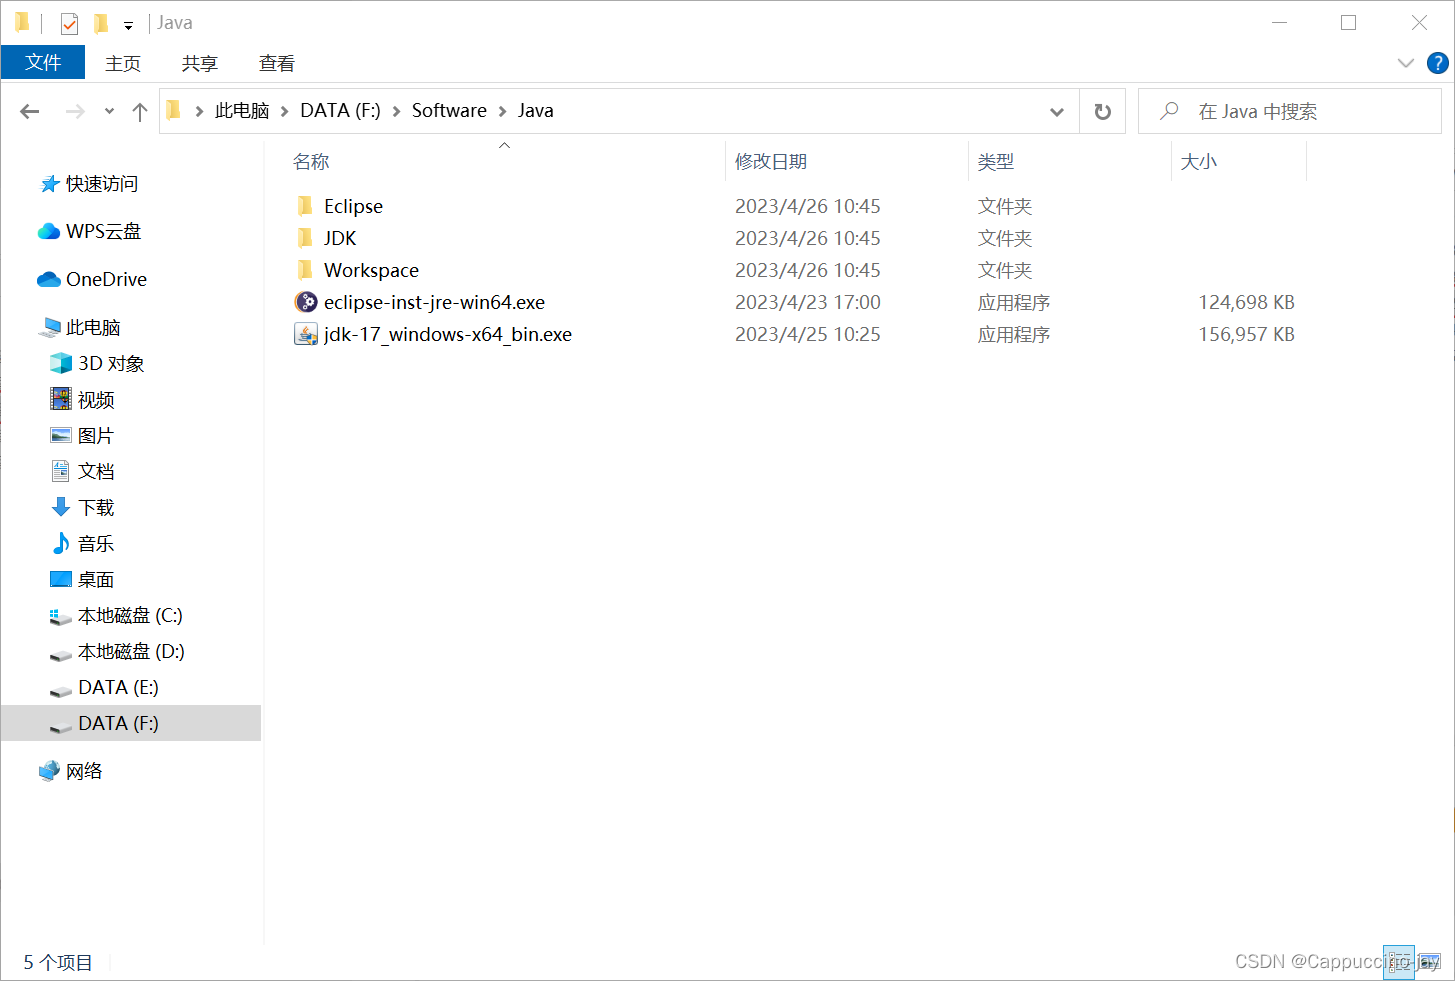
Create a new Java folder in the local disk first, put the installation package prepared earlier in this folder, and create three additional folders under this folder named Eclipse, JDK and Workspace (respectively use In eclipse, jdk installation path and project location)
Install Eclipse:
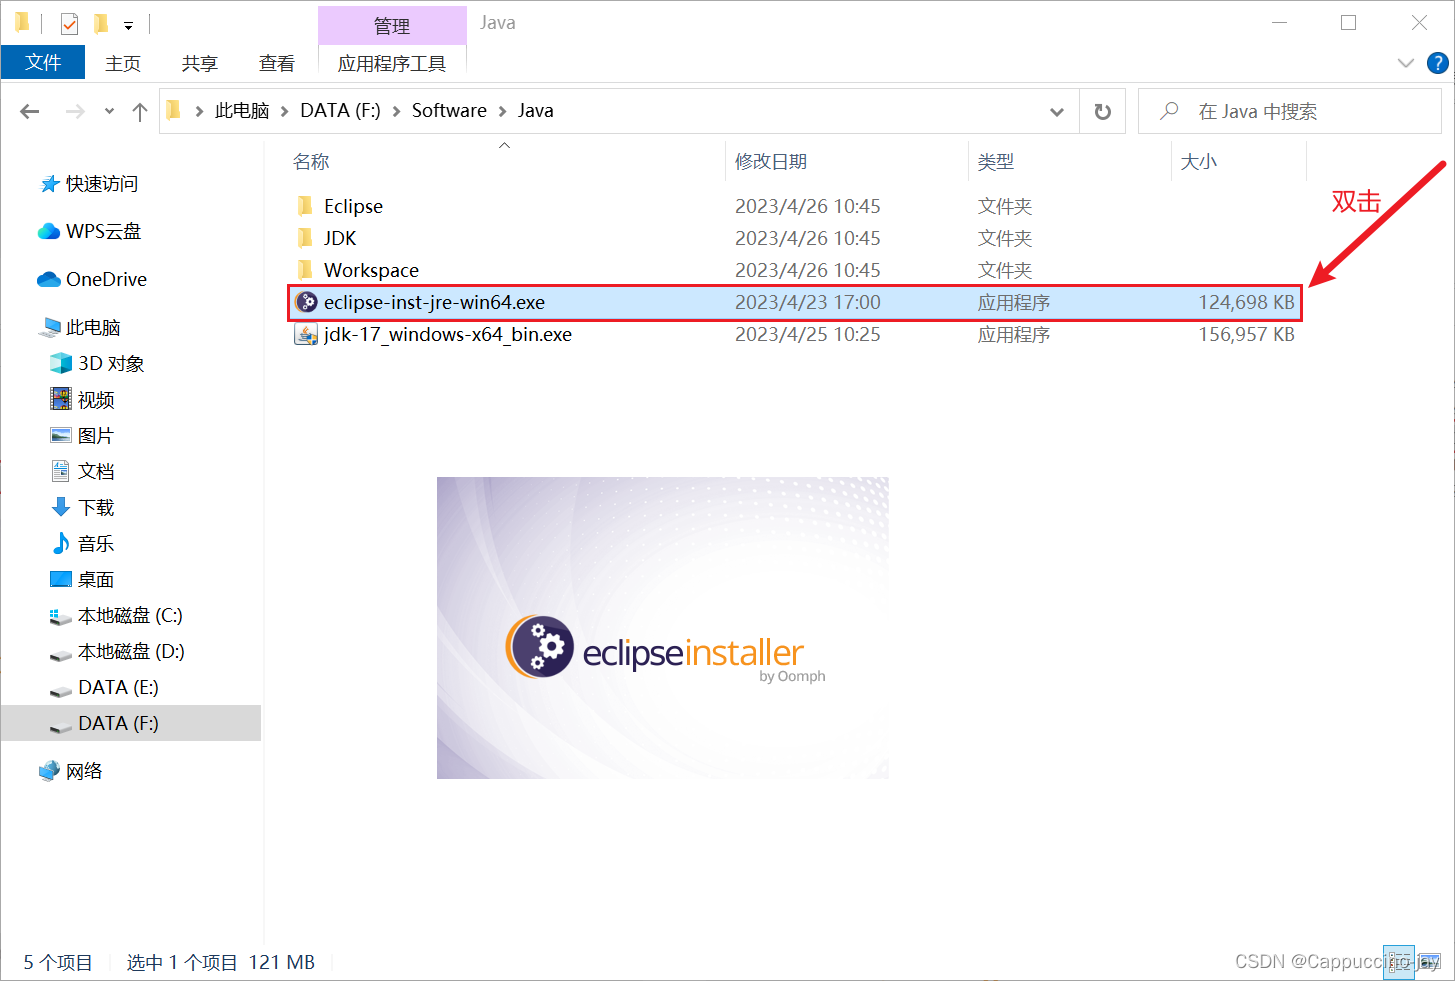
1. First double-click eclipse-inst-jre-win64.exethe file
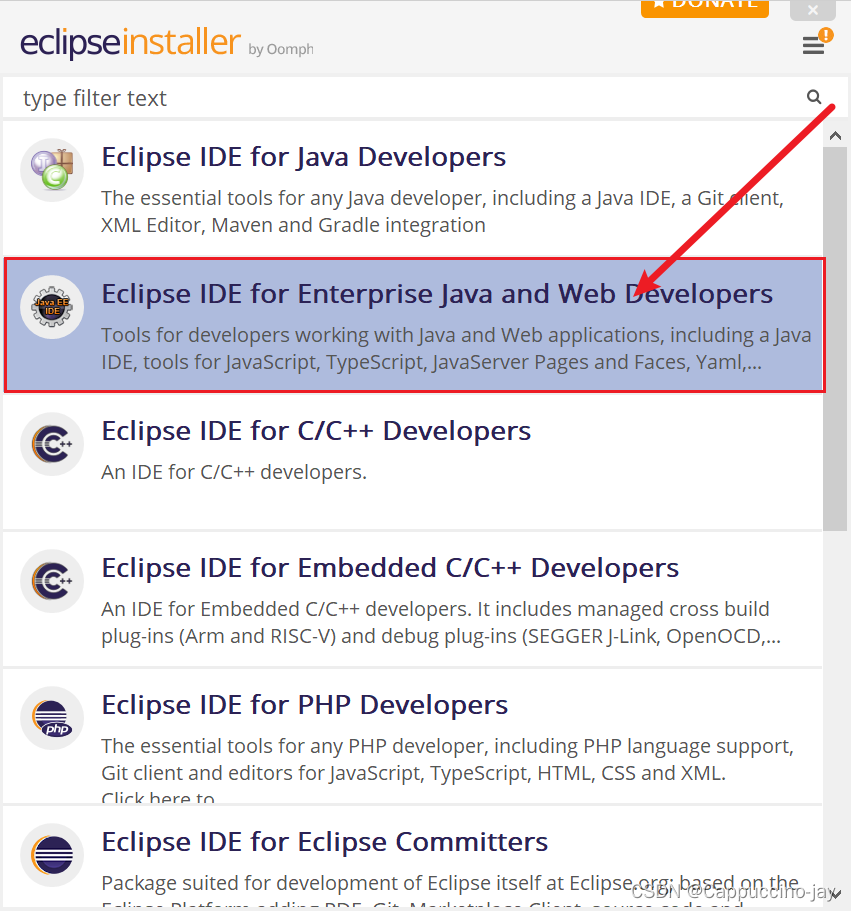
2. ChooseEclipse IDE for Enterprise Java and Web Developers
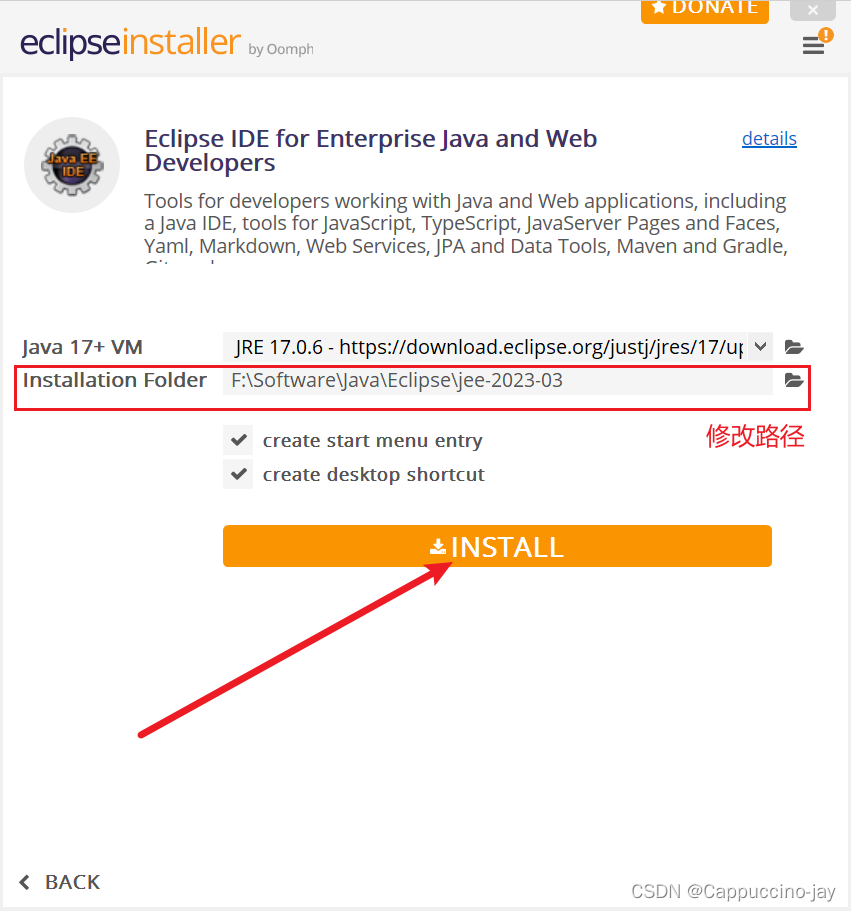
3. Modify the installation path and clickINSTALL
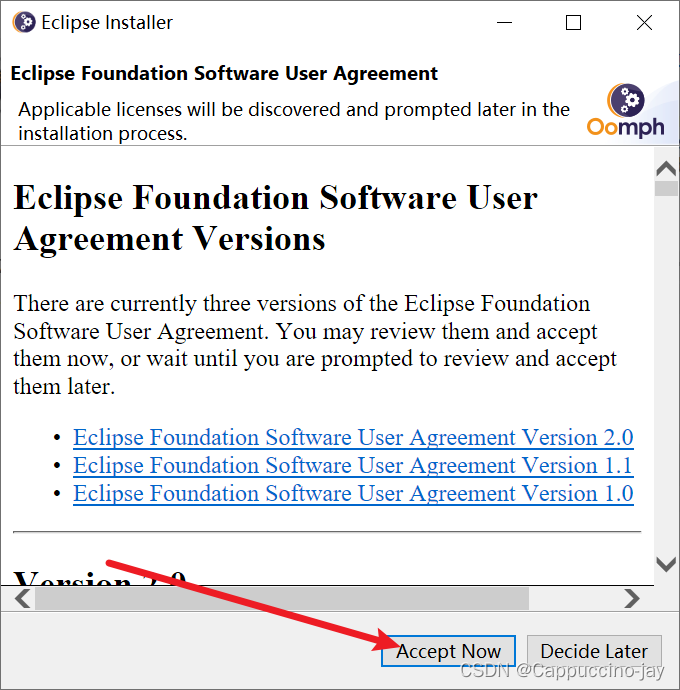
4. ClickAccept Now
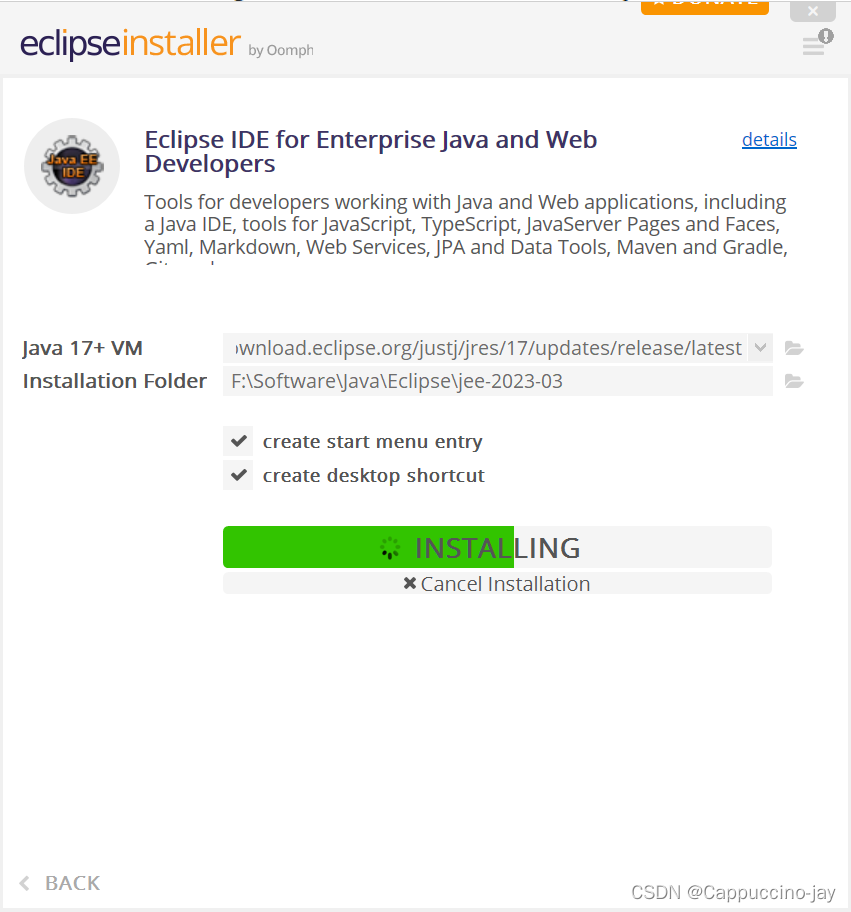
5. Waiting for installation
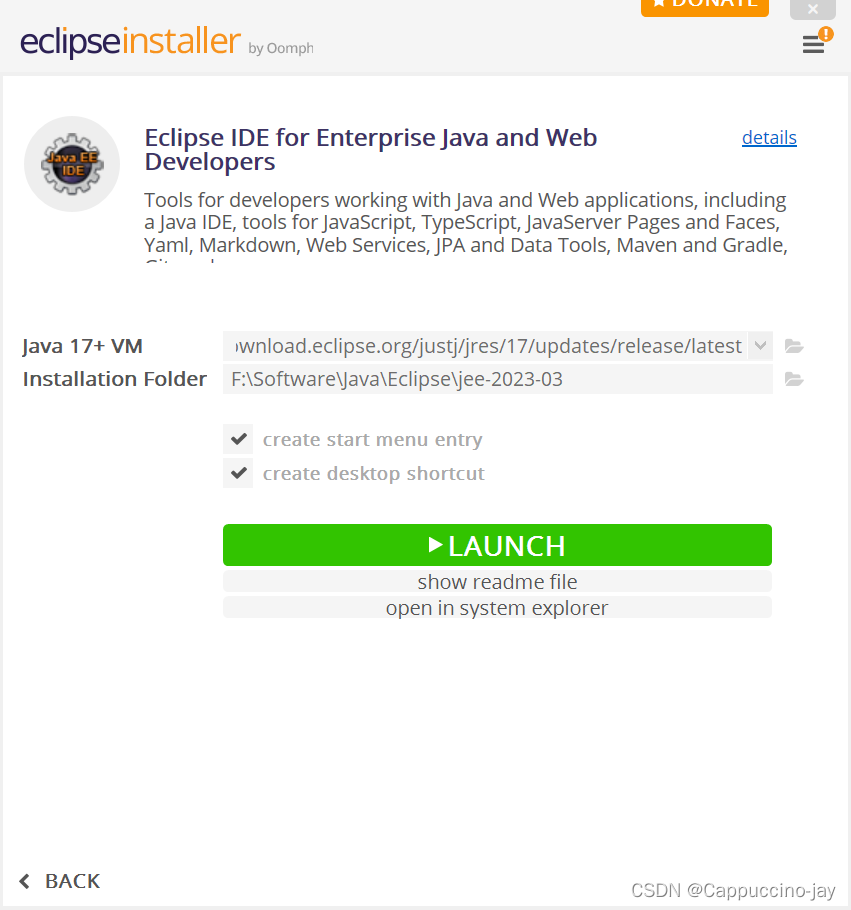
6. After the installation is complete, clickLAUNCH

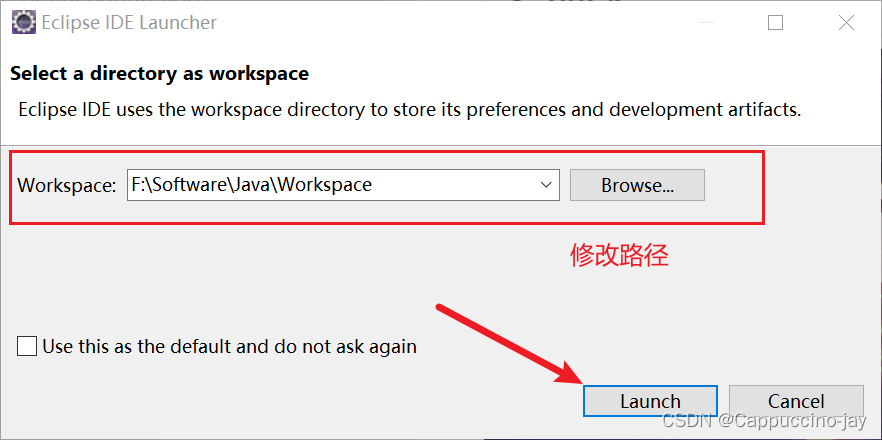
7. Modify the path location of the project project
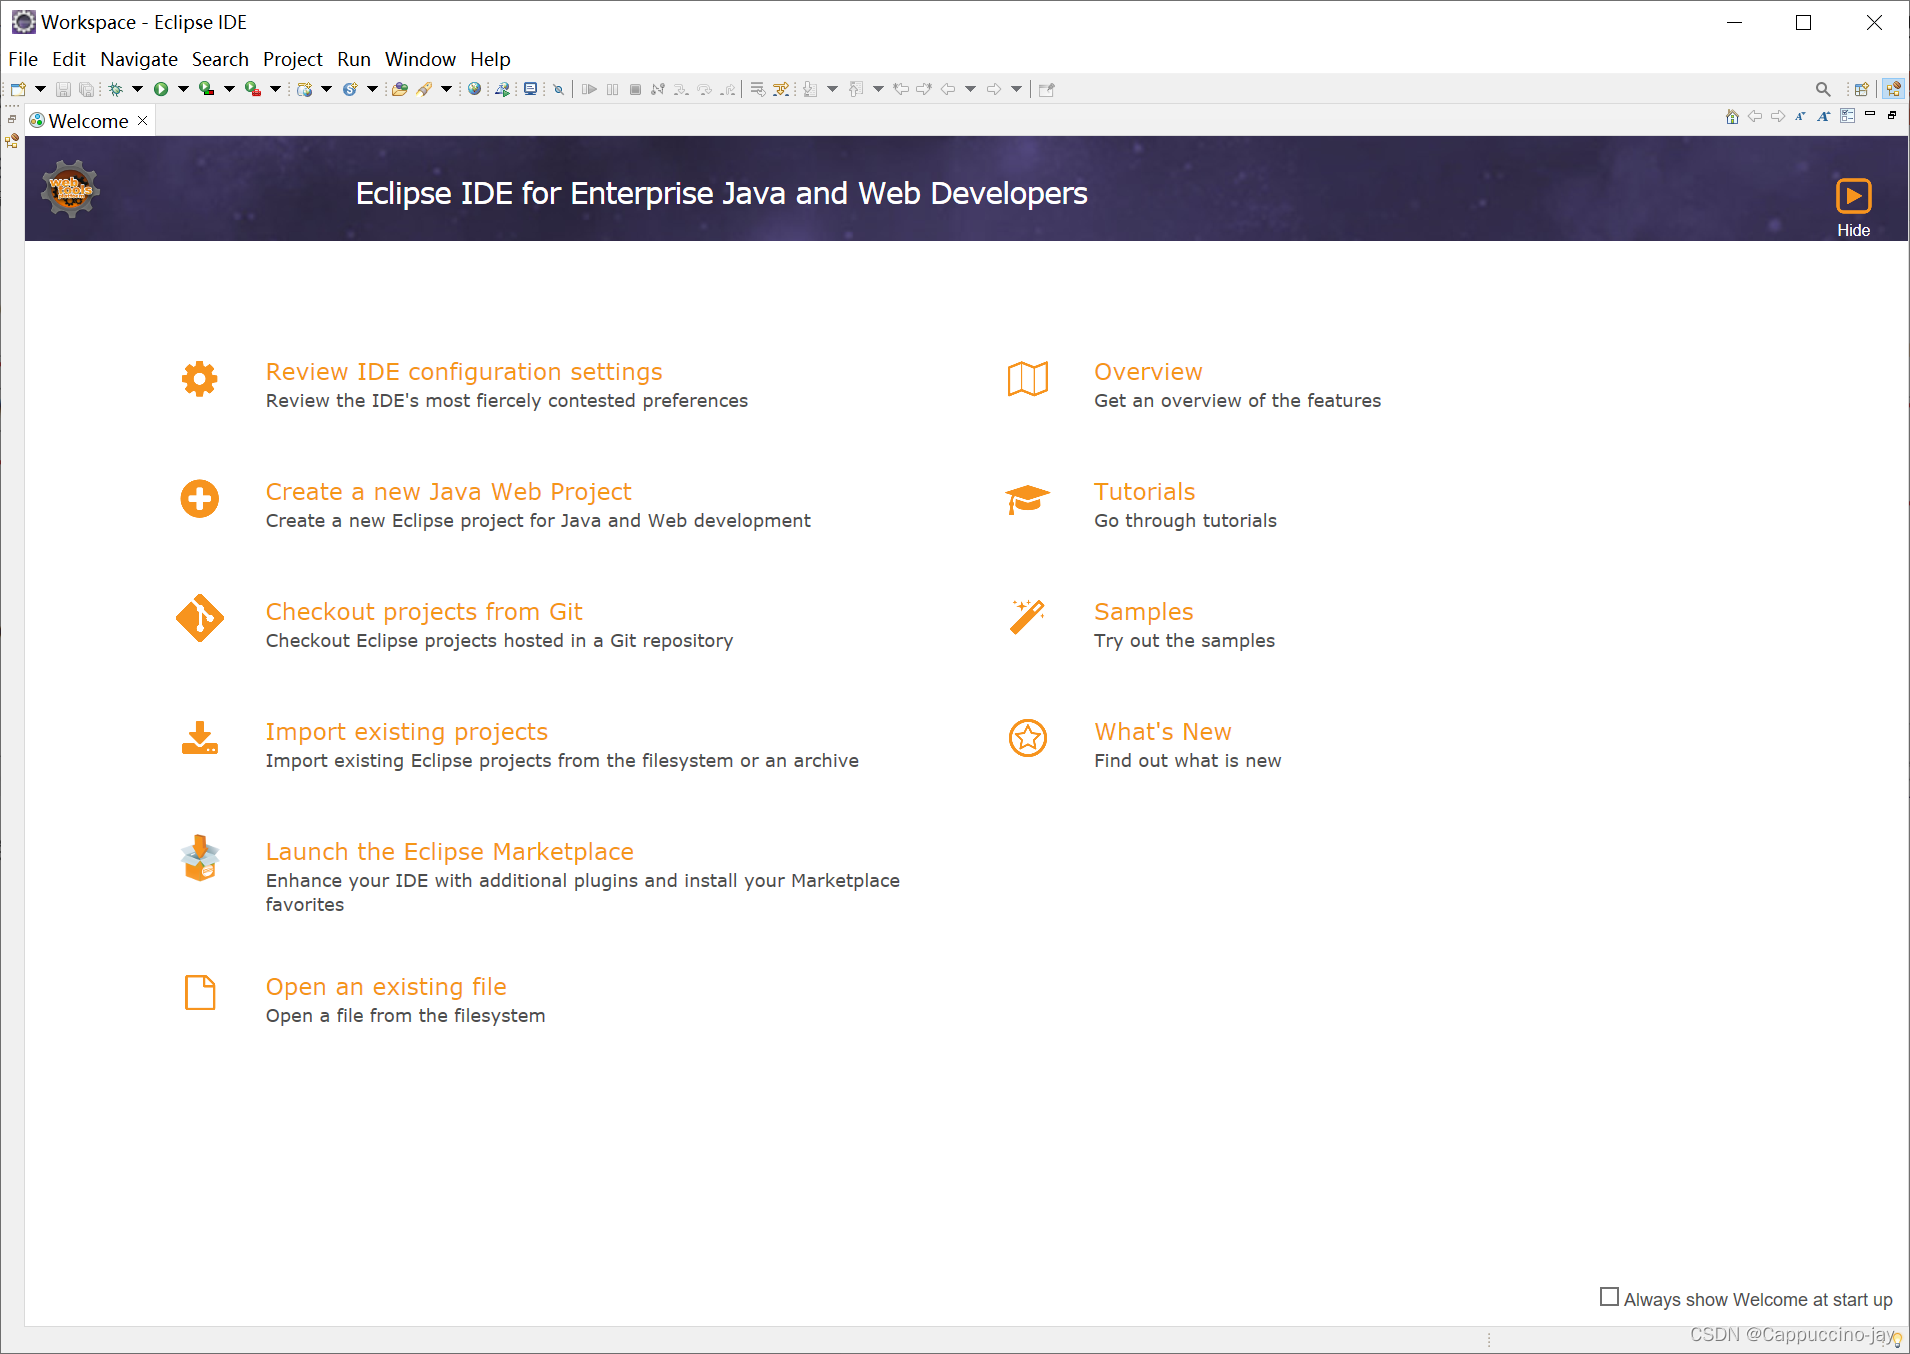
8. Eclipse has been successfully installed so far! Click to close the wizard.
Install JDK:
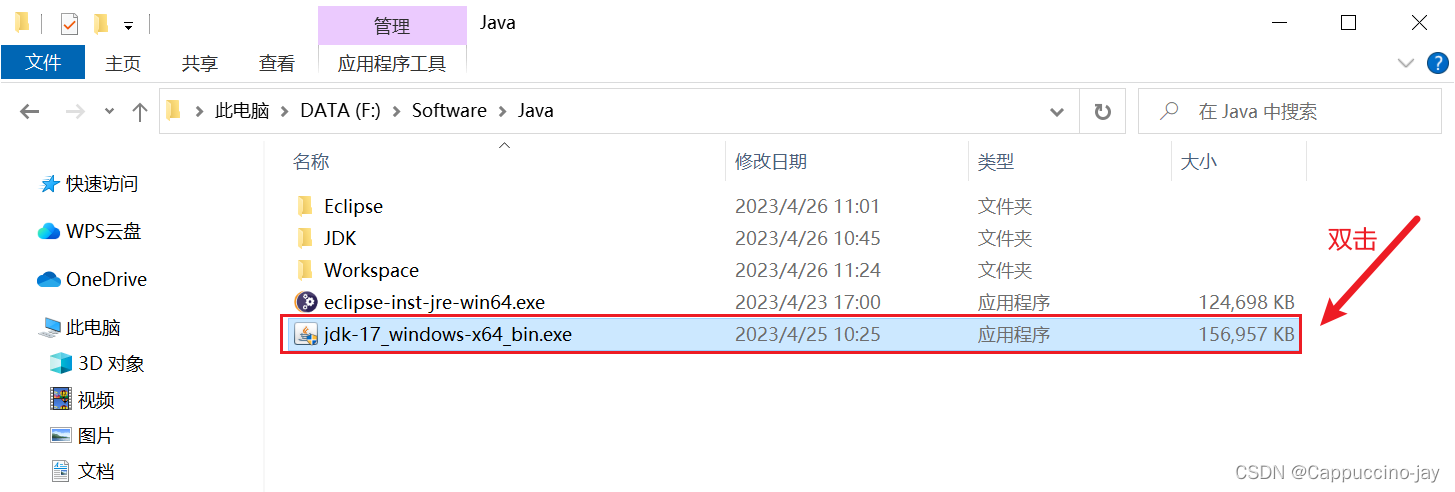
1. First double-click to run jdk-17_windows-x64_bin.exethe installer
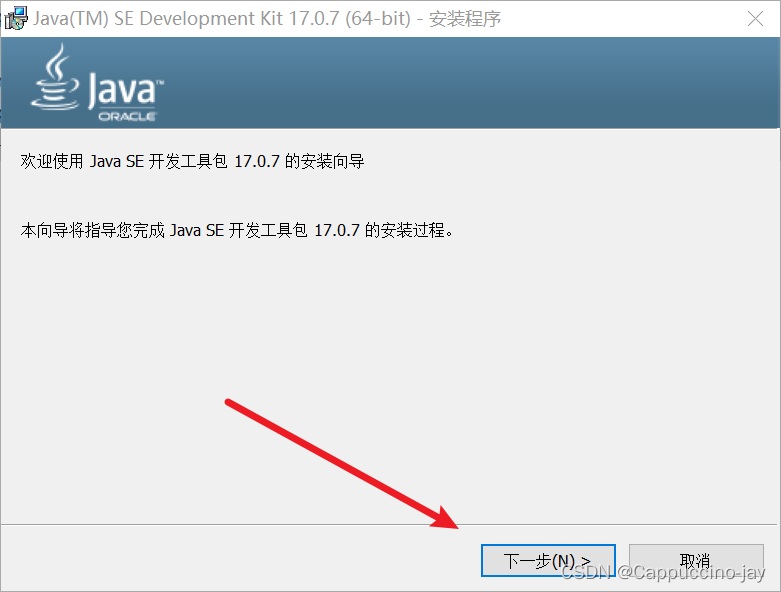
2. Click下一步
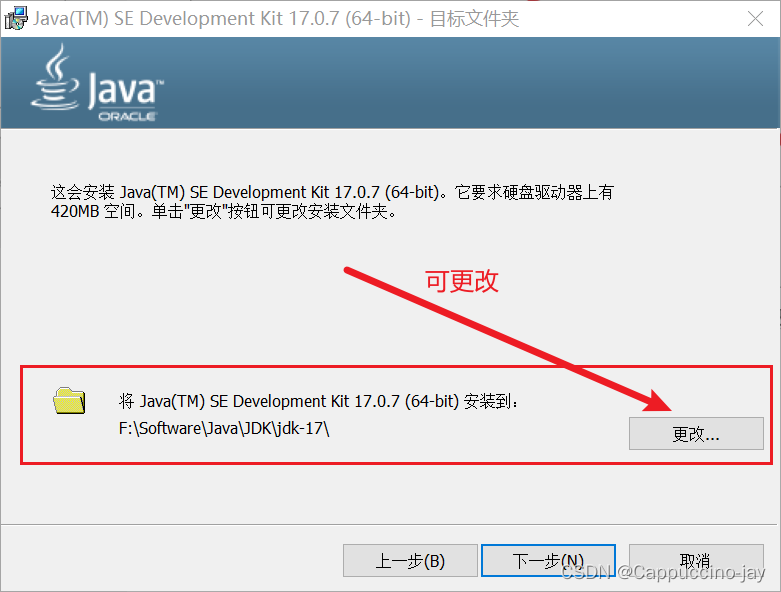
3. The default installation directory is selected on the C drive. If you want to modify it, you can click it 更改and select the newly created JDK folder.
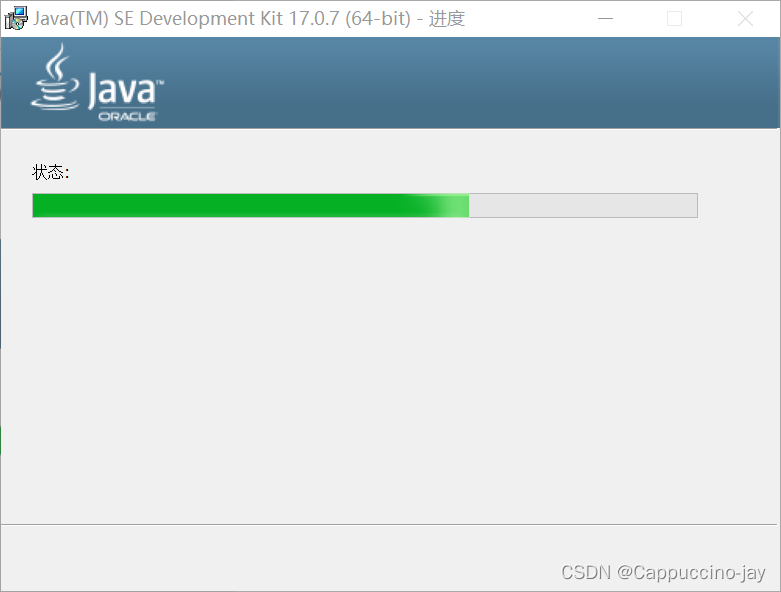
4. The installation is in progress
5. After the installation is complete, click关闭

Fourth, the configuration of environment variables
Java 17.0.7 can use the JRE that comes with the JDK, no additional JRE installation is required
After the JDK installation is complete, you need to configure environment variables. The steps to configure environment variables in the Windows system are as follows:
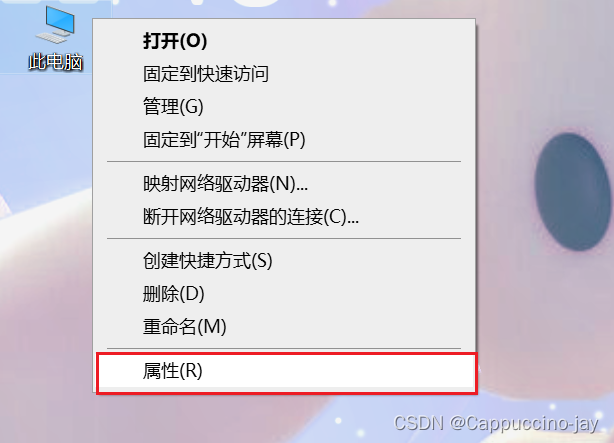
1. Right-click [This PC] on the desktop and select [Properties].
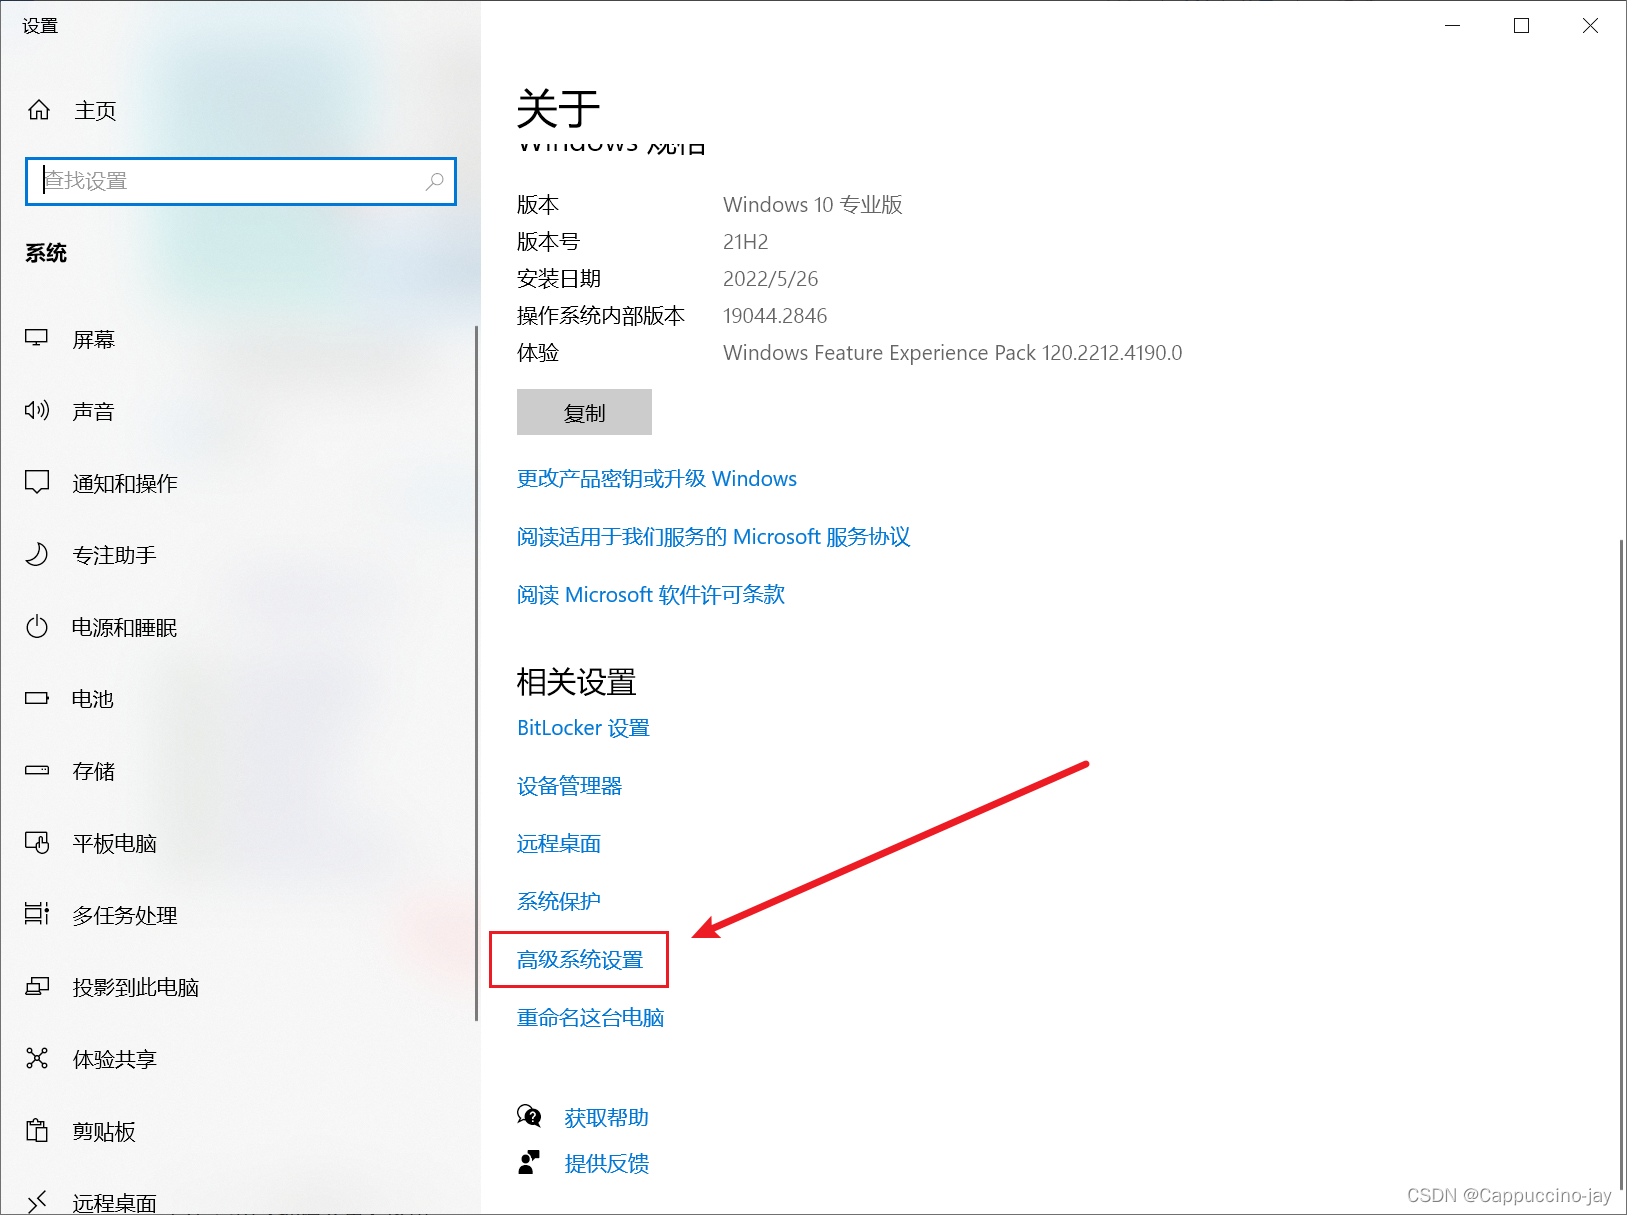
2. Select [Advanced System Settings]
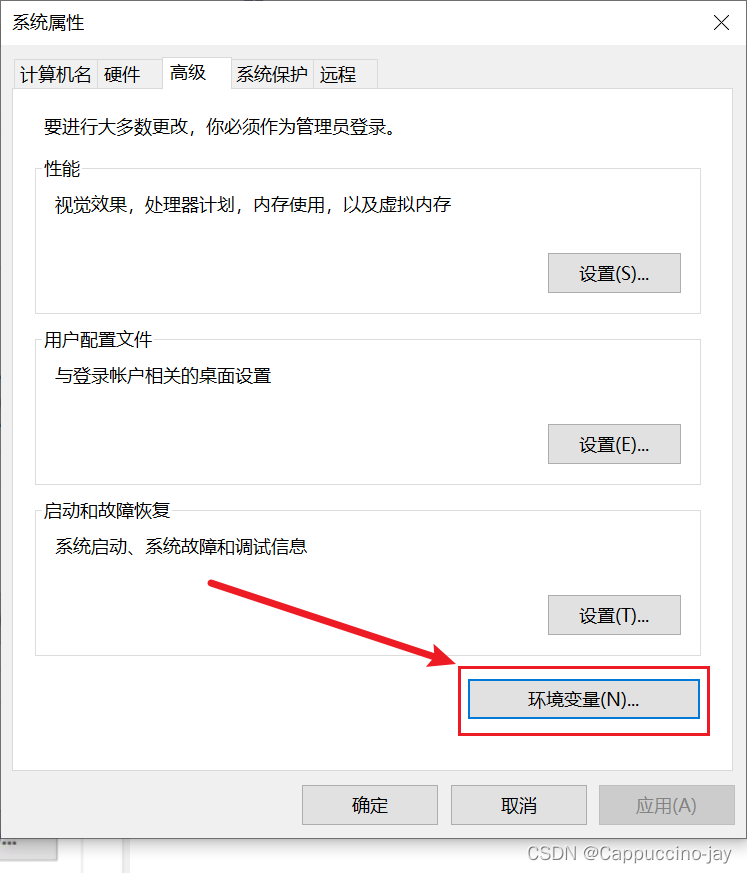
3. Click the [Environment Variables] button
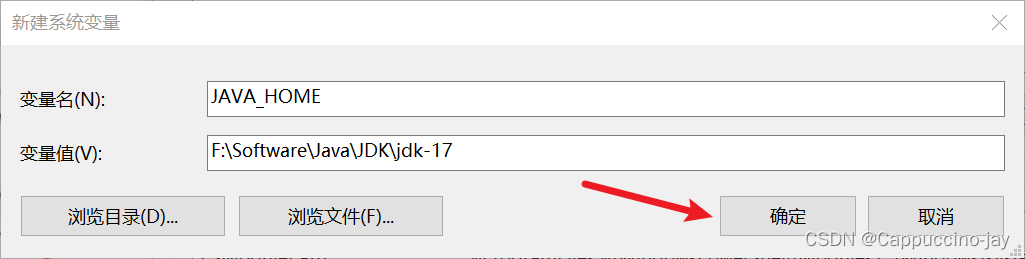
4. Create a new JAVA_HOME environment variable, and the variable value is the installation directory of jdk
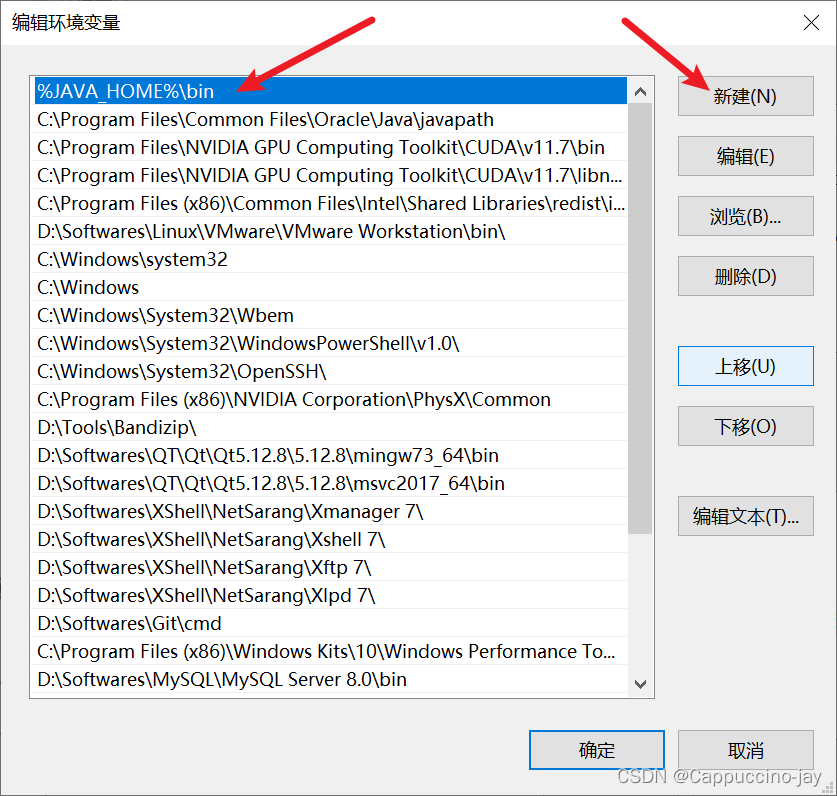
5. Add the bin directory to the PATH environment variable, double-click or click edit
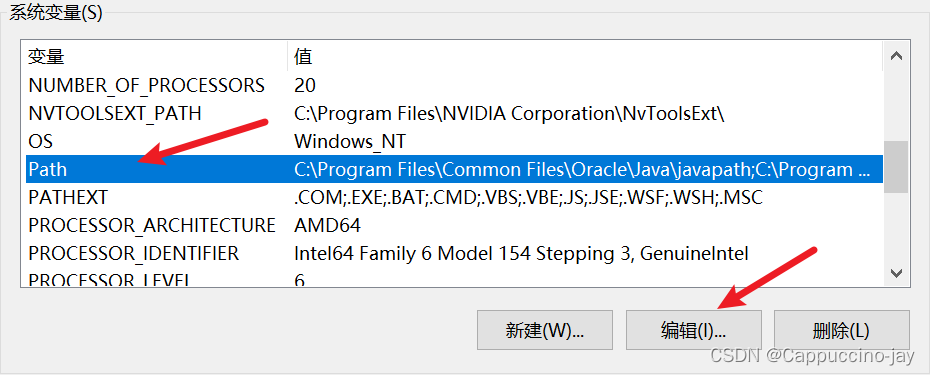
6. Create a new %JAVA_HOME%\bin environment variable, it is best to move it up to the top to avoid other conflicting java environment variables! ! !
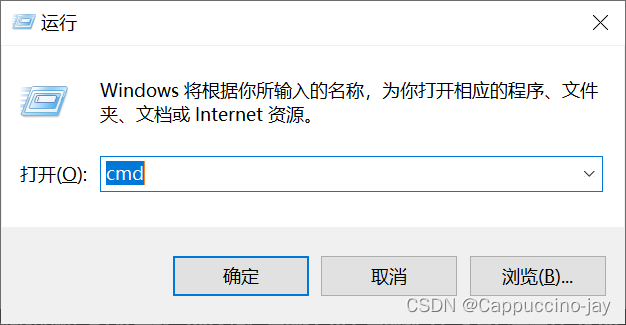
7. After adding all the variables and confirming all the way, open the command line with win+r and enter cmd
8. Enter java -version , see the following interface, indicating that it has been successful
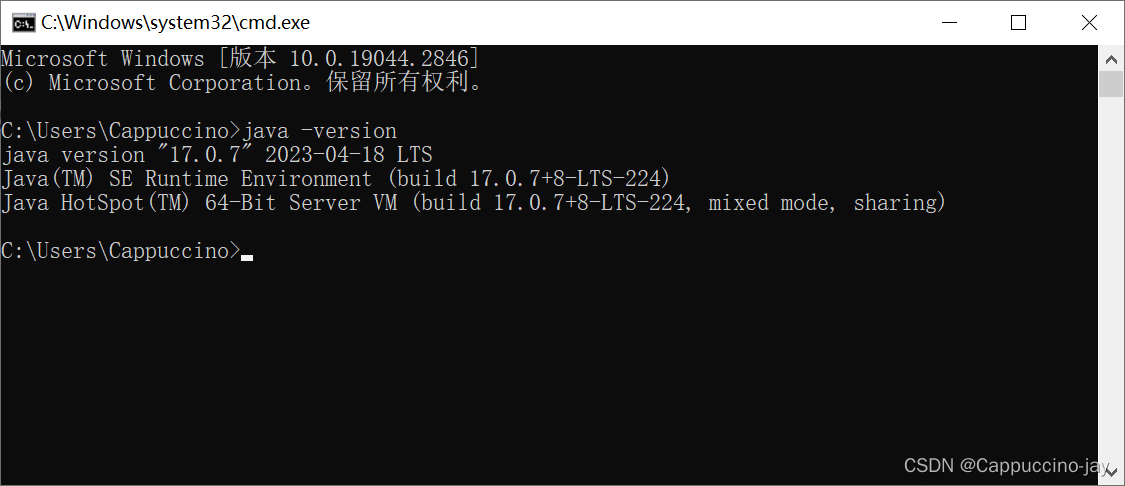
So far, the work of Eclipse and JDK has been completed, and the Eclipse IDE can be opened for Java development.