Keywords: openai api connection
Purpose : To build an OPENAI API access environment on a Linux server in a non-GUI environment.
System environment : x86_64, centos7.9, clash
- Download the clash installation package corresponding to the system environment and decompress it
# https://github.com/Dreamacro/clash/releases/download/v1.15.1/clash-linux-amd64-v1.15.1.gz
gzip -d clash-linux-amd64-v1.15.1.gz
mv clash-linux-amd64-v1.15.1.gz clash
chmod +x clash
- Create a configuration folder and copy the configuration file of a valid proxy to the configuration folder
mkdir config
# 从本地机器拷贝到服务器上,可以使用scp,然后再放到config中,默认端口7890
mv Country.mmdb ./config/
mv NETV2.yaml ./config/config.yaml
# 详细配置字段参考 https://github.com/Hackl0us/SS-Rule-Snippet/blob/main/LAZY_RULES/clash.yaml
- Install the proxychains tool and configure it to connect to the proxy
#centos安装proxychains
sudo yum install proxychains-ng

#ubuntu安装proxychains
sudo apt-get install proxychains

#修改对应的配置文件增加ProxyList项
vi /etc/proxychains.conf

#### proxychains.conf配置文件内容
[ProxyList]    #对应到cls配置中的端口 mixed-port: 7890
socks4  127.0.0.1 7890
socks5  127.0.0.1 7890
http    127.0.0.1 7890
- Start the service and test
./clash -d config &> cls.log &
proxychains curl -vv google.com
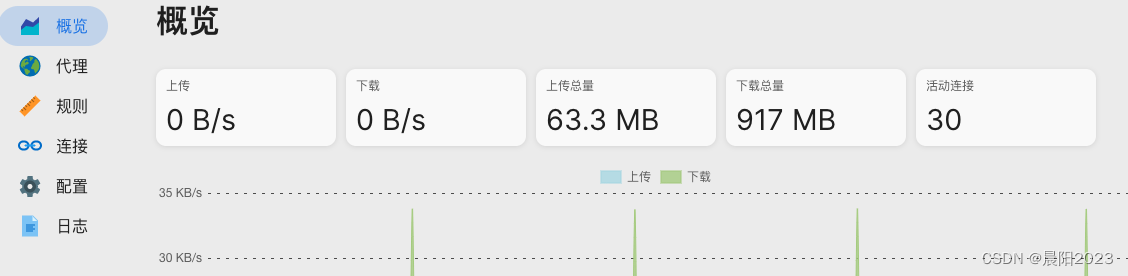
- Manage with Dashboard ( yacd open source tool )
sudo yum install npm
npm i -g pnpm
git clone https://githhaishanh/yacd
cd yacd
pnpm i
pnpm build
#pnpm start --host localhost --port 7899
# 指定localhost具体IP
pnpm start --host 192.168.1.11 --port 7899
Enter in the browser 192.168.1.11:7899to perform visual configuration management on clash.
openai api demo
Set the openai api key as the environment variable export OPENAI_API_KEY=<My PAI Key>
openai api key: https://platform.openai.com/account/api-keys
# encoding=utf-8
# 创建openai调用接口
import os
import openai

openai.api_key = os.getenv("OPENAI_API_KEY")

# 部署cls环境的服务器IP与Port
openai.proxy = {


'http': 'http://127.0.0.1:7890',
'https': 'http://127.0.0.1:7890'
}
openai.Model.list()

# 生成openai调用接口
class OpenAI_API(object):
    def __init__(self, api_key):
        self.api_key = api_key

    def get_response(self, prompt, max_tokens=5, temperature=0.9, top_p=1, frequency_penalty=0.0, presence_penalty=0.0, stop=["\n", " Human:", " AI:"]):
        response = openai.Completion.create(
            model="text-davinci-003",
            prompt=prompt,
            max_tokens=max_tokens,
            temperature=temperature,
            top_p=top_p,
            frequency_penalty=frequency_penalty,
            presence_penalty=presence_penalty,
            stop=stop
        )
        return response

# 主入口
if __name__ == '__main__':
    # 初始化openai调用接口
    openai_api = OpenAI_API(os.getenv("OPENAI_API_KEY"))
    # 打印openai调用接口
    prompt = "The following is a conversation with an AI assistant. The assistant is helpful, creative, clever, and very friendly.\n\nHuman: Hello, who are you?\nAI: "
    result = openai_api.get_response(prompt, max_tokens=150)

    print(result)
    print(result.choices[0].text)
# 或者以Mac为例,在```网络偏好设置--网络--高级--代理```中配置服务地址和端口
If the following exception occurs, it is because the free quota has exceeded, you can try to change a model, see rate-limits for details
openai.error.RateLimitError: You exceeded your current quota, please check your plan and billing details.
Reference:
https://zhuanlan.zhihu.com/p/366589407
-------- END --------