We will use virtual machines every day. This article takes VMware virtual machines as an example to mainly introduce the difference between bridging mode and NAT mode for virtual machines, and explain them through schematic diagrams. And it will introduce how to set a static IP.
Mode introduction
NAT mode
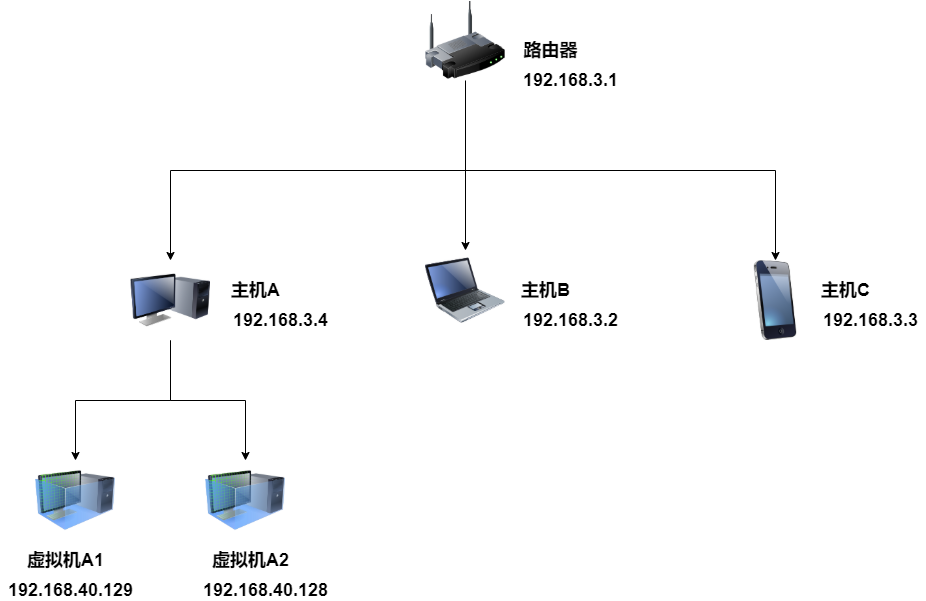
In NAT mode, the created virtual machine can only access the current host and cannot access other hosts in the LAN.
Both virtual machine A1 and virtual machine A2 are created on host A. In NAT mode, both virtual machine A1 and virtual machine A2 can access host A, and virtual machines A1 and A2 can also access each other, but virtual machine A1 and A2 cannot access other hosts (host B and host C) on the LAN.
bridge mode
In bridge mode, the created virtual machine is like an independent host in the LAN, and it can access any machine in the LAN.
Similarly, virtual machine A1 and virtual machine A2 are both created on host A. In bridge mode, you can see that the IP allocated by the system is in the same network segment as other hosts in the LAN. At this time, virtual machines A1 and A2 can not only To access host A, you can also access any host in the LAN.
set up
set NAT mode
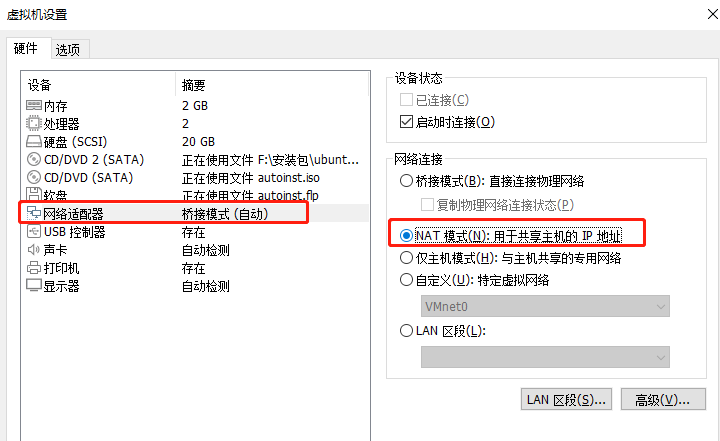
Click the menu bar settings -> virtual machine settings interface, select the NAT mode. Generally, the default is NAT mode.
Set bridge mode
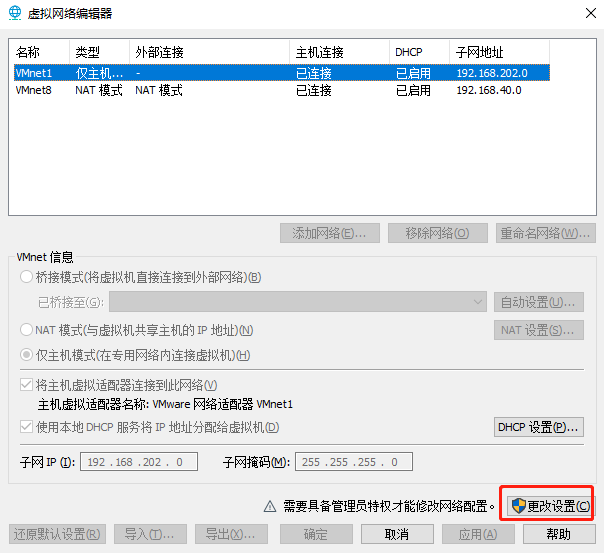
Click Edit -> Virtual Network Editor in the menu bar
select change settings
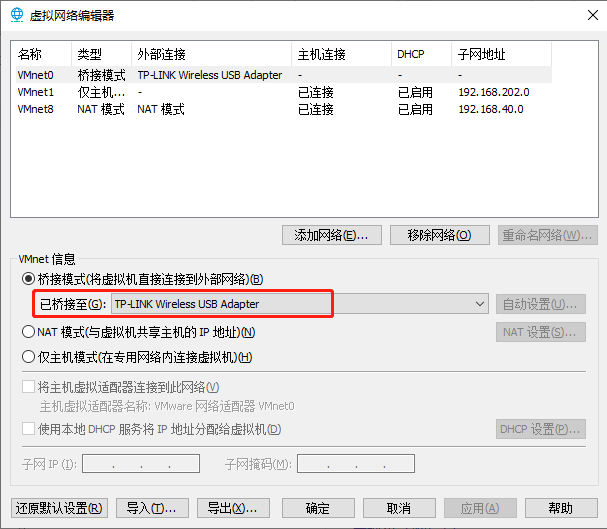
Bridge to the real network card of the host, I use TP-LINK wireless network card here.
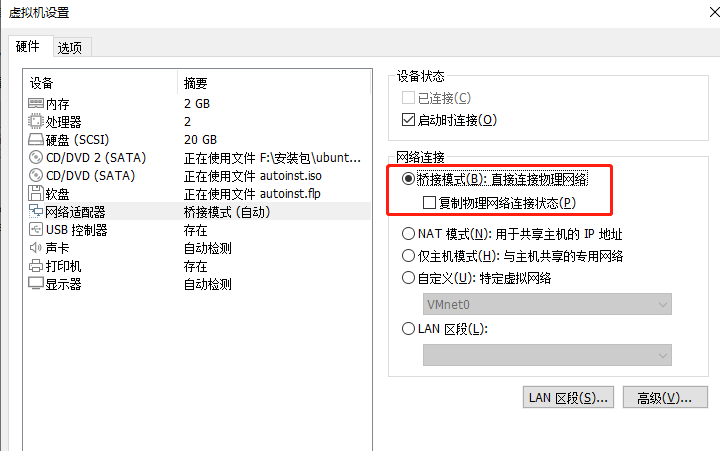
Open the virtual machine settings interface and select bridged mode.
set static IP
Why set a static IP? Because in the bridge mode, the IP address will be dynamically assigned, if there are too many hosts in the LAN, it is easy to conflict with the IPs of other hosts. Therefore, we generally have to set a static IP in the LAN.
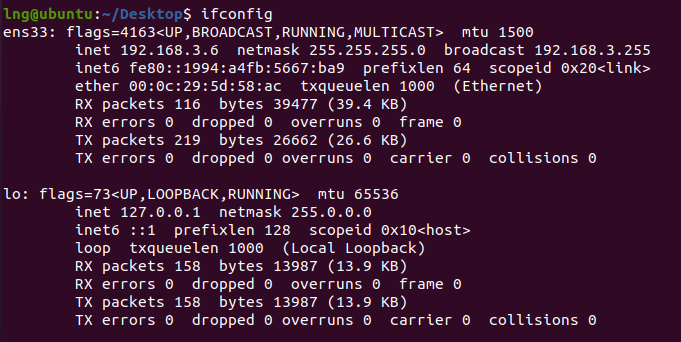
Use ifconfig to view the IP of the current virtual network card ens33 as 192.168.3.6
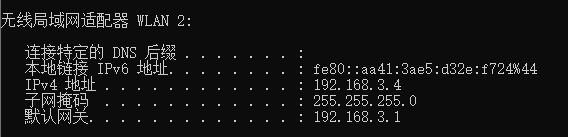
Use ipconfig to view the default gateway and subnet mask of the network card used by the current windows host
Then open /etc/network/interfaces in the virtual machine
write the following
  auto lo
  iface lo inet loopback

  auto ens33
  iface ens33 inet static
  # 静态IP地址
  address 192.168.3.10
  # 子网掩码
  netmask 255.255.255.0
  # 网关
  gateway 192.168.3.1
  # dns域名解析服务器
  dns-nameservers 114.114.114.114
Then restart the network and the setup is successful