Table of contents
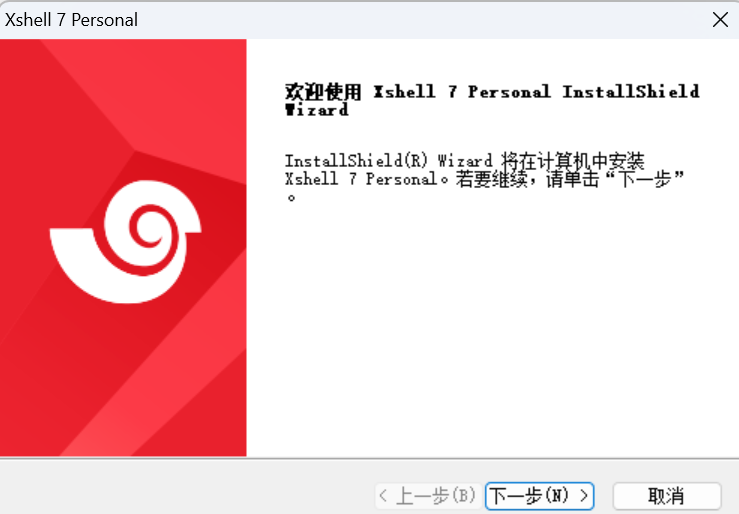
1. Double-click to run the XShell installation file, and click "Next"
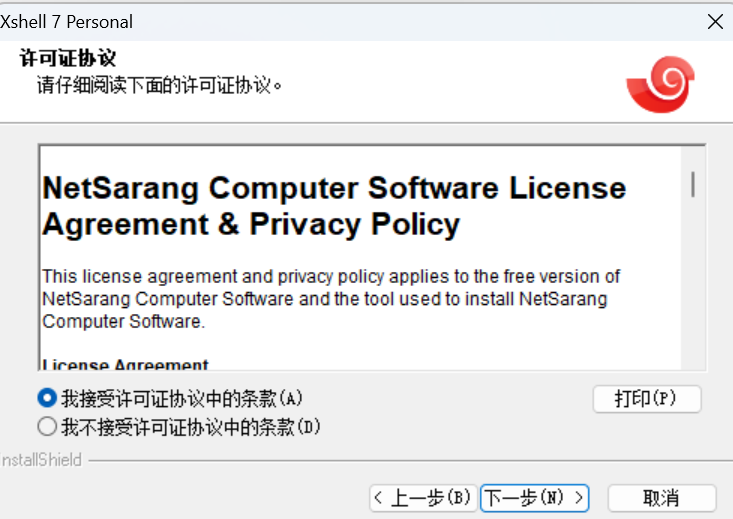
2. Click "I accept the terms in the license agreement" and click "Next"
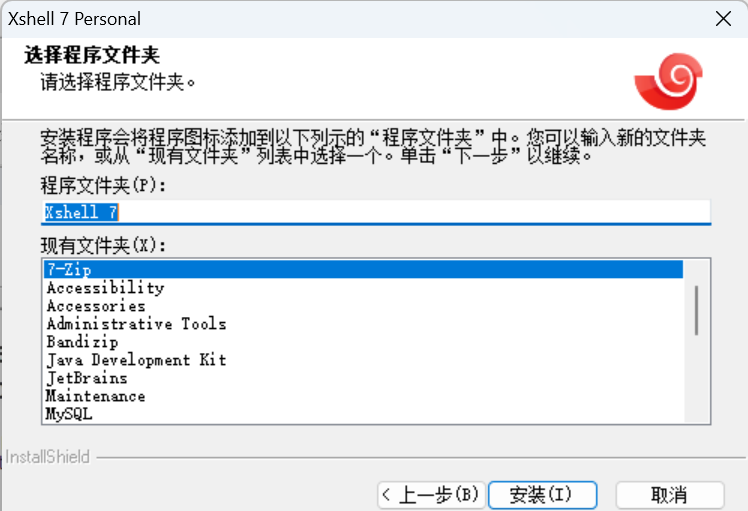
3. Click "Browse" to change the default installation path, click "Next"
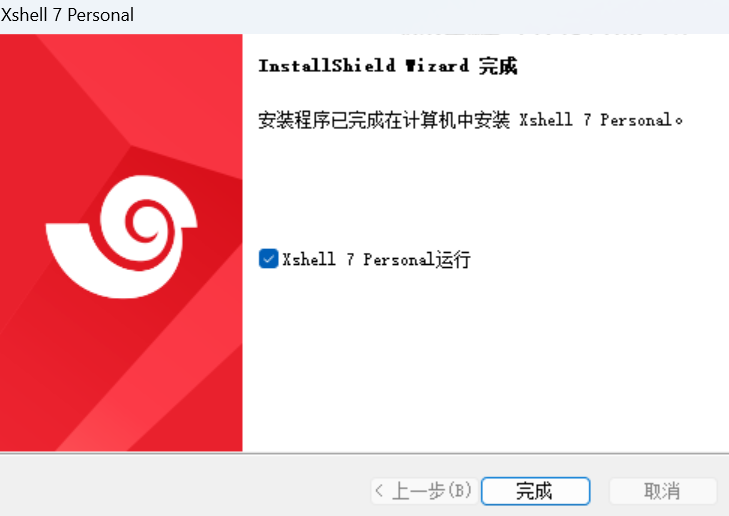
5. After the installation is complete, click "Finish"
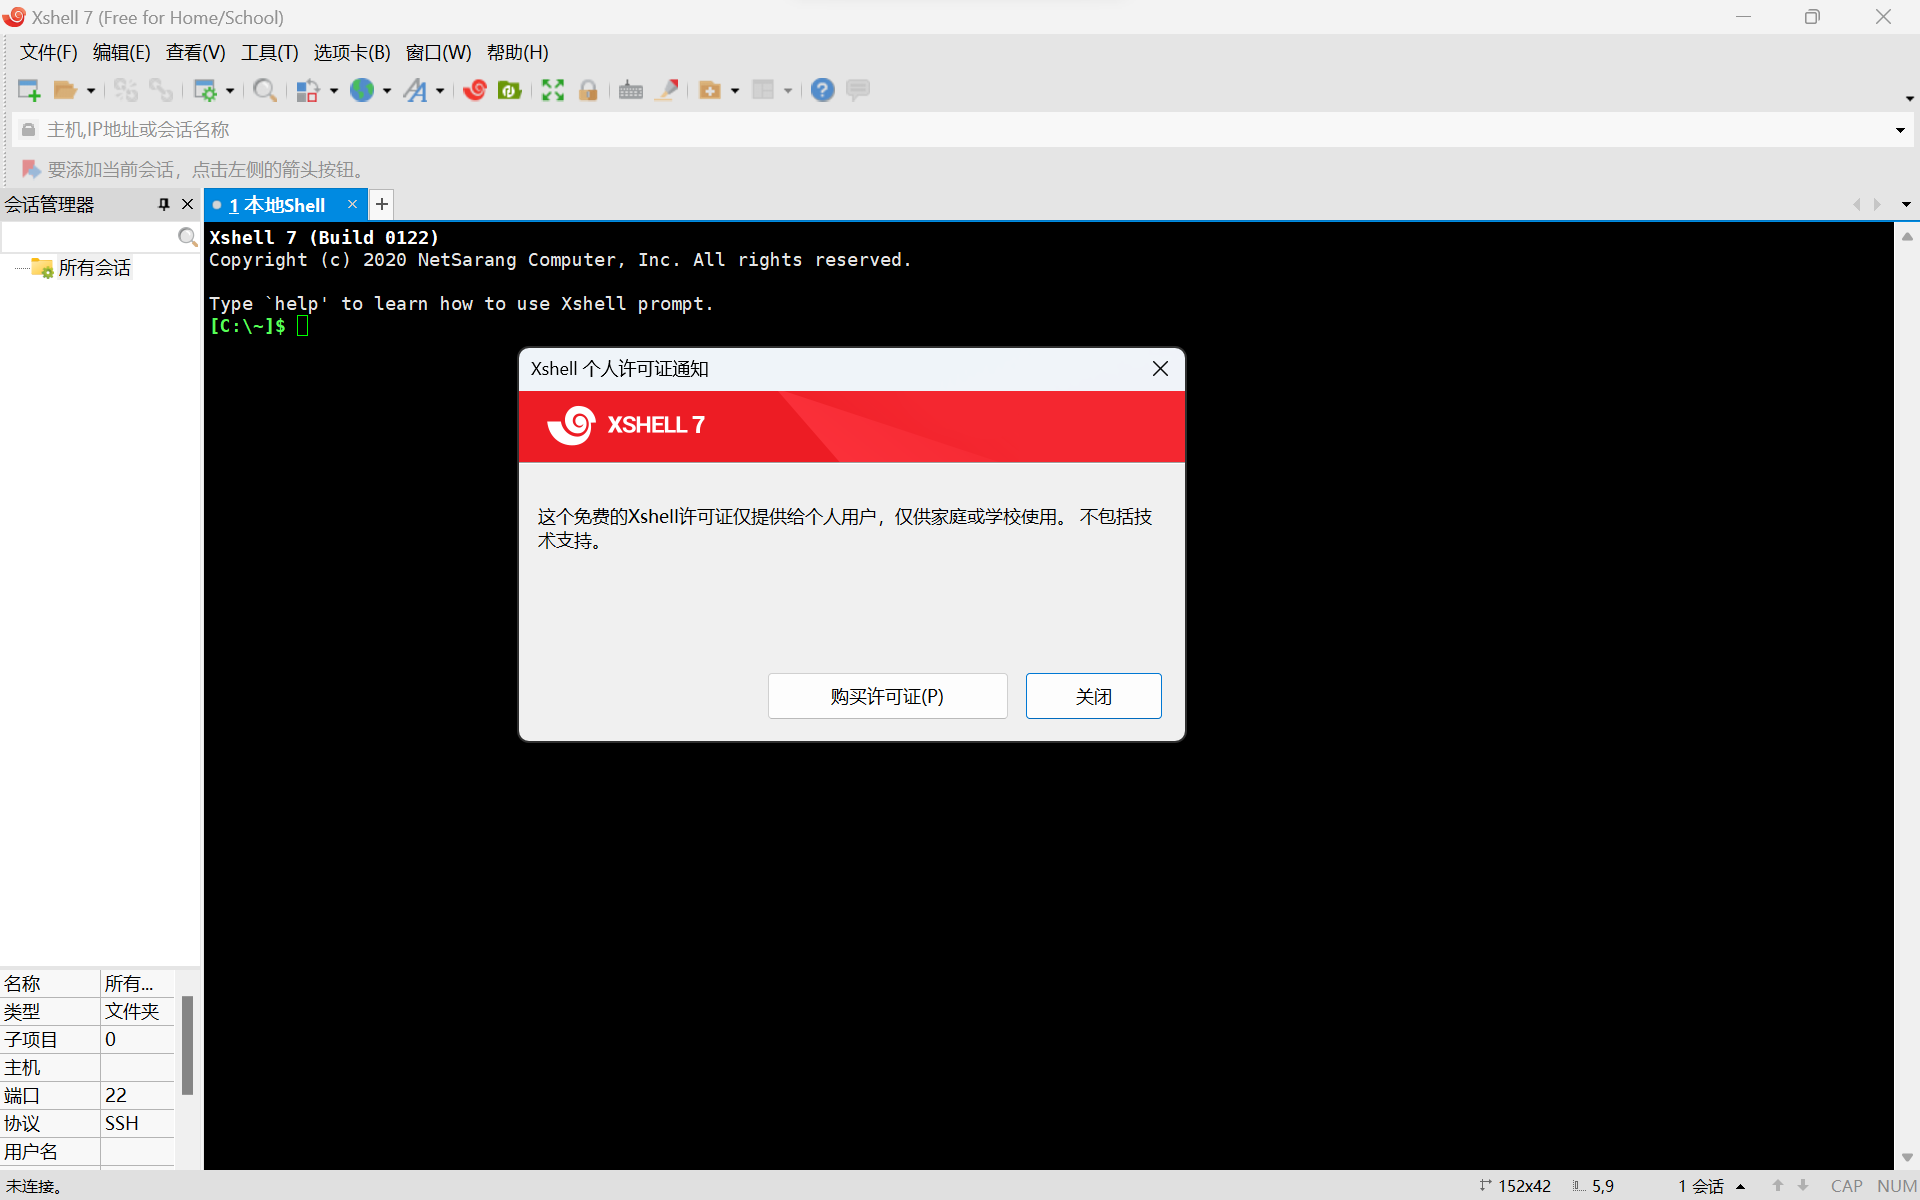
6. Personal license, click to close
3. Use XShell to connect to the Linux server
1. XShell initialization interface
2. Click "New" to create a new session
3. Fill in a name that is easy to identify
4. Fill in the public IP of the server
6. Fill in the user name and password of the server, and then click "OK"
7. Select the session and click "Connect"
1. Introduction to XShell
XShell is divided into free version and professional version. It is an SSH client software for remote connection to virtual machine system;
Xshell official website download address: Free for home/school - NetSarang Website
Visit the XShell official website, fill in the name and email address to get the download address

Copy link from email to download

2. Install XShell
1. Double-click to run the XShell installation file, and click "Next"
2. Click "I accept the terms in the license agreement" and click "Next"
3. Click "Browse" to change the default installation path, click "Next"
The software is installed to the C drive by default. Generally, the software should not be installed to the C drive. Here I installed it to the D drive.
4. Click "Install" directly
5. After the installation is complete, click "Finish"
6. Personal license, click to close
3. Use XShell to connect to the Linux server
1. XShell initialization interface

2. Click "New" to create a new session

3. Fill in a name that is easy to identify
4. Fill in the public IP of the server
5. Click User Authentication
6. Fill in the user name and password of the server, and then click "OK"
7. Select the session and click "Connect"
8. At this time, the server has been successfully connected, and normal command operations can be performed.
