Install Visual Studio 2022 on Windows 11
1. Download
Open the browser and visit the official website of Visual Studio: https://visualstudio.microsoft.com
Pull down the page, you can see the download option of Visual Studio on the left, move the mouse to the "Download Visual Studio" button, Click "Community 2022" in the pop-up drop-down menu to start downloading the Visual Studio installer.
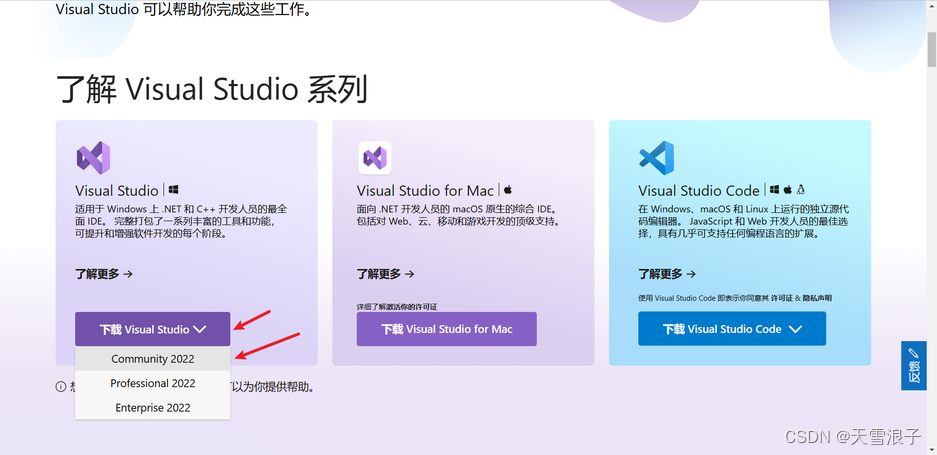
The drop-down menu displays all versions of Visual Studio, from top to bottom are "Community Edition", "Professional Edition", and "Enterprise Edition". Although the "Professional Edition" and "Enterprise Edition" have more functions, the "Community Edition" is sufficient for individual users. More importantly, the "Professional Edition" and "Enterprise Edition" are charged, while the "Community Edition" is free.
2. Installation
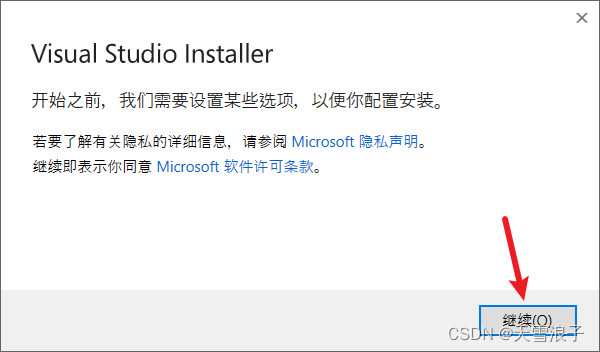
First, you need to install the Visual Studio installer, and then install VIsual Studio through the installer.
0. Run the Visual Studio installer

1. Click "Continue" to start the installation
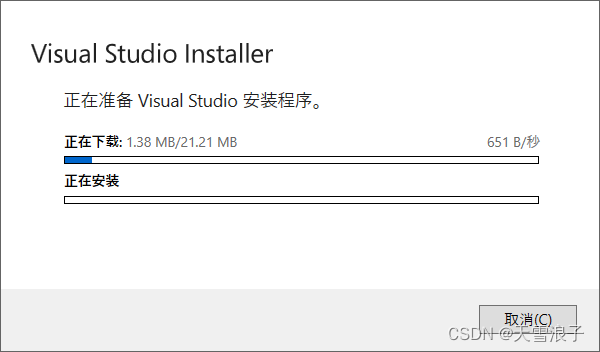
(Downloading the VIsual Studio installer)
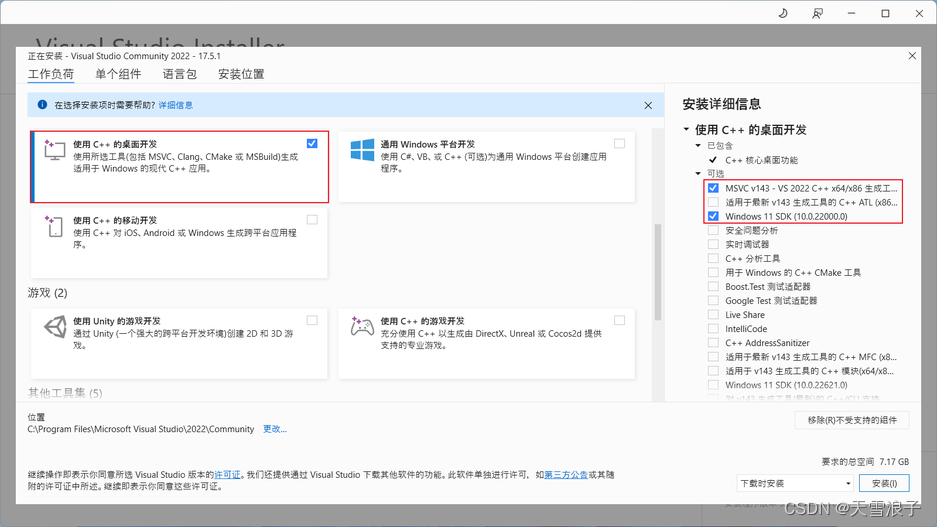
2. After the installation is complete, the function selection will be performed. On the left side, you can choose the development kit, and on the right side, you can choose the components to be installed. You can modify the installation location according to your needs. After completion, click "Install"
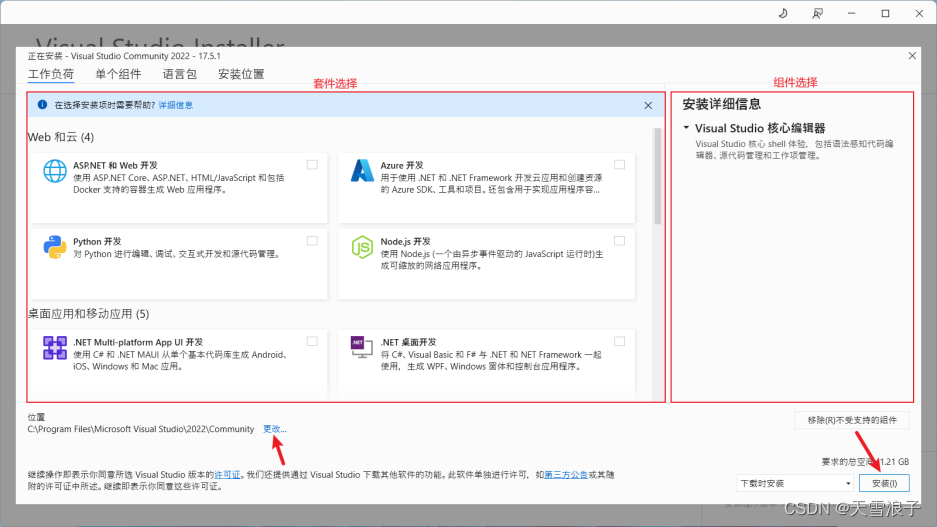
Here we take the "C++" development environment as an example to install
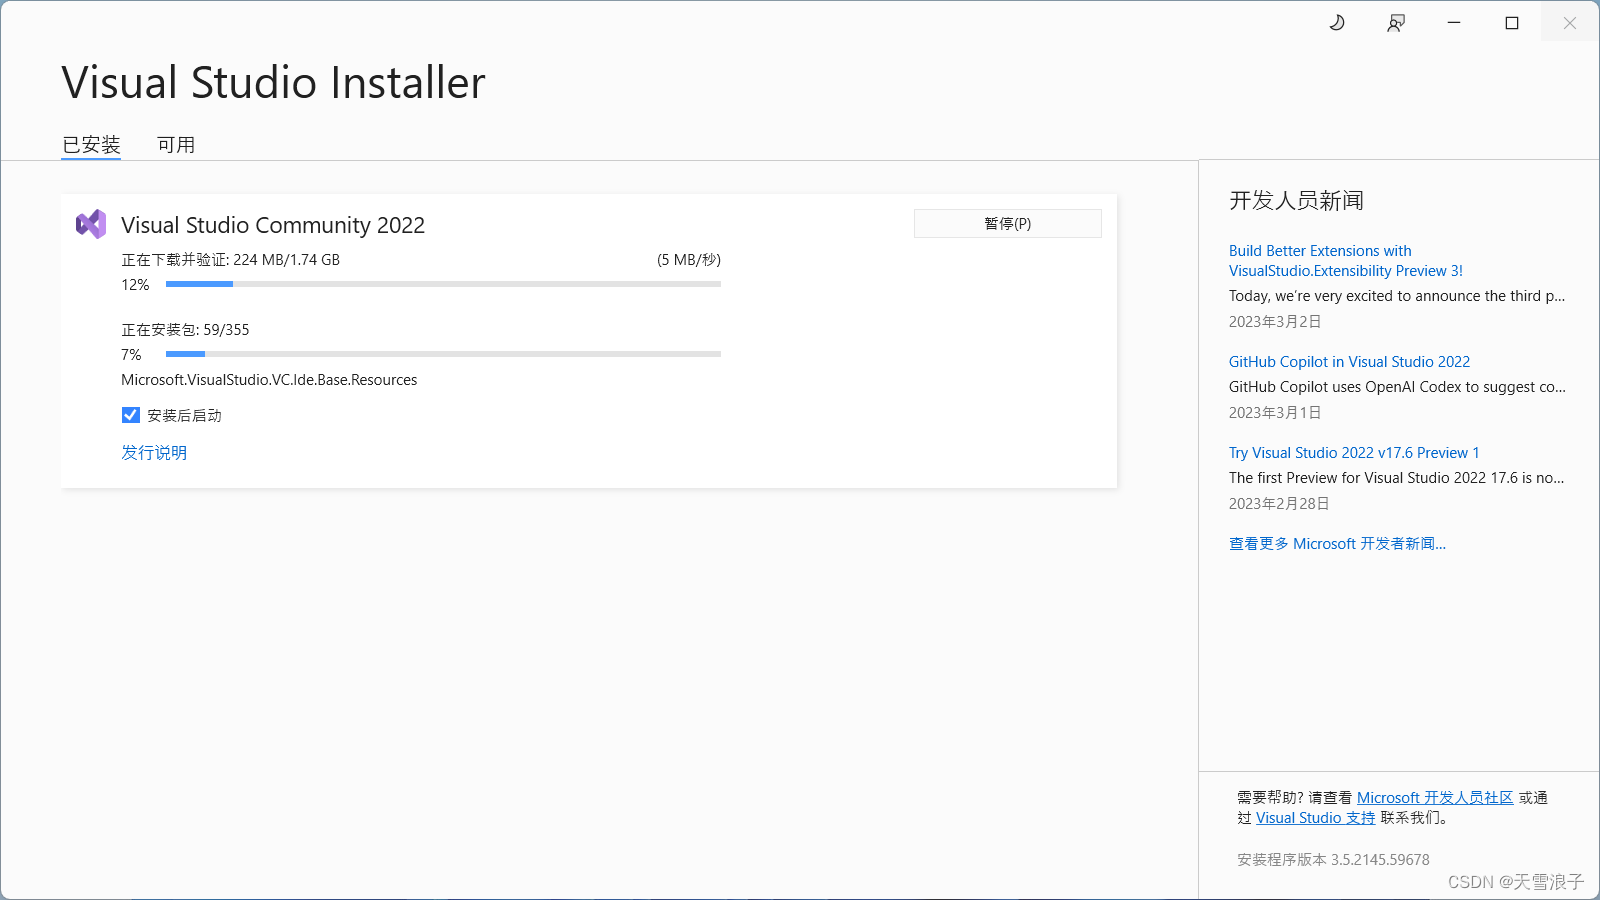
(Visual Studio is being downloaded)
3. Configuration
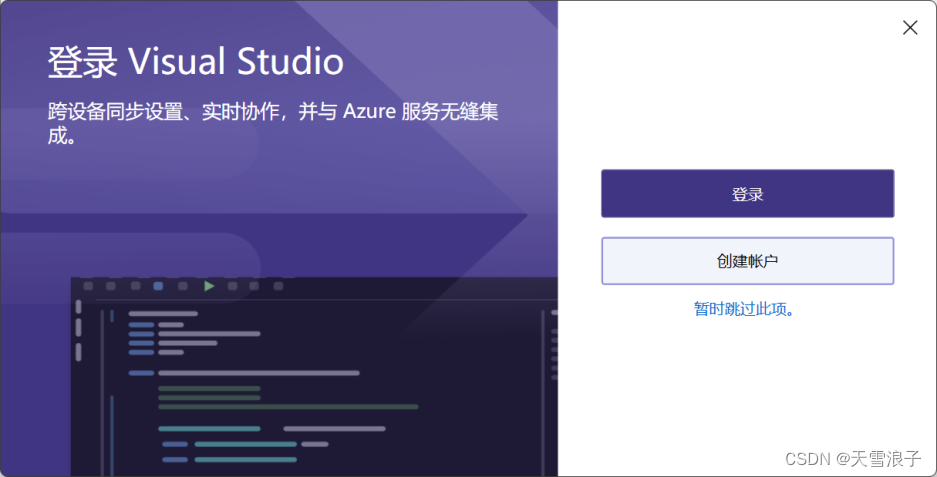
0. After the installation is complete, Visual Studio will automatically run, and when you run Visual Studio for the first time, it will automatically enter the configuration wizard

1. Select "Sign in" or "Skip this item" as required
2. Select "Development Settings" and "Theme Color" as needed, and then click "Start Visual Studio"


(configuration is being completed)
3. The configuration is complete
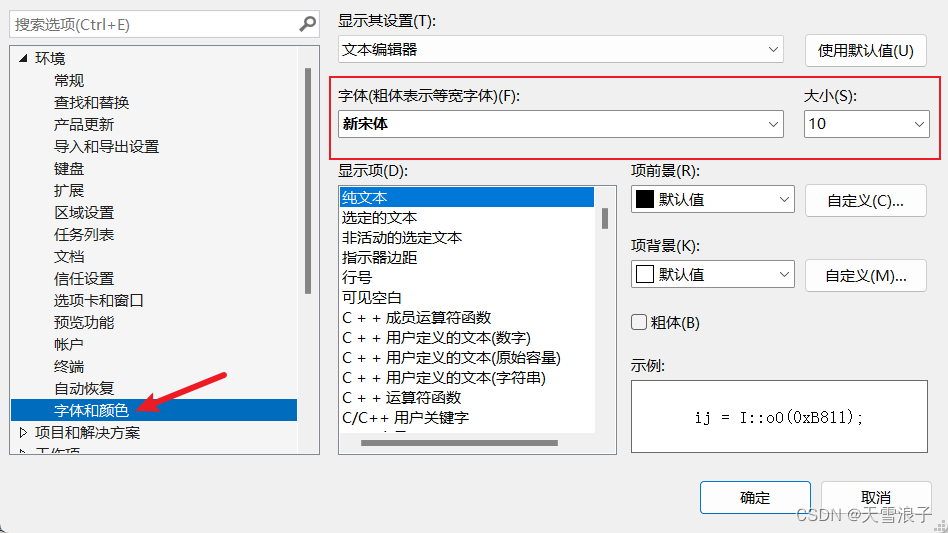
Attach, modify the font
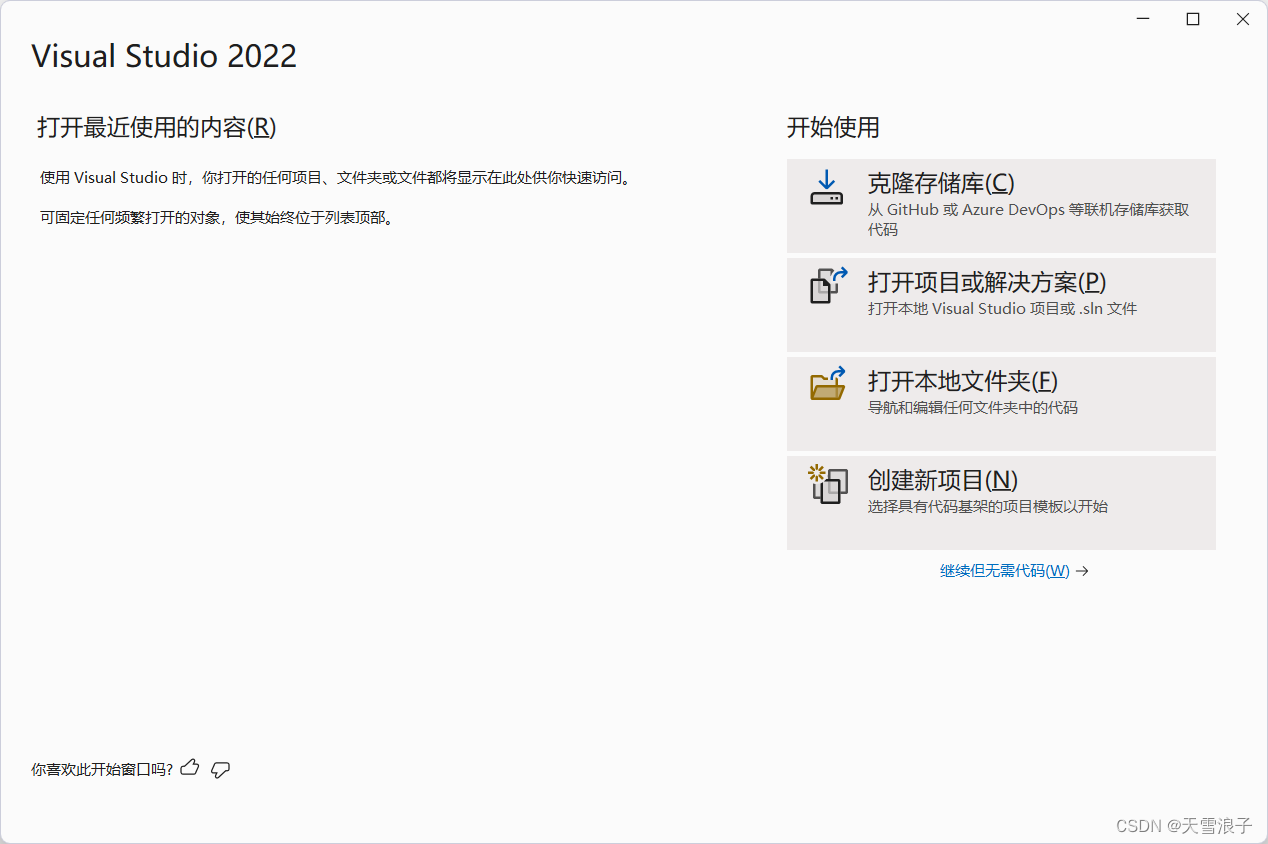
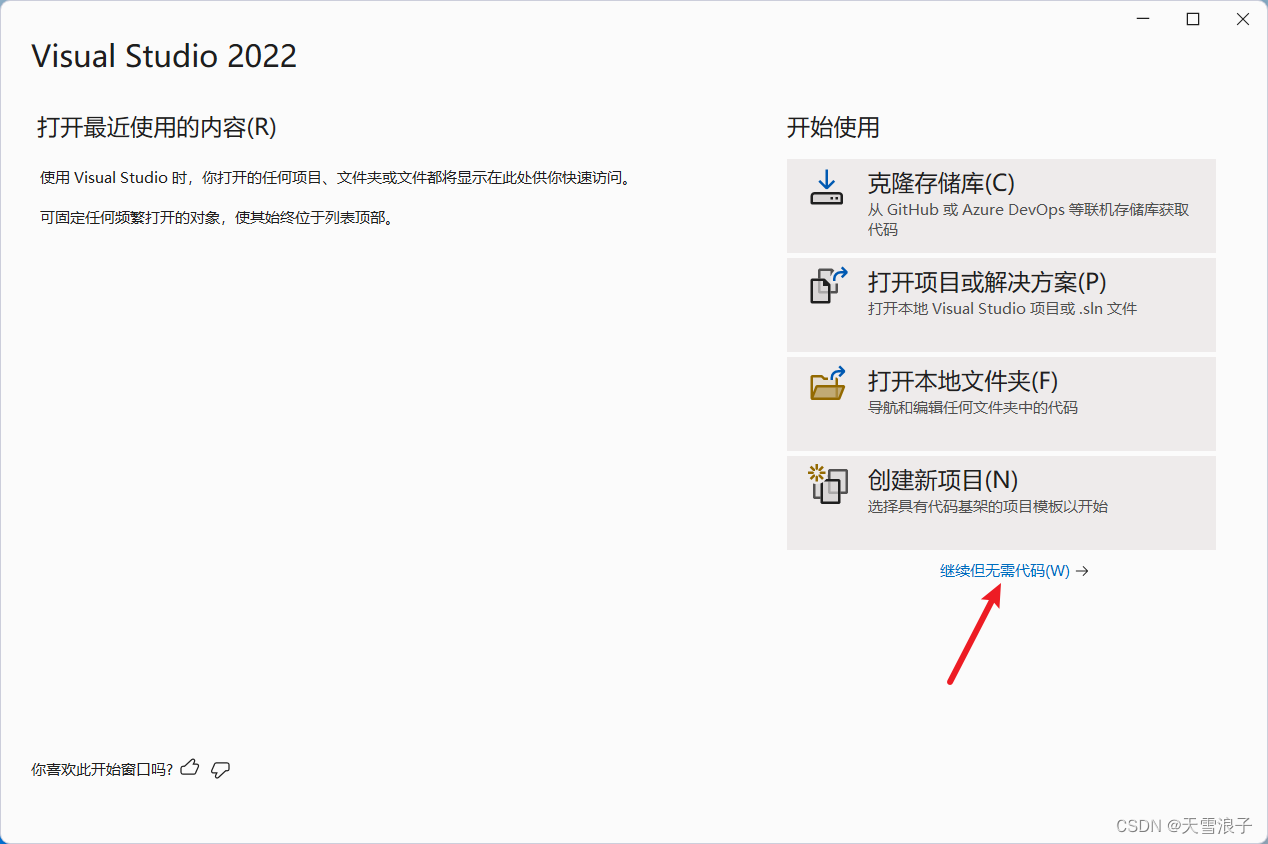
1. Click "Continue without code"
2. Select "Tools" - "Options" in the menu
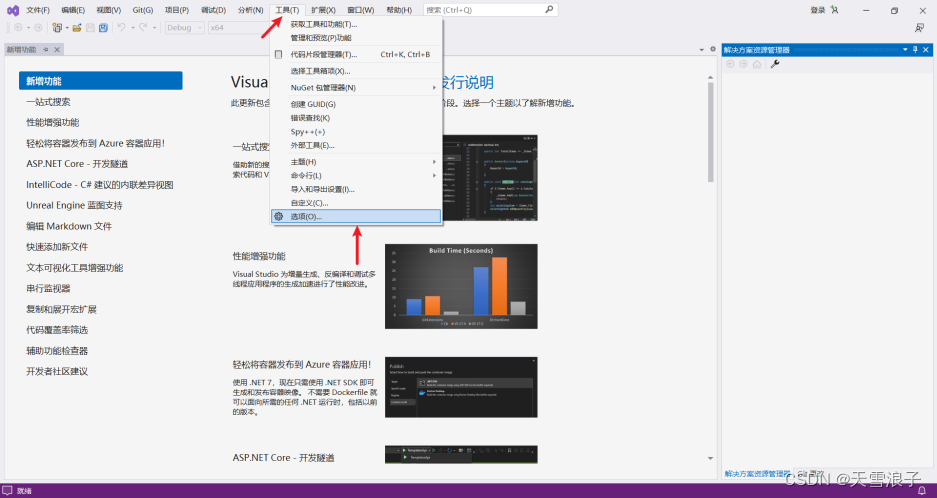
3. In "Font and Color", you can modify "Font" and "Font Size"