0. Please install texlive in advance. Installation method: How to download and install latex on windows10
1. Visual studio code download address: https://code.visualstudio.com/
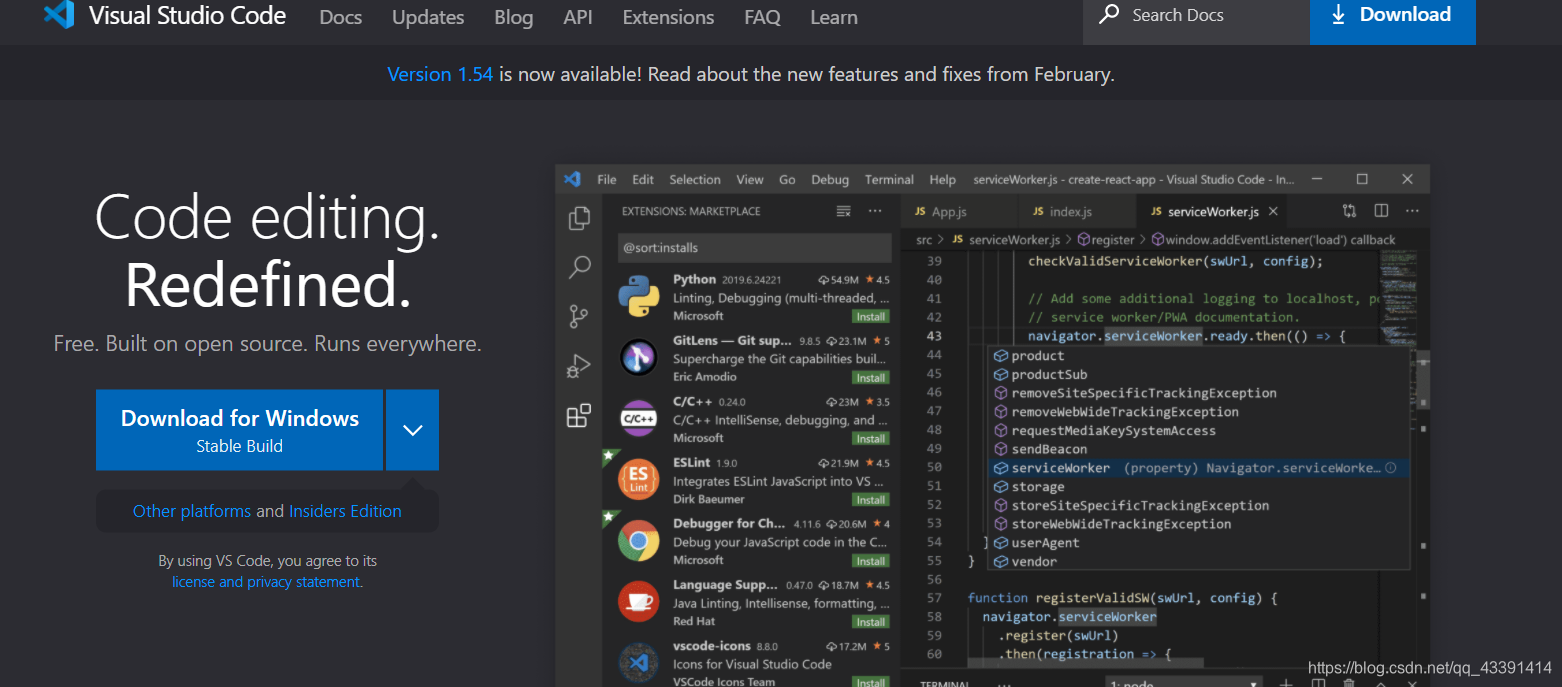
2. Select the windows version and download it.
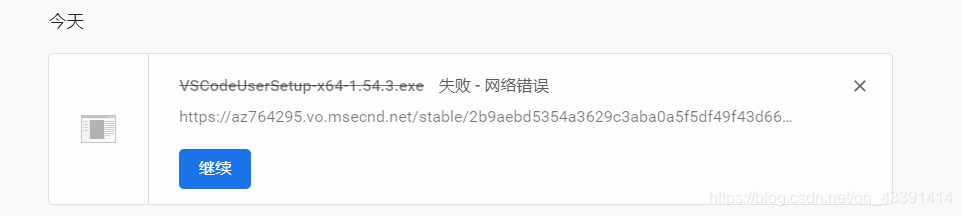
And the internet here is inexplicable. Visiting foreign countries was relatively fast in the first half of the year. This year, many of them were basically very slow, or even impossible to visit at all.
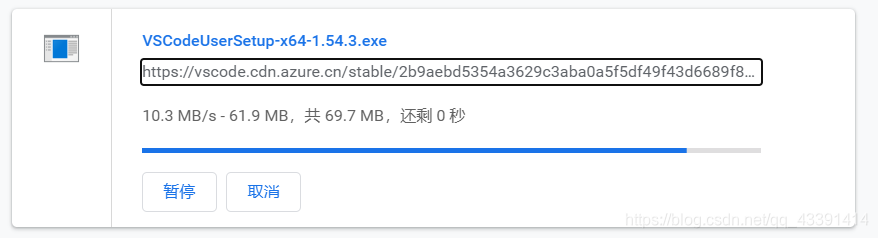
In order to speed up, we modify the box in the box to: vscode.cdn.azure.cn

That is: I have become
https://vscode.cdn.azure.cn/stable/2b9aebd5354a3629c3aba0a5f5df49f43d6689f8/VSCodeUserSetup-x64-1.54.3.exe
URL enter this (you want Replace with yours), download and take off.
3. Click Install. The installation process is very simple, just check if you want.
4. Click Finish, and vscode will automatically open.
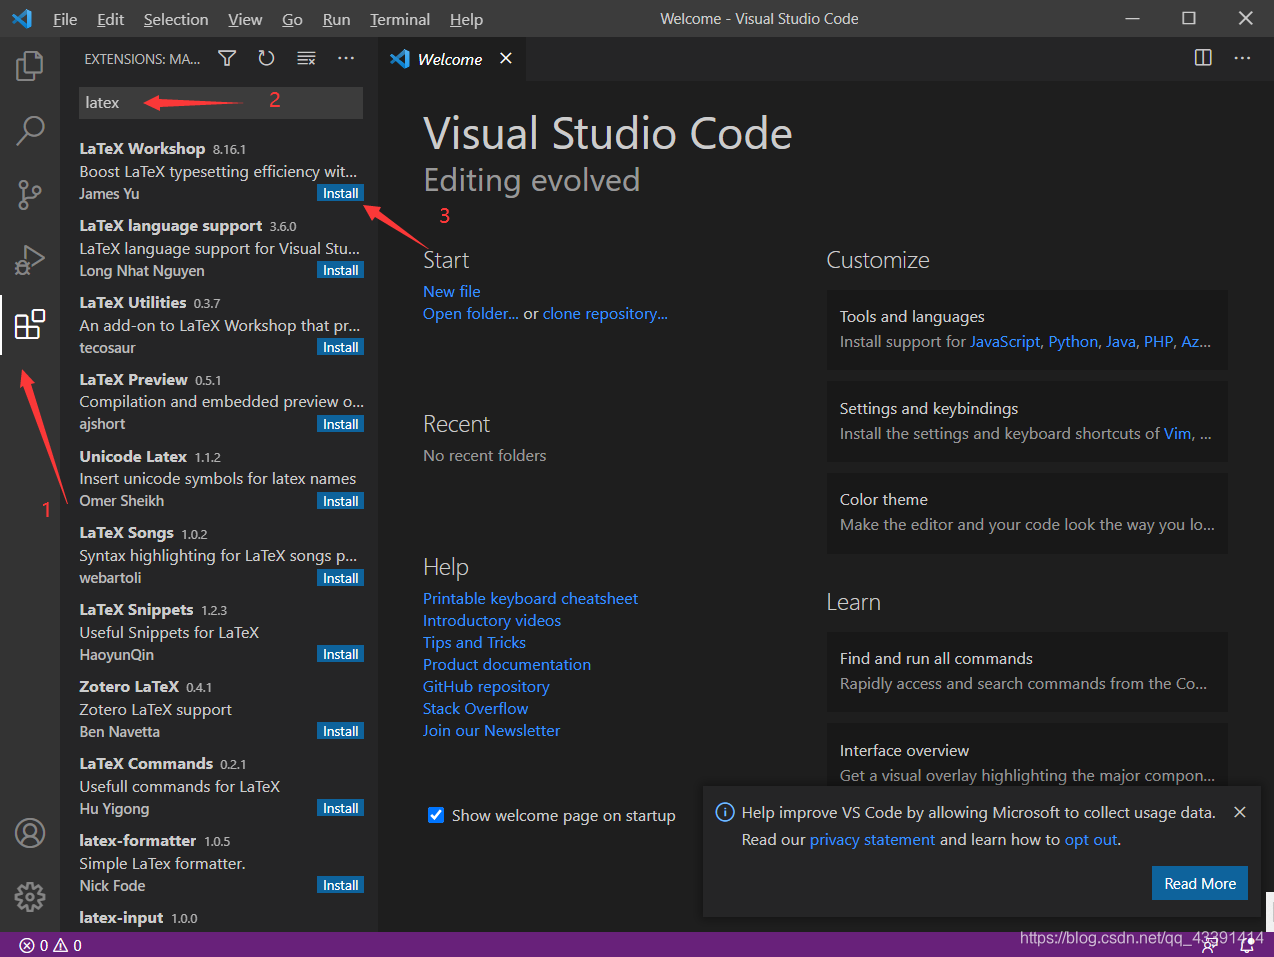
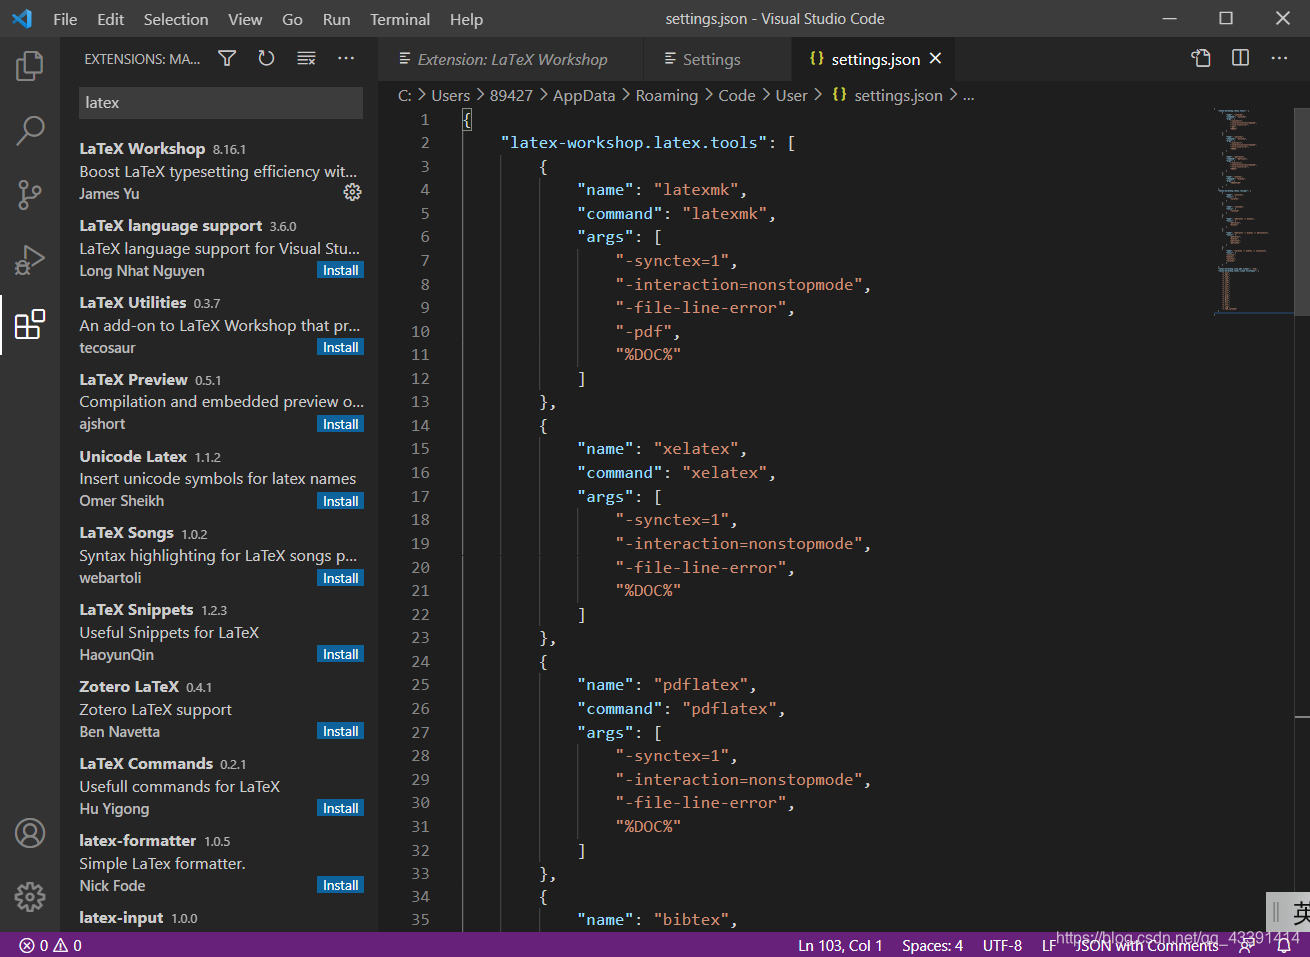
Click on the extension, search for latex, install latex workshop.
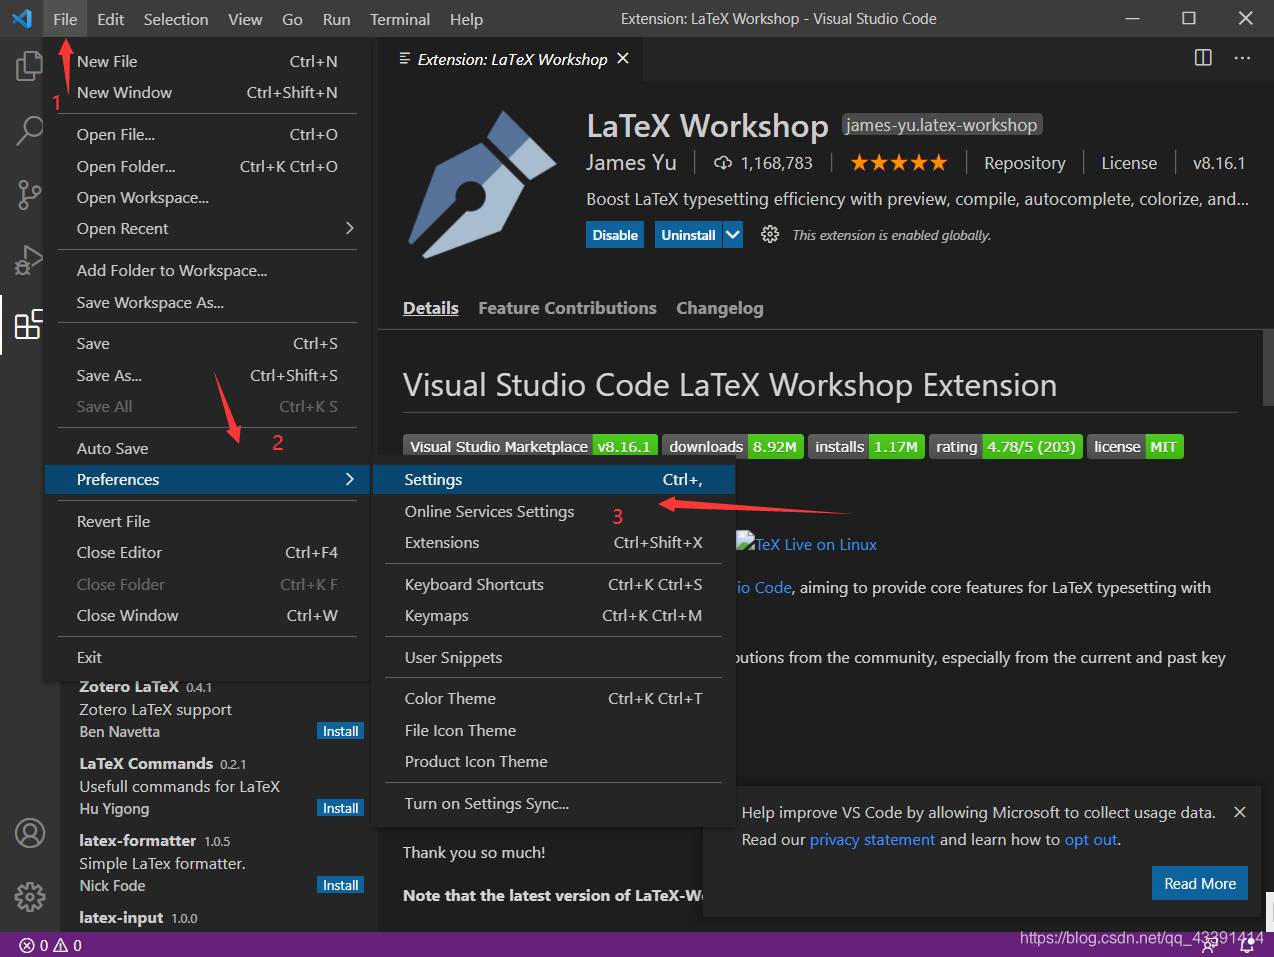
5. At this point, if you want to write a Chinese paper, continue to configure it as follows; if you only write English papers in the future, skip to step 6. However, it is also recommended to configure it because it is also very fast (I default you will configure it).
For the configuration steps, click the following one by one:
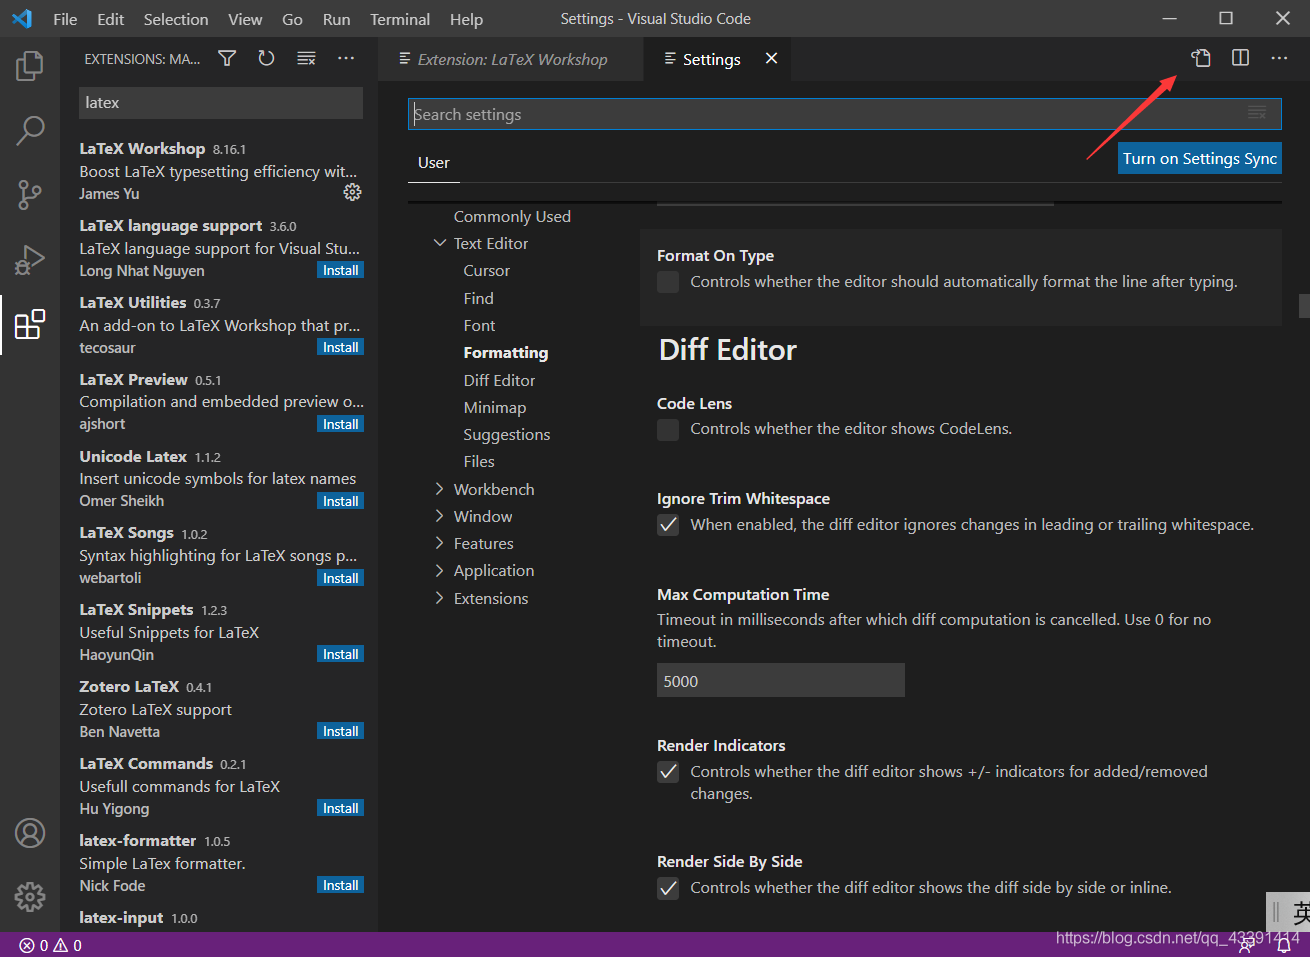
Click New Configuration.
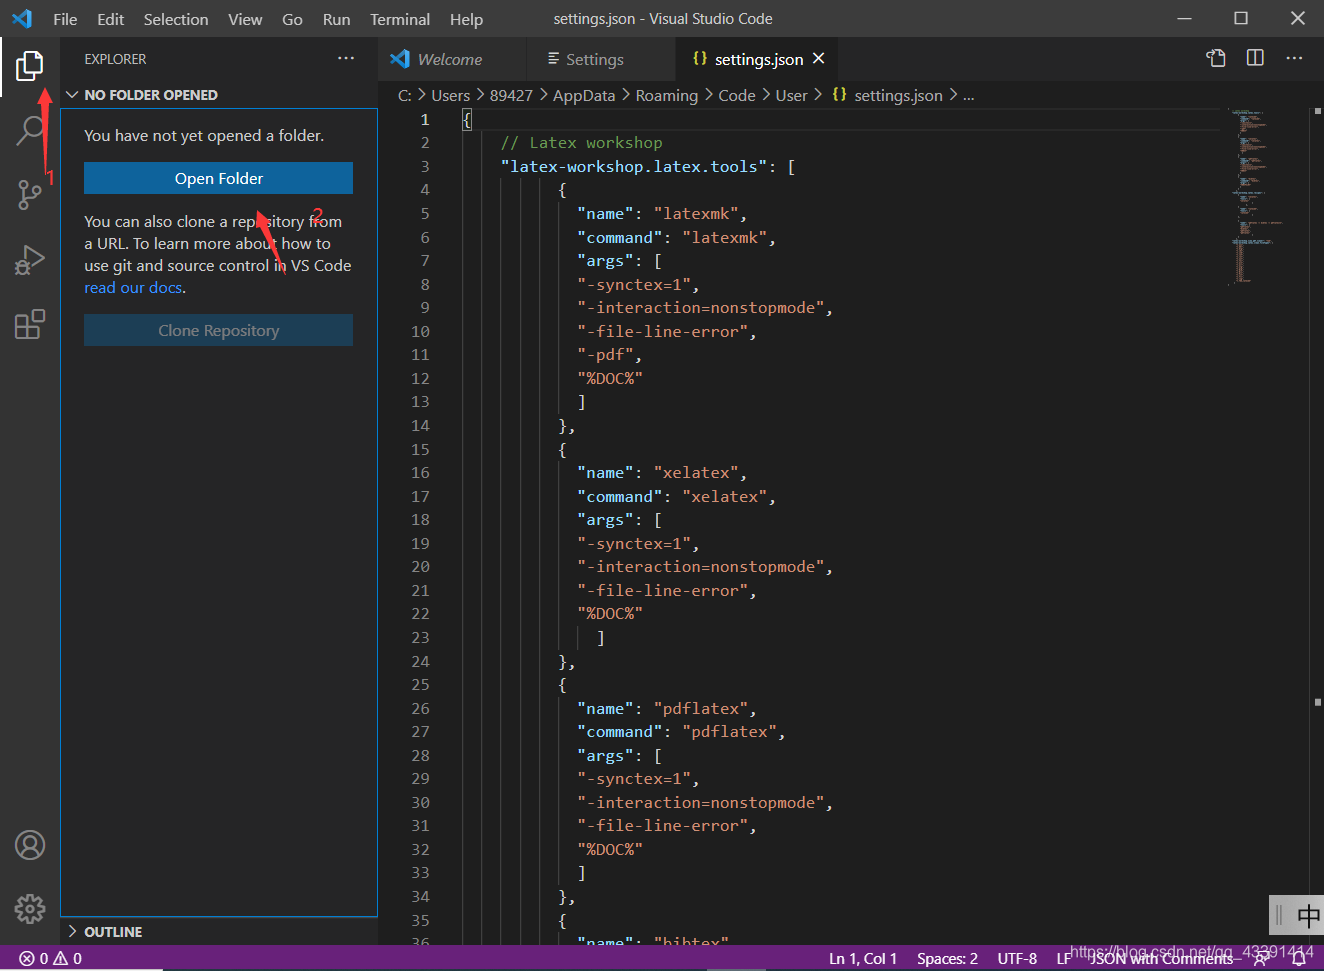
Delete all the text in that configuration file, including the braces, and copy it in below.
{


    // Latex workshop
    "latex-workshop.latex.tools": [
          {


            "name": "latexmk",
            "command": "latexmk",
            "args": [
            "-synctex=1",
            "-interaction=nonstopmode",
            "-file-line-error",
            "-pdf",
            "%DOC%"
            ]
          },
          {


            "name": "xelatex",
            "command": "xelatex",
            "args": [
            "-synctex=1",
            "-interaction=nonstopmode",
            "-file-line-error",
            "%DOC%"
              ]
          },
          {


            "name": "pdflatex",
            "command": "pdflatex",
            "args": [
            "-synctex=1",
            "-interaction=nonstopmode",
            "-file-line-error",
            "%DOC%"
            ]
          },
          {


            "name": "bibtex",
            "command": "bibtex",
            "args": [
            "%DOCFILE%"
            ]
          }
        ],
    "latex-workshop.latex.recipes": [
          {


            "name": "xelatex",
            "tools": [
            "xelatex"
                        ]
                  },
          {


            "name": "latexmk",
            "tools": [
            "latexmk"
                        ]
          },

          {


            "name": "pdflatex -> bibtex -> pdflatex*2",
            "tools": [
            "pdflatex",
            "bibtex",
            "pdflatex",
            "pdflatex"
                        ]
          }
        ],
    "latex-workshop.view.pdf.viewer": "tab",
    "latex-workshop.latex.clean.fileTypes": [
        "*.aux",
        "*.bbl",
        "*.blg",
        "*.idx",
        "*.ind",
        "*.lof",
        "*.lot",
        "*.out",
        "*.toc",
        "*.acn",
        "*.acr",
        "*.alg",
        "*.glg",
        "*.glo",
        "*.gls",
        "*.ist",
        "*.fls",
        "*.log",
        "*.fdb_latexmk"
      ]
}
ctrl+sSave.
6. Open a folder where your papers are stored.
Click New Paper and
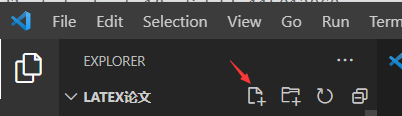
enter the name of your paper. Be sure to .texend with a suffix.

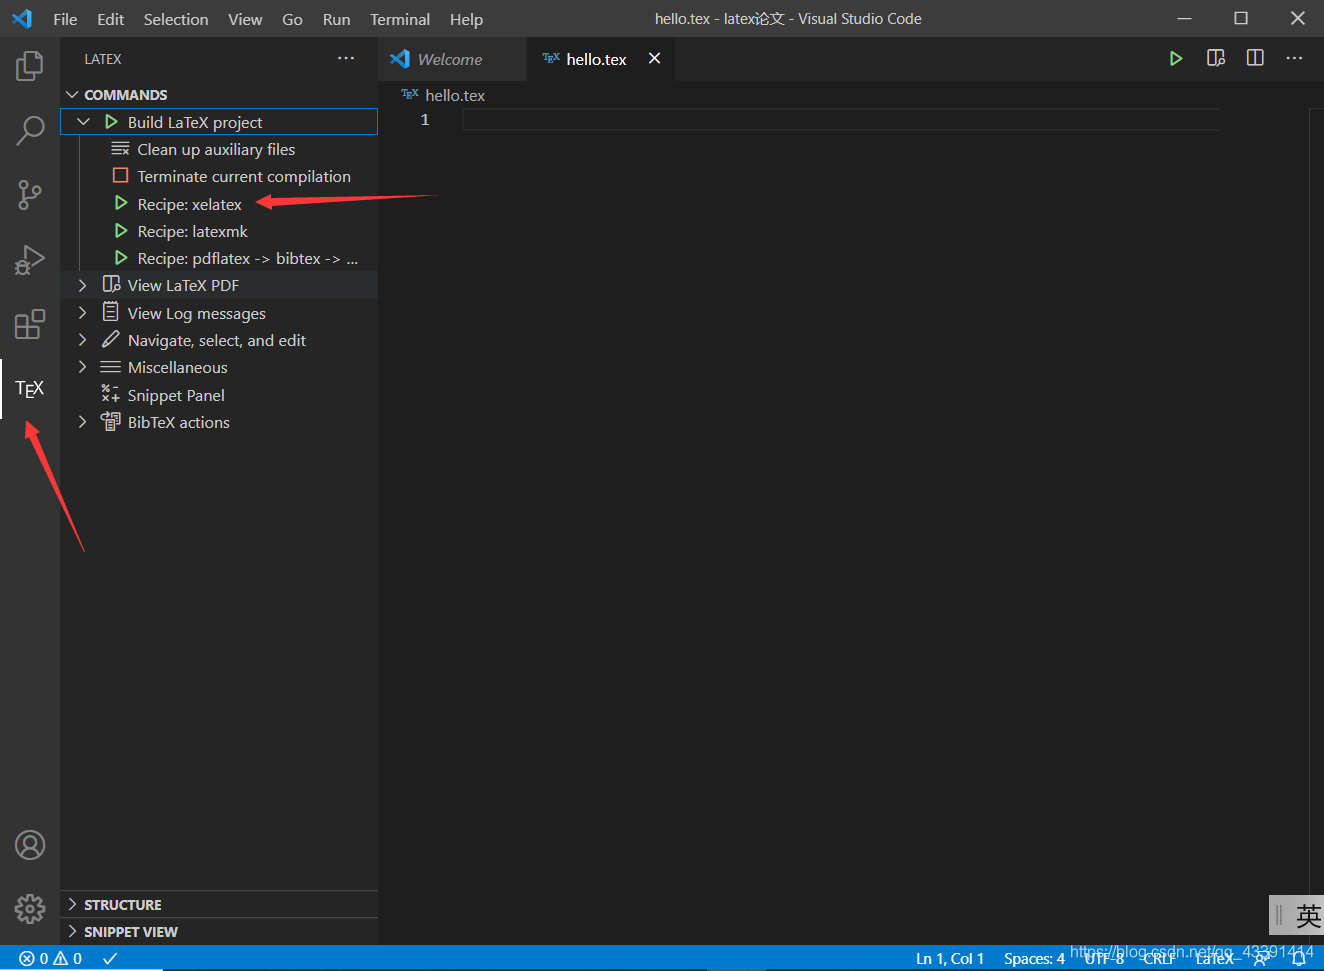
Then we found that there is an extra TEX at the bottom on the left.

Click in and you can find the following: The first default compiler xelatexsupports Chinese. If you don't have the configuration in step 5 above, it will be a different compiler, which only supports English. Now this configuration supports both Chinese and English.
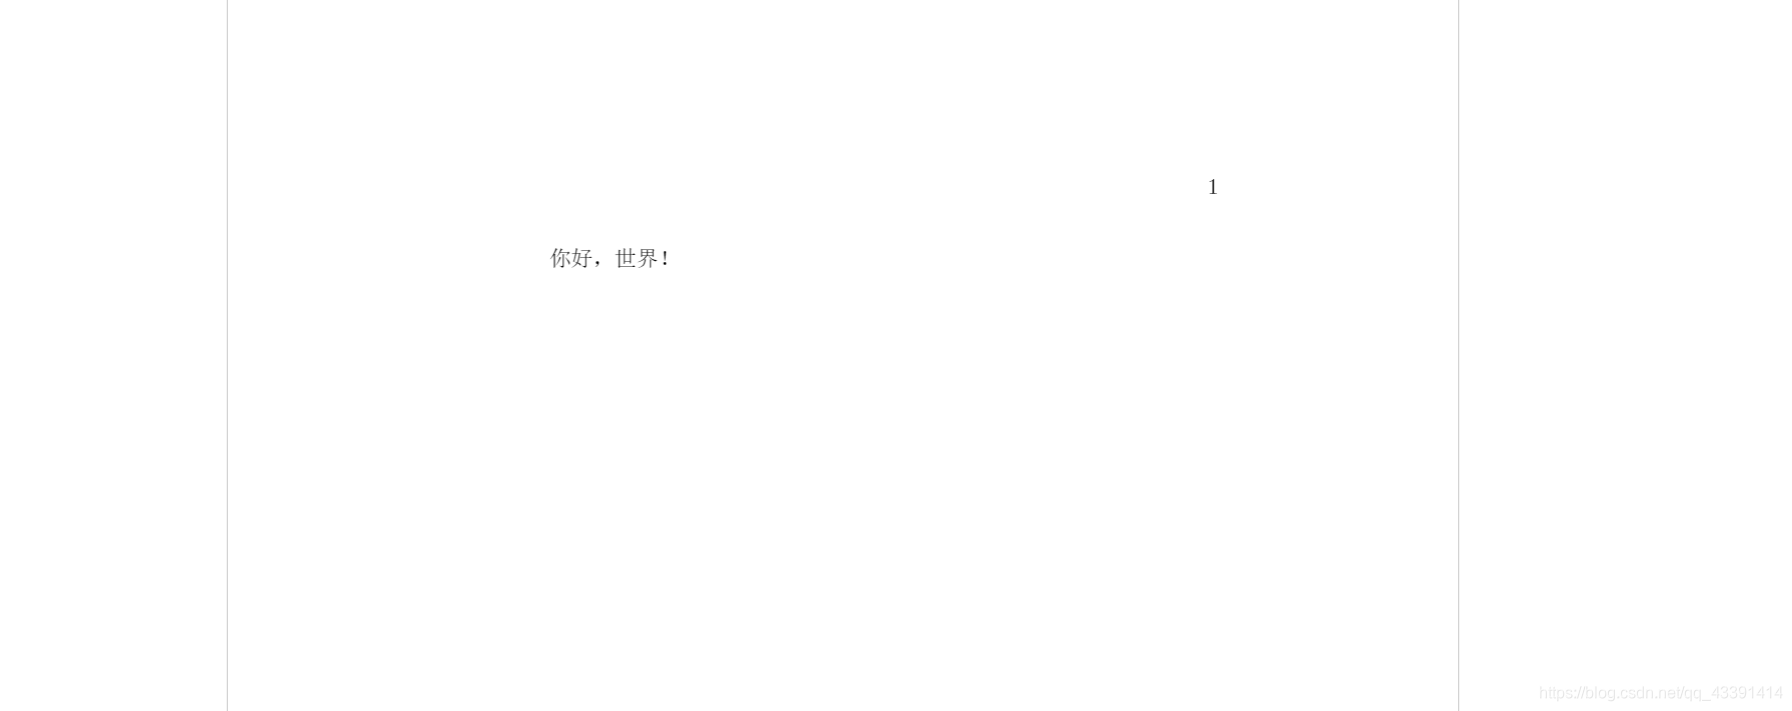
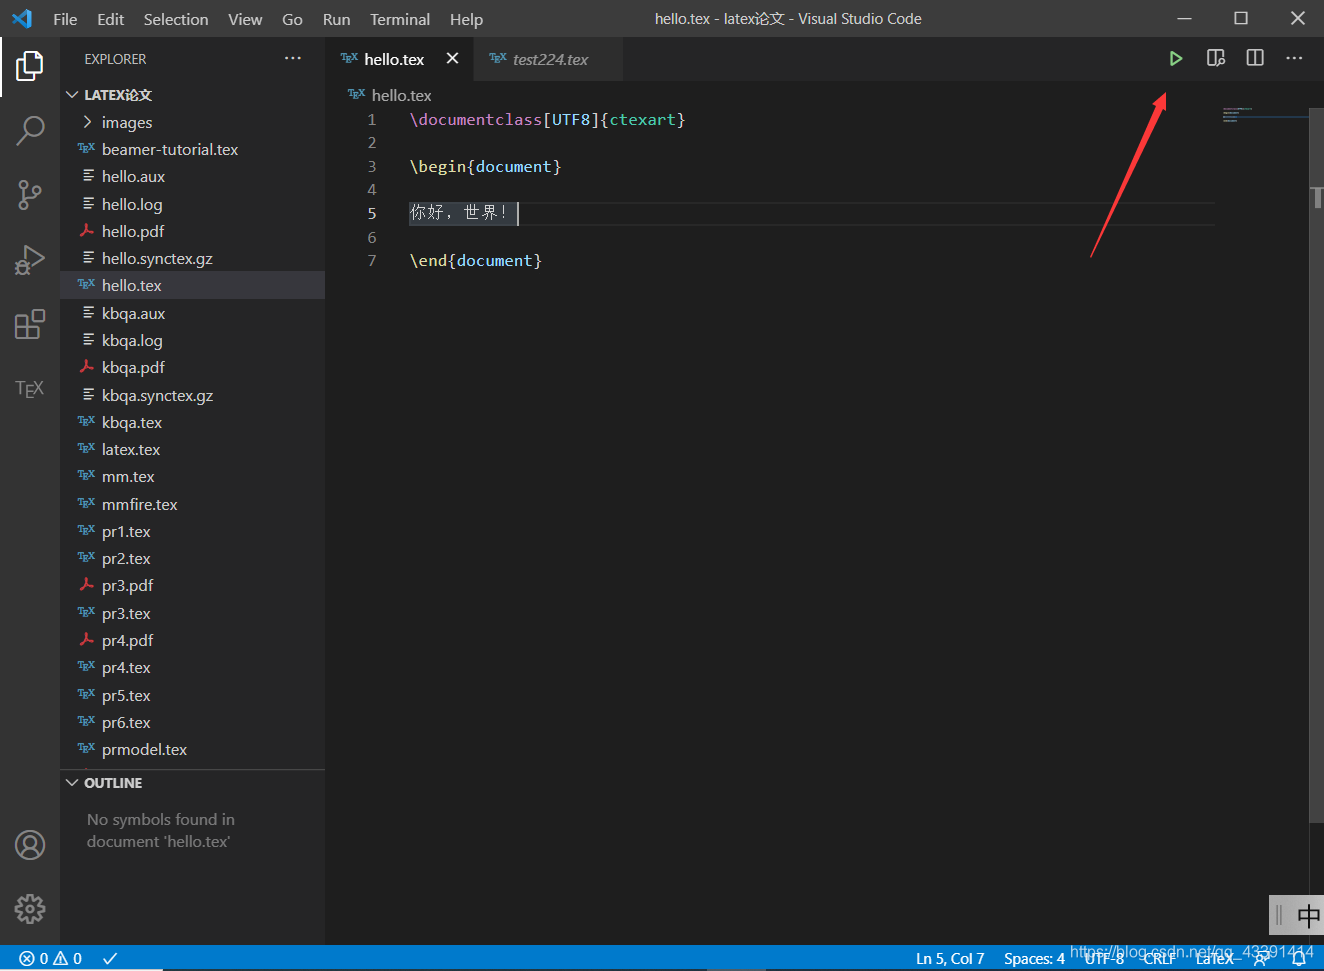
7. Write a paper and see. Copy the paper as follows:
\documentclass[UTF8]{

    ctexart}

\begin{

    document}

你好,世界!

\end{

    document}
Then click compile.
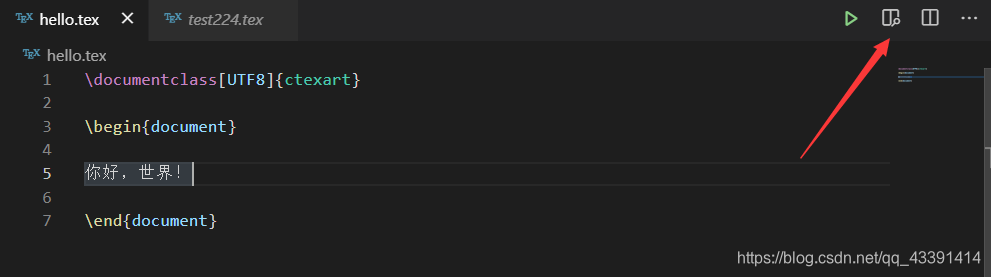
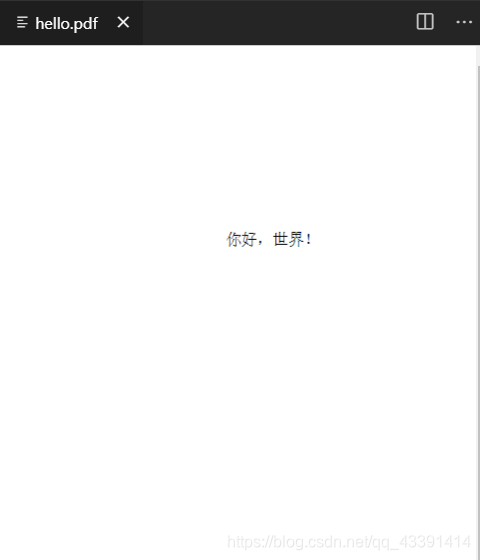
Finally, click Preview.
as follows:
Or use a browser to preview, as
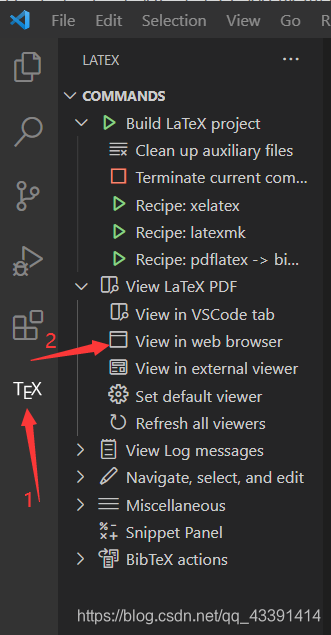
follows: