Table of contents
1. Register a WeChat developer account, create an application, and obtain AppID and AppSecret
2. Introduce WeChat SDK dependencies into the Spring Boot project
3. Configure AppID and AppSecret in the Spring Boot configuration file
4. Create a Controller to handle WeChat login requests.
5. Configure the Bean of WxMpService in the startup class
6. Provide a WeChat login button on the page, and jump to the authorization link after clicking
To use Spring Boot to implement WeChat login, you can follow the steps below:
1. Register a WeChat developer account, create an application, and obtain AppID and AppSecret
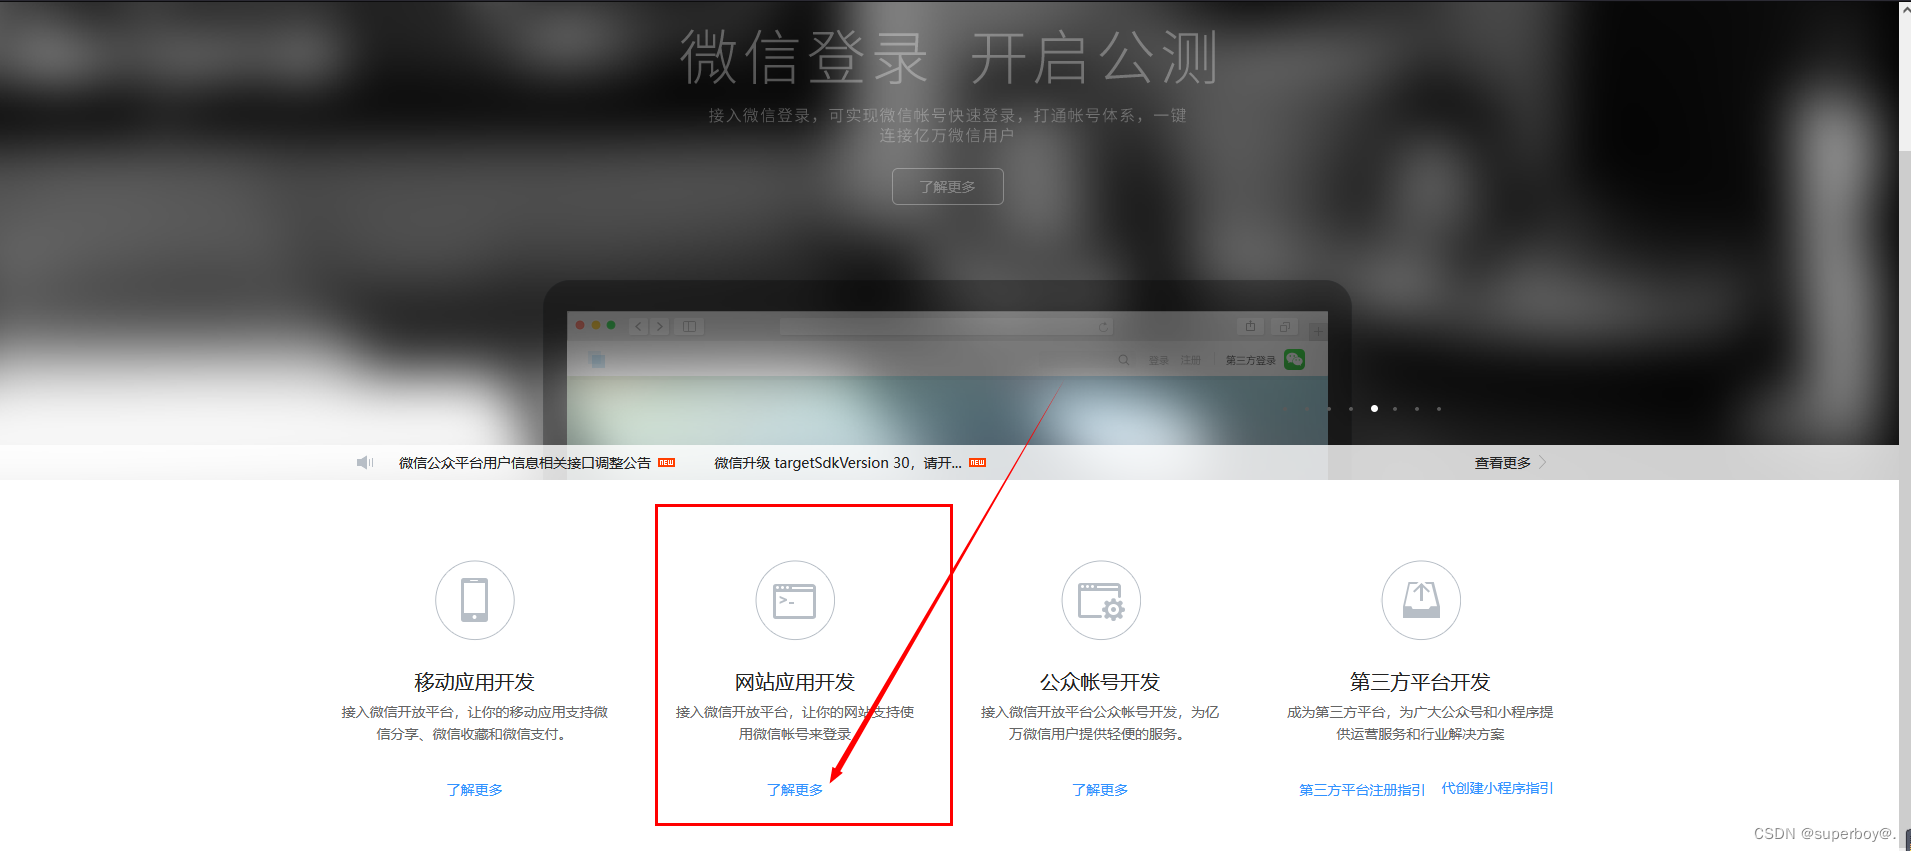
- Enter the WeChat public platform and click the "Register" button.
- Select "Register Official Account" and fill in the official account information, including official account name, official account type, developer type, etc. WeChat development platform
3. After filling in the official account information, identity authentication is required, that is, to submit the subject qualification and administrator identity certificate.
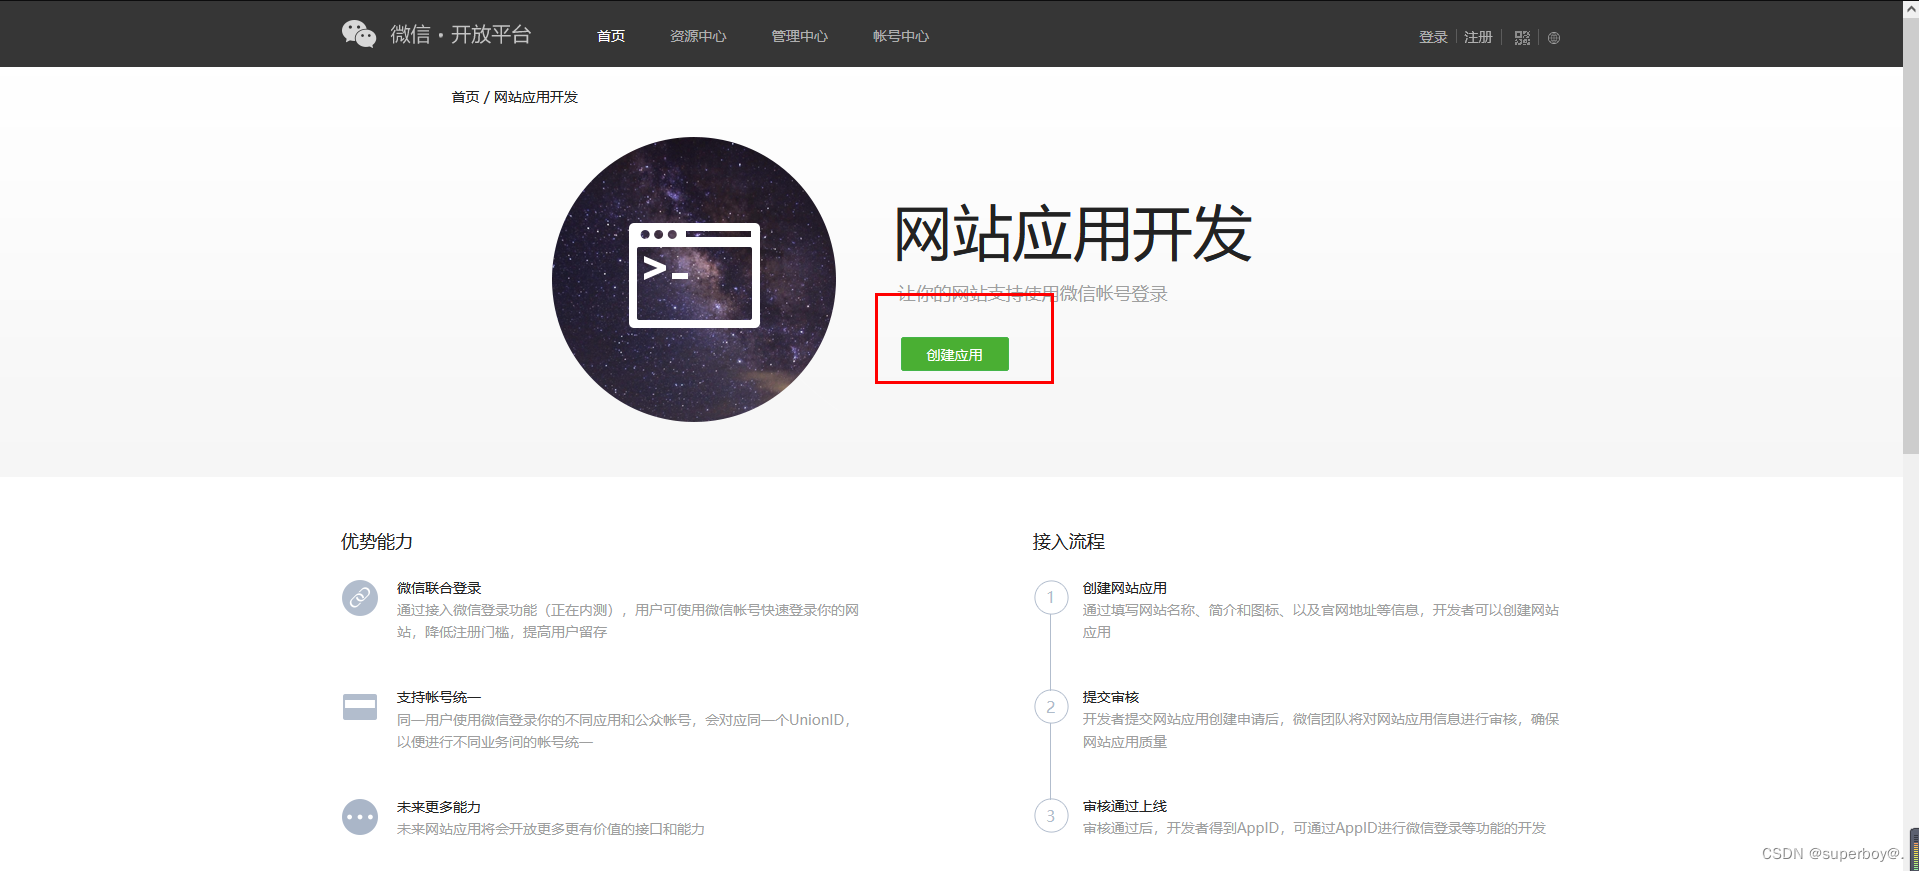
4. After passing the authentication, you can get "AppID" and "AppSecret" in the developer center, and these two parameters will be used to realize WeChat login.
2. Introduce WeChat SDK dependencies into the Spring Boot project
<dependency>
    <groupId>com.github.binarywang</groupId>
    <artifactId>weixin-java-tools</artifactId>
    <version>3.5.0</version>
</dependency>
3. Configure AppID and AppSecret in the Spring Boot configuration file
wx.appid=your_appid
wx.appsecret=your_appsecret
4. Create a Controller to handle WeChat login requests.
You can use the authorization link to guide the user to open and confirm the authorization in WeChat, and then obtain the user's OpenID and AccessToken
@RestController
public class WechatController {

    @Autowired
    private WxMpService wxService;

    @GetMapping("/login")
    public String login(@RequestParam("code") String code) throws WxErrorException {
        WxMpOAuth2AccessToken accessToken = wxService.oauth2getAccessToken(code);
        String openid = accessToken.getOpenId();
        // TODO: 处理用户登录逻辑
        return "openid: " + openid;
    }

    @GetMapping("/authorize")
    public String authorize() throws WxErrorException {
        String redirectUrl = "http://your_domain.com/login";
        String url = wxService.oauth2buildAuthorizationUrl(redirectUrl, WxConsts.OAuth2Scope.SNSAPI_USERINFO, null);
        return "redirect:" + url;
    }
}
5. Configure the Bean of WxMpService in the startup class
@SpringBootApplication
public class Application {

    @Value("${wx.appid}")
    private String appId;

    @Value("${wx.appsecret}")
    private String appSecret;

    public static void main(String[] args) {
        SpringApplication.run(Application.class, args);
    }

    @Bean
    public WxMpService wxMpService() {
        WxMpService wxMpService = new WxMpServiceImpl();
        WxMpDefaultConfigImpl config = new WxMpDefaultConfigImpl();
        config.setAppId(appId);
        config.setSecret(appSecret);
        wxMpService.setWxMpConfigStorage(config);
        return wxMpService;
    }
}
6. Provide a WeChat login button on the page, and jump to the authorization link after clicking
<a href="/authorize">微信登录</a>After the user clicks the WeChat login button, it will be directed to the WeChat authorization page. After confirming the authorization, it will be redirected to the /login interface, which will obtain the user's OpenID and AccessToken and process the login logic.