Article directory
1. Installation and use of lombok
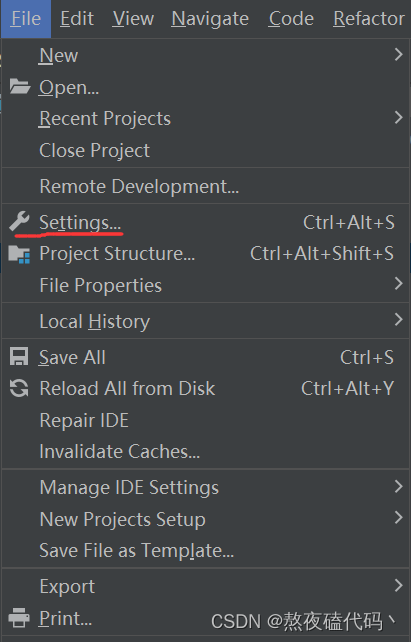
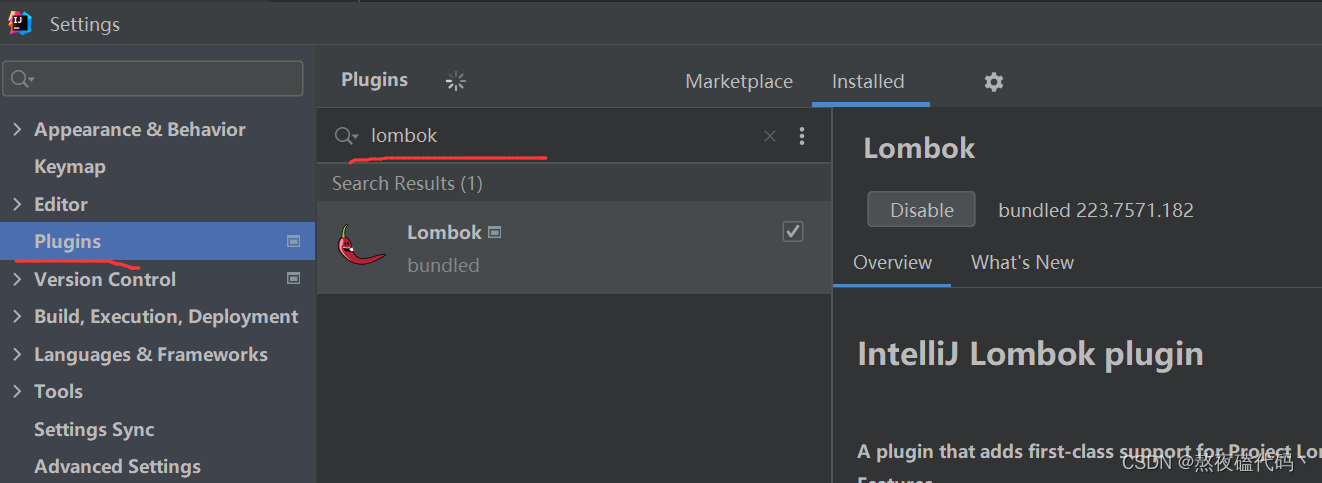
The lombok plugin can provide us with some comments, which can help us eliminate a lot of redundant code in the Java code, and make our Java classes look very clean and tidy 1. Install the lombok
plugin
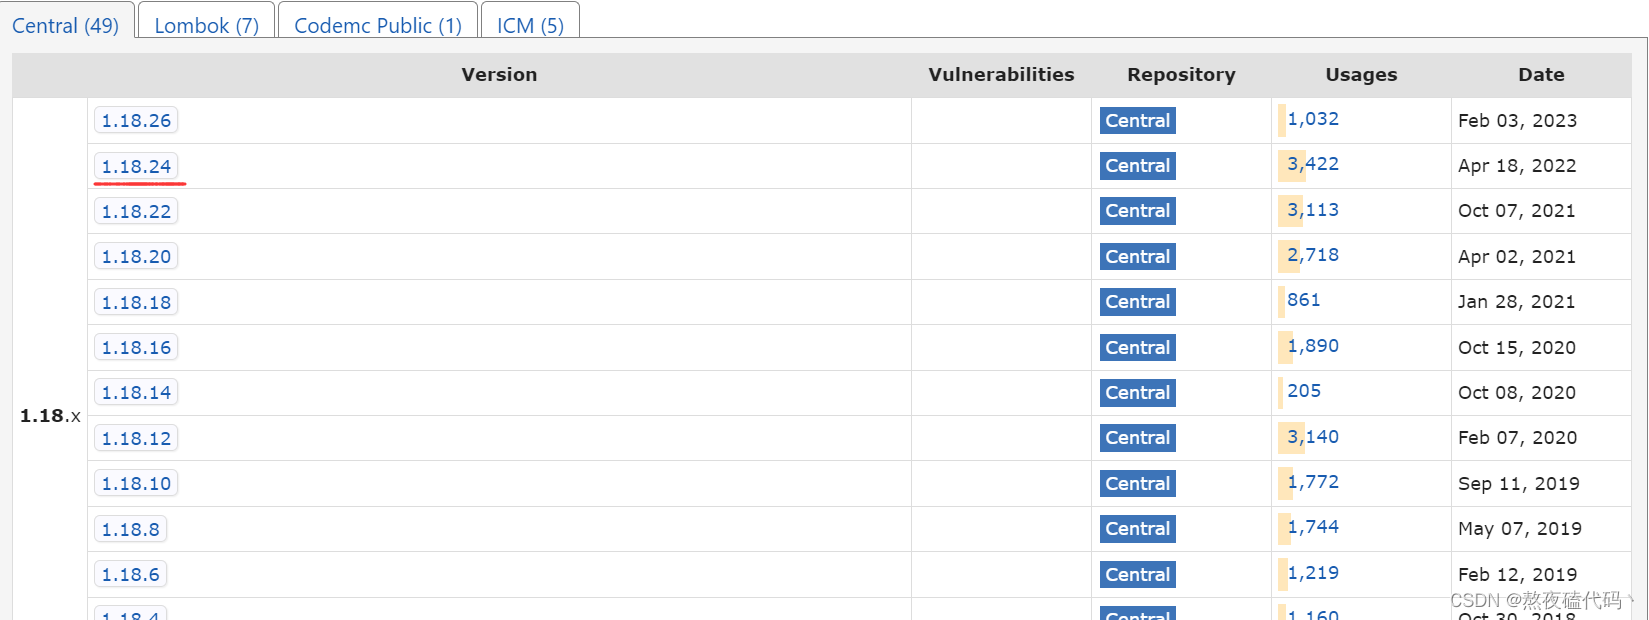
2.pom.xml import dependencies
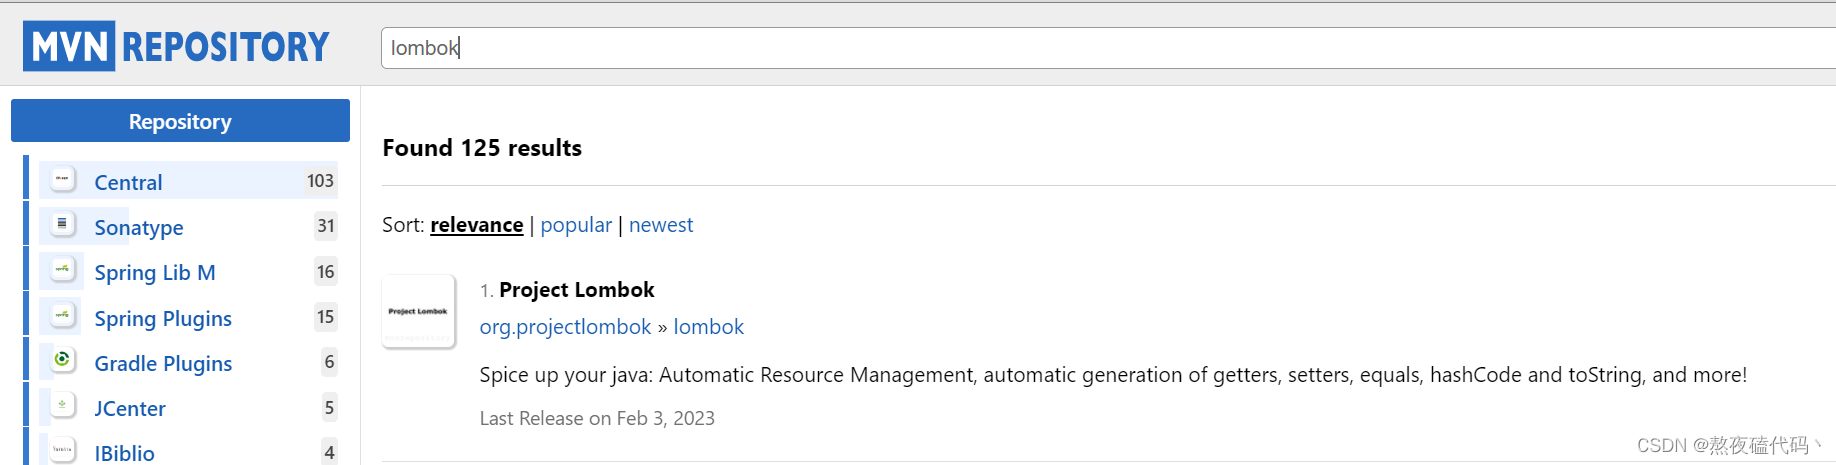
<!-- https://mvnrepository.com/artifact/org.projectlombok/lombok -->
<dependency>
    <groupId>org.projectlombok</groupId>
    <artifactId>lombok</artifactId>
    <version>1.18.24</version>
    <scope>provided</scope>
</dependency>
3. Basic use
We create a simple User entity class
public class User {


    private int id;
    private String name;
    private String password;
}
If we manually add setter+getter, toString, etc. to the class, if there are many attributes, the code looks very redundant, we can use the annotations provided by lombok to help us automatically generate the following are our lombok annotations,
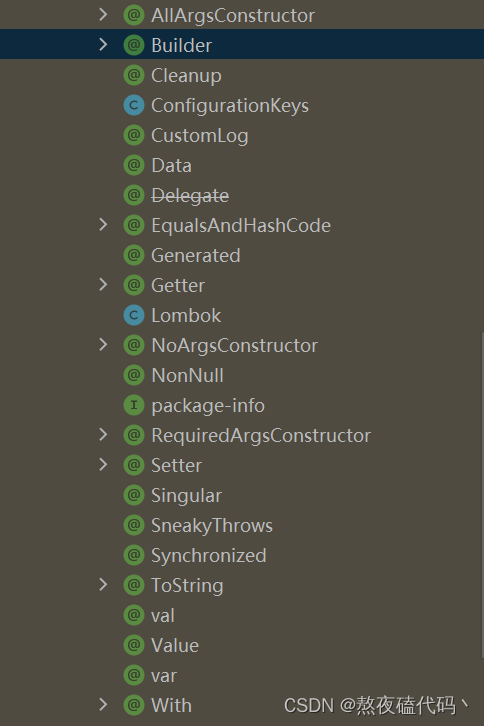
we Here are some commonly used annotations:
| annotation | effect |
|---|---|
| @Data | Provide methods such as getting, setting, hashCode, equals, toString, etc. for all properties |
| @Value | In addition to setting the variables as final |
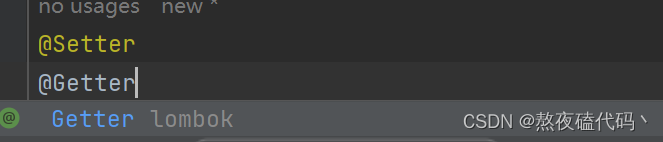
| @Setter | Automatically generate setting method |
| @Getter | Automatically generate getting method |
| @ToString | Automatically override the toString method |
| @EqualsAndHashCode | Automatically generate equals and hashCode methods |
| @NoArgsConstructor | generate no-argument constructor |
| @AllArgsConstructor | generate a constructor with all parameters, excluding no-argument constructors |
| @RequireArgsConstructor | Generate a constructor with specific parameters, specific parameters refer to final modified variables |
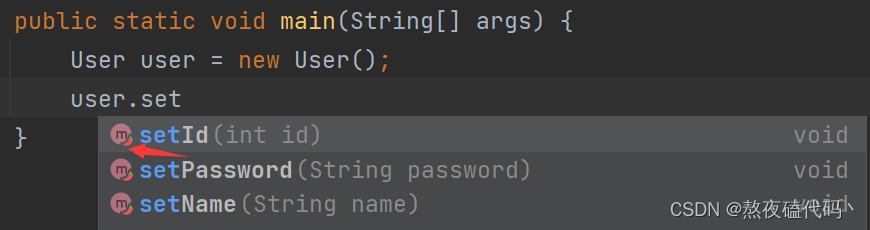
At this time, we did not write the setter method, but added the corresponding annotations. Lombok will help us complete it. We can see that there is a logo in the lower right corner of the set method. The above is the function demonstration of lombok
Two, Spring scope
Spring scope: The scope of Spring is used to control the scope and life cycle of Bean instance creation. Different scopes can be selected according to specific situations to achieve performance optimization, resource utilization maximization and maintainability.
Spring Bean scope (Scope):
1. singleton: singleton mode. There will only be one shared Bean instance in the Spring IoC container, no matter how many Beans refer to it, it will always point to the same object. Singleton scope is the default scope in Spring, and Bean can also be defined as singleton mode
2.prototype: prototype mode. Every time the Bean defined by the prototype is obtained through the Spring container, the container will create a new Bean instance, each Bean instance has its own properties and state, and the singleton has only one object globally 3.request: request mode
. In one HTTP request, the container will return the same instance of the bean, but in different requests a new instance will be created. Only applicable to WebApplicationContext environment
4.session: session mode. In the same HTTP Session, each Bean definition corresponds to an instance. Only applicable to WebApplicationContext environment
5.global session: global session mode. Only valid when using the Portlet context, indicating that all Portlets in the entire Web application share the same Bean instance, only applicable to the WebApplicationContext environment
6.websocket: network long connection, only applicable to Spring WebSocket projects
We can set the Spring Bean scope in two ways:
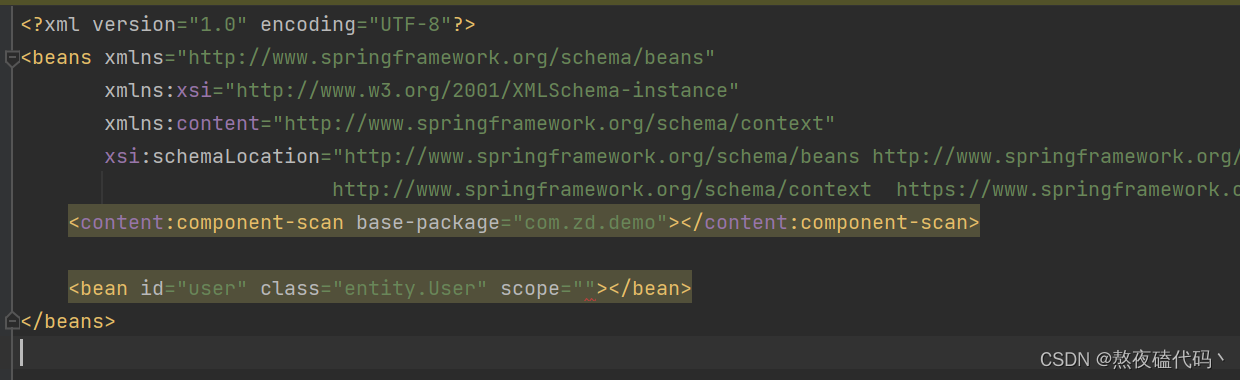
1. Manually set the scope in the xml configuration file.

Because we are an ordinary Spring project here, there are only two scope types.
2. Use annotations to set the scope.

Our Scope annotation can also pass Entering another parameter form

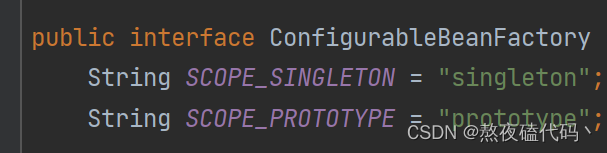
ConfigurableBeanFactory class provides us with static properties to prevent us from manual input errors
Let's take a look at the difference between singleton and prototype:
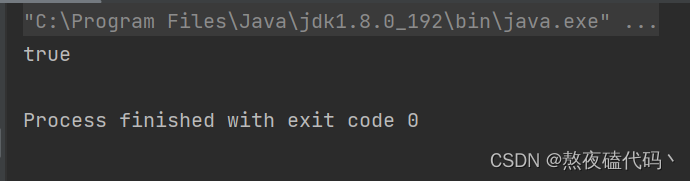
singleton:
public static void main(String[] args) {


        ApplicationContext context =
                new ClassPathXmlApplicationContext("spring-config.xml");
        //singleton作用域下
        User user1 = context.getBean("user",User.class);
        User user2 = context.getBean("user",User.class);
        System.out.println(user1 == user2);
    }
prototype:
public static void main(String[] args) {


        ApplicationContext context =
                new ClassPathXmlApplicationContext("spring-config.xml");
        //prototype作用域下
        User user1 = context.getBean("user",User.class);
        User user2 = context.getBean("user",User.class);
        System.out.println(user1 == user2);
    }
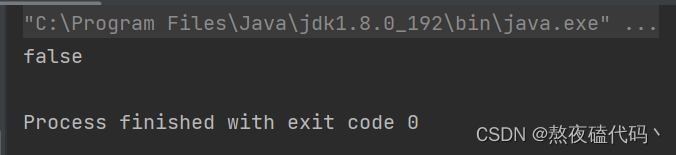
We can find that our singleton gets the same object every time, and the prototype will create a new object every time it gets
Two, Bean principle analysis
Implementation process
1. First start the container and load the configuration file 2. Complete the Bean initialization according

to the configuration file Controller, Service, @Component, @Repository), and then initialize the Bean we wrote manually 4. Assembling Bean properties If the Bean object needs other Beans as properties, you can use annotations to inject (@Autowired, Resource) Bean execution process: Start the container -> Instantiate the Bean (allocate space) -> Register the Bean in the Spring container (save the object) -> Assemble the Bean into the required class (take the object)
Bean life cycle
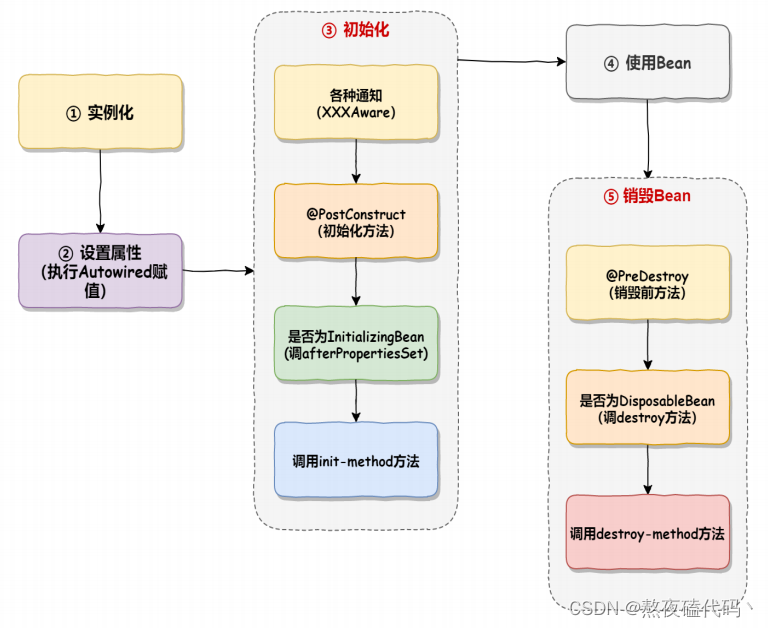
The life cycle of a Spring Bean is from the moment the Bean is instantiated, that is, after the object is created through reflection, until the Bean becomes a complete object, and finally stored in the singleton pool. This process is called the life cycle of the Spring Bean, which is roughly divided into There are 5 stages:
1. Instantiation stage: The Spring framework will take out the BeanDefinition information to judge whether the Bean scope is singleton, whether it is lazy-init, whether it is FactoryBean, etc., and finally the Bean is instantiated through reflection
2 .Set properties: Bean injection and assembly
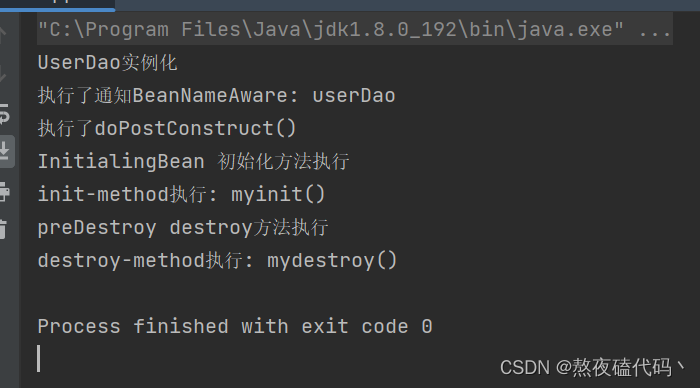
3. Bean initialization phase:
Execute Aware interface methods, such as BeanNameAware, BeanFactoryAware, ApplicationContextAware interface methods
Execute BeanPostProcessor method (before)
Execute @PostConstruct initialization method
Line InitializingBean interface initialization method
Execute customization The specified init-method method
executes BeanPostProcessor initialization post method (after)
4. Use Bean
5. Destroy Bean
execute PreDestroy, DisposableBean interface method
execute destroy-method method
The Bean initialization process sets up the following processes:
1. Bean instance property filling
2. Aware interface property injection 3.
BeanPostProcessor before() method callback
4. Execute @PostConstruct initialization method
5. InitializingBean interface initialization method callback
6. Customization Callback of initialization method init
7. After() method callback of BeanPostProcessor