Table of contents
3--Common classes Interface and Blocks
1--Configure Gradio
Install Gradio using pip:
pip install gradio2--Hello World case
2-1--Basic use
import gradio as gr

def greet(name):
    return "Hello " + name + "!"

demo = gr.Interface(fn=greet, inputs="text", outputs="text")

demo.launch(share = True) 

The class gr.Interface() can contain any Python function, which is initialized with the following three required parameters:
① fn: the packaged Python function, that is, the greet() function in the above example;
② inputs: components used for input, which can be "text", "image" or "audio", in the above example it is "text";
③ outputs: the component used for output, which can be "text", "image" or "audio", in the above example it is "text";
Run the defined class object through launch(), the running result includes two urls, the first local url can be opened and run locally; the second public url needs to be generated by setting share = True, and can be used to share on other machines open and run on
2-2--Advanced use
The input component inputs can be refined through gr.Textbox(). Here, the number of lines in the input box is set to 2, and the prompt word is Name Here...;
import gradio as gr

def greet(name):
    return "Hello " + name + "!"

demo = gr.Interface(
    fn=greet,
    inputs=gr.Textbox(lines=2, placeholder="Name Here..."),
    outputs="text",
)
demo.launch(share = True)

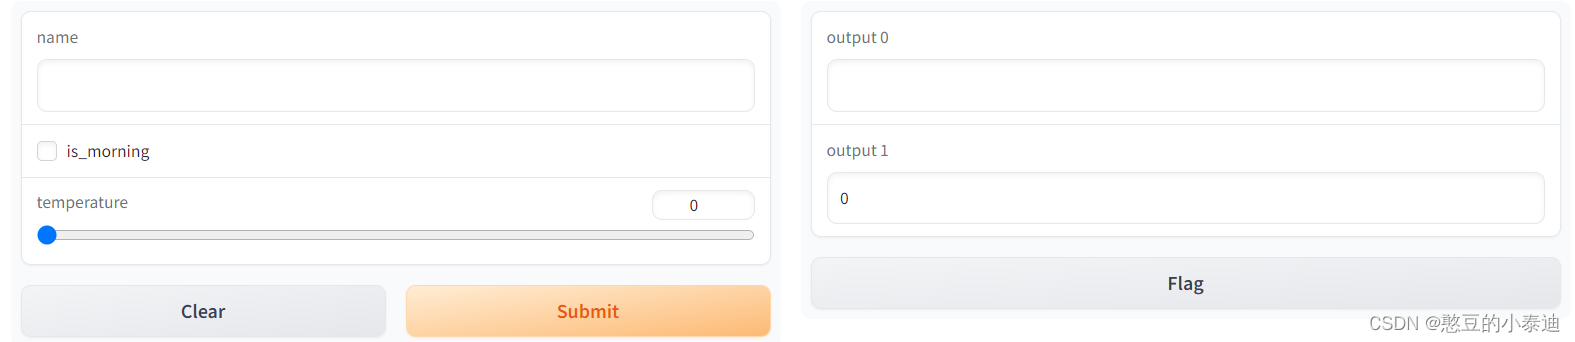
Multiple input and output can be set to achieve more complex functions. The following function sets three inputs and two outputs; the three inputs are string (string), boolean (Boolean) and number (value); two outputs Respectively string and number types;
The function of the function: input name, judge whether the greeting is moring or evening according to the Boolean input is_morning, and convert the input number Fahrenheit temperature to Celsius temperature (Celsius);
import gradio as gr

def greet(name, is_morning, temperature):
    salutation = "Good morning" if is_morning else "Good evening"
    greeting = f"{salutation} {name}. It is {temperature} degrees today"
    celsius = (temperature - 32) * 5 / 9
    return greeting, round(celsius, 2)

demo = gr.Interface(
    fn=greet,
    inputs=["text", "checkbox", gr.Slider(0, 100)],
    outputs=["text", "number"],
)
demo.launch(share = True)
3--Image case
Gradio supports types such as Image, DataFrame, Video, or Label. The following is a simple image example:
import numpy as np
import gradio as gr

def sepia(input_img):
    sepia_filter = np.array([
        [0.393, 0.769, 0.189],
        [0.349, 0.686, 0.168],
        [0.272, 0.534, 0.131]
    ])
    sepia_img = input_img.dot(sepia_filter.T)
    sepia_img /= sepia_img.max()
    return sepia_img

demo = gr.Interface(sepia, gr.Image(shape=(200, 200)), "image")
demo.launch()
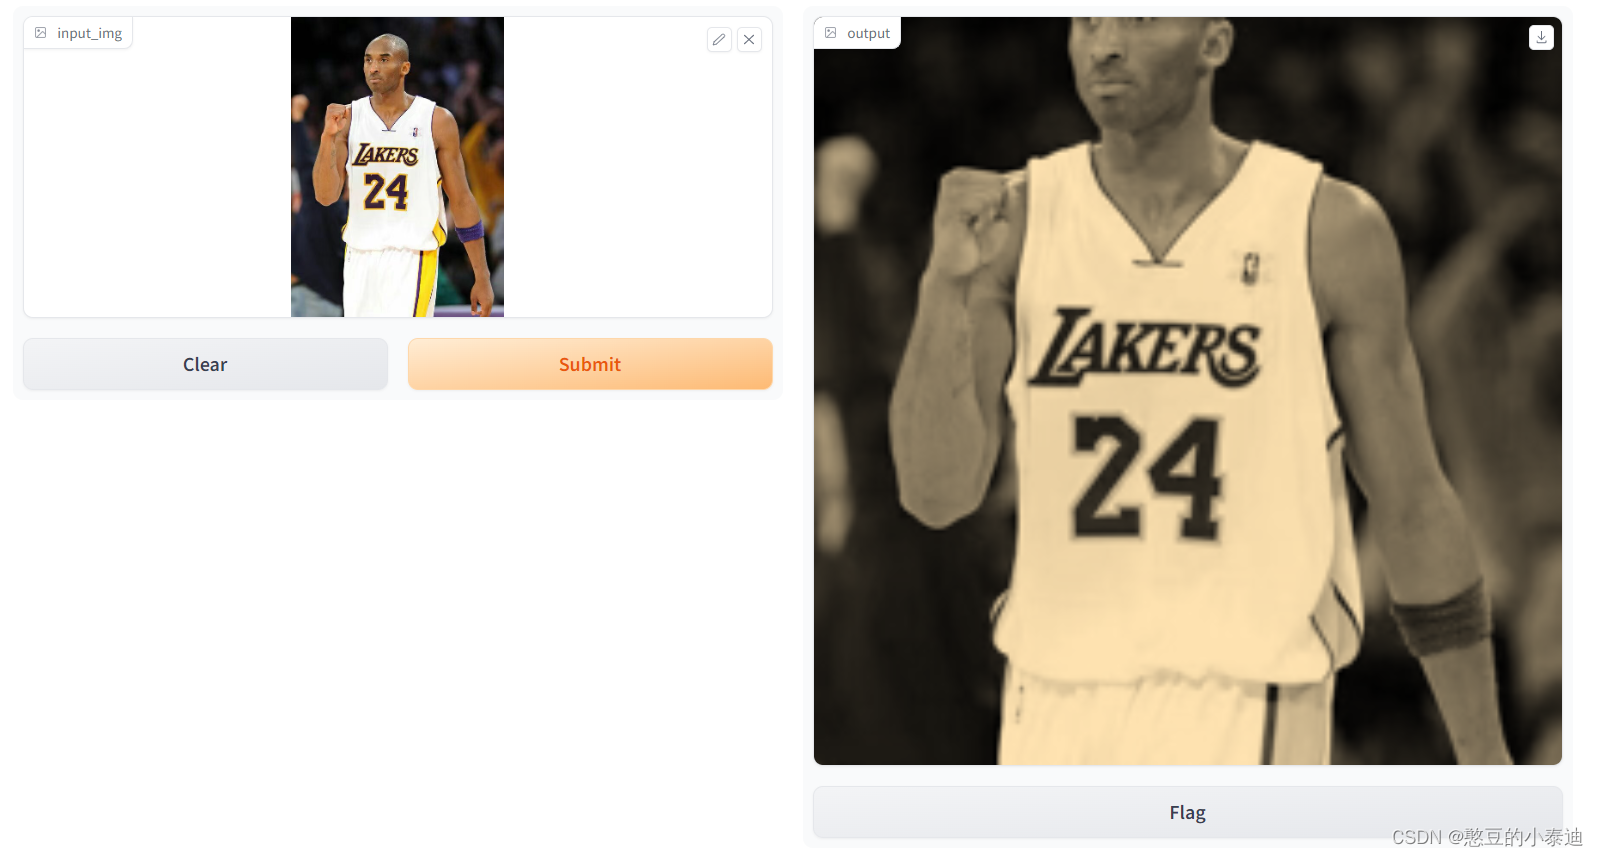
The function of the above code is to perform sepia filtering on the input image; the input and output components are both Image, and the input component sets its shape through gr.Image(), which will crop or resize the input image; the actual input It is a numpy array of (w, h, 3), 3 means RGB, and can also be specified by gr.Image(type="filepath", shape=(200, 200)) not to be directly converted into a numpy array;
import cv2
import numpy as np
import gradio as gr

def sepia(input_img):
    input_img = cv2.imread(input_img)
    sepia_filter = np.array([
        [0.393, 0.769, 0.189],
        [0.349, 0.686, 0.168],
        [0.272, 0.534, 0.131]
    ])
    sepia_img = input_img.dot(sepia_filter.T)
    sepia_img /= sepia_img.max()
    return sepia_img

demo = gr.Interface(sepia, gr.Image(type="filepath", shape=(200, 200)), "image")
demo.launch()
The above code sets gr.Image(type="filepath"), which will not automatically convert the input image into a numpy array, and needs to use a third-party library such as opencv to convert the image into a numpy array;
3--Common classes Interface and Blocks
The above cases all use the Interface class with a high degree of encapsulation, which limits free play to a certain extent; Gradio provides the Blocks class that supports flexible layout and data flow, which is less abstract than the Interface class, but has a higher degree of free development;
import gradio as gr

def greet(name):
    return "Hello " + name + "!"

with gr.Blocks() as demo:
    name = gr.Textbox(label="Name")
    output = gr.Textbox(label="Output Box")
    greet_btn = gr.Button("Greet")
    greet_btn.click(fn=greet, inputs=name, outputs=output, api_name="greet")

demo.launch()
The above case defines a button greet_btn. When the button is clicked, the greet function will be executed. The input and output of the function are both gr.Textbox() type, that is, the string type, and its label indicates the name of the box respectively;
The above case can be compared to the use of the slot function in QT. The button is bound to a greet slot function, and when clicked, the content of the corresponding slot function will be executed;

import numpy as np
import gradio as gr

def flip_text(x):
    return x[::-1]

def flip_image(x):
    return np.fliplr(x)

with gr.Blocks() as demo:
    gr.Markdown("Flip text or image files using this demo.") # 使用 Markdown 输出一句话
    with gr.Tab("Flip Text"): # 新建一个 Tab
        text_input = gr.Textbox()
        text_output = gr.Textbox()
        text_button = gr.Button("Flip")
    with gr.Tab("Flip Image"): # 新建一个 Tab
        with gr.Row(): # 同一行排列
            image_input = gr.Image()
            image_output = gr.Image()
        image_button = gr.Button("Flip")

    with gr.Accordion("Open for More!"): # 可折叠的组件
        gr.Markdown("Look at me...")

    text_button.click(flip_text, inputs=text_input, outputs=text_output) # 按钮绑定相应的槽函数
    image_button.click(flip_image, inputs=image_input, outputs=image_output) # 按钮绑定相应的槽函数

demo.launch()
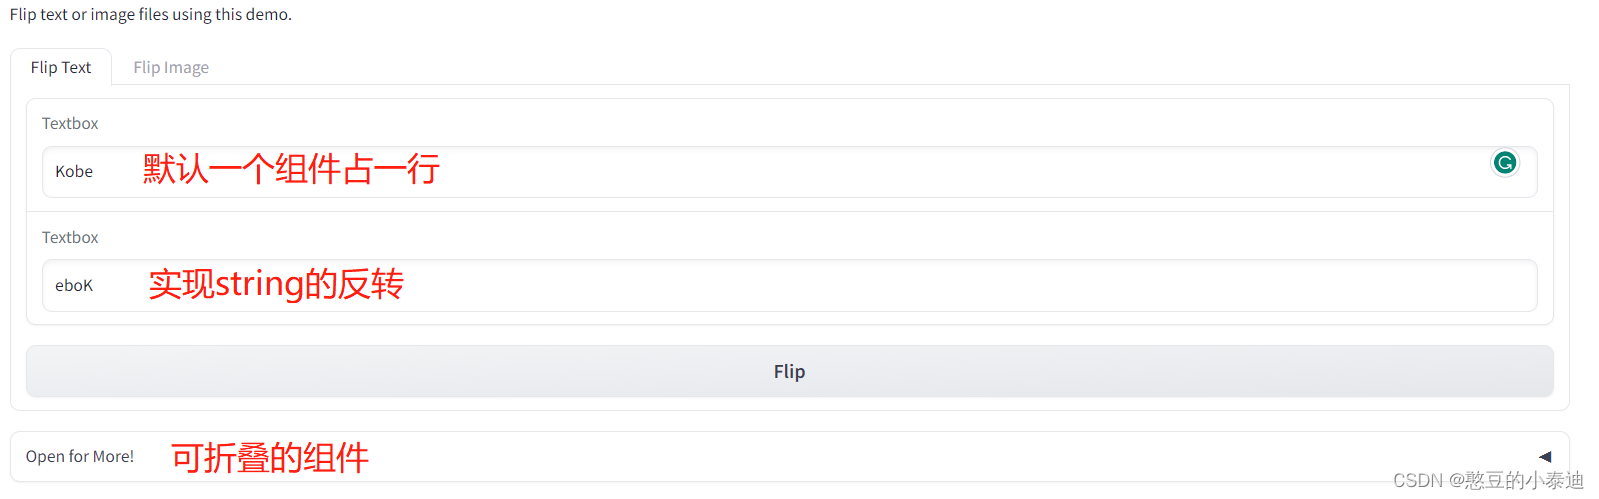
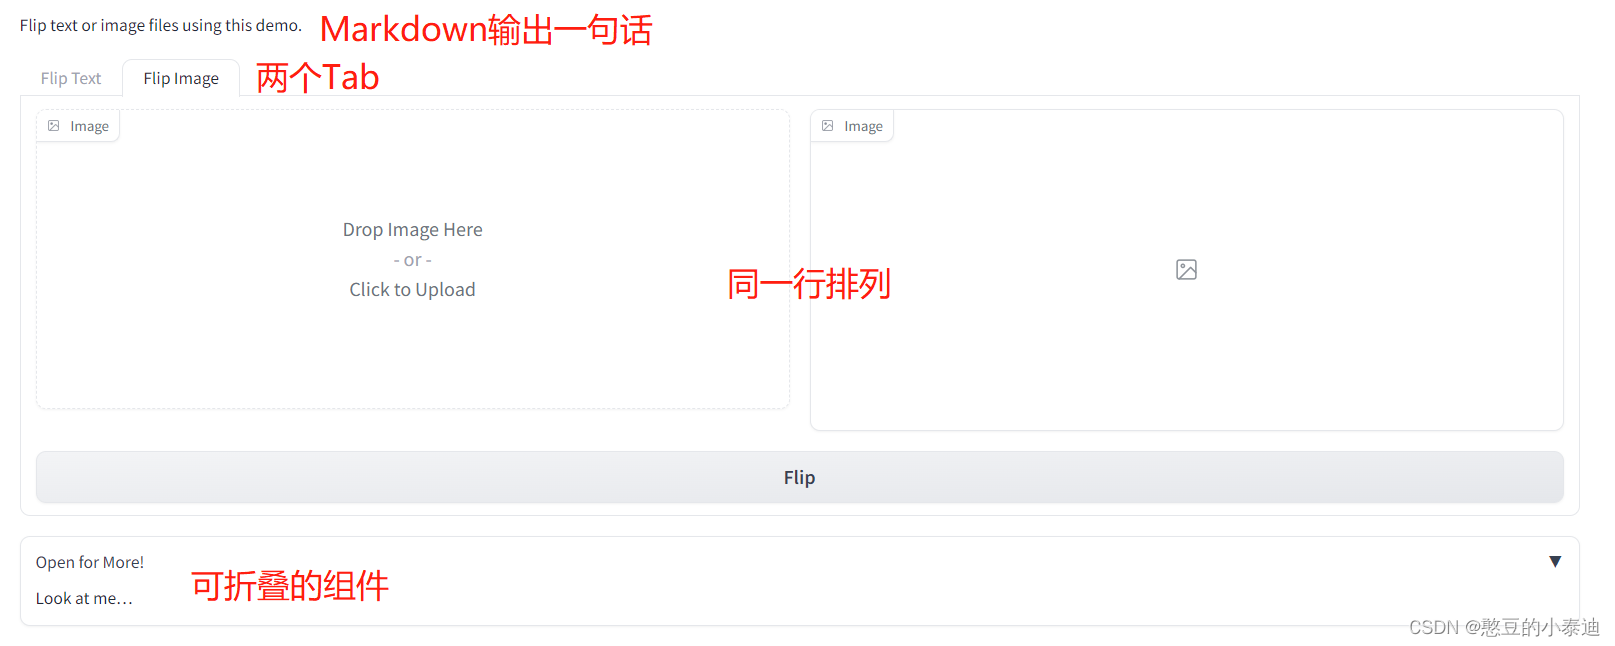
The above case uses gr.Tab() to create two Tabs. In the first Tab, one component occupies a row by default. In the second Tab, use gr.Row() to set two Image components to be arranged in the same row;
The case uses gr.Markdown() to output a sentence, and uses gr.Accordion() to set a collapsible component;
The function of the above case is to realize the inversion of the input Text, and realize the left and right inversion of the input Image ;