Preparation
First prepare more than two servers, and record the IP address and host name.
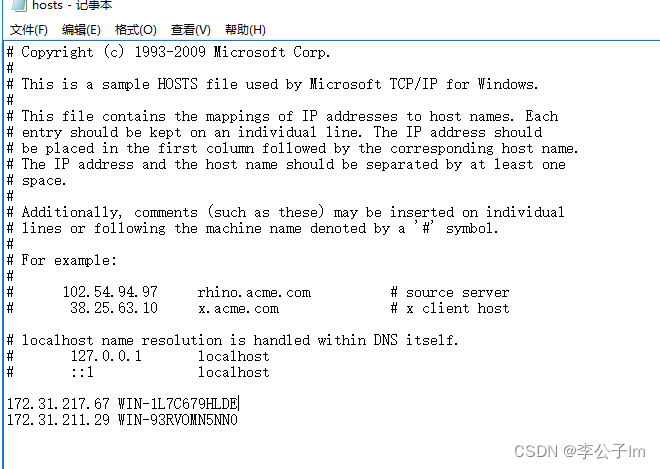
IP: 172.31.217.67
Hostname: WIN-1L7C679HLDE
IP: 172.31.211.29
Hostname: WIN-93RVOMN5NN0
Modify Host
host file address
C:\Windows\System32\drivers\etc
After modification, it is shown in the figure below.
add DNS suffix
Computer Properties >> Change Settings >> Change >> Other. Save after entering the suffix.
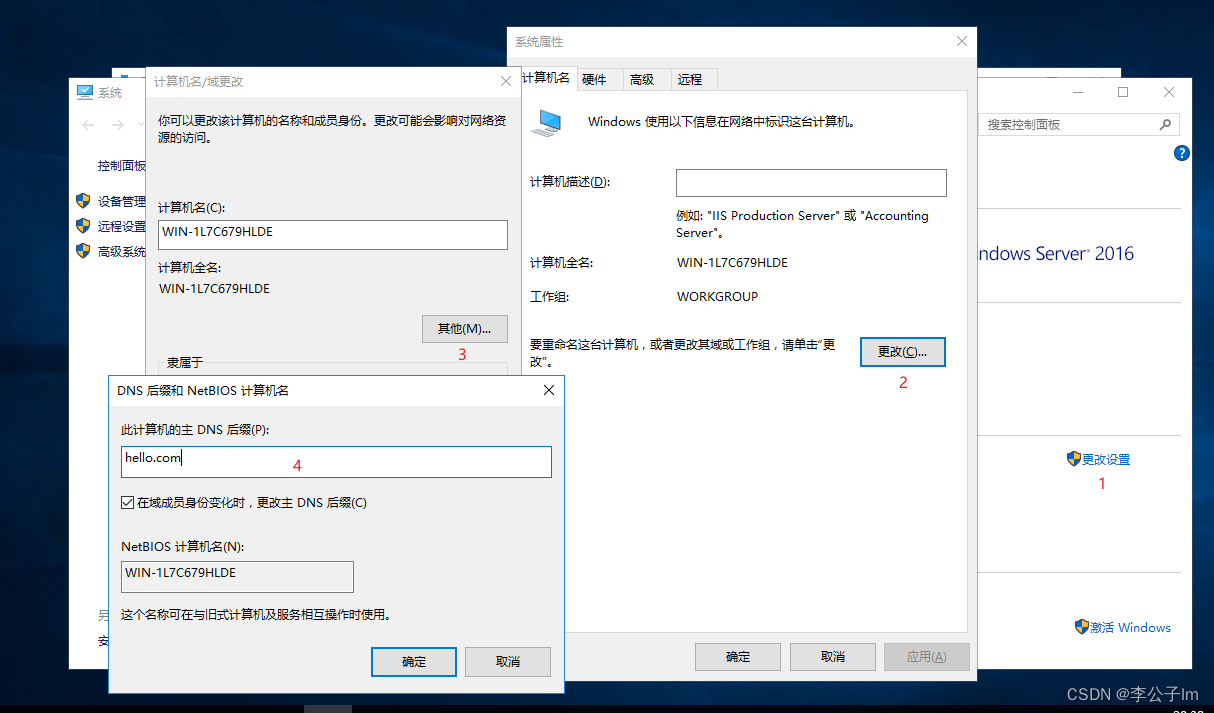
Then you need to restart the server, but wait a while before restarting.
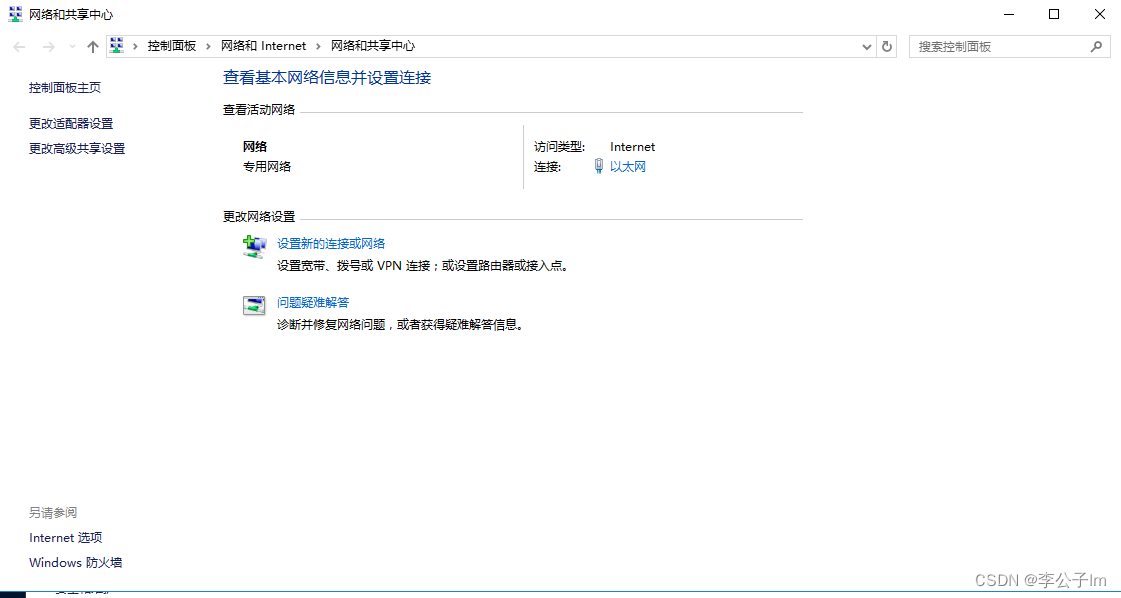
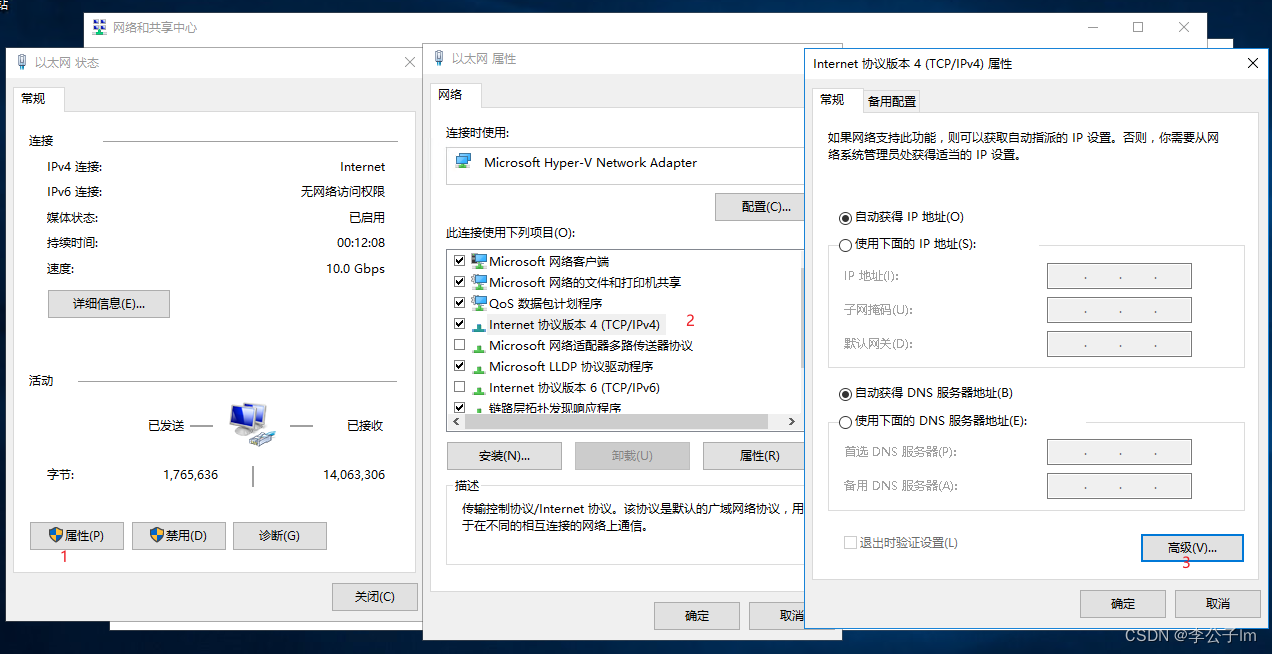
In Control Panel>>Network and Internet>>Network and Sharing Center>>Ethernet
Then select Properties>>IPv4>>Advanced
The hook for ipv6 can be removed.
In the second step above, remember to put
- Client for Microsoft Networks
- File and Printer Sharing for Microsoft Networks
Tick these two options, otherwise it will appear when adding nodes in the cluster, and the remote registry cannot be accessed.
Select the DNS Tab page and enter the same suffix
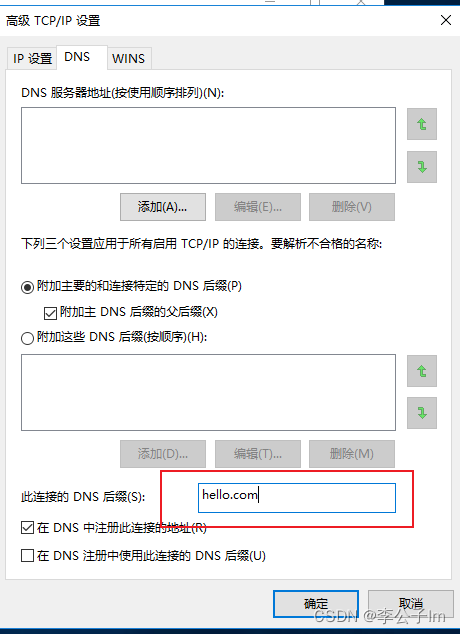
Save and restart.
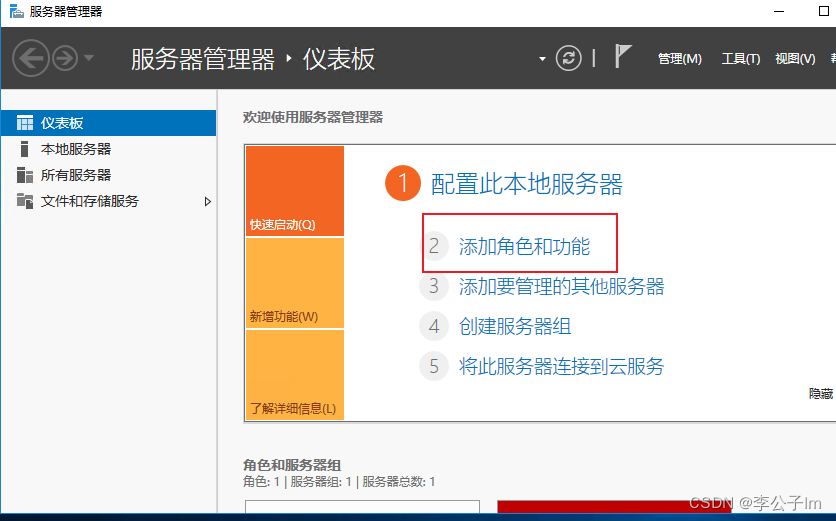
Add a failover cluster
Open Server Manager and select Add Roles and Features.
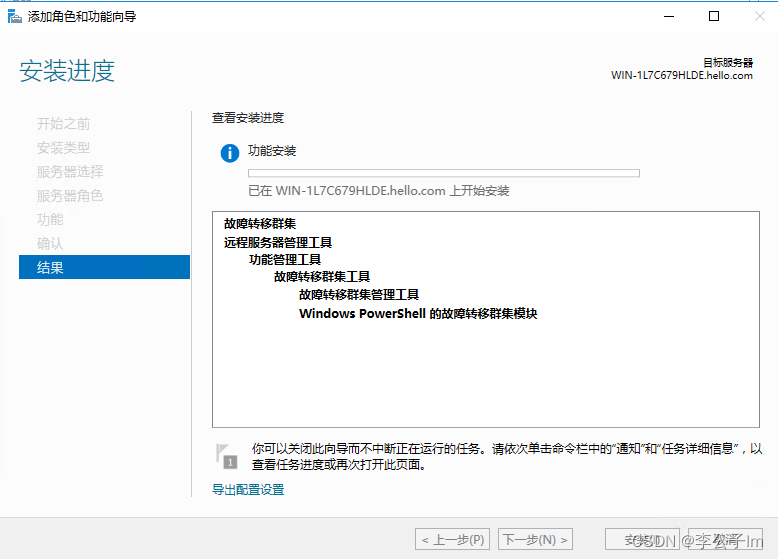
Keep going to the next step until you select a function. Check Failover Clustering.

Wait for the installation to be successful.
The installation is successful
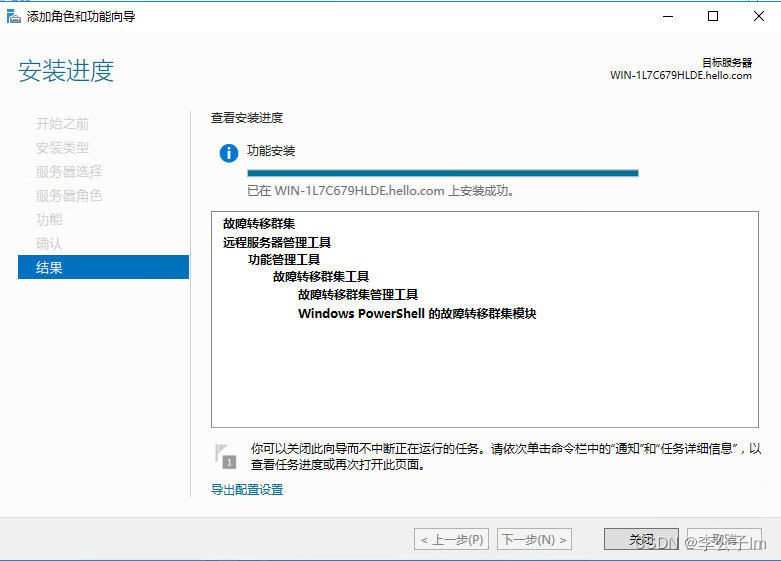
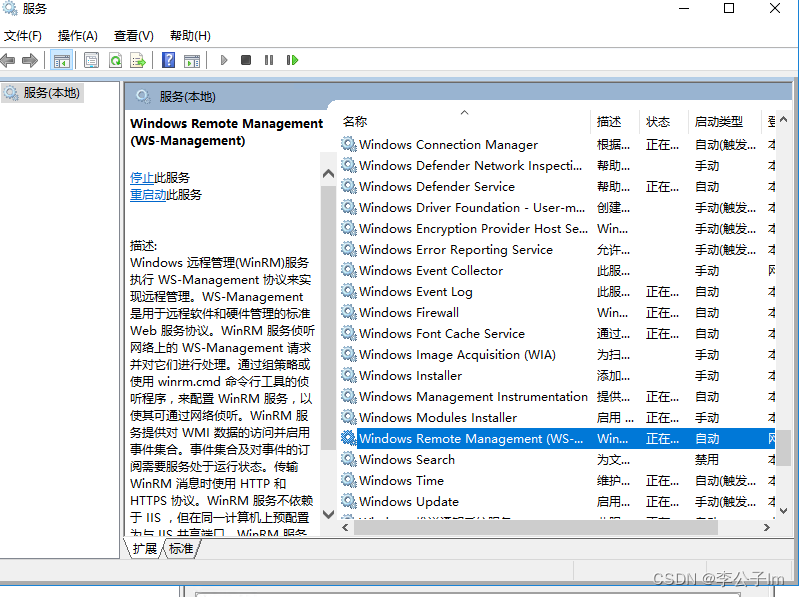
. Check whether the following services are running normally.
Remote Registry
Windows Remote Management (WS-Management)

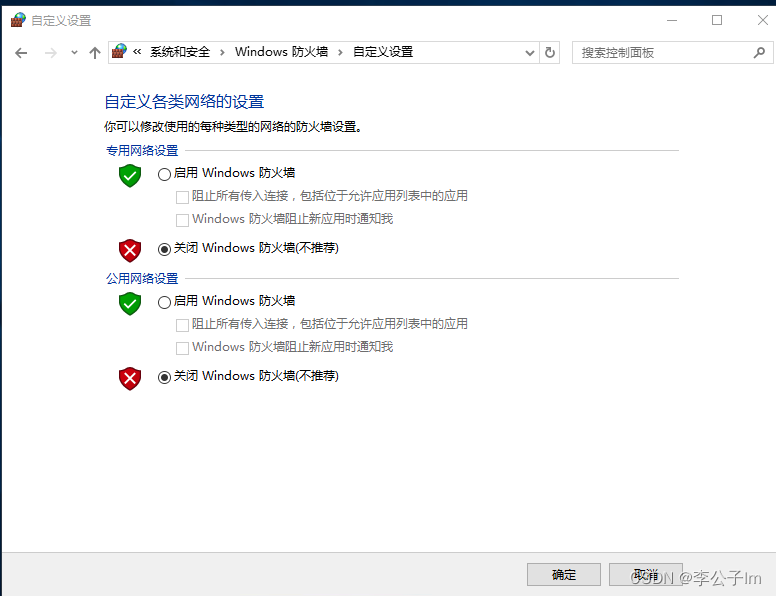
Turn off Windows Firewall.
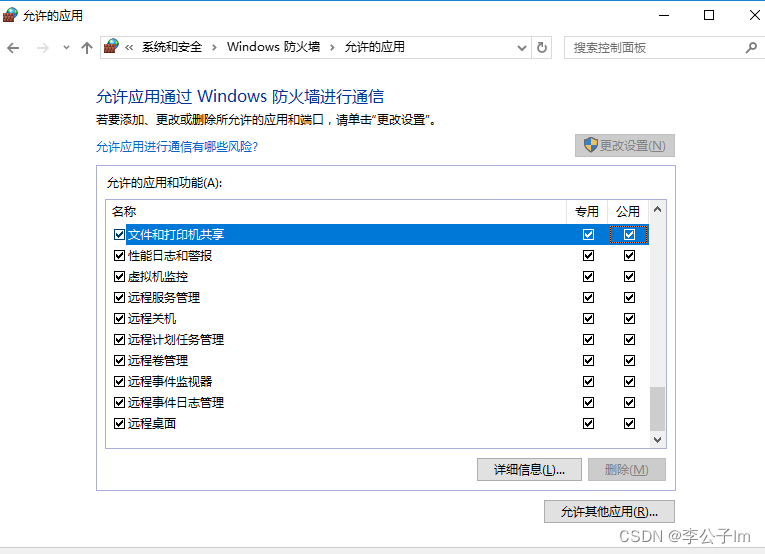
To allow applications to communicate through Windows Firewall, tick all of the following.
And this WMI.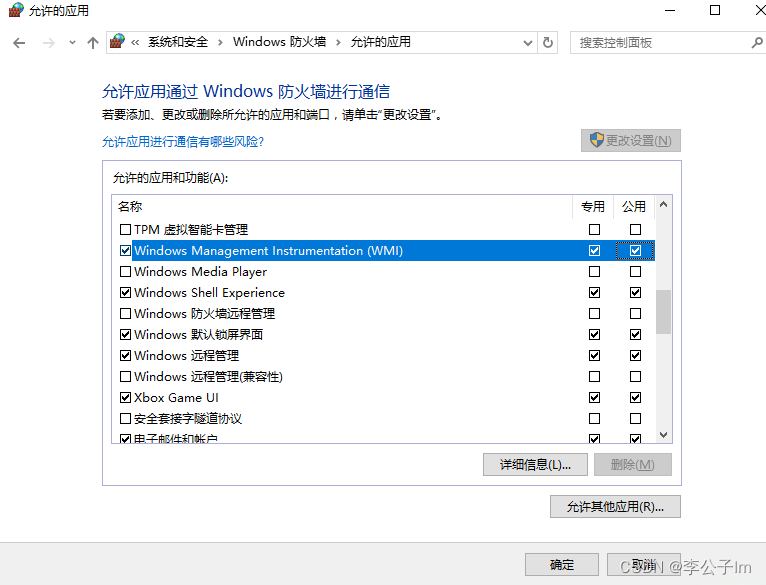
configure cluster
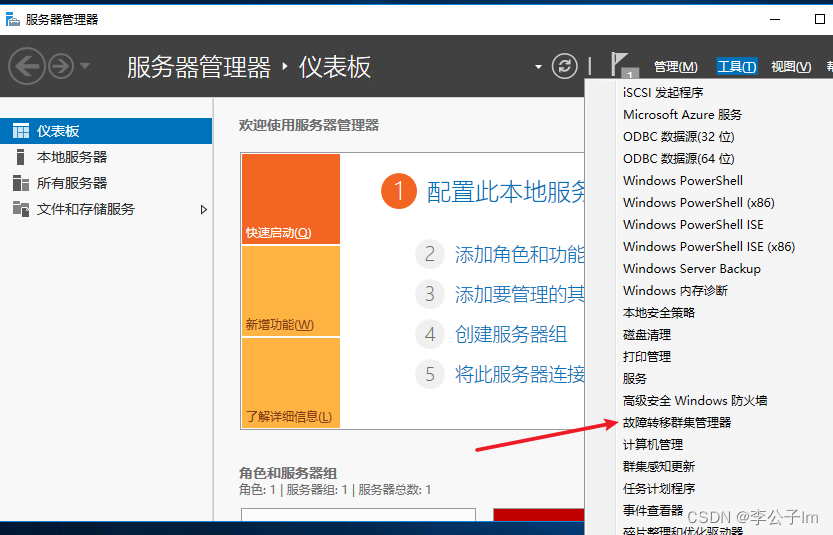
Open Server Manager >> Tools >> Failover Cluster Manager
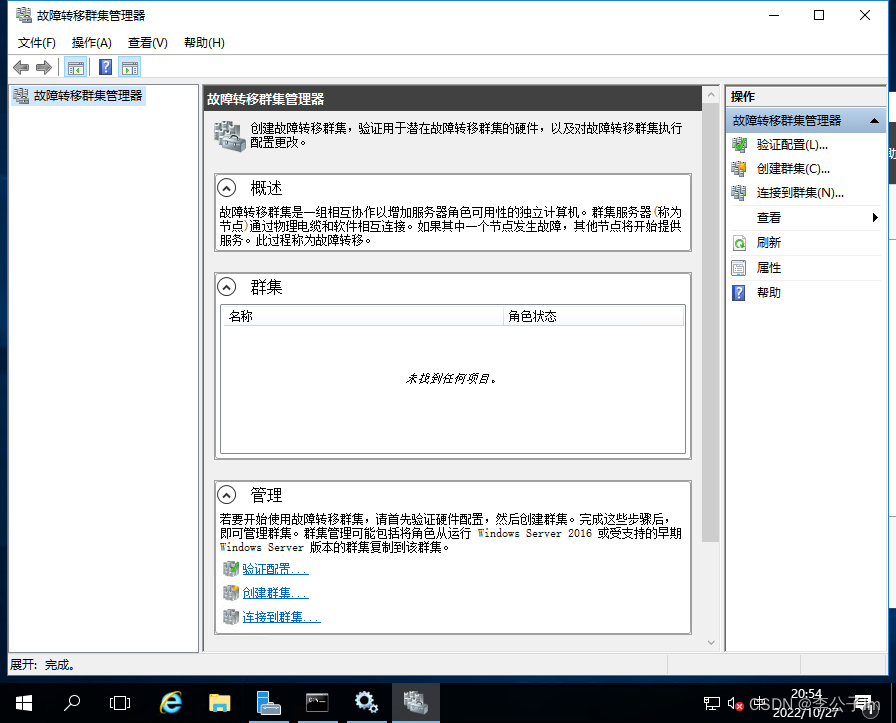
Click Create Cluster.
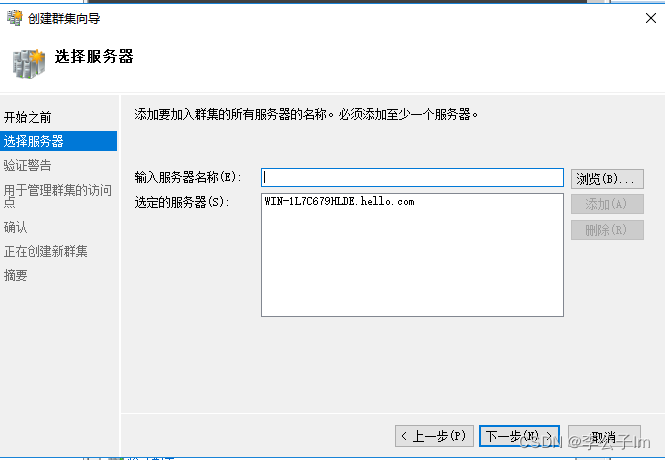
You can first enter the host name of the current server. After the selected server is displayed normally, click Next.
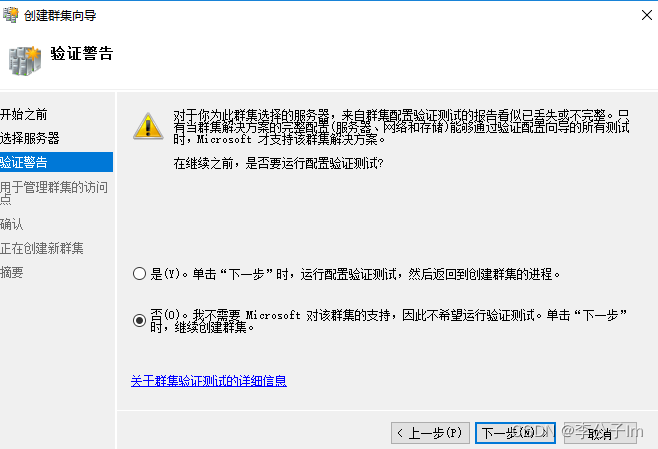
Optional no, you can also choose yes, test it.
Enter the cluster name according to your requirements, for example, clusterA
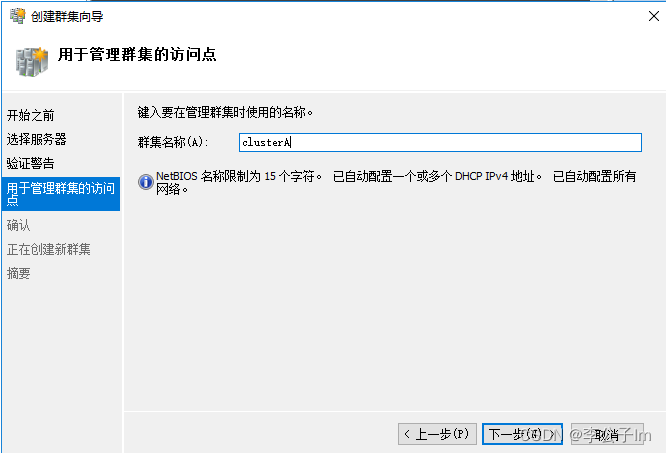
click Next.

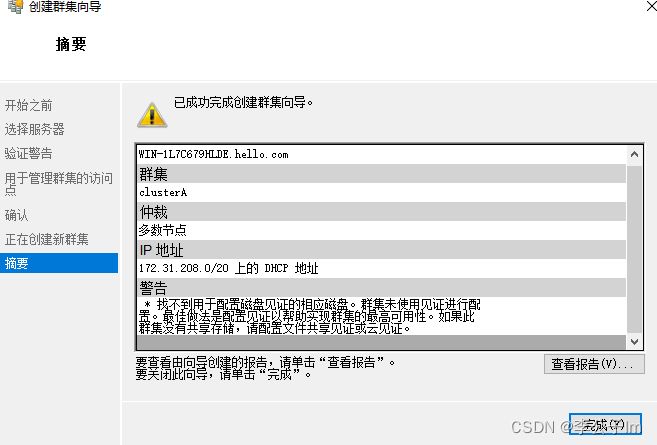
The cluster is created.
I omitted the other configuration process, ibid.
Except for the need to create a cluster, other servers operate exactly the same, and all servers need to be added to the Host file.
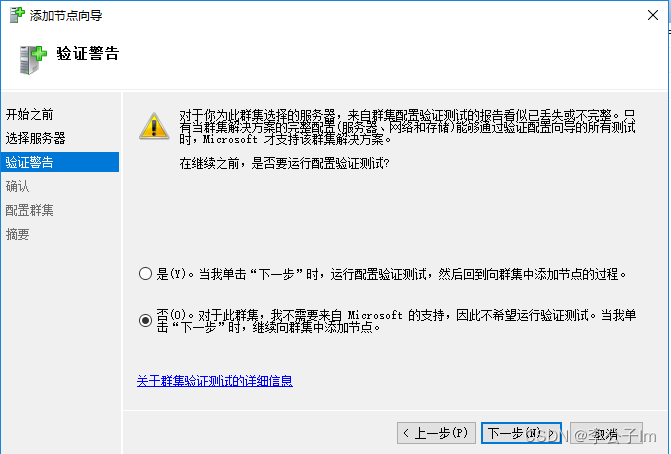
Right-click the node of the cluster, select New Node, and then enter the name of the newly added server. Remember to add the IP and host name to the host file first.

Just choose no.
Click Next.
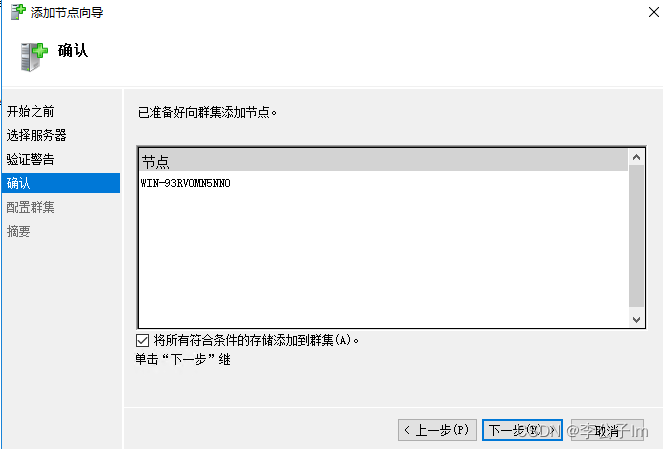
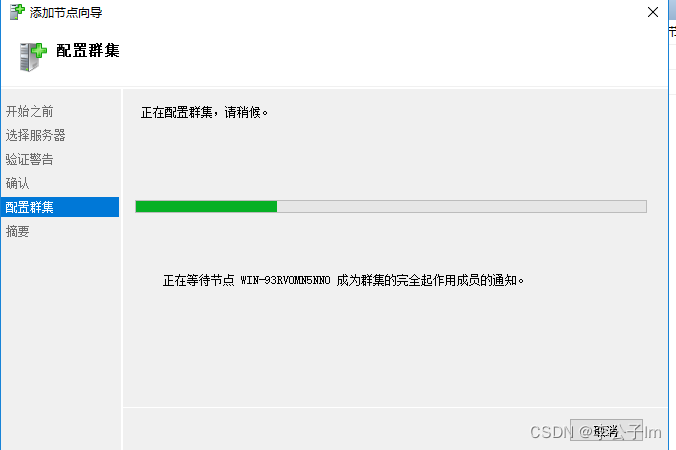
Wait for the new node to be added.
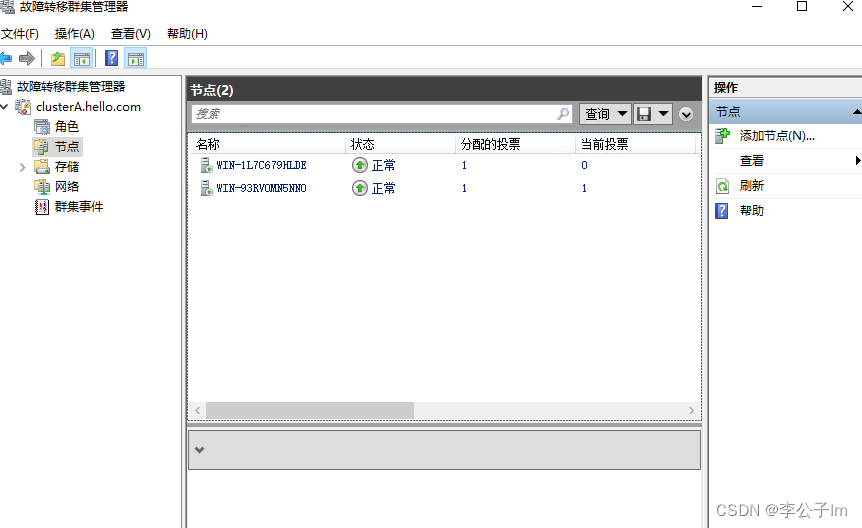
The addition is complete.
There are a lot of information about configuring clusters, and there are various problems. This article is only for reference.