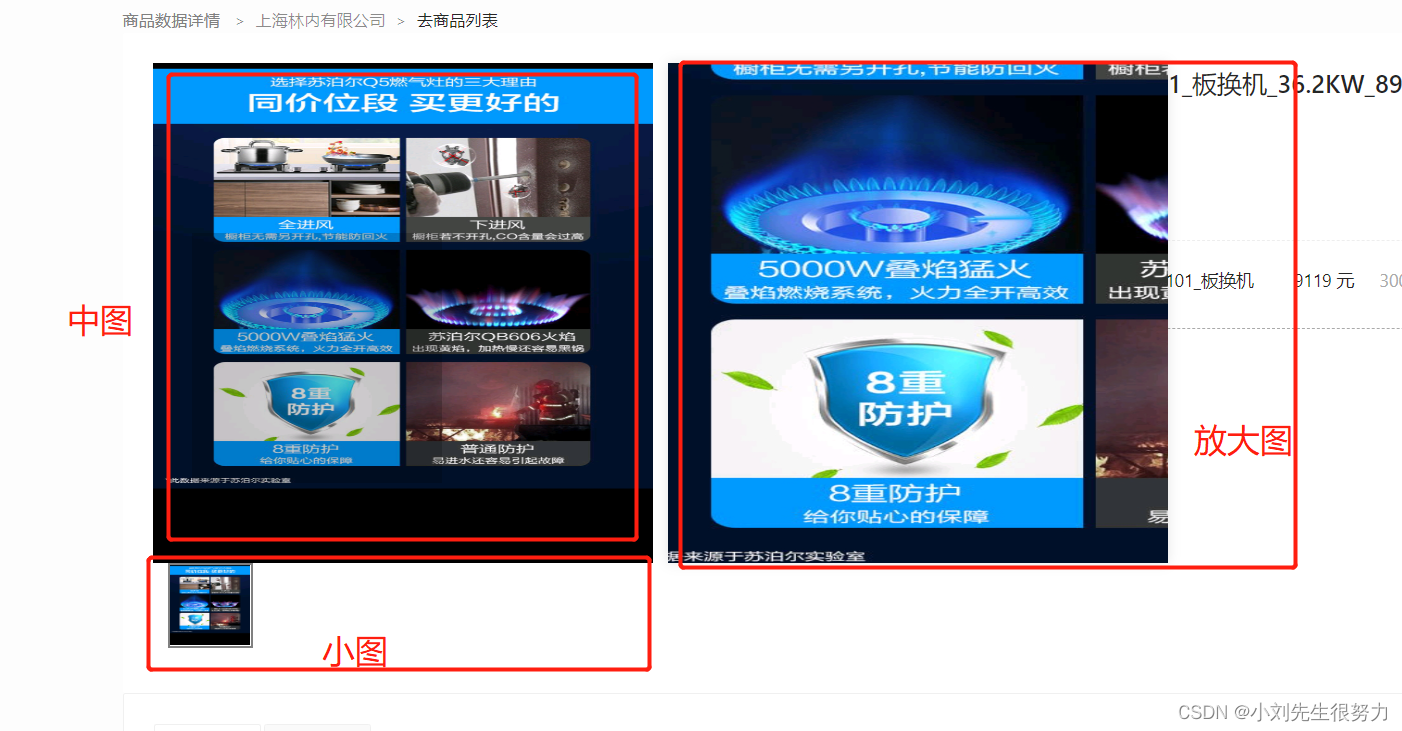
Recently, I am working on a shopping mall project. When there is a need for details, I need to use a magnifying glass,
as shown in the figure below. The default middle picture is the first one (we give a default subscript 0). When the small picture is crossed, the middle picture changes. When passing through the middle image, the large image will be displayed and zoomed
in. The index data layout is directly coded
, and multiple layouts are shown here. just to show you,
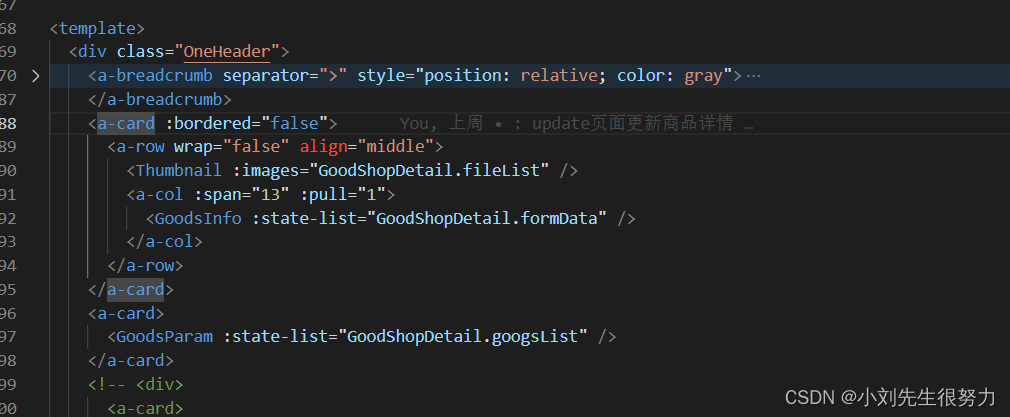
Note that if we want to use parent-child components, we can call the interface in the parent component to assign and pass it to the child component for display. (Note that in order to obtain the display effect, we can add judgment when obtaining data, and give some default data to prevent the back-end data from being empty, and the page is blank and unsightly)
index data processing
<script setup>
import { reactive, ref } from "vue";
import GoodsInfo from "./goodsInfo/index.vue";
import GoodsParam from "./goodsParam/index.vue";
import Thumbnail from "@/components/biz/thumbnail/index.vue";
import { getGoodsDetails } from "./service";
import { useRoute, useRouter } from "vue-router";

let GoodShopDetail = reactive({
  googsList: [],
  fileList: [], // 图片信息
  formData: {},
  defaultImage: [ // 默认图片信息
    {
      fileCode: null,
      fileName: null,
      fileSize: null,
      fileType: "IMG",
      imgSize: null,
      major: null,
      url: "https://t13.baidu.com/it/u=3936526289,2831462857&fm=224&app=112&size=h200&n=0&f=JPEG&fmt=auto?sec=1672506000&t=a54bc61cf3298f3ec14aa49f5e8d91bb",
    },
    {
      fileCode: null,
      fileName: null,
      fileSize: null,
      fileType: "IMG",
      imgSize: null,
      major: null,
      url: "https://t13.baidu.com/it/u=14146861,892696632&fm=224&app=112&size=h200&n=0&f=JPEG&fmt=auto?sec=1672506000&t=9a34b3639439123cb347a79044197f06",
    },
  ],
});

const route = useRoute();
const router = useRouter();
let spuId = ref("");
spuId.value = route.query.id;
// spuId.value = "449768365155823616";
console.log(spuId.value, "接收传递的id");
const getItemDetail = async () => {
  const res = await getGoodsDetails(spuId.value);
  console.log(res, "查询详情接口");
  GoodShopDetail.googsList = res.data?.itemProps;
  // console.log(GoodShopDetail.googsList, "右侧信息展示");
  GoodShopDetail.fileList = res.data?.spuImages
    ? res.data?.spuImages
    : GoodShopDetail.defaultImage;
  // console.log(GoodShopDetail.fileList, "左侧放大镜");
  GoodShopDetail.formData = res.data;
  GoodShopDetail.formData?.skuVOs.forEach((item) => {
    item.number = 0;
  });
};
onMounted(() => {
  getItemDetail();
});
</script>
Here is the magnifying glass code
<template id="GoodsImage">
  <div class="goods-image">
    <!-- 大图 -->
    <template v-if="images && images.length > 0">
      <div
        v-show="show"
        class="large"
        :style="[
          { backgroundImage: `url(${images[currIndex]['url']})` },
          largePosition,
        ]"
      ></div>
    </template>

    <!-- 中图 -->
    <div class="middle" ref="target" v-if="images && images.length > 0">
      <!-- <img :src="images[0]['url']" alt="" /> 只展示第一个-->
      <img :src="images[currIndex]['url']" alt="" />
      <!-- 遮罩色块 -->
      <div v-show="show" class="layer" :style="layerPosition"></div>
    </div>

    <!-- 小图 -->
    <ul class="small">
      <li
        v-for="(item, i) in images"
        :key="item"
        :class="{ active: currIndex === i }"
      >
        <img @mouseenter="currIndex = i" :src="item.url" alt="" />
      </li>
    </ul>
  </div>
</template>

<script setup>
import { useMouseInElement } from "@vueuse/core";
import { reactive, ref } from "vue";
const props = defineProps({
  images: {
    type: Array,
    default: () => [],
  },
});
console.log(props.images, "images没有数据就是默认的");
const currIndex = ref(0); // 默认展示第一个
// 1. 是否显示遮罩和大图
const show = ref(false);
// 2. 遮罩的坐标(样式)
const layerPosition = reactive({
  top: 0,
  left: 0,
});
// 3. 大图的背景坐标(样式)
const largePosition = reactive({
  backgroundPositionX: 0,
  backgroundPositionY: 0,
});
// 4. 获取监听元素的实例对象, 使用useMouseInElement函数进行获取坐标
const target = ref(null);
const { elementX, elementY, isOutside } = useMouseInElement(target);

// 5. 监听元素坐标值的变化
watch([elementX, elementY, isOutside], () => {
  show.value = !isOutside.value;
  const position = { X: 0, Y: 0 };
  if (elementX.value < 100) {
    position.X = 0;
  } else if (elementX.value > 300) {
    position.X = 200;
  } else {
    position.X = elementX.value - 100;
  }

  if (elementY.value < 100) {
    position.Y = 0;
  } else if (elementY.value > 300) {
    position.Y = 200;
  } else {
    position.Y = elementY.value - 100;
  }

  layerPosition.left = position.X + "px";
  layerPosition.top = position.Y + "px";
  largePosition.backgroundPositionX = -2 * position.X + "px";
  largePosition.backgroundPositionY = -2 * position.Y + "px";
});
</script>

<style lang="less" scoped>
.goods-image {
  width: 480px;
  height: 480px;
  position: relative;
  display: flex;
  flex-direction: column;
  z-index: 500;
  .large {
    position: absolute;
    top: 0;
    left: 412px;
    width: 400px;
    height: 400px;
    box-shadow: 0 0 10px rgba(0, 0, 0, 0.1);
    background-repeat: no-repeat;
    background-size: 800px 800px;
    background-color: #f8f8f8;
  }
  .middle {
    width: 400px;
    height: 400px;
    background: #f5f5f5;
    position: relative;
    cursor: move;
    .layer {
      width: 200px;
      height: 200px;
      background: rgba(0, 0, 0, 0.2);
      left: 0;
      top: 0;
      position: absolute;
    }
    img {
      width: 100%;
      height: 100%;
    }
  }
  .small {
    display: flex;
    width: 100%;
    li {
      width: 68px;
      height: 68px;
      margin-left: 12px;
      margin-bottom: 15px;
      cursor: pointer;
      &:hover,
      &.active {
        border: 2px solid gray;
      }
      img {
        width: 100%;
        height: 100%;
      }
    }
  }
}
</style>
样式可以自己调节