You can remotely establish a connection between the Raspberry Pi and the computer without using network cables or external devices such as monitors, keyboards, and mice
Table of contents
3. Use ssh to connect to computer hotspot
4. VNC remote control connection to Raspberry Pi desktop
1. Prepare in advance
1.1 Prepare the hardware
- Raspberry Pi development board 3B, 4B, etc.
- 5V3A power supply
- SD card (at least 16G, usually 32G)
- card reader
1.2 System mirroring
- Download the Raspberry Pi system image (two channels)
- The official Raspberry Pi download and burn integration tool Raspberry Pi Imager
- Index of /raspbian_full/images of old system images before 2020
1.3 Prepare the software
- Win32DiskImager (image burning tool, no need to download when using the official Imager)
- Putty (SSH establishes a remote connection via WIFI)
- VNC-Viewer (remote desktop software)
- notepad++ (editing text program)
2. Programming system
Insert the SD card into the card reader, then into the computer, first format the drive letter
Open the Raspberry Pi Imager and select an older system to burn ( I can’t connect to the hotspot through ssh when I use the latest image system to burn )
Or download the zip file of the old system image provided above, unzip it, select the .img image file, and burn it to the SD card through Win32DiskImager

Don't, don't, don't insert or remove the SD card during the burning process ! ! !
After completion, the SD card will become a drive letter named boot with only 256MB . Don't worry, this is because the Raspberry Pi has reserved another part of the space, which cannot be seen on the computer. At this time, if the computer prompts to format the disk, ignore it

3. Use ssh to connect to computer hotspot
Create these two files in the boot disk when the suffix is enabled for the computer file :
ssh blank file and wpa_supplicant.conf file (before entering the Raspberry Pi system to set ssh to automatically open, the Raspberry Pi will automatically delete these two files every time it is turned on, so these two files can be saved on the computer for backup)

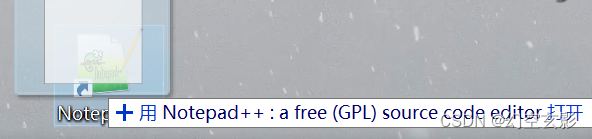
Open the wpa_supplicant.conf file with notepad++
Enter the following program:
country=CN
ctrl_interface=DIR=/var/run/wpa_supplicant GROUP=netdev
update_config=1

network={
	ssid="xxxxx"
	psk="xxxxx"
	key_mgmt=WPA-PSK
	priority=1
}
Among them , fill in the name of the network that needs to be connected to ssid , and enter the network password in double quotation marks after psk . The connected network should not use Chinese names. You can use a computer hotspot for easy operation , but you need to adjust the network frequency band to 2.4GHz in the settings . If you use a mobile hotspot, you also need to adjust the network frequency to 2.4GHz, and the computer must be connected to the mobile hotspot at the same time to remotely log in to the Raspberry Pi on the computer.

priority represents the priority of the network connection , the larger the number, the higher the priority, copying multiple network blocks can connect the network according to the priority
Press Ctrl+S to save the file
Remove the SD card, insert the SD card into the Raspberry Pi, and start it up

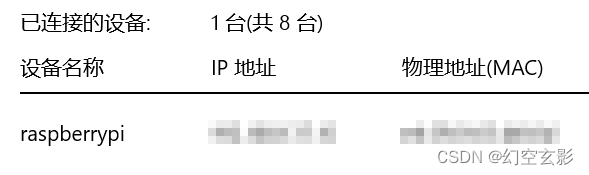
Wait for the Raspberry Pi to turn on and connect to the hotspot , 1/8 means it is successfully connected
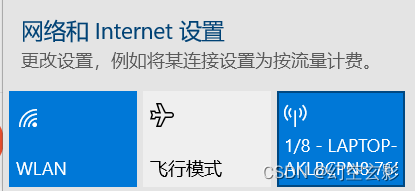
Right-click to open the settings, copy the IP address of the device name as raspberry
Open Putty , paste the copied IP address in Host Name , and click open

Enter the user name pi in the pop-up interface and press Enter
Enter the initial password raspberry of the raspberry pie , press Enter (requires blind typing password)

The green font above indicates that the ssh connection is successful
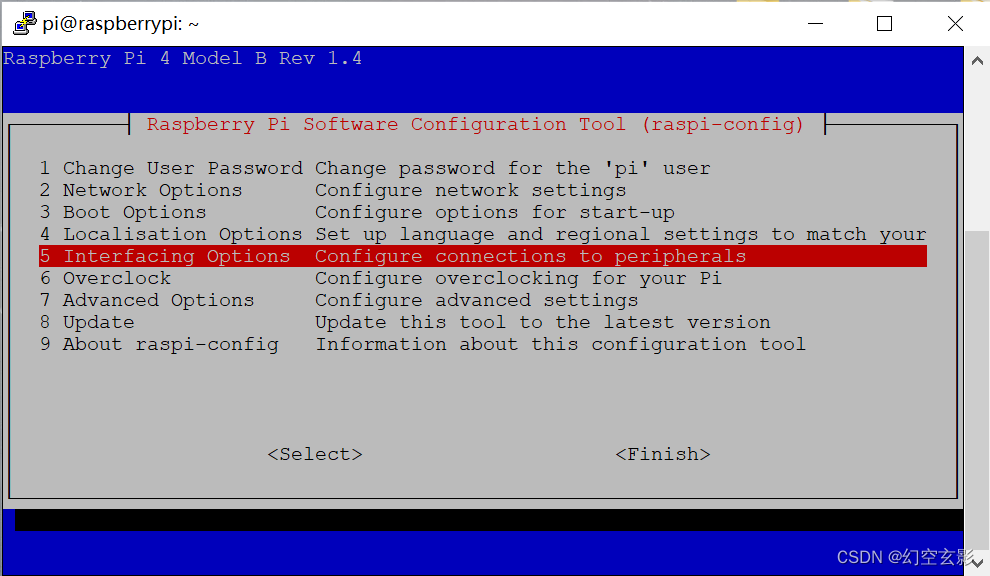
Enter sudo raspi-config to enter the system settings of the Raspberry Pi, and enable the VNC service, so that the desktop of the Raspberry Pi can be connected remotely. Use the up and down keys of the arrow keys to select Interfacing Options , enter or use the left and right keys of the arrow keys to select Select
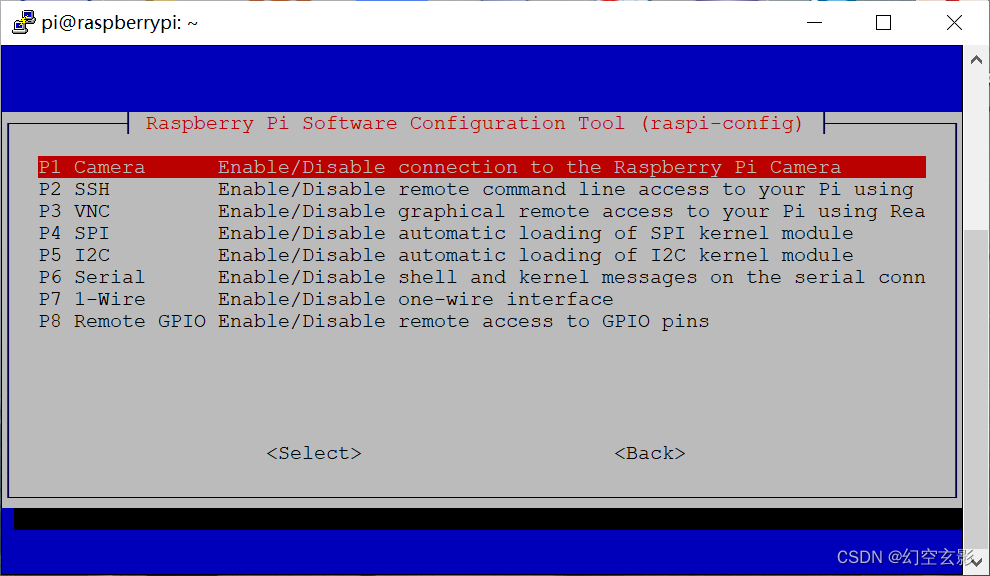
Similarly, select SSH and VNC respectively, and set them both to enable (after setting SSH, there is no need to transfer ssh files before each boot, and after setting VNC, you can remotely control the desktop of the Raspberry Pi operating system)
After selection, return to the initial menu and select Advanced Options

Choose Resolution

Select the maximum resolution that can be selected to avoid a black screen when logging in to the desktop remotely

Return to the initial menu after selection, select finish below to make the settings take effect
4. VNC remote control connection to Raspberry Pi desktop
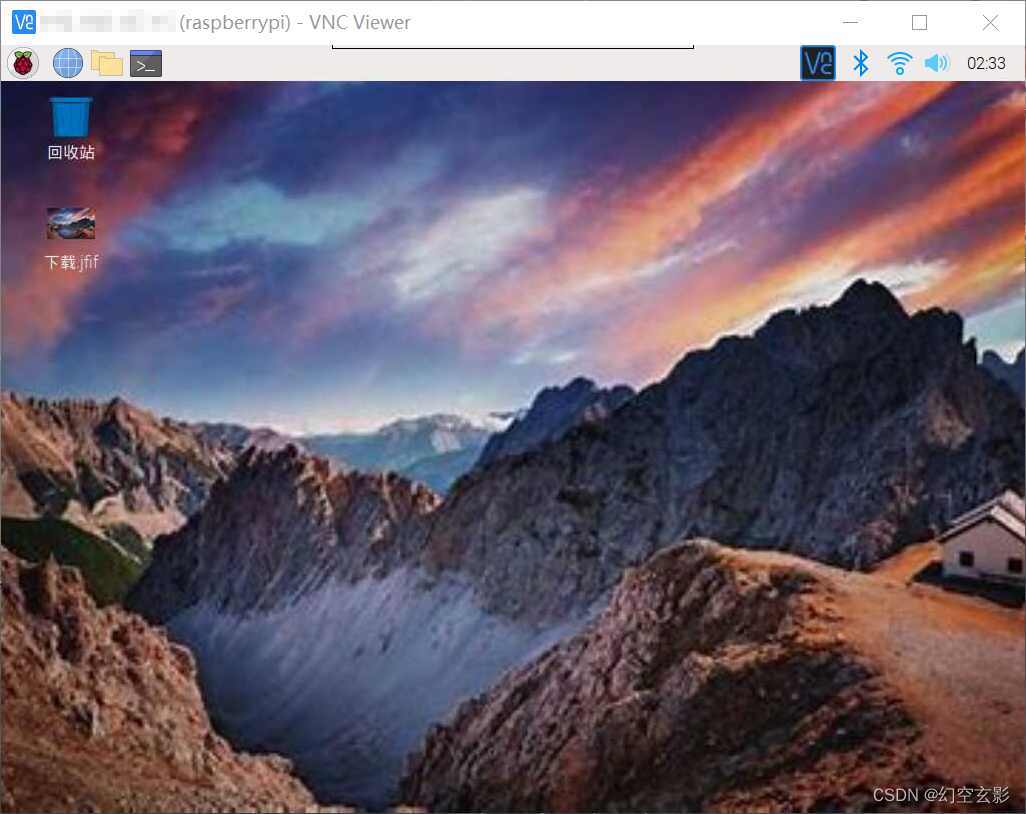
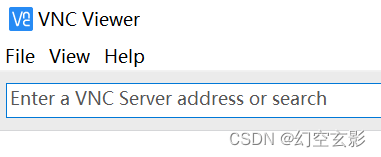
Open VNC Viewer and enter the Raspberry Pi IP address copied earlier
Enter the user name pi and the initial password raspberry of the Raspberry Pi to remotely control the desktop of the Raspberry Pi.

There will be an initialization process when entering the system with a graphical interface for the first time, just follow the process to initialize