ios one xib to register multiple cells
1. Create multiple cells
When I used xib to create UITableviewCell for the first time, I only created one Cell in a xib file. In actual business, multiple different Cell styles are often used in a list, which requires creating N .h .m .xib files. And the implementation in these .m is almost the same
1. Create multiple Cells in one xib
First, like creating a xibCell, select the cell on the left in the xib, copy (command + c) or drag a UITableViewCell onto it, then paste (command + v), and there are multiple cells in the .xib.
2. Set Restoration ID
Set a unique Restoration ID for each Cell,
2. Use
- (UITableViewCell *)tableView:(UITableView *)tableView cellForRowAtIndexPath:(NSIndexPath *)indexPath{
	//在重用队列中 找到正确的Cell 重复使用Cell
	SpotStrategyParamCell *cell = [tableView dequeueReusableCellWithIdentifier:@"CirculationOptionalID"];
	if (!cell) {
		// 从 mainBundle 中加载资源
	    cell = [[[NSBundle mainBundle] loadNibNamed:@"SpotStrategyParamCell" owner:self options:nil] objectAtIndex:2];
	 }
	cell.selectionStyle = UITableViewCellSelectionStyleNone;
	return cell;
}
3. Attribute problem
After dragging in three new cells and placing controls on top of them and adding constraints, start dragging the controls as properties, but each time the first cell is associated, and the last check is that the new cells are dragged from the control library. The dragged in is not associated with a certain class, that is, it is equivalent to an empty cell that has nothing to do with that, so no matter how you drag it, it is the first cell associated.
-
Click the cell to view the property inspector and associate it with a control in the cell through the property inspector, and then drag and drop it as a property.
-
Define the properties in the .h file in advance and associate them directly with the control. If there are multiple cells, there will be options associated with a cell.
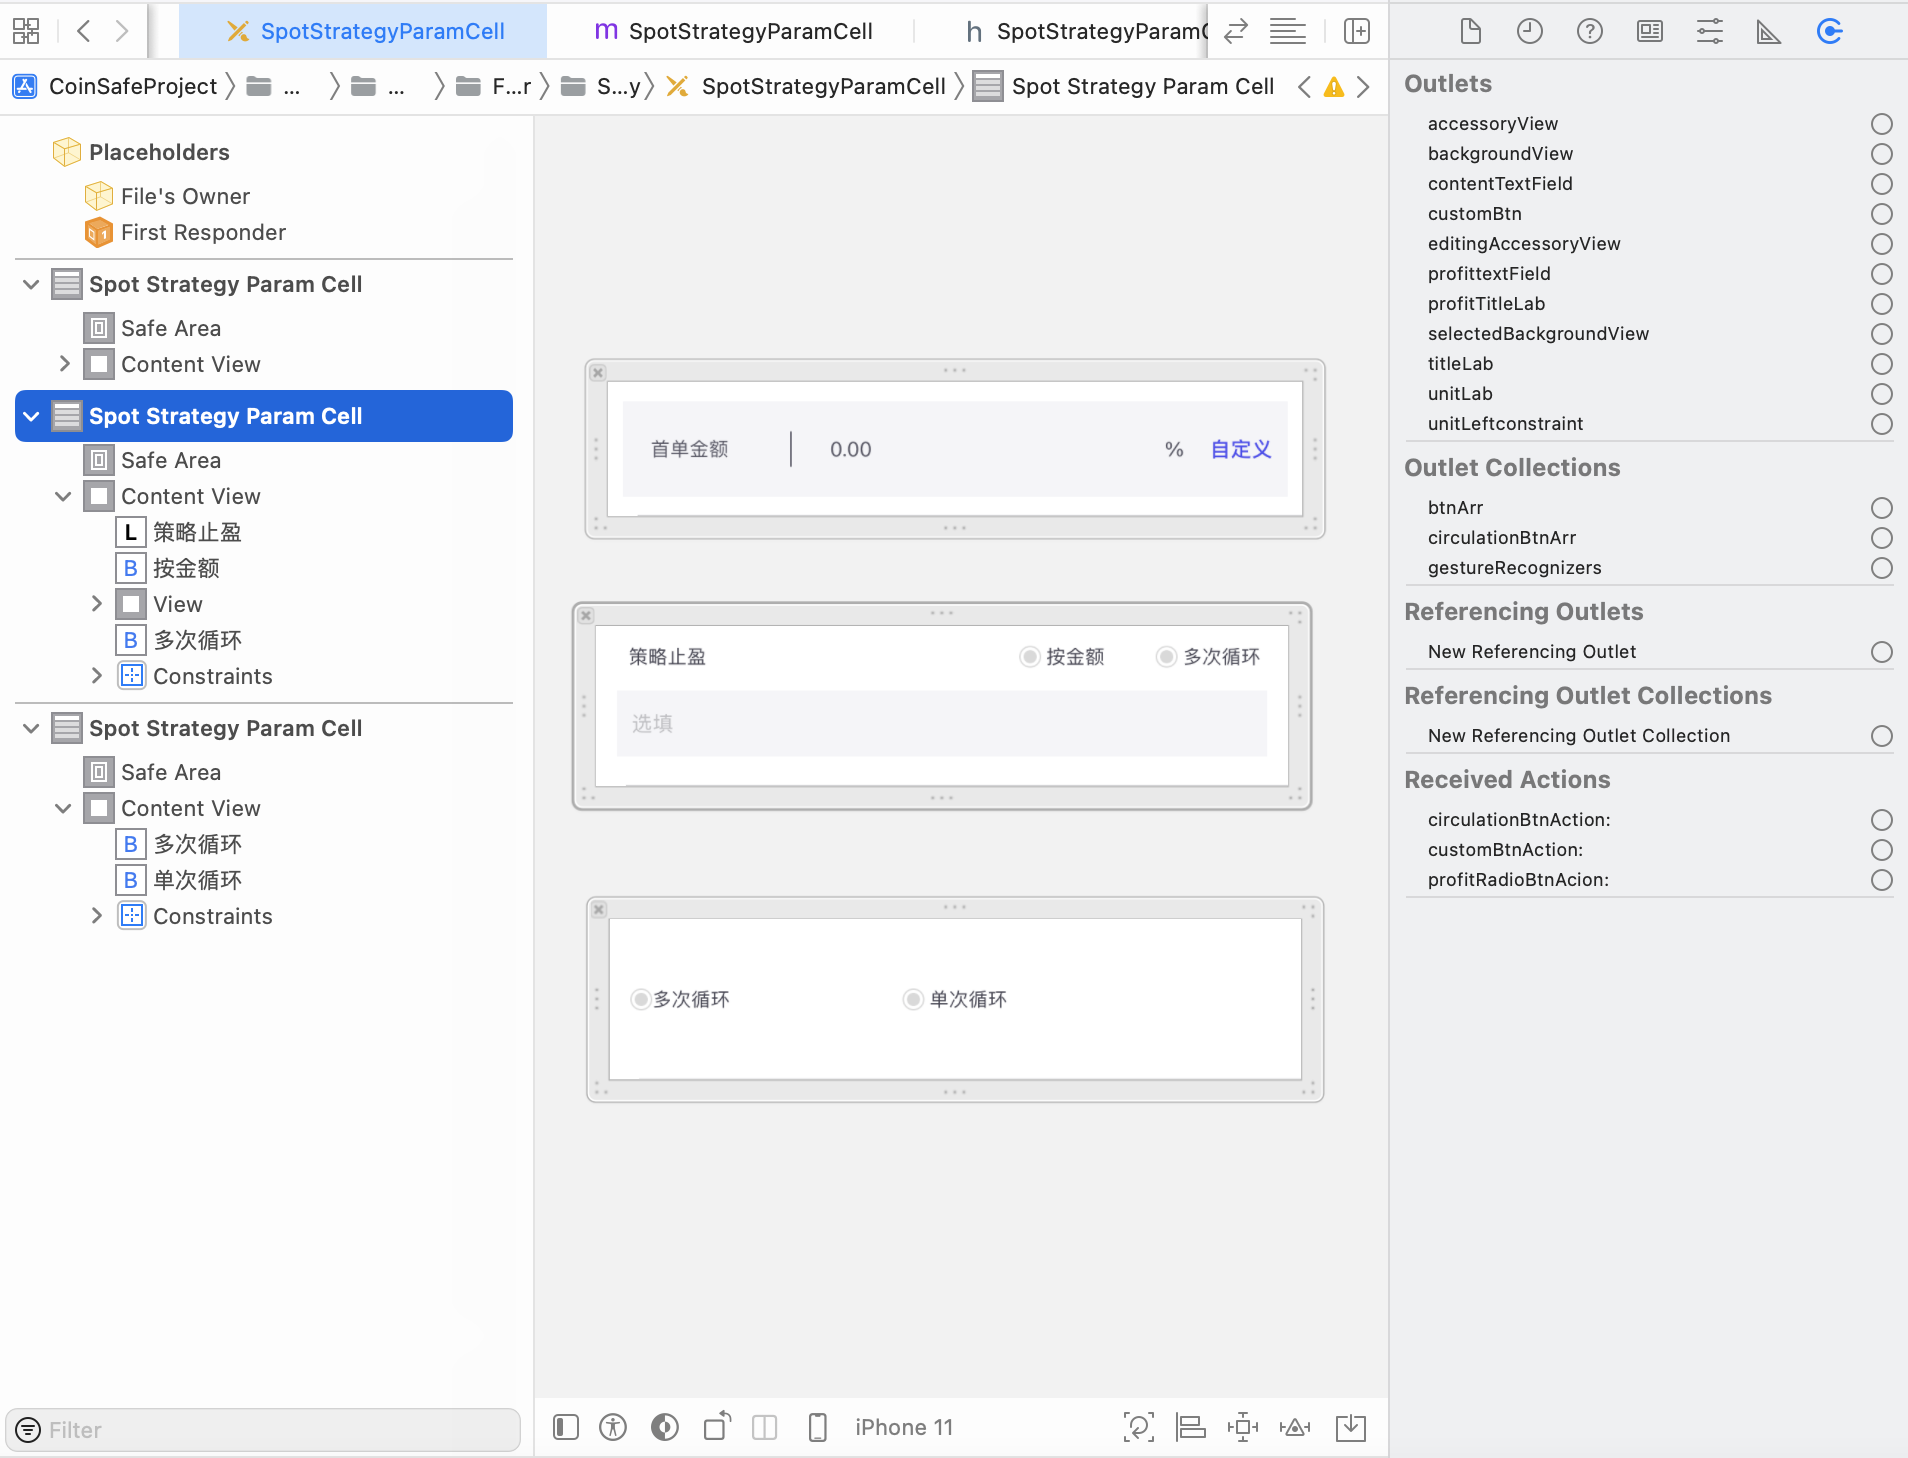
Note ⚠️: When associating properties, if you want to associate the properties on that Cell, you need to click on the Cell list on the left, select the Cell, and then drag the line to associate the controls above.
All attributes will be associated with the first cell by dragging and dropping to the .m file, as shown below: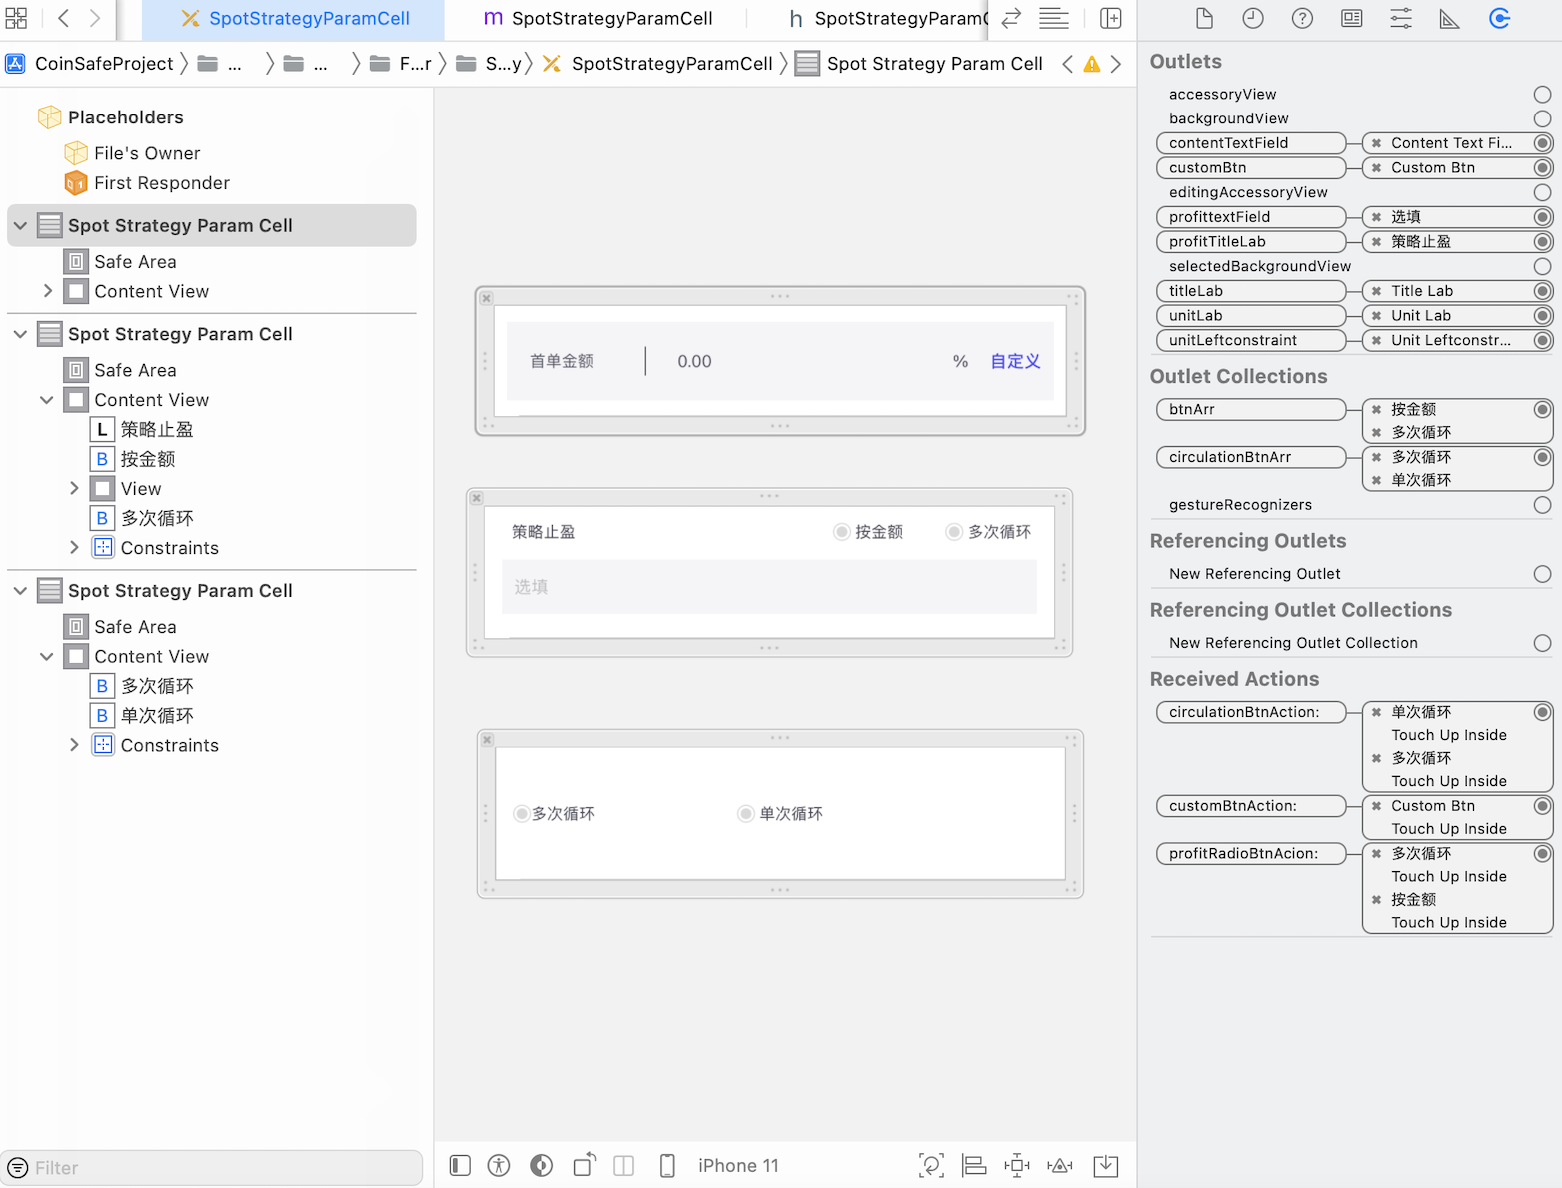
We need to select each cell on the left individually, view the property inspector and associate it with a control of the cell through the property inspector, and then drag and drop it as a property. As shown in the figure: