The project I am working on now is a big data reporting system. At the beginning, I was responsible for making Java interfaces (the front end of the project is an independent Java web system, the back end is also a Java web system, and the front and back end systems transmit data through the interface). I feel that everyone needs diversified development and comprehensive development. Let the colleagues in the big data group train our colleagues in the reporting group on the knowledge of big data, mainly hive. In this way, a new chapter has been opened. Although it is quite controversial, since then, the work of offline data calculation of big data has been handed over to our reporting team.
Since then, the chapter of big data development has been opened.
---------------Silent dividing line----------------------------
To learn Hadoop development, of course, building a Hadoop cluster is indispensable.
The most convenient building environment, of course, is to install a virtual machine on your own computer (local tyrants, please go out and turn right)
Enter the topic below.
Based on the principle of the latest, fastest and strongest, I chose centos7, jdk8 and hadoop3 as my testing platform.
No explanation, download link:
centos7 : https://www.centos.org/download/
Introduction to each version of centos:
DVD ISO: Standard Edition (general choice)
Everything ISO: Supplements the Standard Edition and integrates all software
Minimal ISO: Minimal version (selected by experts)
jdk8 : http://www.oracle.com/technetwork/java/javase/downloads/jdk8-downloads-2133151.html
Go to oracle's official website to download it
hadoop3 :http://hadoop.apache.org/releases.html
The specific choices are as follows:
centos 7 DVD, choose a mirror to download
jdk has been used for a long time, and it is not available. The version used is: jdk-8u91-linux-x64
hadoop version: 3.0.1 (at the time of installation, 3.1.0 has not yet come out)
After the system image is downloaded, the virtual machine can be installed.
---------------------The following is the text--------------------------
vmware:
1. Create a virtual machine
2. Select a typical installation, the next step
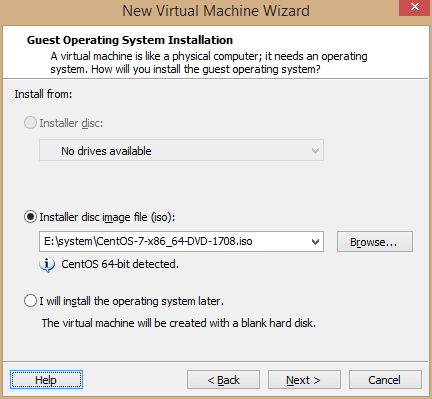
3. Select the second item Installer disc image file(iso) : Select the downloaded system image, the next step
4. Name the virtual machine, here is named after the host name that the virtual machine will use, select the installation path, the next step
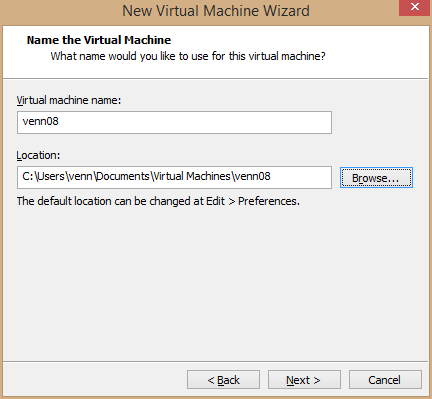
Note: My C drive is a 256G ssd, so the virtual machine is directly installed on the C drive, please select the installation location according to the specific situation, and it can be moved after installation.
5. Configure the size of the virtual machine hard disk and whether to use multiple files. Select 20G, single file storage, next step
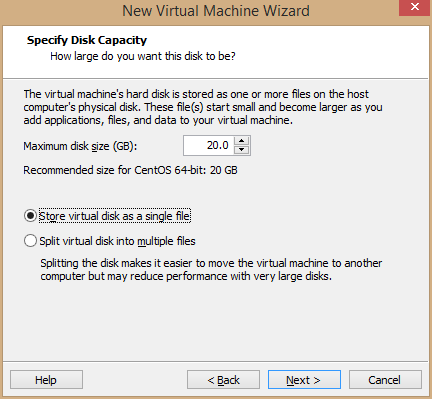
The size of the 20G hard disk is enough for development. If you need a lot of space, you can adjust it according to the specific situation. 20G is enough, bigger can also be.
My master node gave 40G, other nodes are 20G.
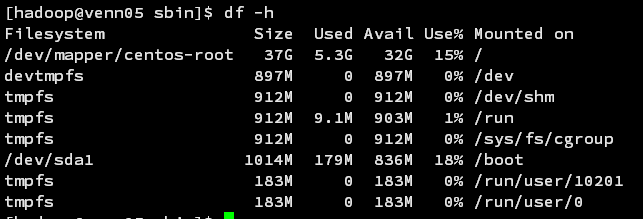
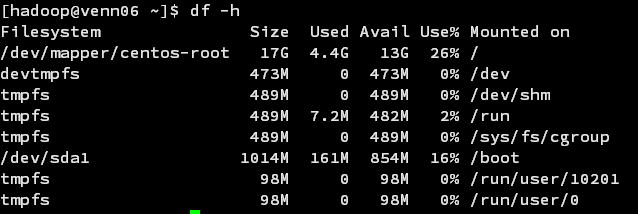
As shown below: After the installation is complete
40G has 32G remaining space
20G has 13G remaining space
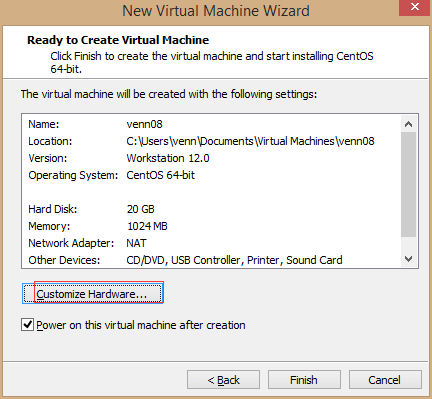
6. Click "customize hardware.." to modify the hard disk configuration and click Finish.
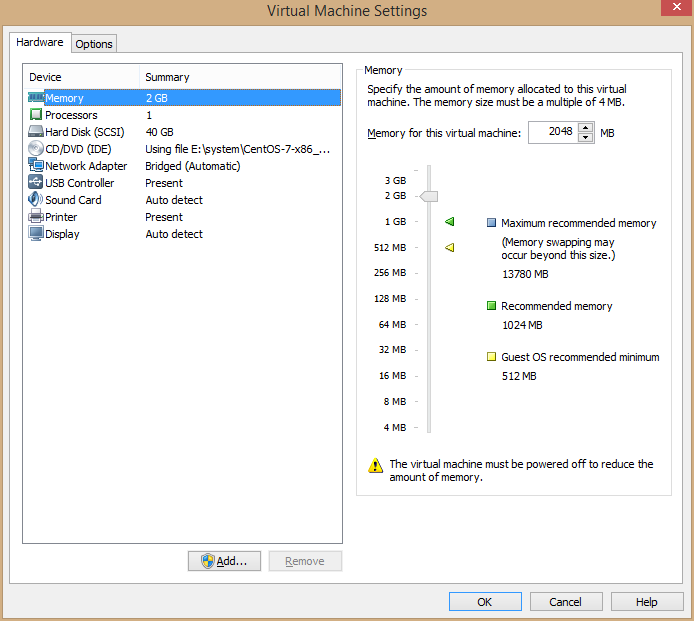
Modify the memory: select the appropriate memory (1G is enough, the more the better, the virtual machine memory cannot exceed half of the physical machine), my memory is relatively large, the main node is 2G, and other nodes are 1G
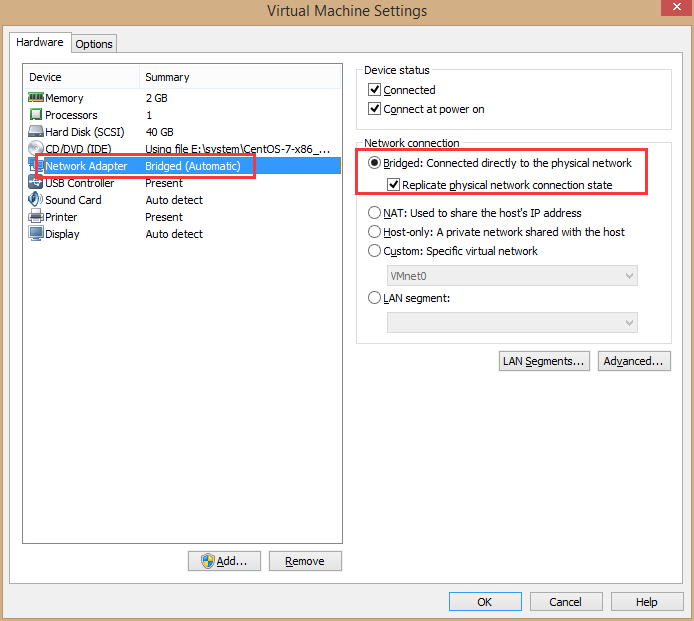
Modify network: select bridge, copy physical connection
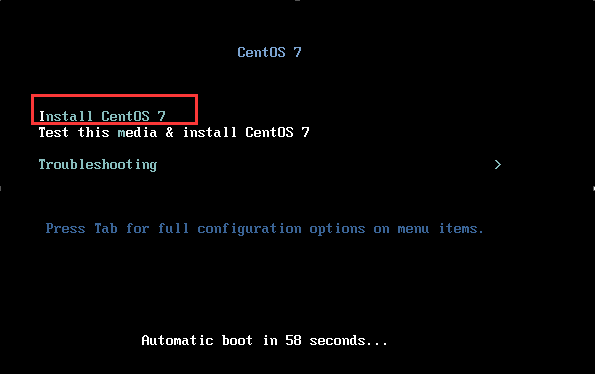
7. Select "Install CentOS 7" to start the installation.
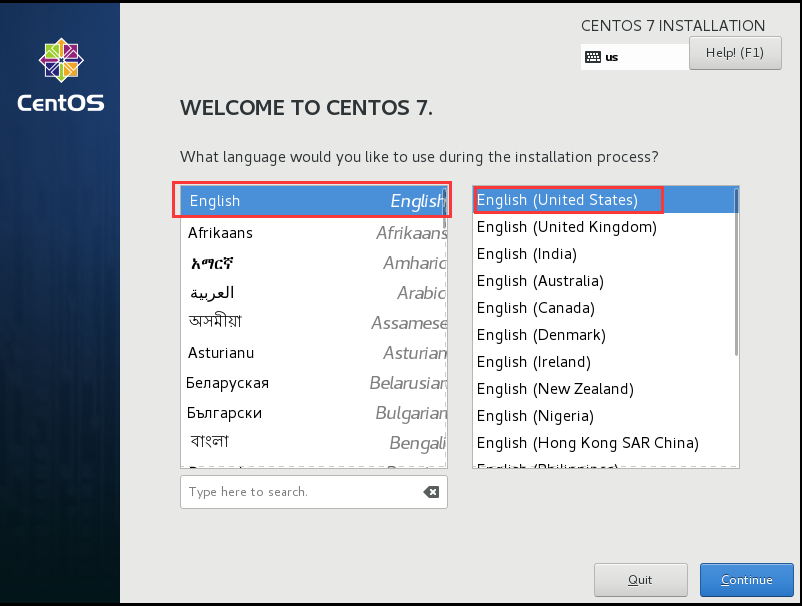
8. Select the language "English" "English (United States)" and click "Continue"
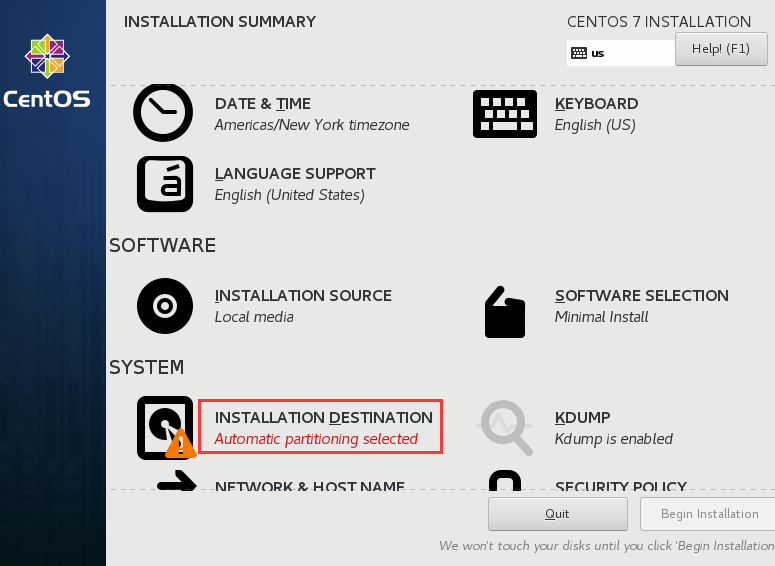
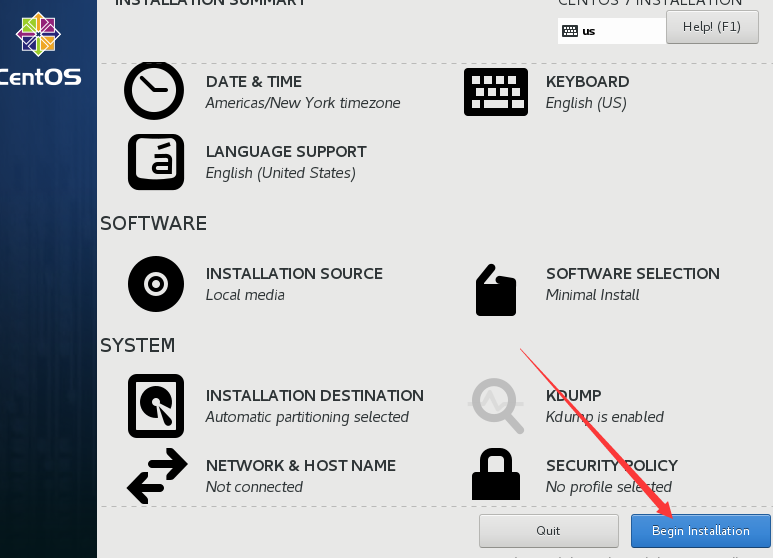
9. Select the hard disk partition, keep the default, click "Done", return to the previous page, click "Begin Installation" in the lower right corner to start the installation

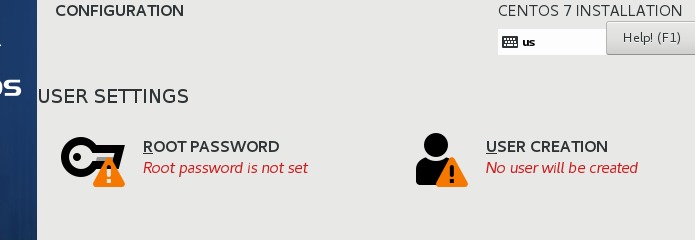
10. Set the root user password, the password is simple, click "Done" twice to set directly. Sit back and wait for the system installation to complete (my machine did it in a few minutes).
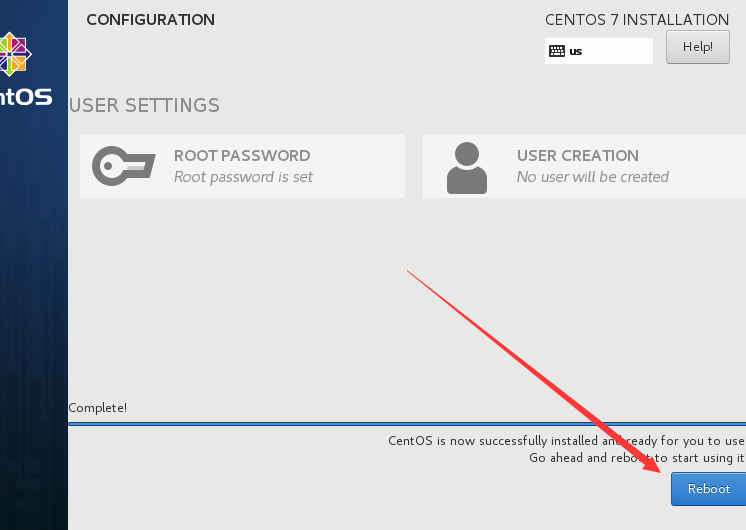
11. After the installation is complete, click "Reboot" in the lower right corner to restart the computer.
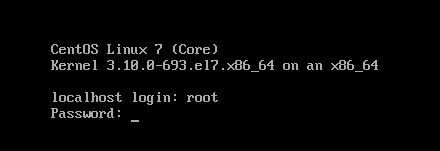
12. Use root to log in to the system
13. Modify the hostname:
vi / etc / hostname
Delete the contents of the file, direct the data hostname
The result is as follows:

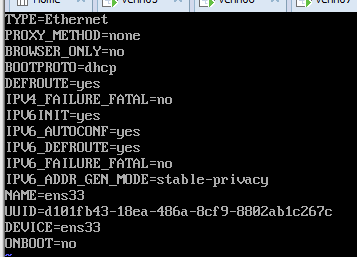
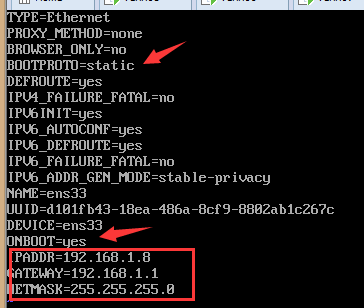
14. Modify IP to static IP
vim /etc/sysconfig/network-scripts/ ifcfg-ens33 file may be different
Before modification, after modification is as follows, ip depends on the specific situation
My host ip address is: 192.168.1.107
The ip address of the venn05 virtual machine is: 192.168.1.5
The ip address of the venn06 virtual machine is: 192.168.1.6
And so on
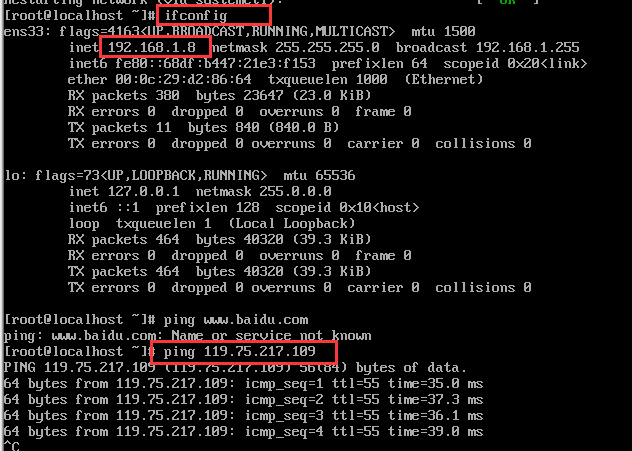
15. Restart the network, check the ip, and ping Baidu (ip: 119.75.217.109)
service network restart
16. Turn off the firewall
停止firewall : systemctl stop firewalld.service
Disable firewall startup: systemctl disable firewalld.service
Note: centos uses firewall as the default firewall, not iptables
reboot to restart the computer, the installation is complete, and the installation of other node virtual machines is the same.