Migrating or moving a WordPress site is a common and annoying task. Whether it is between two different remote web servers, or between a development server and a production server, or from a production server to a local, you can migrate in many directions. In most cases, one-click migration WP is still the tool of choice for most WordPress beginners. Below we introduce one of the best free ways to migrate WP-All in One WP Migration.
If you need to move an existing website. This article will detail how to use All in One WP Migration in ServMask to quickly move all the information from the old site to the WordPress installation of the new host (ie "migration"). In this tutorial, it is assumed that your old host has not expired, and you have purchased and installed a brand new WordPress on the new host.
1. Log in to your old Wordpress site as an administrator.
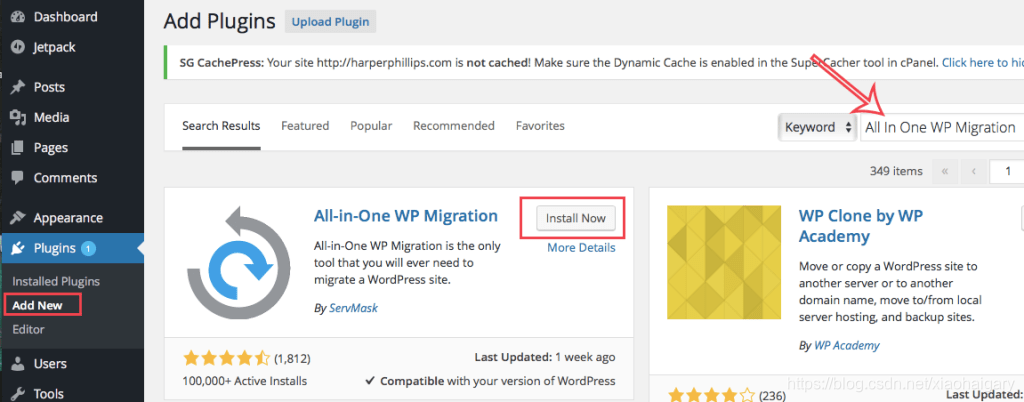
2. Select "Plugins>Add New" from the left menu.
3. Search "All in one WP Migration" in the search field in the upper right corner, and then click "Install Now" when you find the correct plug-in from ServMask.
4. Click "Enable" to activate the plug-in.
5. Find the "All-in-One WP Migration" menu (under "Tool" in the left column), and then select "Export".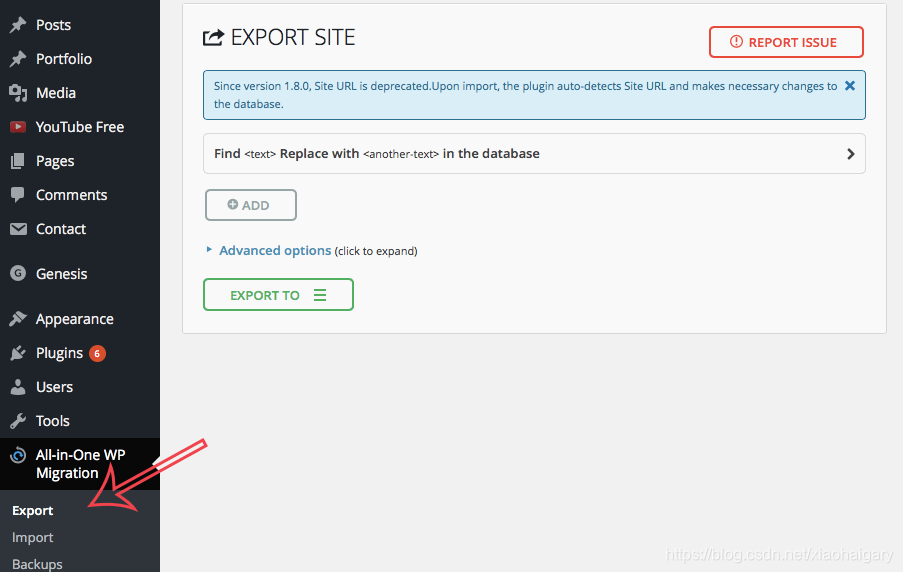
6. Click "Export To", and then select the "File" option.
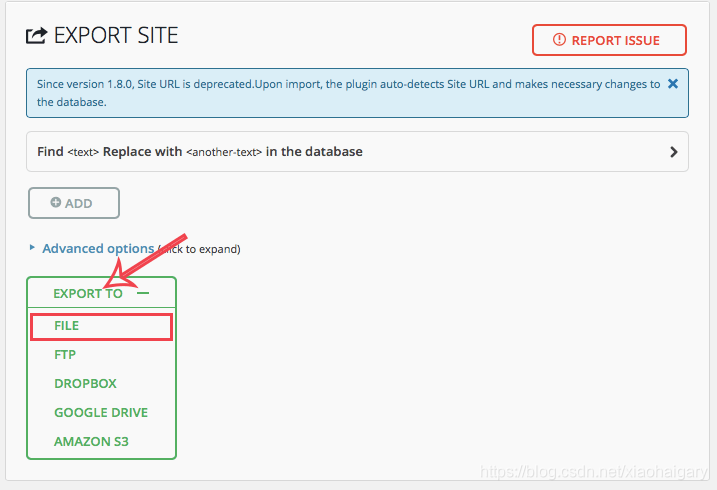
7. After the plug-in runs, click the button in the pop-up window to download the file. The downloaded file will end with the extension .wpress. Changing this extension will cause the migration to fail, so please leave it as it is.

8. Repeat steps 1-4 on your new WordPress installation. (In short, make sure you install the plugin on the receiving site.)
9. On the new WordPress site, select "Import" under the "All in One WP Migration" menu.
10. Drag the .wpress file downloaded from the original site to the drag-and-drop window to start importing.

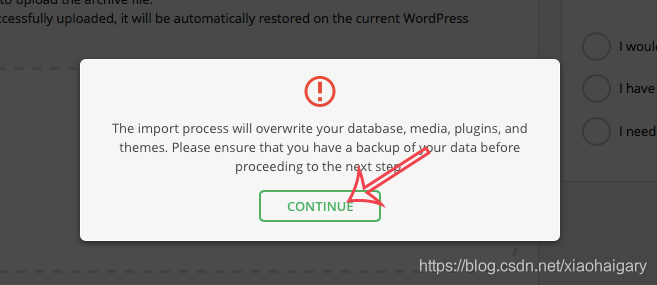
11. After the file import is complete, click "Continue". Since this is a new installation, you don’t need to worry about anything being overwritten.
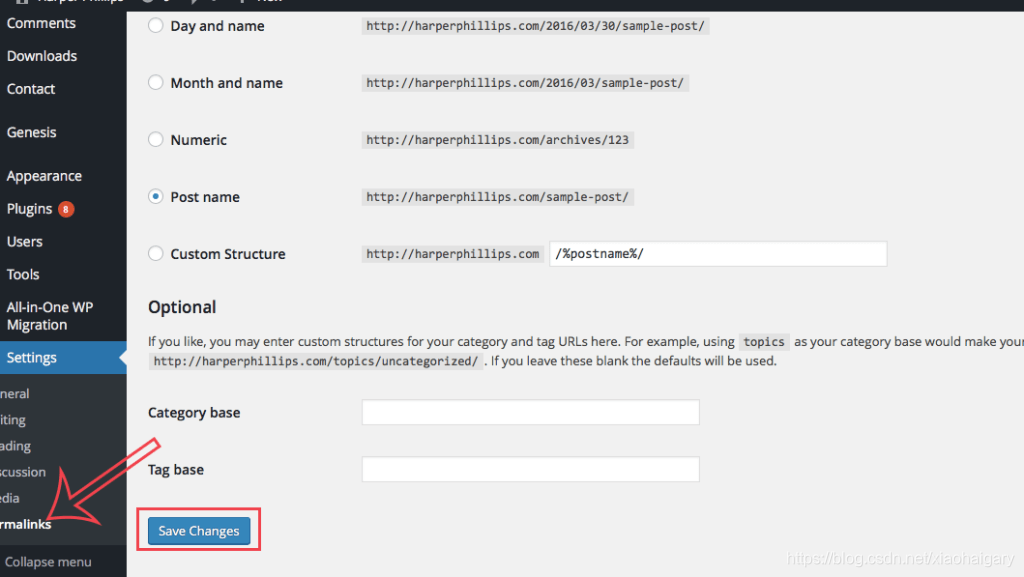
12. In the left menu, select "Settings>Permanent Link", and then click "Save Changes". No need to edit any default permalink structure information.
13. Now please log out of the dashboard and log in again. Don’t forget that you have imported all the data from the old website, including your username and old password.
That's it! Now go and check your new website to make sure everything is in order.