Use yolov 4 to test your own data set (pytorch) Use yolov4 to test your own data set (pytorch) So with Y O L O V . 4 feed lines from the own number data set of the subject test ( P Y T O R & lt C H )
Not yet perfect, short of time recently, save for next time
https://codechina.csdn.net/mirrors/bubbliiiing/yolov4-pytorch?utm_source=csdn_github_accelerator
Modify the size of the detection data set and modify the labeling information to make the labeling position accurate
Modify the yolov4 network to adapt to the size of its own training image
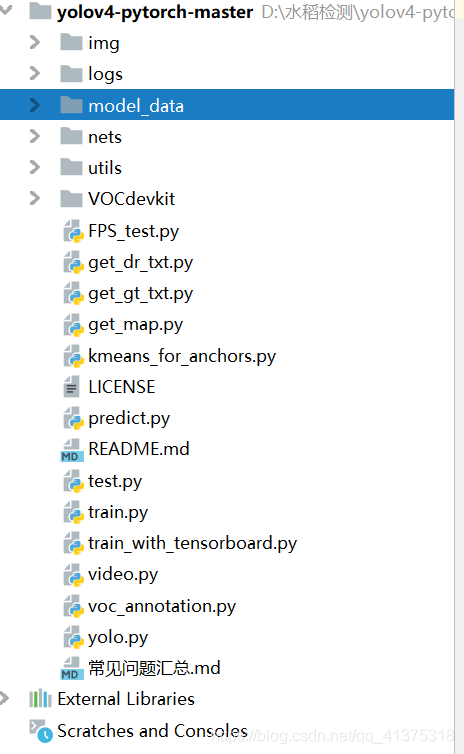
Project structure
1. Environmental requirements
pytorch
opencv-python
tqdm
2. Pre-operation
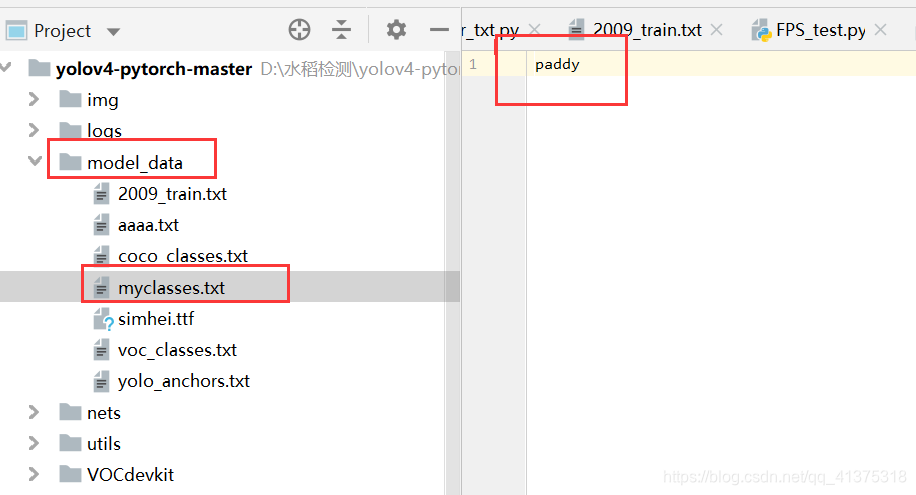
2.1 Create myclasses.txt file
Always in need before training model_dataunder a new file myclasses.txt
paddy
This is the category file of the coco data set,coco_classes.txt
person
bicycle
car
motorbike
aeroplane
bus
train
...
...
...
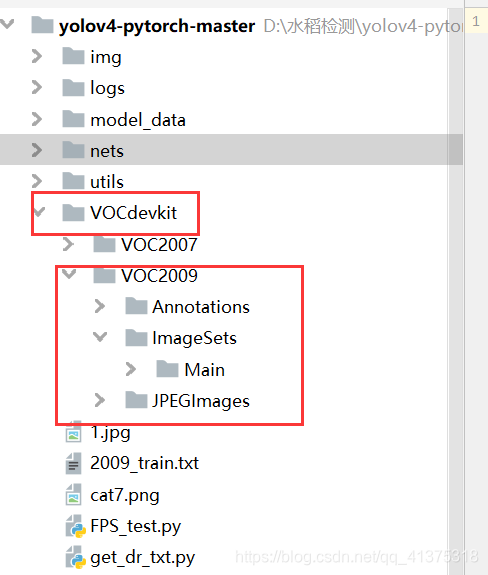
2.2 Create a VOC2009 folder under VOCdevkit as follows:
Why is voc2009, in fact, there is no reason, just write it casually, in order to reproduce more details
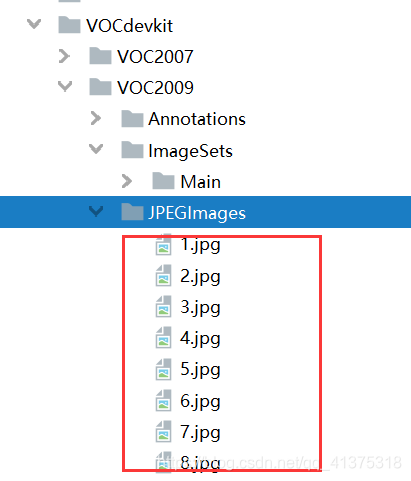
2.3 Put pictures into JPEGImages
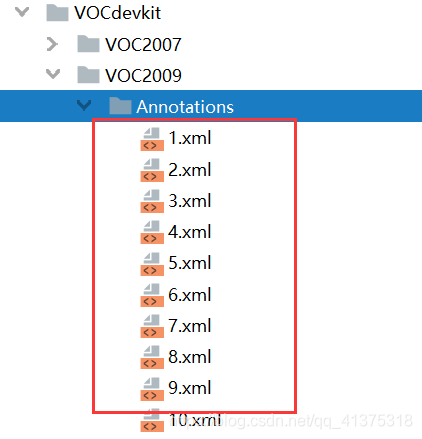
2.4 Put the corresponding label into Annotations
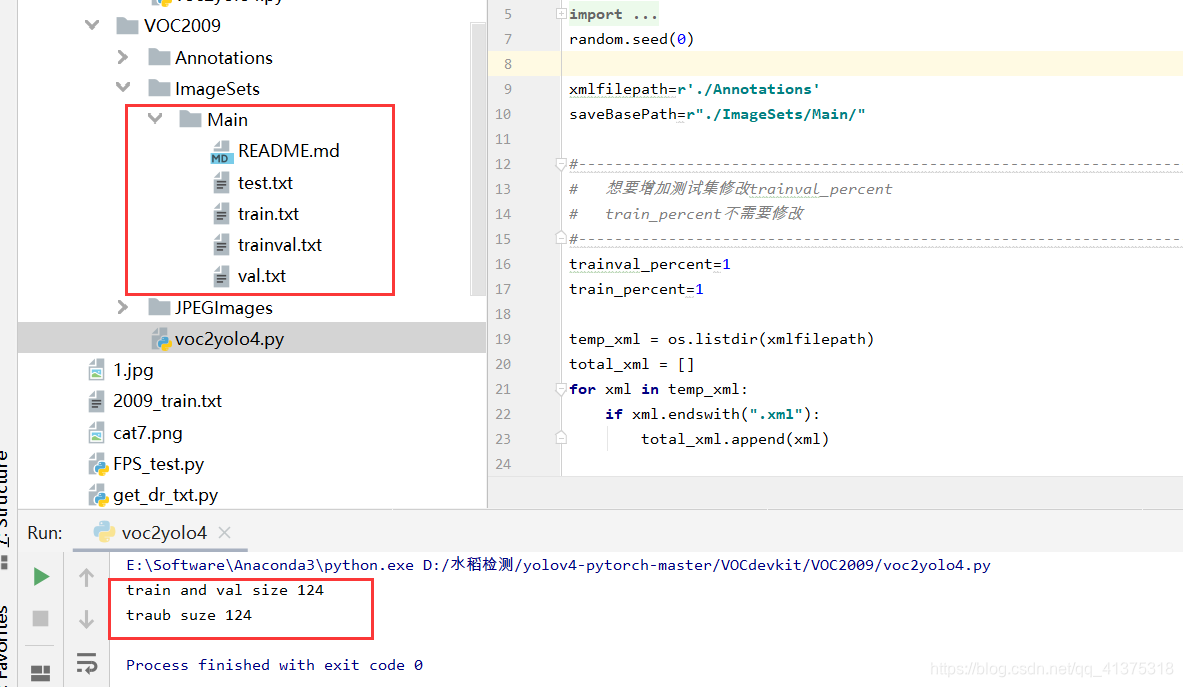
2.5 Use the voc2yolo4.py file to generate the corresponding txt under ImageSets/Main
2.6 Then run voc_annotation.py in the root directory, and you need to change the classes to your own classes before running.
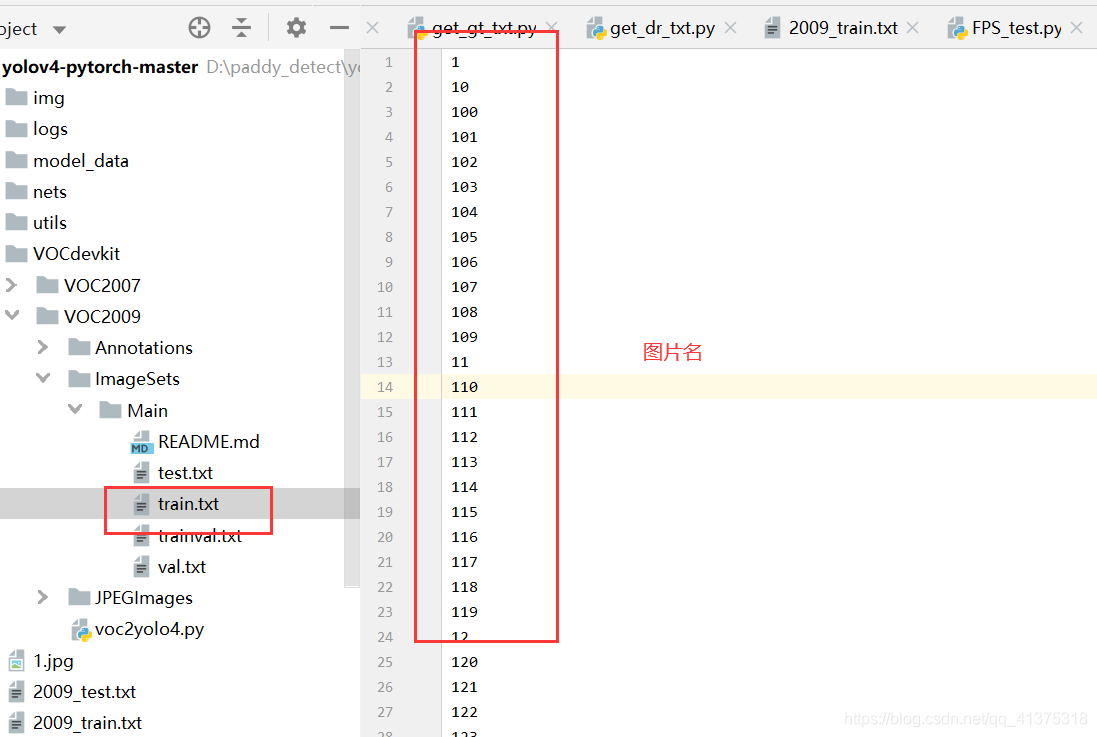
Be careful not to use Chinese labels, and no spaces in the folder!
The project file should not exist in the Chinese path,
change it to this,
otherwise the generated train.txt will be like this


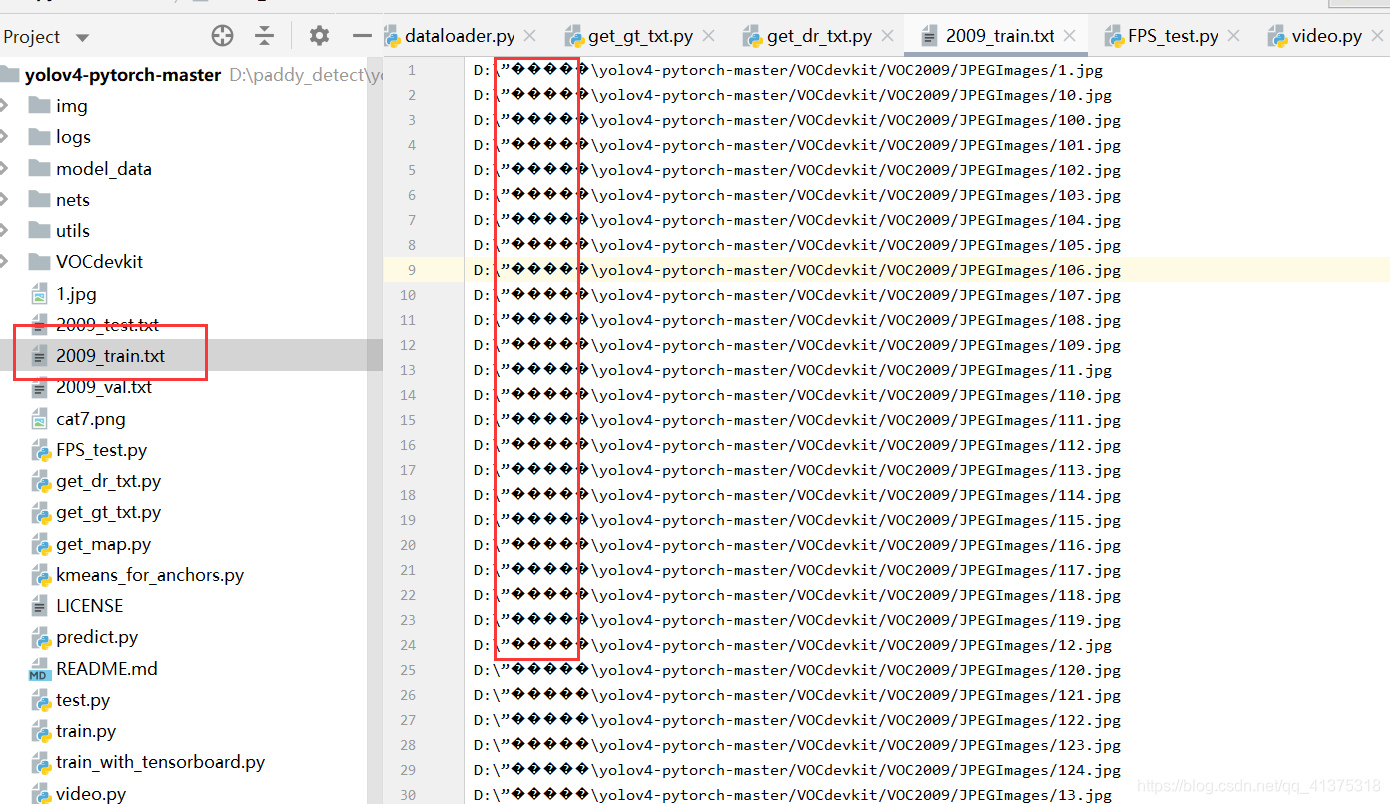

At this time, the corresponding 2009_train.txt will be generated, and each line corresponds to the position of the picture and the position of the real frame.
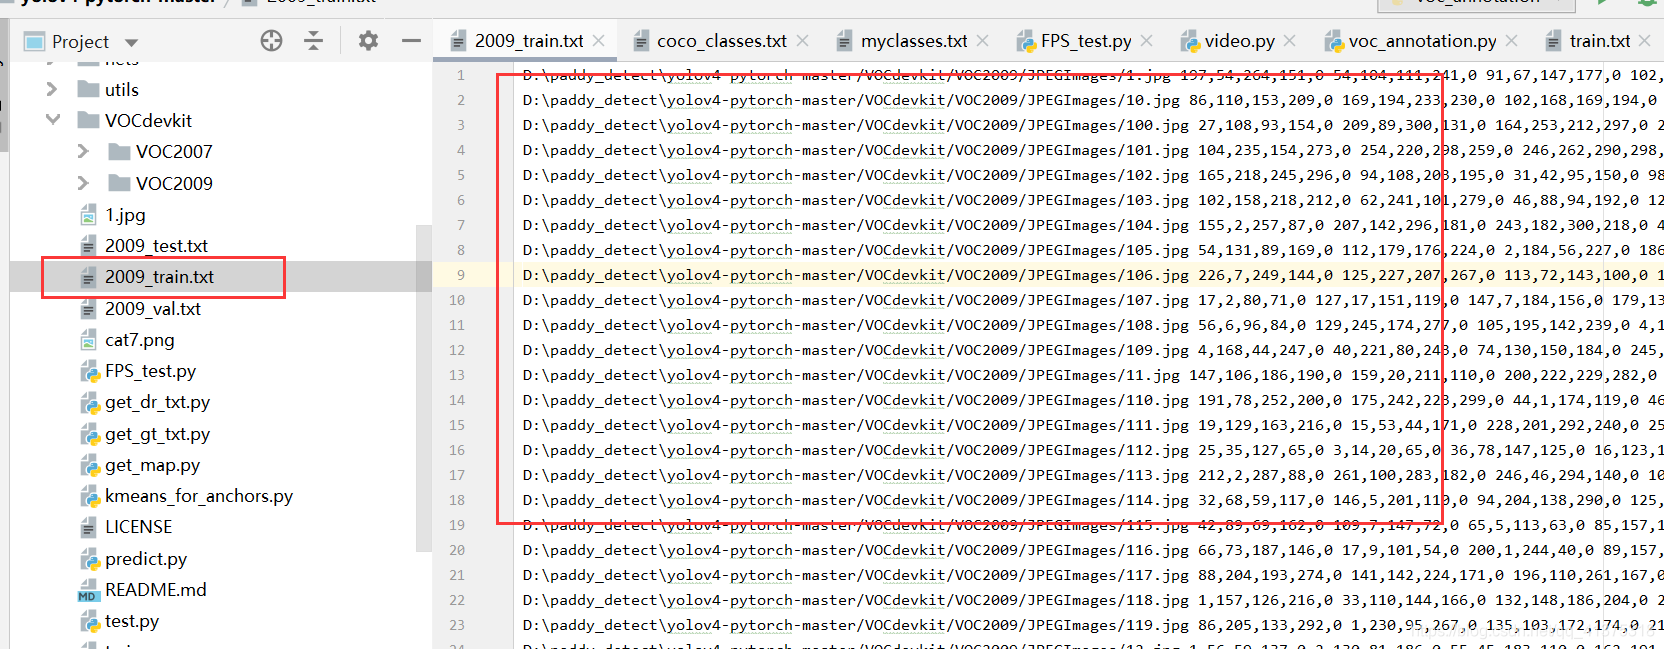
If you don’t change the classes, there won’t be the following coordinates and categories.
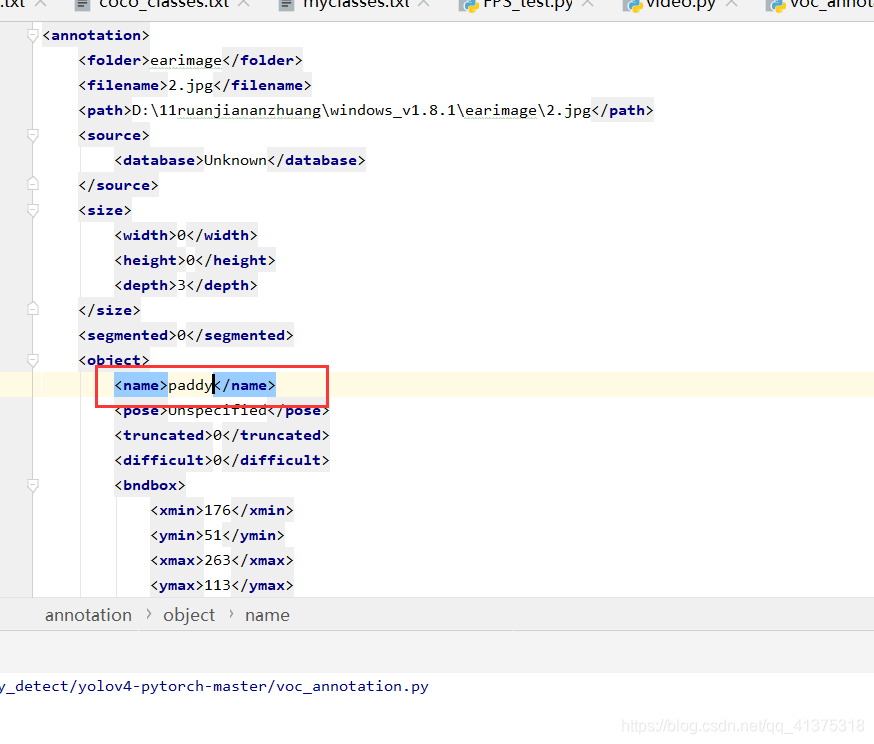
The root is to
look at the xml file of your label.
3. Training
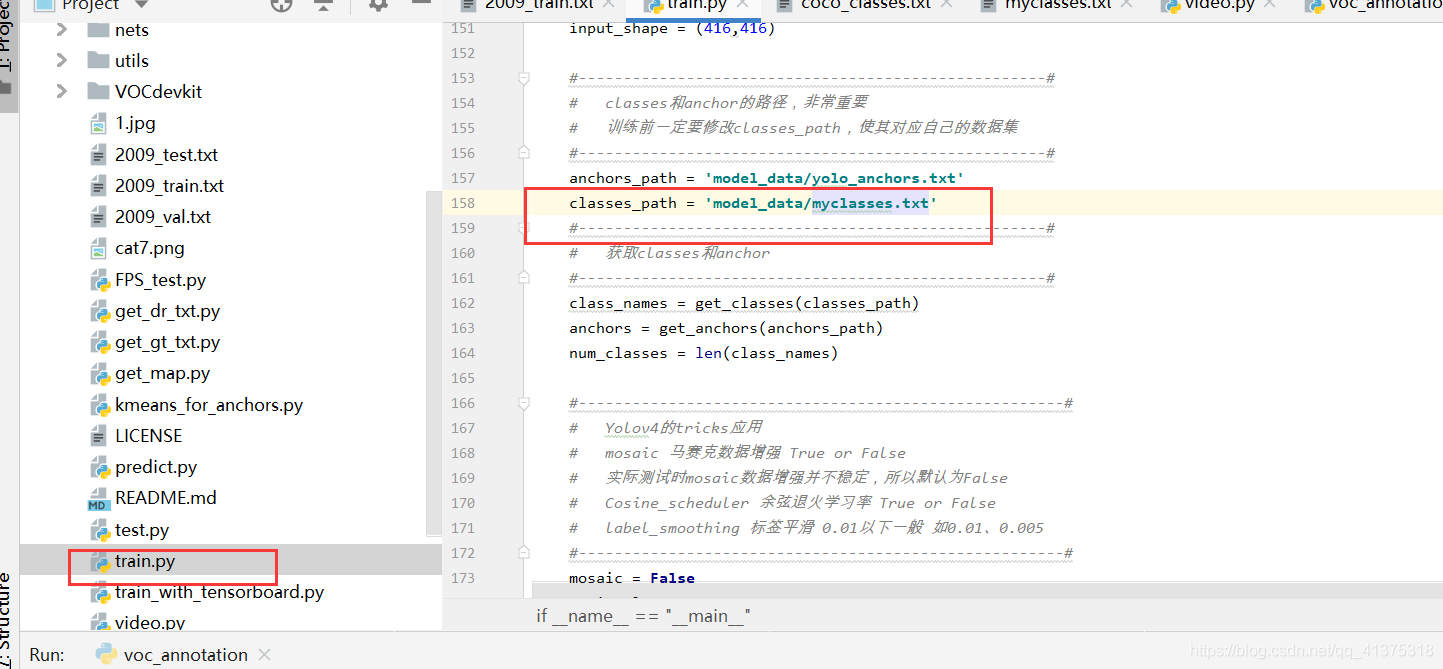
3.1 Point classes_path to the my_classes.txt file created before in train.py
3.2 Use self-trained weights
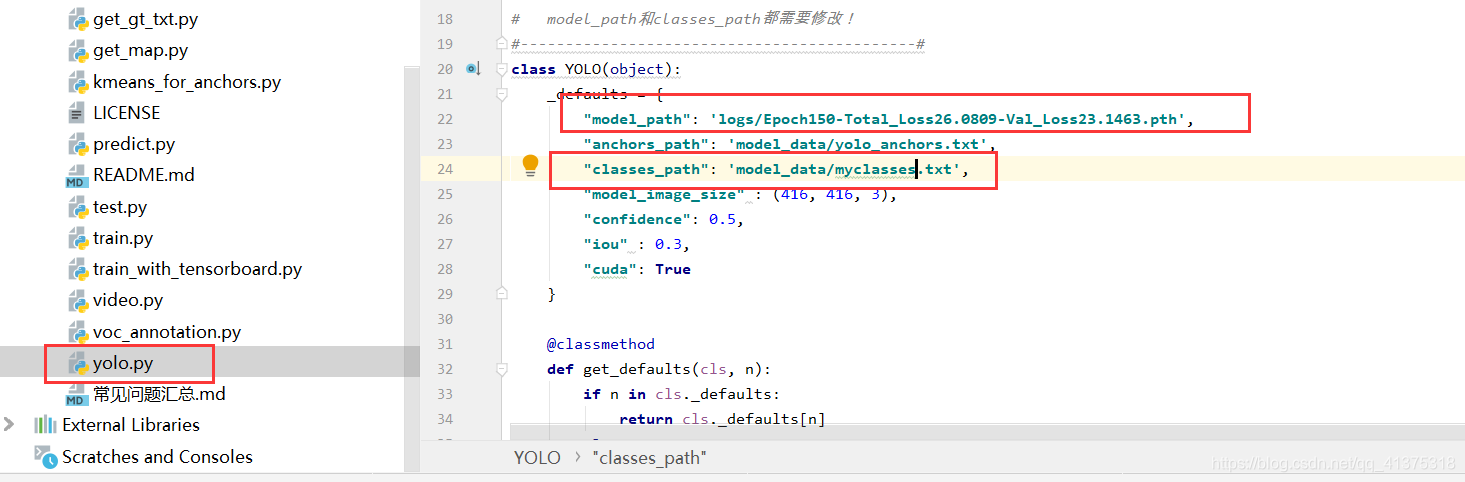
In the yolo.pyfile, modify model_pathand classes_pathmake it correspond to the trained file in the following parts ; model_path corresponds to the weight file under the logs folder, and classes_path is the class corresponding to model_path.
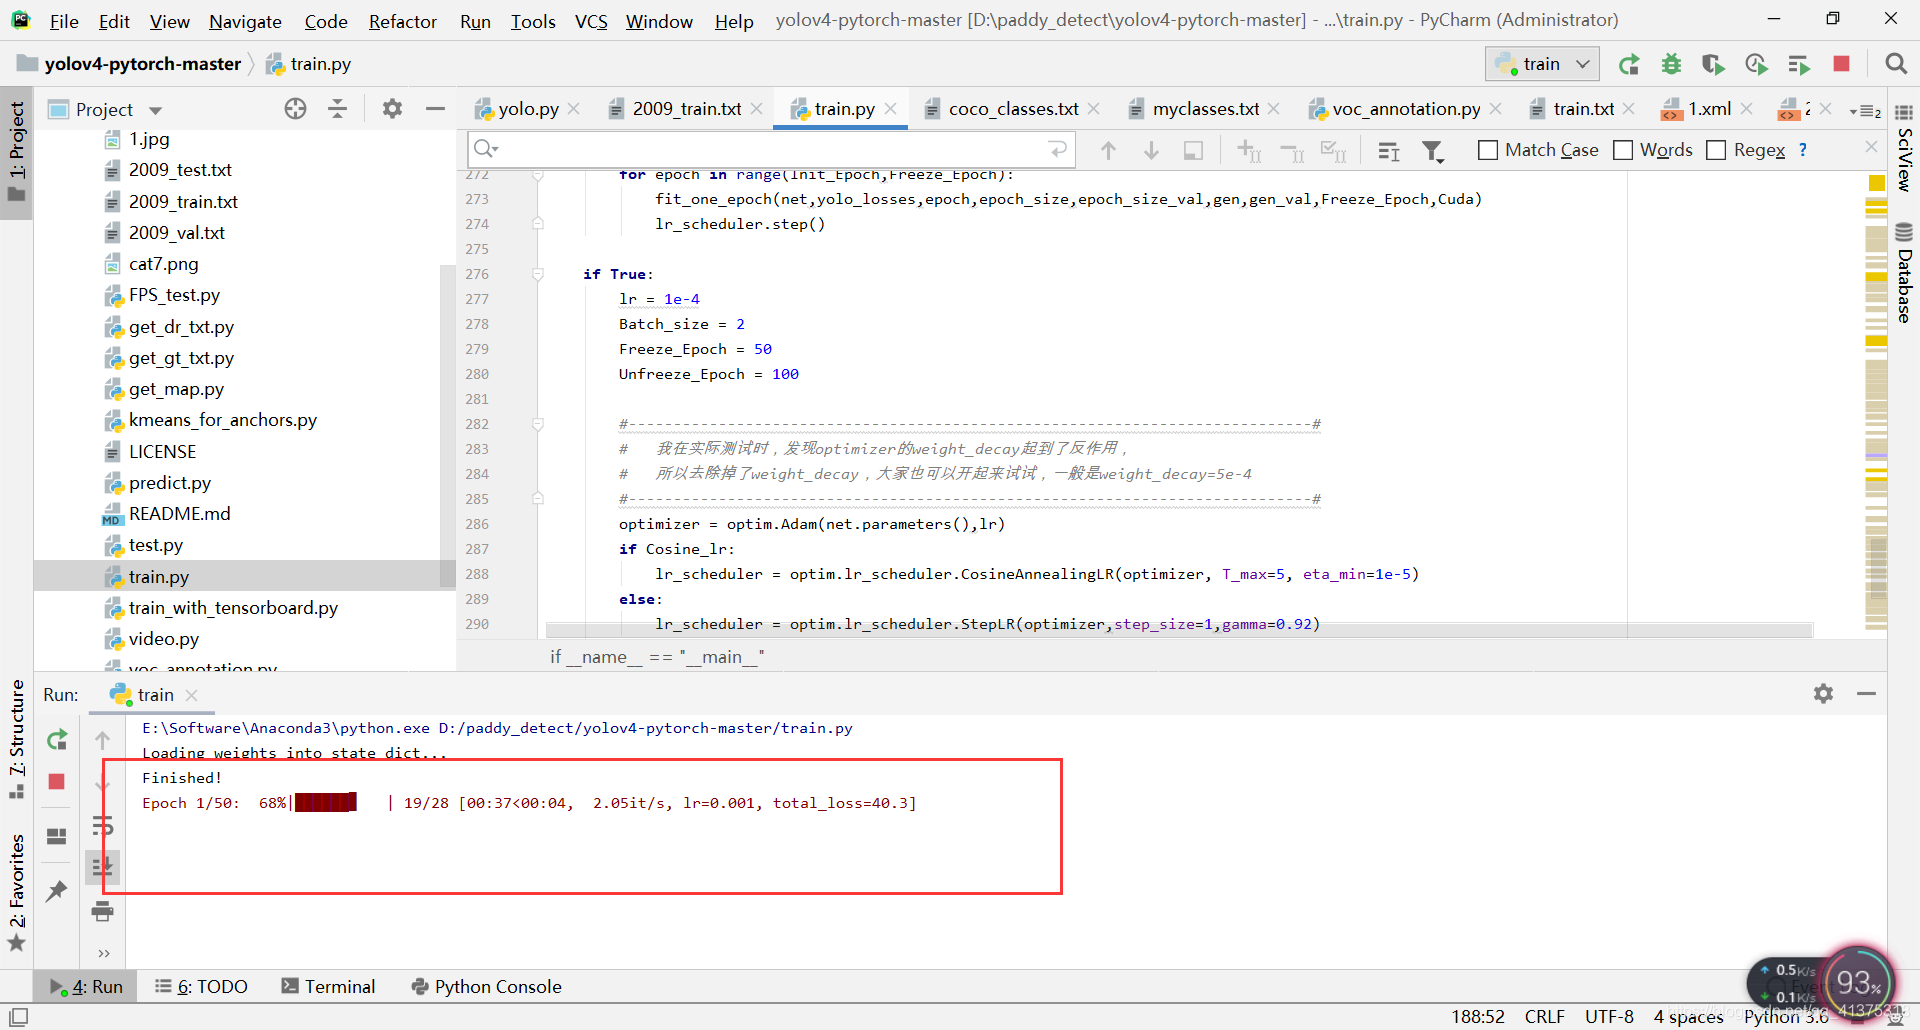
3.3 Start training
Run train.py to start training.
4. Forecast
Use your own training weight
a, follow the training steps to train.
b. In the yolo.py file, modify model_path and classes_path in the following parts to make them correspond to the trained files; model_path corresponds to the weight file under the logs folder, and classes_path is the class corresponding to model_path.
    _defaults = {


        "model_path": 'logs/Epoch150-Total_Loss26.0809-Val_Loss23.1463.pth',
        "anchors_path": 'model_data/yolo_anchors.txt',
        "classes_path": 'model_data/myclasses.txt',
        "model_image_size" : (416, 416, 3),
        "confidence": 0.5,
        "iou" : 0.3,
        "cuda": True
    }
c. Run predict.py and enter
img/fire.jpg
The forecast can be completed.
Training skills
Under the train.py file:
1. The mosaic parameter can be used to control whether to achieve Mosaic data enhancement. (This method is not applicable to all data sets, and can be adjusted according to the actual situation)
2. Cosine_scheduler can be used to control whether to use the learning rate cosine annealing decay.
3. label_smoothing can be used to control whether Label Smoothing is smooth.