1. Install Node.js, cnpm, webpack, vue-cli
1. Install Node.js:
Official website https://nodejs.org/en/download/ select .msi to install. After the installation is successful, open cmd, enter node -v and npm -v to view the version number.
2. Install cnpm (faster than npm because it uses Taobao's server as the package source):
In cmd, enter the command: npm install -g cnpm --registry=https://registry.npm.taobao.org. The installation is successful, enter cnpm -v to view related information.
3. Install webpack (static module bundler module bundler for js applications):
In cmd, enter the command: cnpm install webpack -g to install.
4. Install vue-cli (a tool used to generate vue templates):
In cmd, enter the command: cnpm install vue-cli -g to install.
After the installation is successful, enter the command: cnpm install -g @vue/cli-init
Two, create a new vue project in cmd for testing
-
In cmd, cd into the file directory where you want to save the project. Enter the command: cnpm install -g @vue/cli-init.
-
Enter the command: vue init webpack testDemo to create a new project. (It is best not to have uppercase, otherwise the first one will prompt you that the Project name cannot have uppercase, and a lowercase name is required).
Enter the first one, and fill in the second two with no (because cnpm will be used to download dependencies later, npm is too slow). The last one was originally selected "Yes, use NPM" (blue is selected), use the down arrow key to select the third one (as shown in the figure) and press Enter.

3. After that, the suggestion will be displayed as shown below (change all npm inside to cnpm and then execute

one by one , otherwise npm will be too slow) Run the following commands one by one, the first one: cd testDemo, the second one: cnpm install, the first Three: cnpm run lint---fix, fourth: cnpm run dev
- According to the prompts given, visit the browser through http://localhost:8080 address. A successful access means a successful test.
Three, install vscode, plug-in vetur, plug-in eslint, plug-in prettier
Install vscode extension
- ESLint
- Prettier - Code formatter
- Winter

- The plug-in is installed via the extensions on the left (the extensions on the left can be opened via the Crtl+Shift+X shortcut). Restart vscode after the installation of the three plugins is complete.
- Change the configuration file setting.json (open method: the setting icon in the lower left corner of the interface ->Settings->search eslint in the search box->click edit in setting.json).

Change the setting.json file as follows:
{


"editor.fontFamily": "Fira Code, Consolas", //调整字体,Fira Code

"editor.detectIndentation": false,// vscode默认启用了根据文件类型自动设置tabsize的选项

"editor.tabSize": 4, // 重新设定tabsize

"editor.formatOnSave": true, // #每次保存的时候自动格式化

"editor.formatOnPaste": true,

"editor.formatOnType": false,

"editor.suggestSelection": "first",

"editor.autoIndent": false,

"editor.codeActionsOnSave": {


"source.fixAll.eslint": true

},


"eslint.enable": true,

"eslint.run": "onType",

// 添加 vue 支持

"eslint.validate": [

"javascript",

"javascriptreact",

"vue-html",

"html",

"vue"

],

"eslint.options": {


"extensions": [

".js",

".vue"

]

},

"files.associations": {


"*.vue": "vue",

"*.js": "javascript",

"*.cjson": "jsonc",

"*.wxss": "css",

"*.wxs": "javascript",

// "*.wpy": "vue"

},


// #去掉代码结尾的分号

"prettier.semi": false,

// #使用带引号替代双引号

"prettier.singleQuote": true,

// #让函数(名)和后面的括号之间加个空格

"javascript.format.insertSpaceBeforeFunctionParenthesis": true,

// #这个按用户自身习惯选择

"vetur.format.defaultFormatter.html": "js-beautify-html",

// #让vue中的js按编辑器自带的ts格式进行格式化

"vetur.format.defaultFormatter.js": "vscode-typescript",


"git.ignoreMissingGitWarning": true,

"git.confirmSync": false,

"git.autofetch": true,

"git.enableSmartCommit": true,

"files.autoSave": "onWindowChange",

"explorer.confirmDelete": false,

"terminal.integrated.rendererType": "dom",

"vetur.format.defaultFormatterOptions": {


"js-beautify-html": {


"wrap_attributes": "force-aligned"

// #vue组件中html代码格式化样式

}

},

"[javascript]": {


"editor.defaultFormatter": "esbenp.prettier-vscode"

},

"extensions.autoUpdate": true,

}
- If you want to automatically change the double quotation marks to single quotation marks every time you save, create a new ".prettierrc" in the project root directory. The content of the file is as follows:

Restart (maybe required) vscode to take effect. (In fact, right-click on vscode has "formatted document")
Fourth, run the vue project in vscode
-
File -> Open Folder, open the testDemo project created just now using cmd.
-
Open Terminal (you can open Terminal-> New Terminal in the toolbar at the top)
-
Enter the command: cnpm install, which is used to check and download dependencies. (I encountered a lot of problems in this step, and I will explain the problems and solutions I have encountered at the end of the article)
-
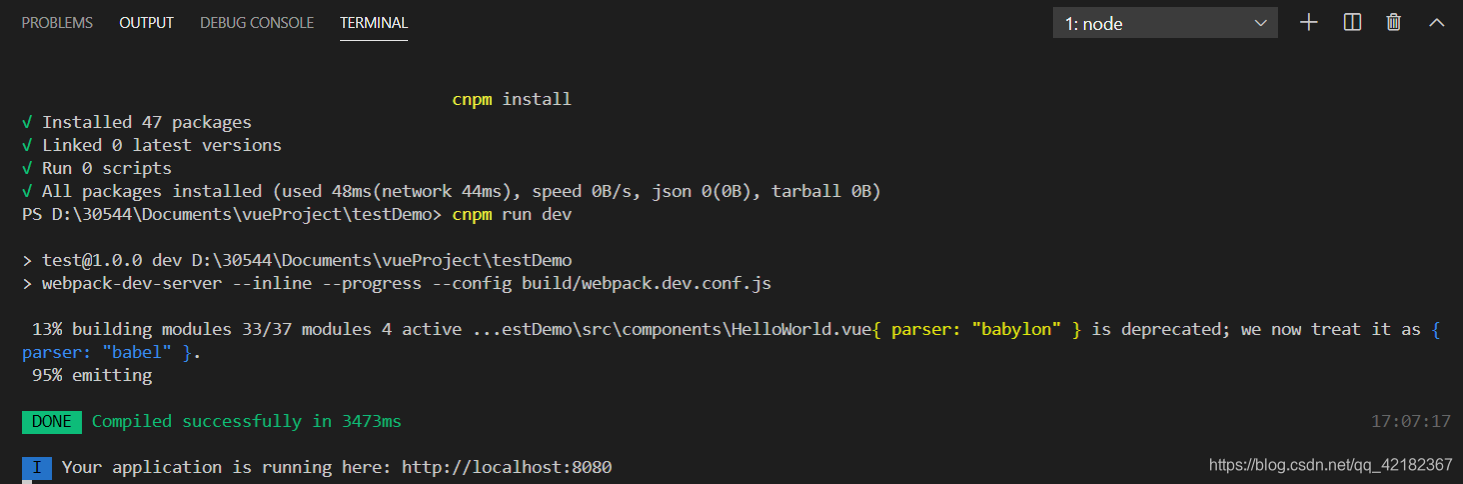
Enter the command: cnpm run dev to run the project.
-
According to the prompts given, visit the browser through http://localhost:8080 address.
Five, the pits encountered when using cnpm
Problem: When using cnpm install, an error "cnpm: unable to load file..." is reported because it is forbidden to run scripts on this system...."
The error is as follows:

solution
-
Search for Windows PowerShell in the win10 search box and run it as an administrator.
-
Enter the command: set-executjionpolicy remotesigned. (Unfortunately, there is a problem at this step. I forgot to take the screenshot when I reported the error. It probably means that this command can't run. See the next step for the solution.) (If you can succeed in this step, please skip to step 4)
-
Solve the problem in step 2 (see step 4 if there is no problem in step 2): Enter the command in cmd: get-help set-executionpolicy. After running this command, try to run the command in 2 in PowerShell. If it succeeds, go to step 4.
-
Change the permission to A. Enter the command: Ge-ExecutionPolicy.

- Back to vscode, enter the command in Terminal: cnpm -v. If it succeeds, the problem is solved and cnpm install can run normally.