The specific method is as follows
1. Click System Preferences.

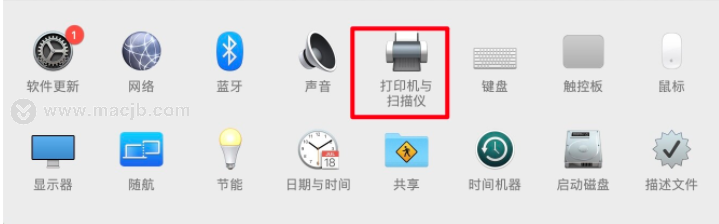
2. Select "Printers and Scanners".
3. Click the "+" sign in the left frame, as shown in the figure, to add the printer list.

4. The computer will automatically search for shared printers in the entire local area network and appear in the display box below, as shown in the figure.

5. In the list of searched printers, just select one directly.

6. If the selected printer option is wrong and needs to be deleted, click the "-" sign, as shown in the figure, to delete the added printer.

The newly-purchased printer, if it is not connected to a Mac computer, cannot be used directly for printing. The above are the steps for adding a printer to a Mac computer. I hope to help you connect the printer smoothly.