Realize snow special effects through texture import
1. The texture import process in VUE
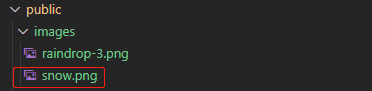
1.1 Texture image storage path
When importing in vue, the default is public, so the texture image to be used needs to be placed in this path. The snow.png in the images folder as shown below is the texture image we want to use
1.2 Get the BASE_URL in the environment variable
Create a variable publicPath in the data attribute of vue, the value of this variable is the environment variable process.env.BASE_URL in vue

1.3 Load texture maps through THREE.TextureLoader
const THIS = this
const textureLoader = new THREE.TextureLoader()
const loadTexture = textureLoader.load(
  `${

      THIS.publicPath}images/snow.png`
)
2. Create snow special effects
2.1 Create snowflakes with loaded texture maps
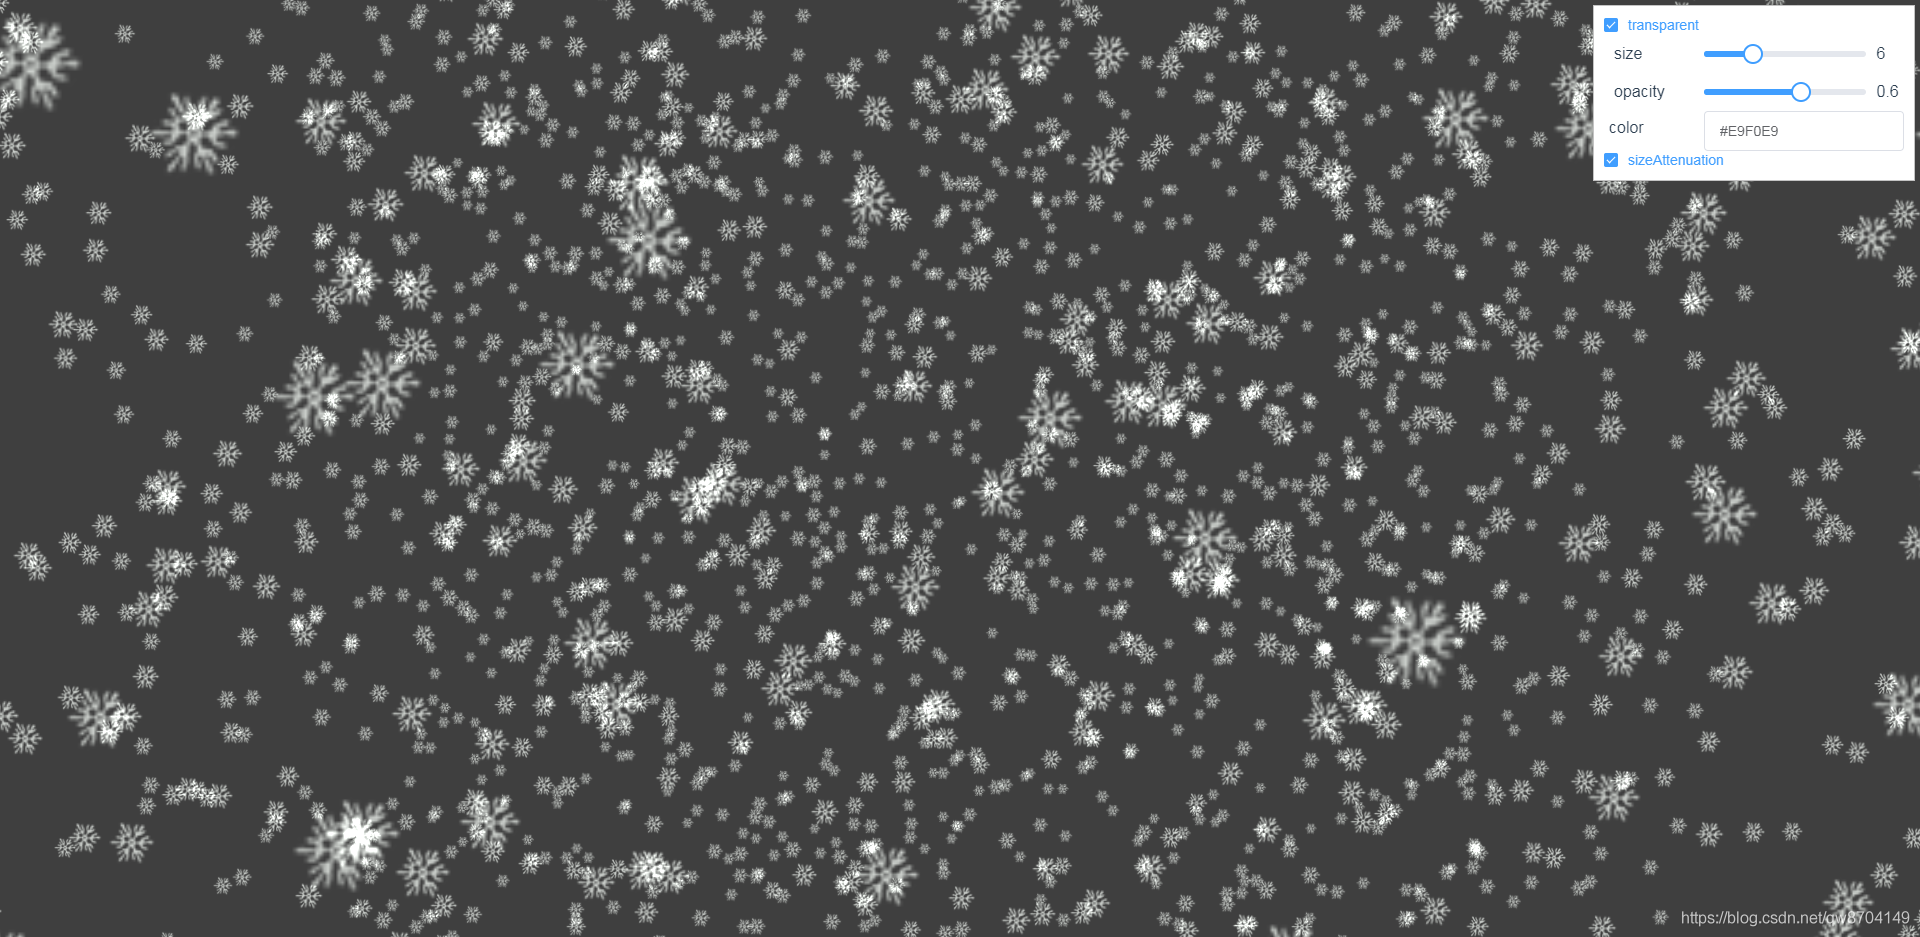
In the example, assign the loaded snowflake texture map to the map property of the THREE.PointsMaterial material to obtain a particle material in the shape of a snowflake, and then randomly create a snowflake and add it to the vertices property of the Geometry object. Finally, use THREE.Points to create a particle system, and Add the particle system to the scene
// 创建粒子
createParticleSystem () {


  const THIS = this
  const textureLoader = new THREE.TextureLoader()
  const loadTexture = textureLoader.load(
    `${

      THIS.publicPath}images/snow.png`
  )
  // 创建几何体
  const geom = new THREE.Geometry()
  const material = new THREE.PointsMaterial({


    map: loadTexture,
    size: this.properties.size.value,
    transparent: this.properties.transparent,
    opacity: this.properties.opacity.value,
    sizeAttenuation: this.properties.sizeAttenuation,
    color: this.properties.color,
    blending: THREE.AdditiveBlending,
    depthTest: false // 解决透明度问题
  })
  const range = 160
  for (let i = 0; i < 3000; i++) {


    const particle = new THREE.Vector3(
      Math.random() * range - range / 2,
      Math.random() * range * 1.5,
      Math.random() * range - range / 2
    )
    particle.velocityY = 0.1 + Math.random() / 5
    particle.velocityX = (Math.random() - 0.5) / 3
    // 给几何体添加顶点坐标
    geom.vertices.push(particle)
  }
  // 创建粒子系统对象
  this.points = new THREE.Points(geom, material)
  this.points.sortParticles = true
  this.points.verticesNeedUpdate = true
  // 将粒子系统对象添加到场景
  this.scene.add(this.points)
}
2.2 Realize snow special effects animation
In the render() function, call the following rainAnimation() function to realize the snow special effect animation
rainAnimation () {


  const vertices = this.points.geometry.vertices
  vertices.forEach(v => {


    v.y = v.y - v.velocityY * 3
    v.x = v.x - v.velocityX * 0.5
    if (v.y <= -60) v.y = 60
    if (v.x <= -20 || v.x >= 20) v.velocityX = v.velocityX * -1
  })
  // 实时更新网格的顶点信息
  this.points.geometry.verticesNeedUpdate = true
}
3.demo effect
4.demo code
<template>
  <div>
    <div id="container"></div>
    <div class="controls-box">
      <section>
        <el-row>
          <el-checkbox v-model="properties.transparent" @change="redraw">transparent</el-checkbox>
        </el-row>
        <el-row>
          <div v-for="(item,key) in properties" :key="key">
            <div v-if="item&&item.name!=undefined">
              <el-col :span="8">
                <span class="vertice-span">{

    {

    item.name}}</span>
              </el-col>
              <el-col :span="13">
                <el-slider v-model="item.value" :min="item.min" :max="item.max" :step="item.step" :format-tooltip="formatTooltip" @change="redraw"></el-slider>
              </el-col>
              <el-col :span="3">
                <span class="vertice-span">{

    {

    item.value}}</span>
              </el-col>
            </div>
          </div>
        </el-row>
        <el-row>
          <el-col :span="8" class="label-col"><label> color</label></el-col>
          <el-col :span="16">
            <div @click="inputClick">
              <el-input :value="properties.color"></el-input>
            </div>
            <div v-show="isShowColors" class="color-select-layer">
              <sketch-picker v-model="properties.color" @input="colorChange"></sketch-picker>
            </div>
          </el-col>
        </el-row>
        <el-row>
          <el-checkbox v-model="properties.sizeAttenuation" @change="redraw">sizeAttenuation</el-checkbox>
        </el-row>
      </section>
    </div>
  </div>
</template>

<script>
import * as THREE from 'three'
import {

     OrbitControls } from 'three/examples/jsm/controls/OrbitControls.js'
import {

     Sketch } from 'vue-color'
export default {


  components: {


    'sketch-picker': Sketch
  },
  data () {


    return {


      publicPath: process.env.BASE_URL,
      properties: {


        size: {


          name: 'size',
          value: 6,
          min: 0,
          max: 20,
          step: 0.1
        },
        opacity: {


          name: 'opacity',
          value: 0.6,
          min: 0,
          max: 1,
          step: 0.1
        },
        transparent: true,
        sizeAttenuation: true,
        color: '#E9F0E9'
      },
      isShowColors: false,
      points: null,
      camera: null,
      scene: null,
      renderer: null,
      controls: null
    }
  },
  mounted () {


    this.init()
  },
  methods: {


    formatTooltip (val) {


      return val
    },
    inputClick () {


      this.isShowColors = !this.isShowColors
    },
    colorChange (val) {


      this.properties.color = val.hex
      this.redraw()
    },
    // 初始化
    init () {


      this.createScene() // 创建场景
      this.createParticleSystem() // 创建粒子系统
      this.createCamera() // 创建相机
      this.createRender() // 创建渲染器
      this.createControls() // 创建控件对象
      this.render() // 渲染
    },
    // 创建场景
    createScene () {


      this.scene = new THREE.Scene()
    },
    // 创建粒子
    createParticleSystem () {


      const THIS = this
      const textureLoader = new THREE.TextureLoader()
      const loadTexture = textureLoader.load(
        `${

      THIS.publicPath}images/snow.png`
      )
      // 创建几何体
      const geom = new THREE.Geometry()
      const material = new THREE.PointsMaterial({


        map: loadTexture,
        size: this.properties.size.value,
        transparent: this.properties.transparent,
        opacity: this.properties.opacity.value,
        sizeAttenuation: this.properties.sizeAttenuation,
        color: this.properties.color,
        blending: THREE.AdditiveBlending,
        depthTest: false // 解决透明度问题
      })
      const range = 160
      for (let i = 0; i < 3000; i++) {


        const particle = new THREE.Vector3(
          Math.random() * range - range / 2,
          Math.random() * range * 1.5,
          Math.random() * range - range / 2
        )
        particle.velocityY = 0.1 + Math.random() / 5
        particle.velocityX = (Math.random() - 0.5) / 3
        // 给几何体添加顶点坐标
        geom.vertices.push(particle)
      }
      // 创建粒子系统对象
      this.points = new THREE.Points(geom, material)
      this.points.sortParticles = true
      this.points.verticesNeedUpdate = true
      // 将粒子系统对象添加到场景
      this.scene.add(this.points)
    },

    // 创建相机
    createCamera () {


      const element = document.getElementById('container')
      const width = element.clientWidth // 窗口宽度
      const height = element.clientHeight // 窗口高度
      const k = width / height // 窗口宽高比
      // PerspectiveCamera( fov, aspect, near, far )
      this.camera = new THREE.PerspectiveCamera(45, k, 0.1, 1000)
      this.camera.position.set(0, 0, 100) // 设置相机位置

      this.camera.lookAt(new THREE.Vector3(10, 0, 0)) // 设置相机方向
      this.scene.add(this.camera)
    },
    // 创建渲染器
    createRender () {


      const element = document.getElementById('container')
      this.renderer = new THREE.WebGLRenderer({

     antialias: true, alpha: true })
      this.renderer.setSize(element.clientWidth, element.clientHeight) // 设置渲染区域尺寸
      this.renderer.setClearColor(0x3f3f3f, 1) // 设置背景颜色
      element.appendChild(this.renderer.domElement)
    },
    redraw () {


      if (this.points) {


        this.scene.remove(this.points)
      }
      this.createParticleSystem()
    },
    rainAnimation () {


      const vertices = this.points.geometry.vertices
      vertices.forEach(v => {


        v.y = v.y - v.velocityY * 3
        v.x = v.x - v.velocityX * 0.5

        if (v.y <= -60) v.y = 60
        if (v.x <= -20 || v.x >= 20) v.velocityX = v.velocityX * -1
      })
      // 实时更新网格的顶点信息
      this.points.geometry.verticesNeedUpdate = true
    },
    render () {


      this.rainAnimation()
      this.renderer.render(this.scene, this.camera)
      requestAnimationFrame(this.render)
    },
    // 创建控件对象
    createControls () {


      this.controls = new OrbitControls(this.camera, this.renderer.domElement)
    }
  }
}
</script>
<style>
#container {


  position: absolute;
  width: 100%;
  height: 100%;
}
.controls-box {


  position: absolute;
  right: 5px;
  top: 5px;
  width: 300px;
  padding: 10px;
  background-color: #fff;
  border: 1px solid #c3c3c3;
}
.label-col {


  padding: 8px 5px;
}
.color-select-layer {


  position: relative;
  left: -20px;
  padding: 15px 0;
}
.vertice-span {


  line-height: 38px;
  padding: 0 2px 0 10px;
}
</style>