Cloud database polarDB construction process
Proceed as follows
1, into the official website click to enter
2. To start building, log in to the account first, and then click to buy as shown below

3. Adjust the configuration for a free trial of 2 core 8G for new users for one month, as shown in the figure, click to change the node specifications. 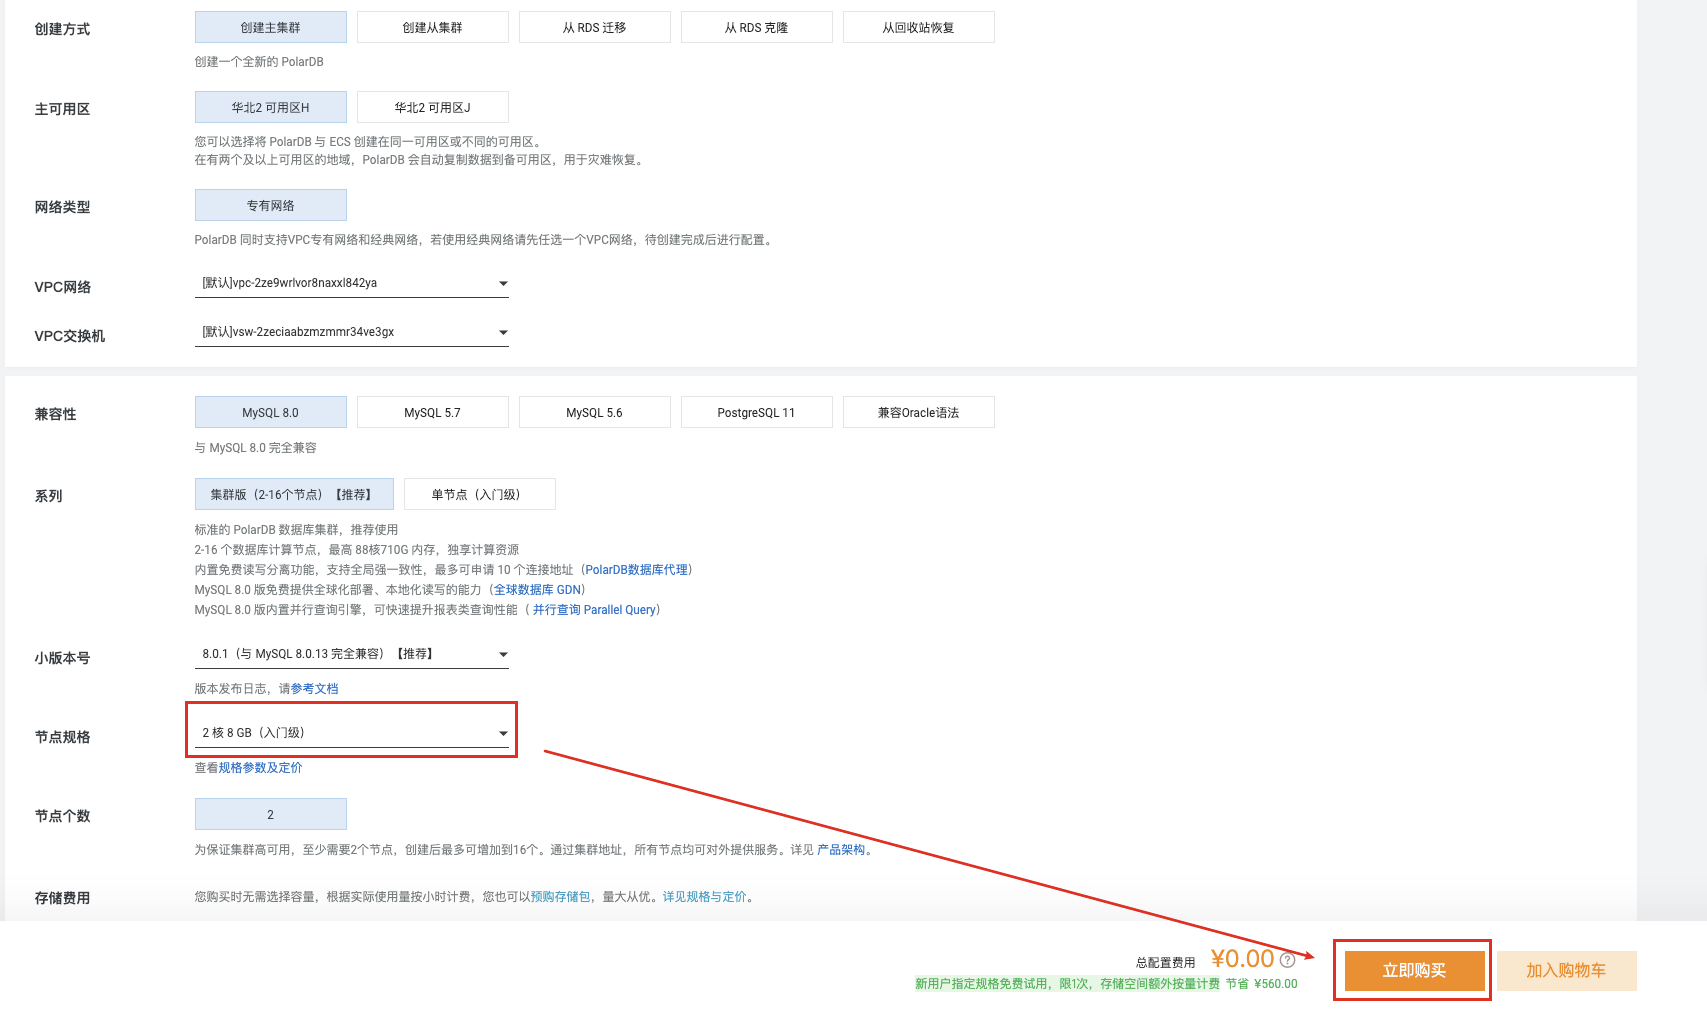 4. Check the service agreement, check the service agreement, click to pay, and start a trial of 0 yuan.
 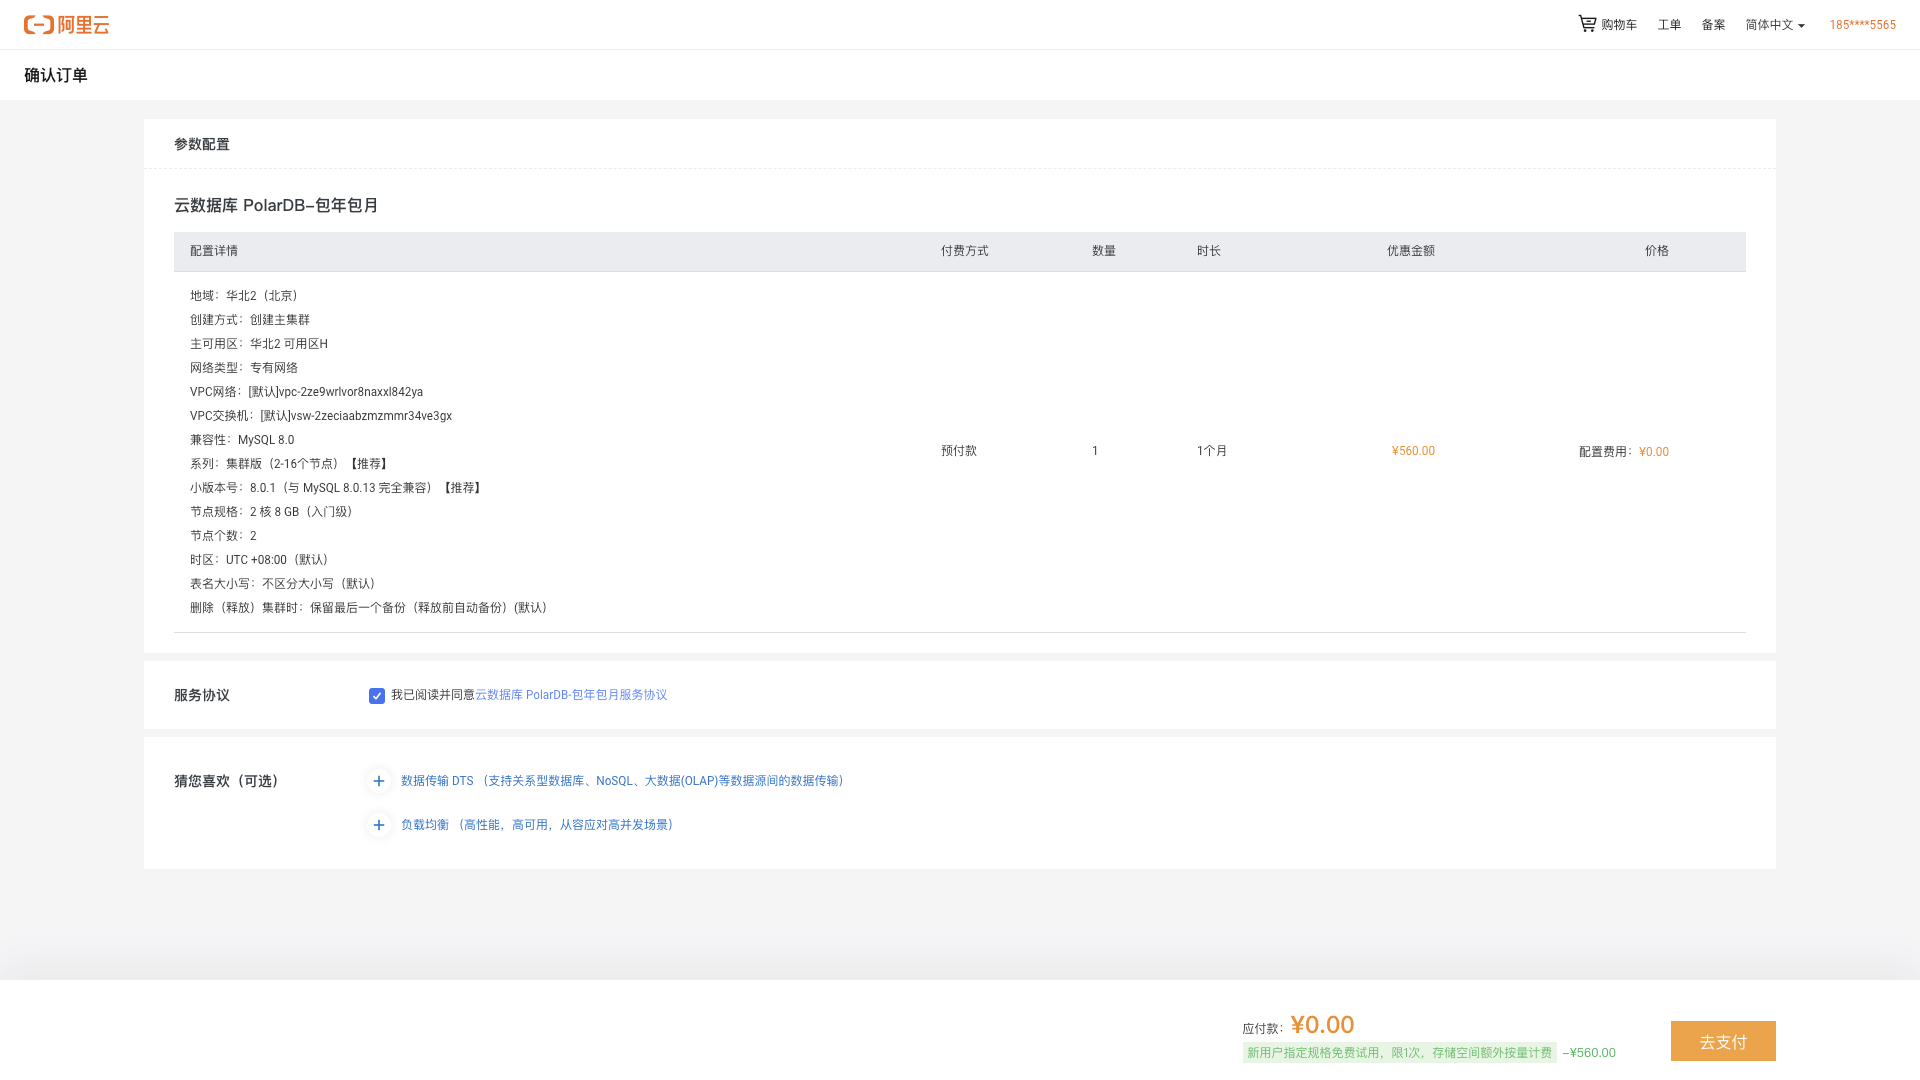 5. The cluster is successfully set up and click on the management console to start using it. Note: You need to wait for 10-15 minutes for successful activation.
 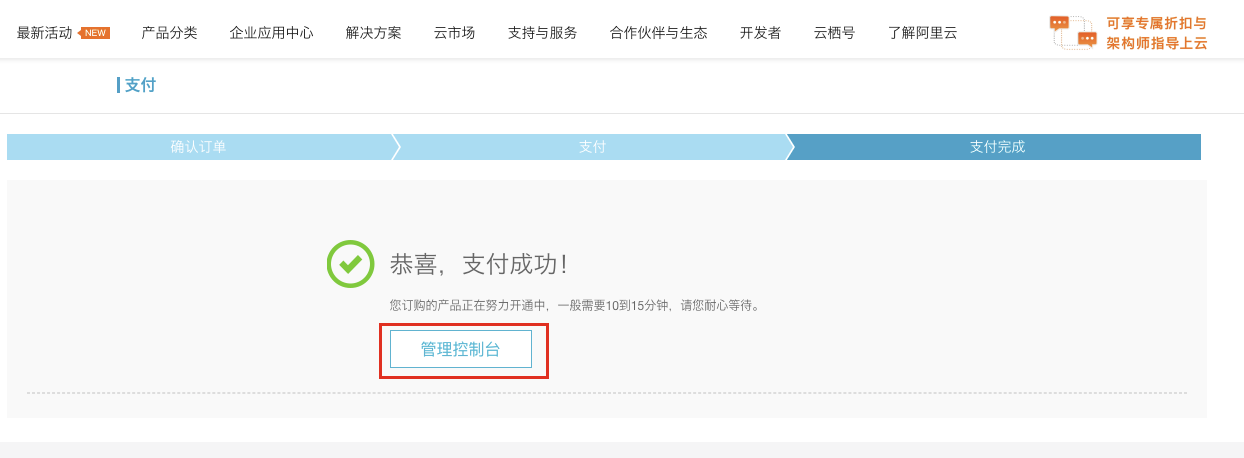 6. Enter the console and switch to the regional console as shown in the figure. You can observe the database cluster list of #Create中#.
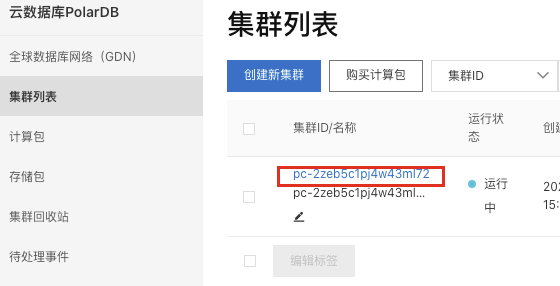
 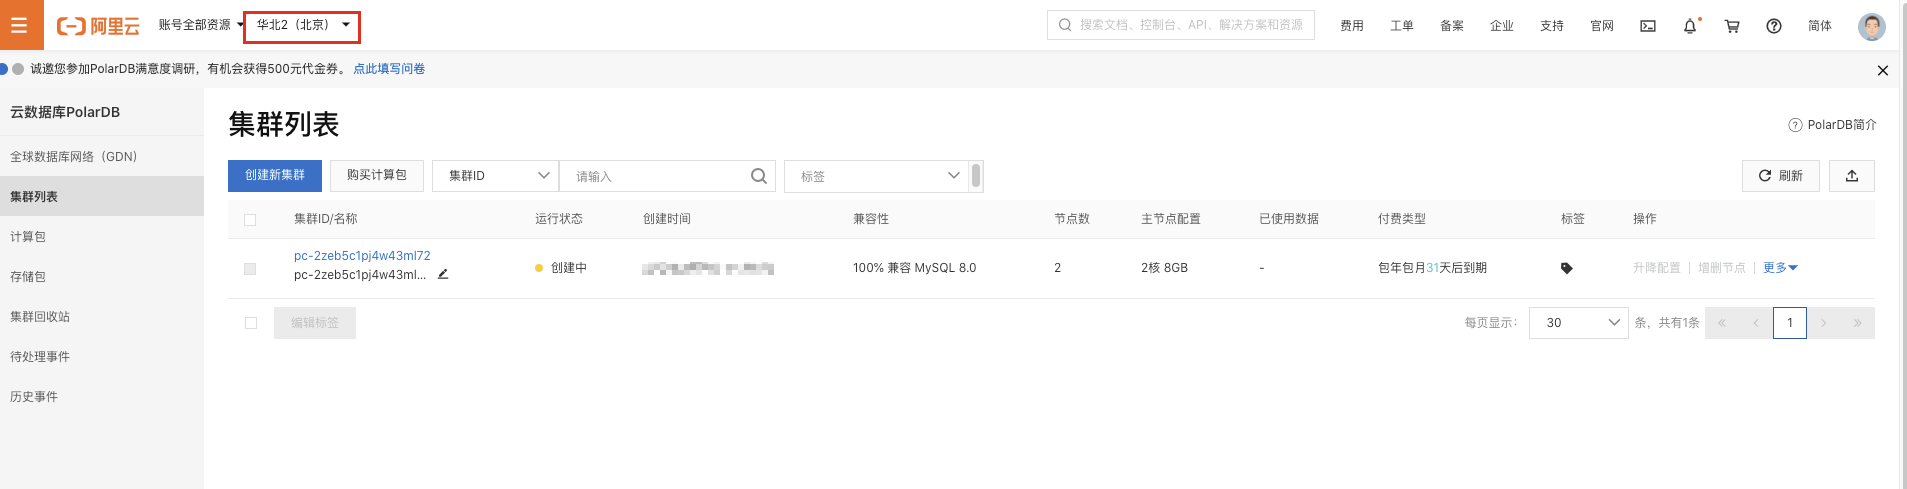 7. To set the cluster whitelist, you need to set the IP whitelist of the cluster, and Create the initial account of the cluster to connect and use the cluster. Click the cluster ID as shown in the figure.
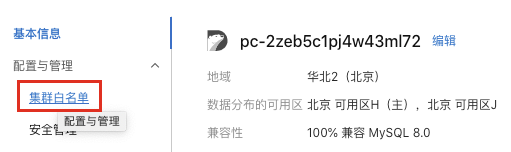
In the left navigation bar, click Configuration and Management> Cluster Whitelist .
On the cluster whitelist page, you can add IP whitelist groups or configure existing whitelists. 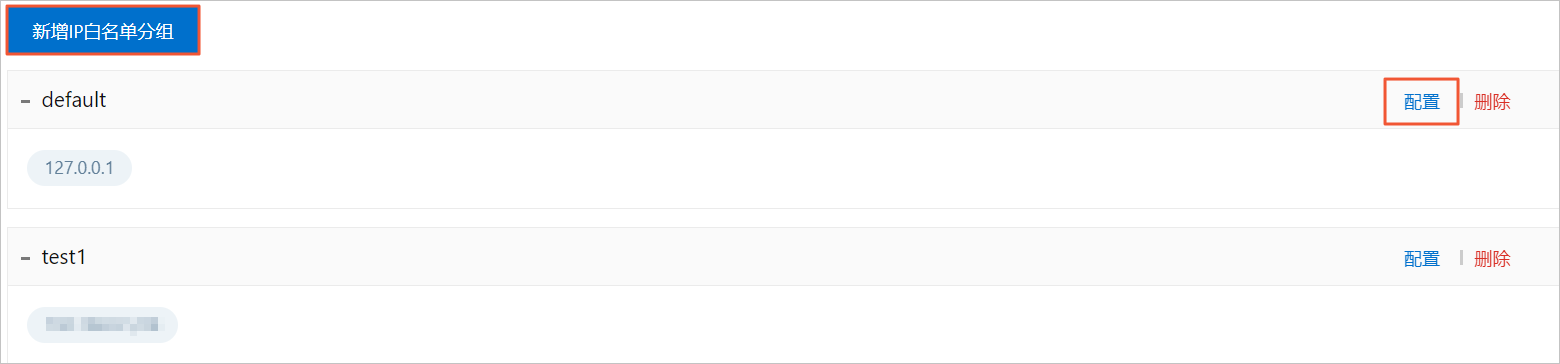 Click Add IP Whitelist Group . In the newly added IP whitelist group panel, enter the group name and the IP whitelist address that is allowed to be accessed. , Ip acquisition method through the following figure Baidu’s
  own ip acquisition method is as shown in the figure:
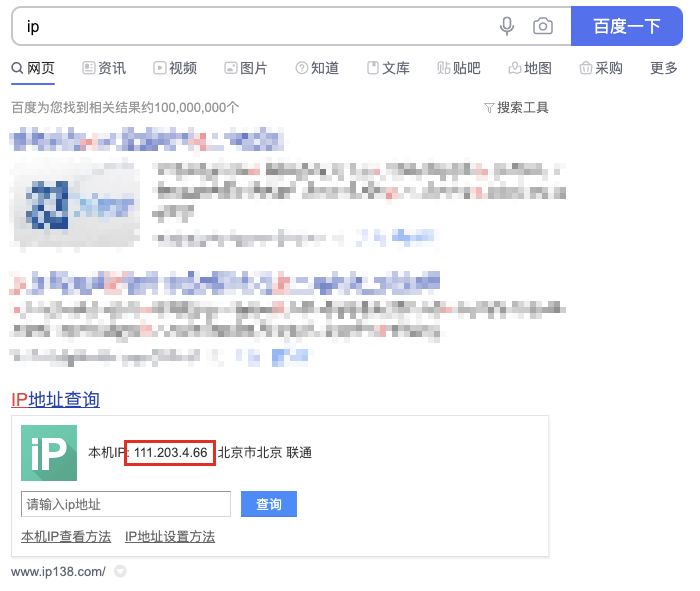
8. Set the cluster security group On the cluster whitelist page in step 7 , click the configuration button in the operation bar to select a security group or target security group to change the security group settings. 
9. Create a high-privileged database account and return to the PolarDB console . In the upper left corner of the console, select the region where the cluster is located. Find the target cluster and click the cluster ID. In the left navigation bar, select Configuration and Management> Account Management . Click Create Account . In the account creation panel, click OK after setting the following parameters: 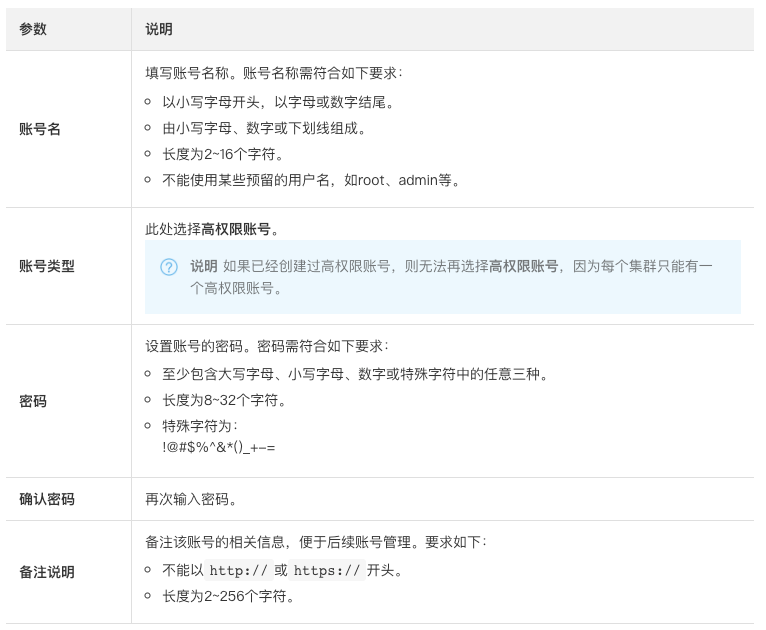
 10. Understand the link type (read this step, no operation is required)
Support main address link and cluster address (recommended)
Link, the difference is as follows: cluster address and main address

Address type address description Supported network type cluster address (recommended) The application only needs to connect to one cluster address to connect to multiple nodes. With read-write separation function, write requests will be automatically sent to the master node, and read requests will be automatically sent to the master node or read-only node according to the load of each node. Explain that PolarDB includes a default cluster address. You can also create multiple custom cluster addresses according to business needs. The custom cluster addresses can connect to specified nodes and set read and write modes. For details, see Modifying and Releasing the Cluster Address . Private network The main address of the public network and private network (classic network) is always connected to the master node and supports read and write operations. When the master node fails, the master access address will automatically switch to the new master node. Private network address and public network address Network type description usage scenarios Private network access through the connection address of the private network can give full play to the best performance of PolarDB. When a cluster is created, a private network connection address is generated by default. The address can be modified but cannot be released. For how to modify it, see Modifying the connection address and port . For example, if the ECS and the database cluster are in the same VPC, then the ECS can access the database cluster through the private network address. Using DMS to access the public network of a database cluster through a VPC, you can apply for or release the connection address of the public network. For details, see Applying for a Connection Address and Releasing a Connection Address . The public network is the Internet, and the best performance of PolarDB cannot be achieved through public network access. For example: access the database cluster through the public network to perform maintenance operations. Private network (classic network) You can apply for or release the connection address of the private network (classic network). For details, see Applying for a connection address and Releasing a connection address . The clusters are not isolated via the network, and can only rely on the cluster's own whitelist strategy to block illegal access. For details, see Setting the Cluster Whitelist . Only when the business is in the classic network, can the database cluster be accessed through the private network address (classic network).
11. Apply for a public network address to log in to the PolarDB console .
In the upper left corner of the console, select the region where the cluster is located. Find the target cluster and click the cluster ID. In the link address area of the basic information page , click the icon in the upper right corner to switch views. Click Apply .
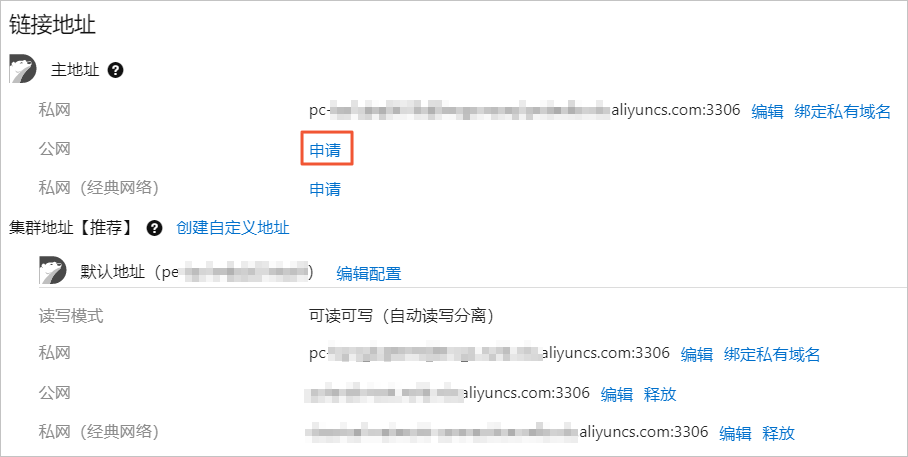
In the pop-up dialog box, set the connection address prefix and click OK . 12. Use DMS to connect clusters. DMS is a graphical data management tool provided by Alibaba Cloud. It is a collection of data management, structure management, access security, BI charts, data trends, data trajectories, performance and optimization, and server management. Data management services. It supports the management of relational databases (MySQL, SQL Server, PostgreSQL, etc.) and NoSQL databases (MongoDB, Redis, etc.), as well as Linux server management.
Log in to the PolarDB console . In the upper left corner of the console, select the region where the cluster is located. Find the target cluster and click the cluster ID. In the upper right corner of the basic information page, click Login database .  In the pop-up dialog box, enter the database account and database password created in the PolarDB MySQL cluster, and click Login .
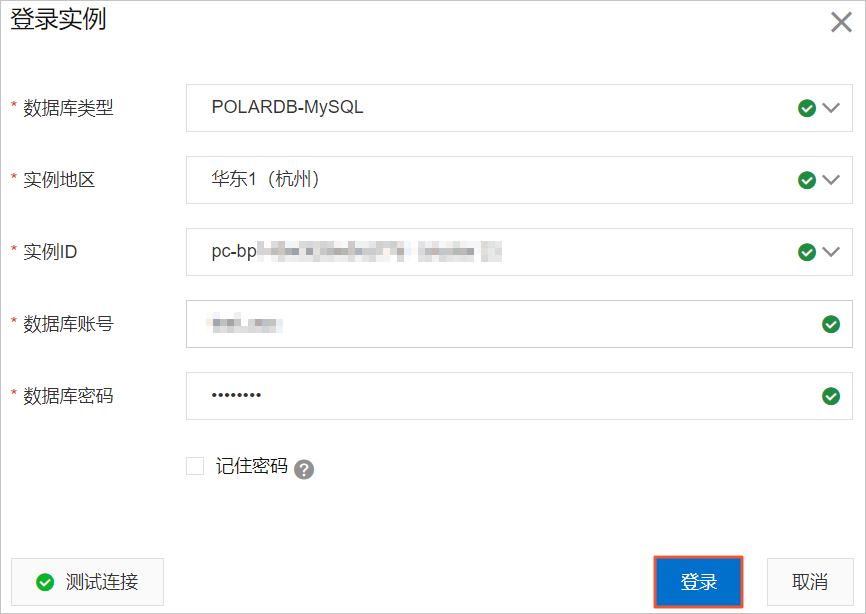
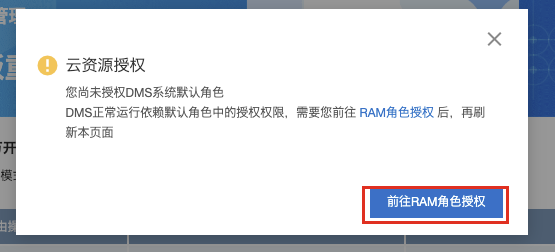
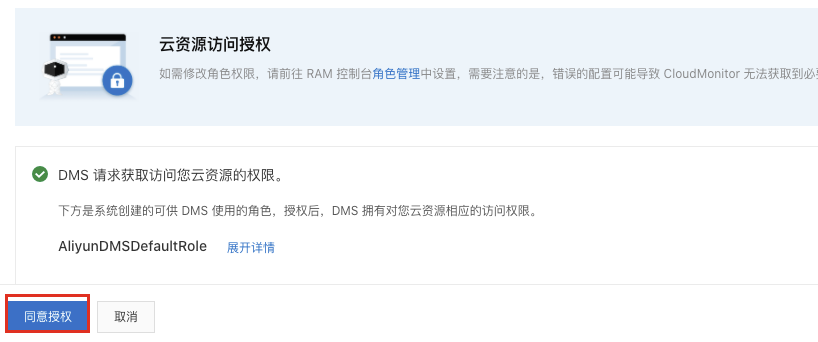
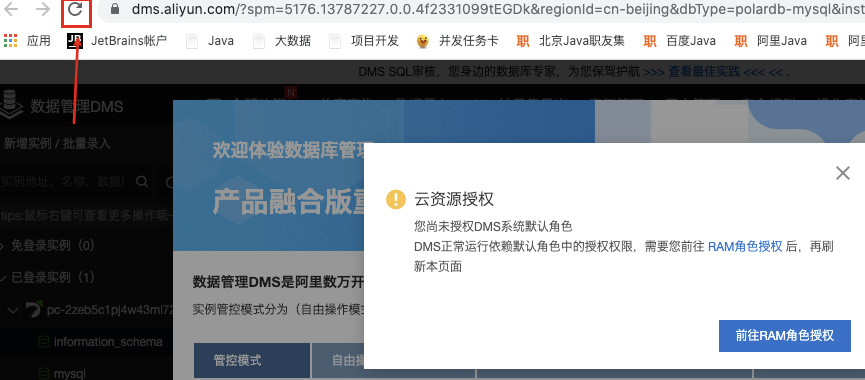
After logging in, click to authorize to authorize
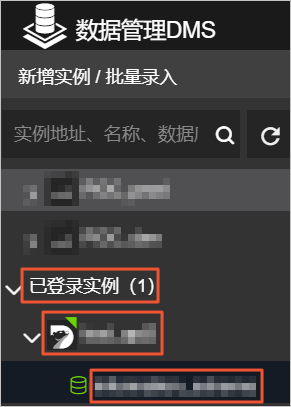
Click the logged-in instance . In the list of logged-in instances , click the target cluster name, find and double-click the target database name to switch to the target database for management.
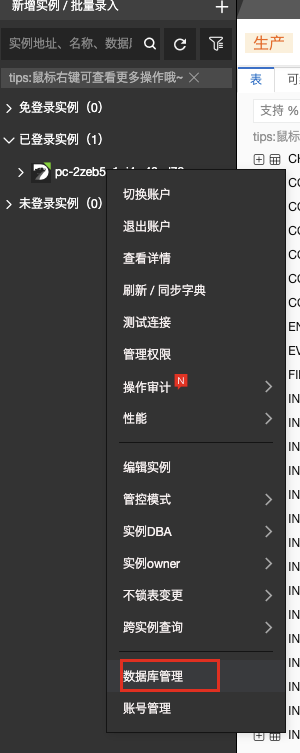
13. Create a database, right-click the logged-in instance name, and select database management
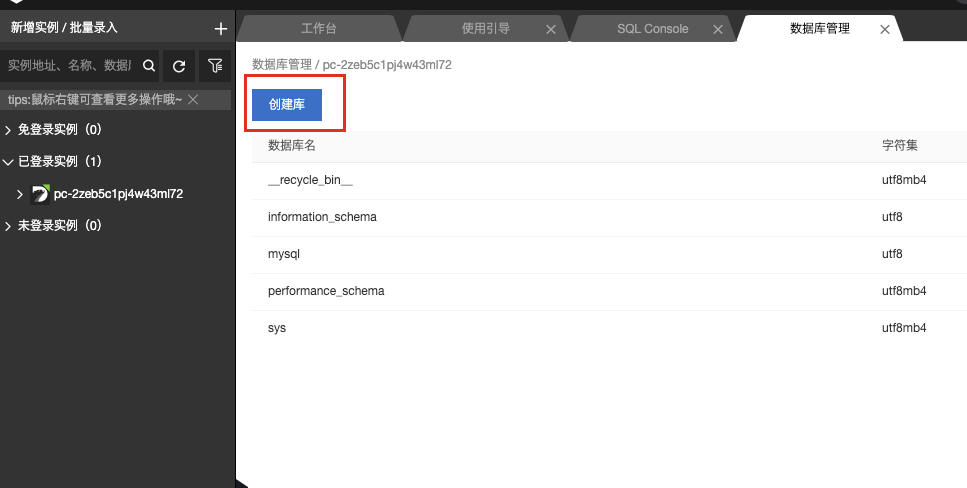
Click Create Library
Enter the database name and click OK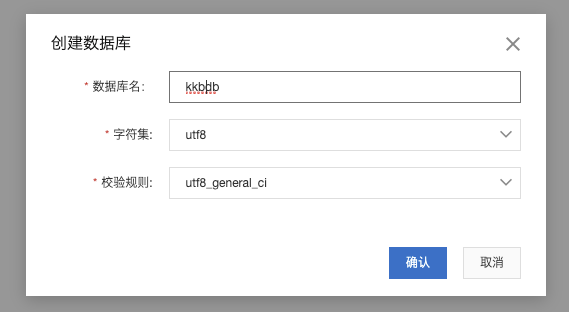
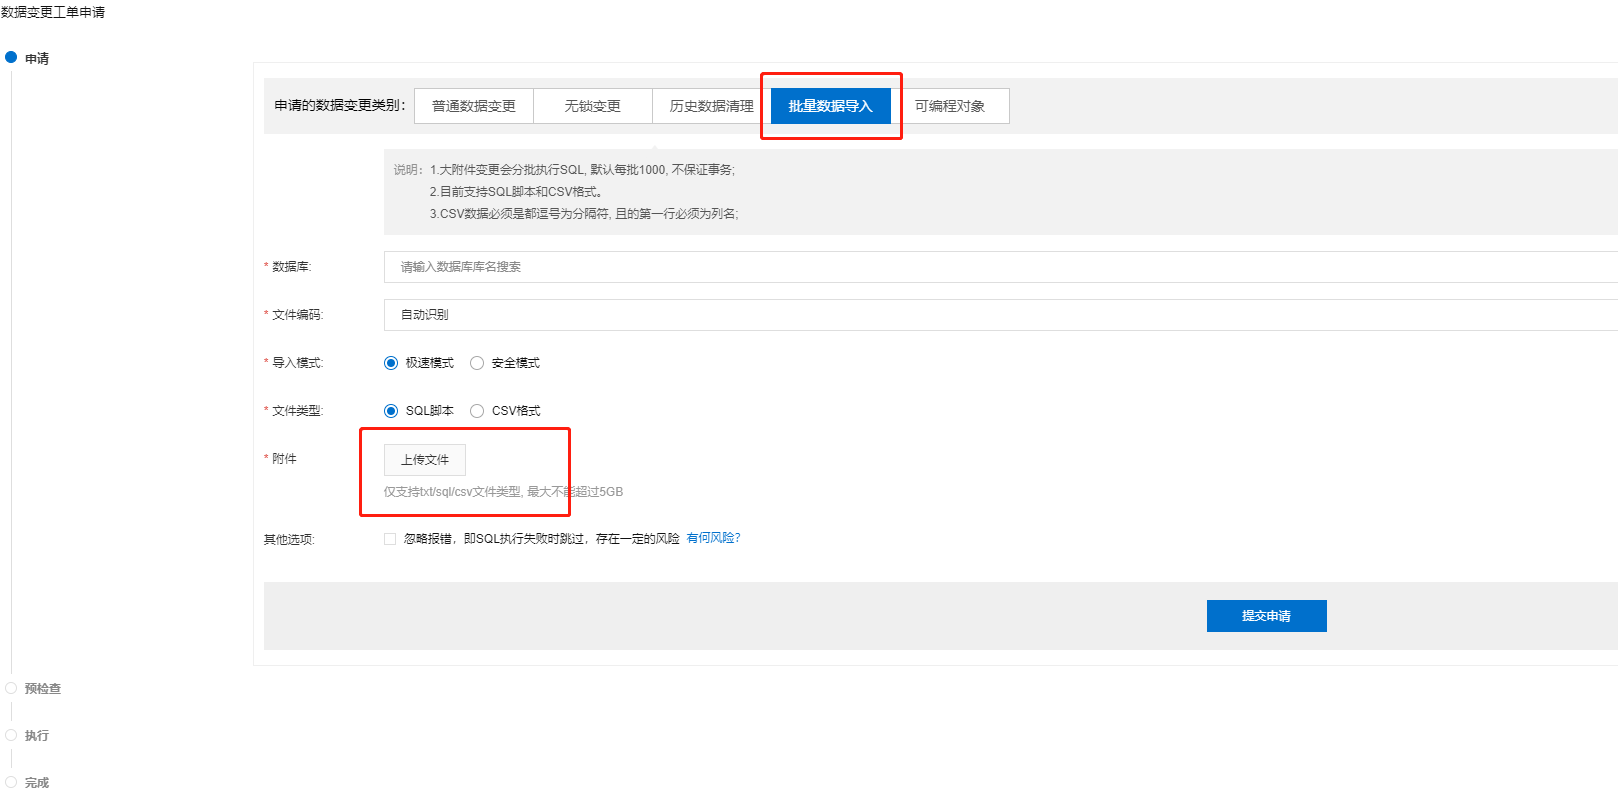
14. Import data into the newly created database

Select data import