Article Directory
Docker integrates nginx
1 Introduction to nginx
With the functions of http server, virtual host, reverse proxy, load balancing, it
can be realized based on ip, port, and domain name
2 nginx virtual host
2.1 Simple running
1 Enter the installation directory and edit the startup file
#创建目录
mkdir -p /usr/local/docker/nginx
#进入目录
cd /usr/local/docker/nginx
#编辑文件
vi docker-compose.yml
2 Start the file docker-compose.yml
version: '3'
services:
  nginx:
    restart: always
    image: nginx
    container_name: nginx
    ports:
      - 81:80
3 Start the program
docker-compose up
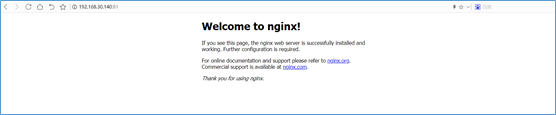
4 Access verification
- Visit address
http://192.168.30.140:81, visit result as shown below
2.2 Use data volume
Map the configuration file of the container to the host machine to facilitate the modification of the configuration file. Follow the steps in 1.1.1 here
1 Stop the nginx container that 1.1.1 has started
cd /usr/local/docker/nginx && docker-compose down
2 Edit the startup file
vi docker-compose.yml
3 Modify the startup file docker-compose.yml
version: '3'
services:
  nginx:
    restart: always
    image: nginx
    container_name: nginx
    ports:
      - 81:80
    volumes:
      - ./conf/nginx.conf:/etc/nginx/nginx.conf
      - ./project/:/usr/share/nginx/project/
4 Enter the configuration directory and create a configuration file
#进入配置目录
mkdir conf && cd  conf/
#创建配置文件
vi nginx.conf
5 Set the configuration file nginx.conf
#这里是处理的线程数,可根据自己的cpu数设置,在版本1.11.3之前会出现惊群问题(多个cpu同时执行一个请求,浪费资源)
worker_processes                1;
events {
        # 一个线程的连接数
        worker_connections      1024;
}
http {
        include                 mime.types; #文件规范
        default_type            application/octet-stream;
        sendfile                on;
        keepalive_timeout       65;
        server {
                listen          80;
                server_name     192.168.30.140;
                location        /       {
                        root    /usr/share/nginx/project/port81;
                        index   index.html index.html;
                }
        }
}
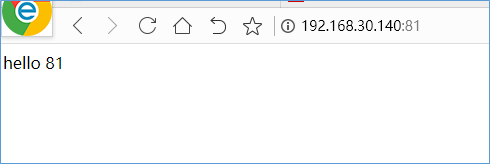
6 Enter the project directory and set the project file
mkdir -p /usr/local/docker/nginx/project/port81 && cd /usr/local/docker/nginx/project/port81 && echo 'hello 81' > index.html
7 Start the container
cd /usr/local/docker/nginx && docker-compose up -d
8 Access verification
- Visit address
http://192.168.30.140:81, visit result as shown below
3 Reverse proxy example
3.1 Forward proxy and reverse proxy
1 Forward proxy
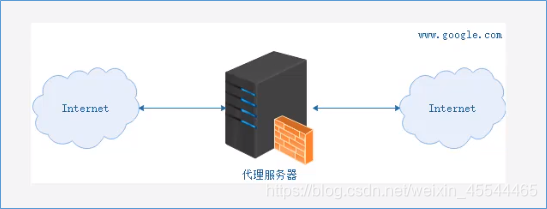
Forward proxy, the user installs the proxy server tool on the machine or sets the proxy server address . When the user accesses the target server, the proxy server is first accessed, and then the proxy server requests the target host. The data returned by the target host is first cached to the proxy server. The proxy server returns the data to the user after receiving the data.
1 Improve access speed and directly read the cache of
the proxy server. 2 Set up a firewall on the proxy server to filter information and increase system security.
3 Visit sites that cannot be directly accessed, such as www.google.com
2 Reverse proxy
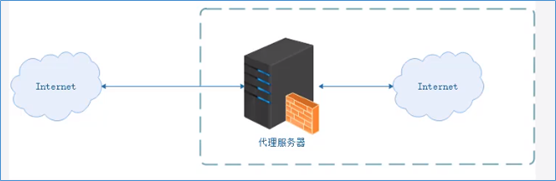
Reverse proxy, the proxy server is installed on the target server , users can only know the IP address of the reverse proxy, but not the existence of the server cluster behind the proxy server.
1 Set up the cache to reduce the access pressure of the server
2 Prevent malicious attacks from the external network to the internal network
3 Realize load balancing
3.2 Reverse proxy demo
Here are three files that need to be paid attention to for proxy tomcat access: 1 container file started by tomcat; container file started by 2nginx; 3nginx configuration file
3.2.1 Start the tomcat container
1 Enter the installation directory and edit the startup file
#创建安装目录
mkdir -p /usr/local/docker/tomcat && cd /usr/local/docker/tomcat
#编辑启动文件
vi docker-compose.yml
2 Start the file docker-compose.yml
version: '3'
services:
    tomcat:
        restart: always
        image: tomcat
        container_name: tomcat
        ports:
          - 9090:8080
3 Start the program
docker-compose up
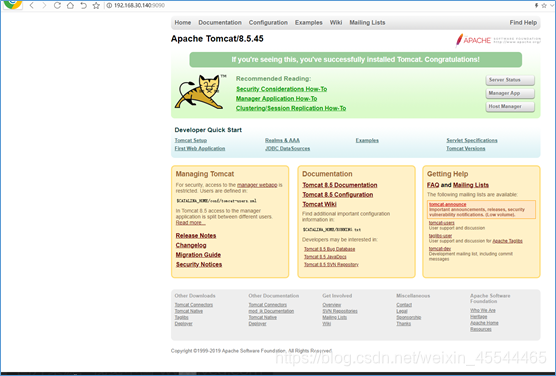
4 Access verification
- Visit address
http://192.168.30.140:9090, visit result as shown below
3.2.2 Start nginx proxy
1 Enter the installation directory and edit the ngxin configuration file
#进入目录
cd /usr/local/docker/nginx/conf
#编辑文件
vi nginx.conf
2 The configuration file nginx.conf
replaces root with proxy_pass
#这里是处理的线程数,可根据自己的cpu数设置,在版本1.11.3之前会出现惊群问题(多个cpu同时执行一个请求,浪费资源)
worker_processes                1;
events {
        # 一个线程的连接数
        worker_connections      1024;
}
http {
        include                 mime.types; #文件规范
        default_type            application/octet-stream;
        sendfile                on;
        keepalive_timeout       65;
        server {
                listen          9090;
                server_name     192.168.30.140;
                location        /       {
                        proxy_pass	http://192.168.30.140:9090;
                        index   	index.html index.html;
                }
        }
}
3 Stop the nginx container that 1.1.1 has started
cd /usr/local/docker/nginx && docker-compose down
4 Edit the startup file
vi docker-compose.yml
5 Modify the startup file docker-compose.yml
version: '3'
services:
  nginx:
    restart: always
    image: nginx
    container_name: nginx
    ports:
      - 90:9090
    volumes:
      - ./conf/nginx.conf:/etc/nginx/nginx.conf
      - ./project/:/usr/share/nginx/project/
6 Start the program
docker-compose up
7 Access verification
- Visit address
http://192.168.30.140:90, visit result as shown below
4 Load balancing example
4.1 Start the tomcat container
1 Enter the installation directory and edit the startup file
#创建安装目录
mkdir -p /usr/local/docker/tomcat && cd /usr/local/docker/tomcat
#编辑启动文件
vi docker-compose.yml
2 Start the file docker-compose.yml
version: '3'
services:
  tomcat1:
    restart: always
    image: tomcat
    container_name: tomcat1
    ports:
      - 9090:8080
  tomcat2:
    restart: always
    image: tomcat
    container_name: tomcat2
    ports:
      - 9091:8080
3 Start the program
docker-compose up
4 Modify tomcat homepage
By docker psquerying tomcat's container id, as shown below,

enter the container
docker exec -it e0 bash
Modify the homepage and exit
echo '9090' >> webapps/ROOT/index.jsp && exit
In the same way, add content 9091 to the homepage of container b6 of 9091.
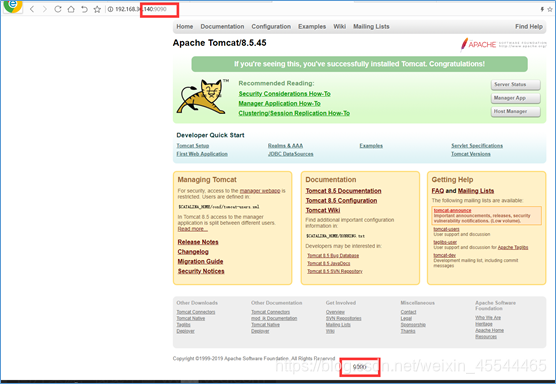
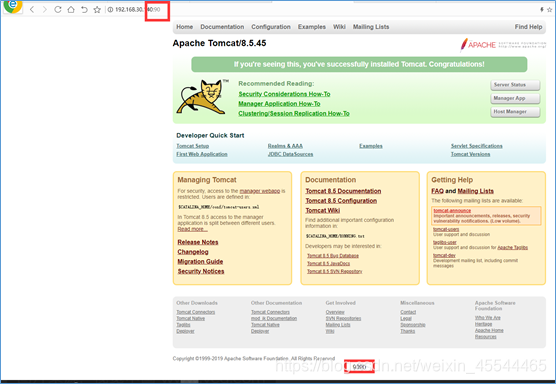
5 Access verification
- Visit address
http://192.168.30.140:9090, visit result as shown below
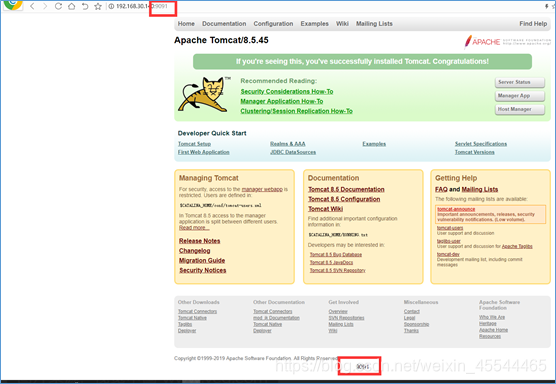
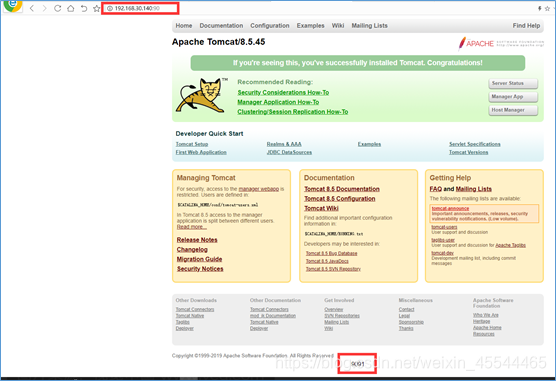
- Visit address
http://192.168.30.140:9091, visit result as shown below
4.2 Start nginx proxy
1 Enter the installation directory and edit the ngxin configuration file
#进入目录
cd /usr/local/docker/nginx/conf
#编辑文件
vi nginx.conf
2 The configuration file nginx.conf
adds upstream and modifies proxy_pass
#这里是处理的线程数,可根据自己的cpu数设置,在版本1.11.3之前会出现惊群问题(多个cpu同时执行一个请求,浪费资源)
worker_processes                1;
events {
        # 一个线程的连接数
        worker_connections      1024;
}
http {
        include                 mime.types; #文件规范
        default_type            application/octet-stream;
        sendfile                on;
        keepalive_timeout       65;
        upstream   tomcat {
			server			192.168.30.140:9090	weight=10;
			server			192.168.30.140:9091	weight=10;
       	}
        server {
                listen          9090;
                server_name     192.168.30.140;
                location        /       {
                        proxy_pass	http://tomcat;
                        index   	index.html index.html;
                }
        }
}
3 Stop the nginx container that 1.1.1 has started
cd /usr/local/docker/nginx && docker-compose down
4 Edit the startup file
vi docker-compose.yml
5 Start the file docker-compose.yml
version: '3'
services:
  nginx:
    restart: always
    image: nginx
    container_name: nginx
    ports:
      - 90:9090
    volumes:
      - ./conf/nginx.conf:/etc/nginx/nginx.conf
      - ./project/:/usr/share/nginx/project/
6 Start the program
docker-compose up
7 Access verification
- Visit address
http://192.168.30.140:90, visit result as shown below
5 Example of front-end static files
1 The startup file docker-compose.yml
file directory is: /usr/local/docker/nginx
version: '3'
services:
  nginx:
    restart: always
    image: nginx
    container_name: nginx
    ports:
      - 81:80
    volumes:
      - ./conf/nginx.conf:/etc/nginx/nginx.conf
      - ./project/:/usr/share/nginx/project/
2 The configuration file nginx.conf
file directory is: /usr/local/docker/nginx/conf
#这里是处理的线程数,可根据自己的cpu数设置,在版本1.11.3之前会出现惊群问题(多个cpu同时执行一个请求,浪费资源)
worker_processes                1;
events {
        # 一个线程的连接数
        worker_connections      1024;
}
http {
        include                 mime.types; #文件规范
        default_type            application/octet-stream;
        sendfile                on;
        keepalive_timeout       65;
        server {
                listen          80;
                server_name     192.168.30.140;
                location        /       {
                        root    /usr/share/nginx/project;
                        index   index.html index.html;
                }
        }
}
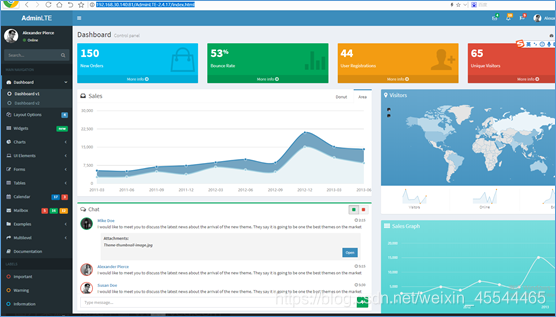
3 Unzip the file, the front-end static file AdminLTE-2.4.17.tar.gz
file directory is: /usr/local/docker/nginx/project
tar -xzvf AdminLTE-2.4.17.tar.gz
4 Start the program The
current directory is: /usr/local/docker/nginx
docker-compose up
5 Access verification
- Visit address
http://192.168.30.140:81/AdminLTE-2.4.17/index.html, visit result as shown below