1.Java client
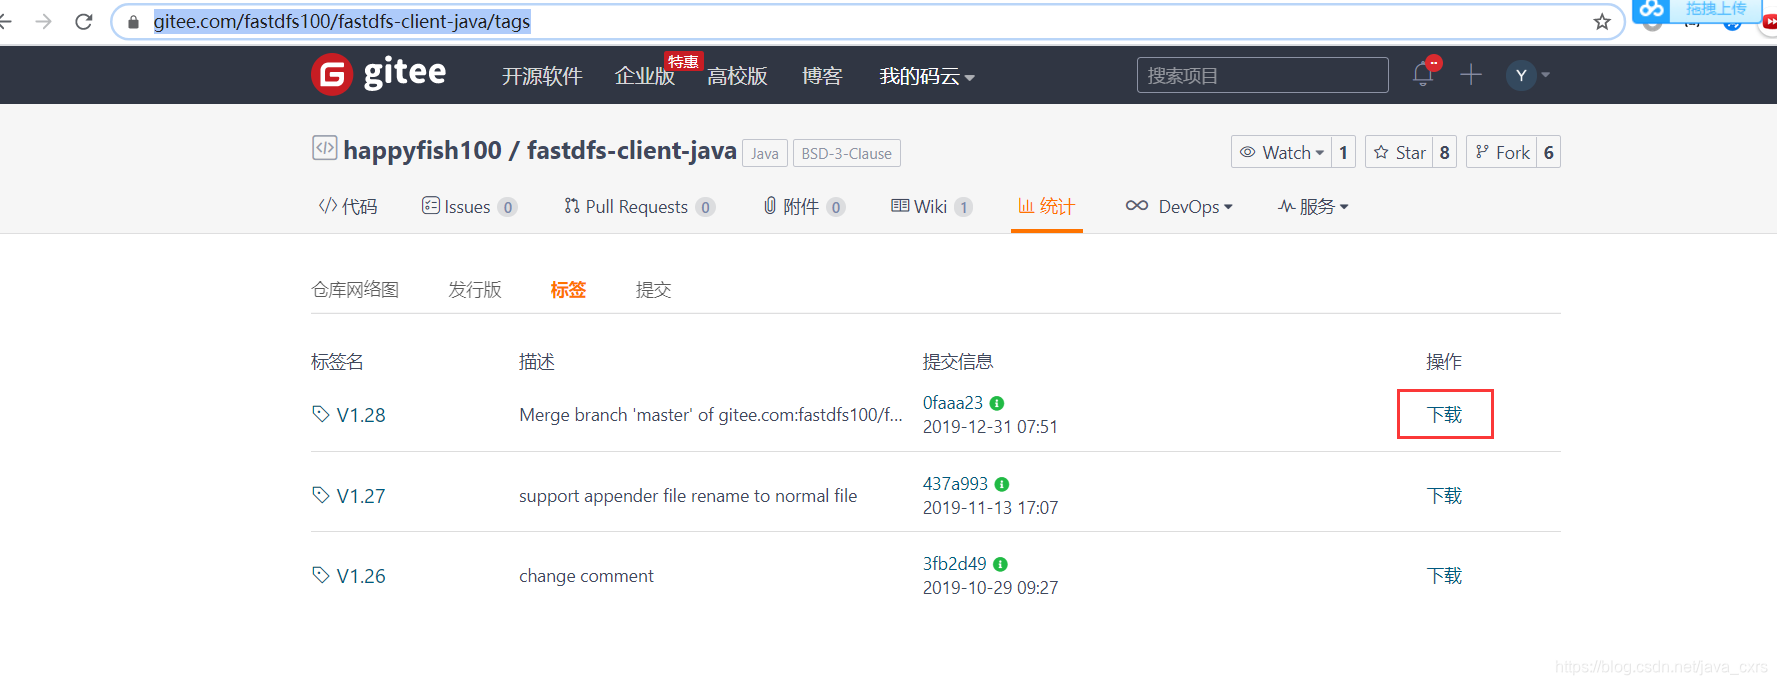
Address: https://gitee.com/fastdfs100/fastdfs-client-java/tags
Download the latest version
-
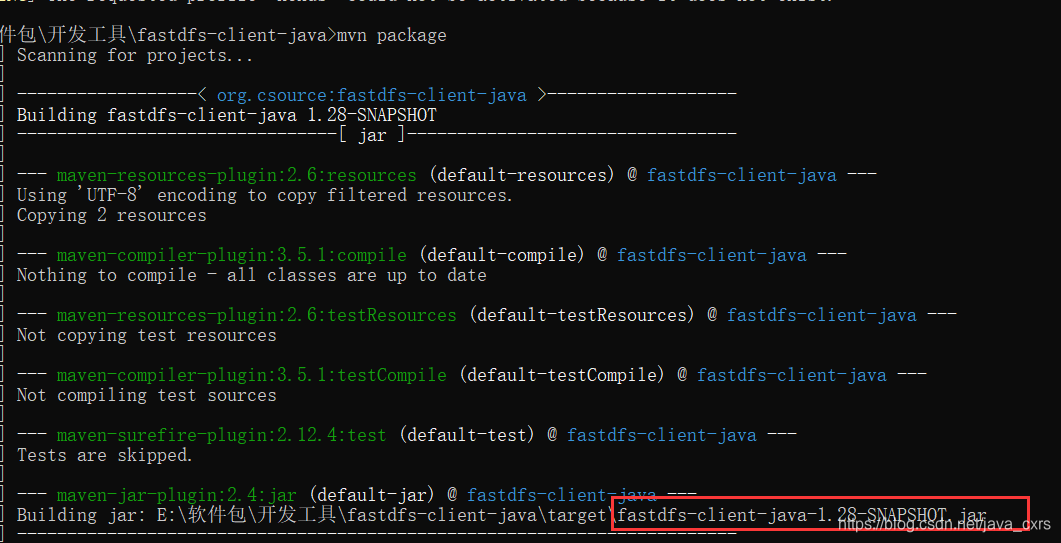
Compile the source code package of fastdfs-client-java into a jar package
The cmd command enters the fastdfs-client-java directory and executes the mvn command
mvn clean

mvn compile (可选)

mvn package
After the compilation is complete, a jar package will be generated
(Note: If there is a private warehouse address, you can upload it to the private warehouse)
mvn install:install-file -DgroupId=org.csource -DartifactId=fastdfs-client-java -Dversion=1.28 -Dpackaging=jar -Dfile=fastdfs-client-java-1.28-SNAPSHOT.jar

-
Add project dependencies
 <dependency>
            <groupId>org.csource</groupId>
            <artifactId>fastdfs-client-java</artifactId>
            <version>1.28</version>
 </dependency>
  <dependency>
          <groupId>commons-io</groupId>
          <artifactId>commons-io</artifactId>
          <version>2.5</version>
tracker_server = 192.168.1.107:22122
import org.csource.common.MyException;
import org.csource.fastdfs.*;
import java.io.IOException;
/**
* 测试java连接FastDFS
*/
public class TestFastDfs {
public static void main(String[] args) throws IOException, MyException {
//1.获取配置文件路径
String configNmae = TestFastDfs.class.getResource("/fdfs_client.conf").getPath();
System.out.println(configNmae);
//2.加载配置文件
ClientGlobal.init(configNmae);
// 3.创建一个TrackerClient对象
TrackerClient trackerClient = new TrackerClient();
// 4.通过TrackerClient对象获得TrackerServer对象
//fastdfs新版本由connection更改为getTrackerServer方法
TrackerServer trackerServer = trackerClient.getTrackerServer();
// 5.创建StorageServer的引用,null就可以了
StorageServer storageServer = null;
// 6.创建一个StorageClient对象,其需要两个参数,一个是TrackerServer,一个是StorageServer
StorageClient storageClient = new StorageClient(trackerServer, storageServer);
// 7.使用StorageClient对象上传文件(图片)
// 参数1:文件名,参数名:扩展名,不能包含".",参数3:文件的元数据,保存文件的原始名、大小、尺寸等,如果没有可为null
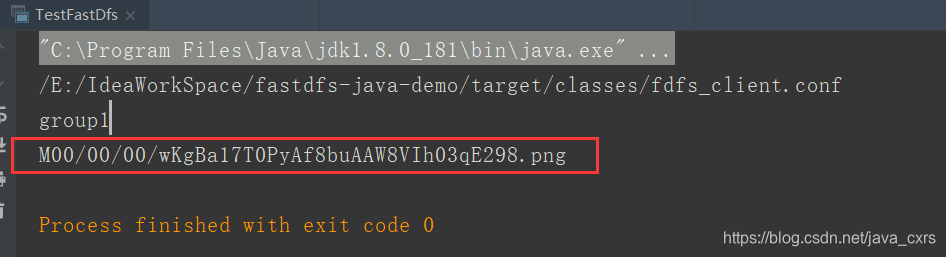
String[] strings = storageClient.upload_file("E:\\资料\\学习资料\\分布式架构\\FastDFS\\image\\1.png", "png", null);
for (String string : strings) {
System.out.println(string);
}
}
}
After the code is executed, the running result: as shown in the figure below, we have successfully uploaded the image to the fastdfs file directory