Original URL: MySQL8--the method of using msi (graphical interface) to install under Windows - Programmer Sought
Introduction
This article describes how to install MySQL 8 on Windows using a graphical interface.
download link
1. URL entry
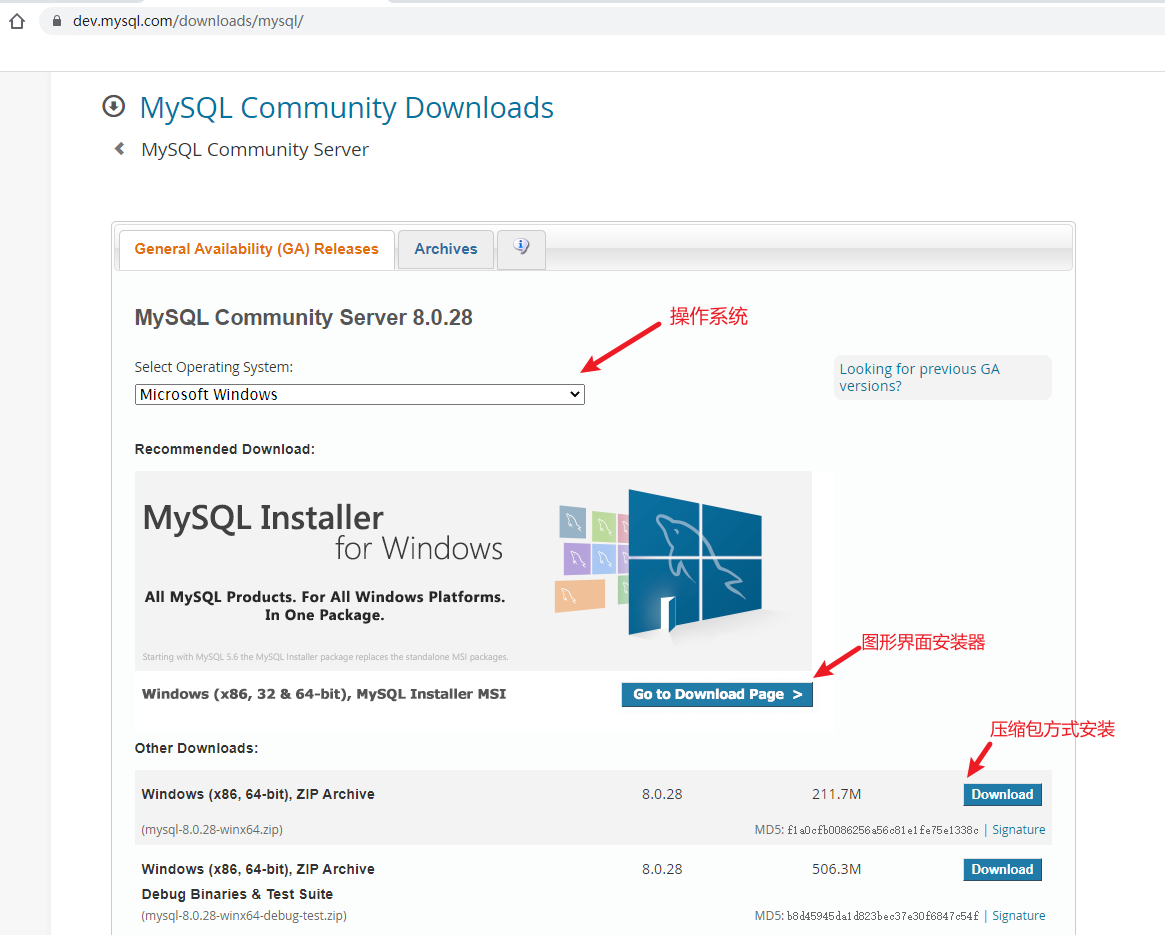
Enter MySQL's official website: https://dev.mysql.com/downloads/
2. Find "MySQL Community Server"

3. Download the Community version
In the page opened later, you can see the relevant download items, as shown below:
Graphical interface installation, select MySQL Installer, after entering the page:
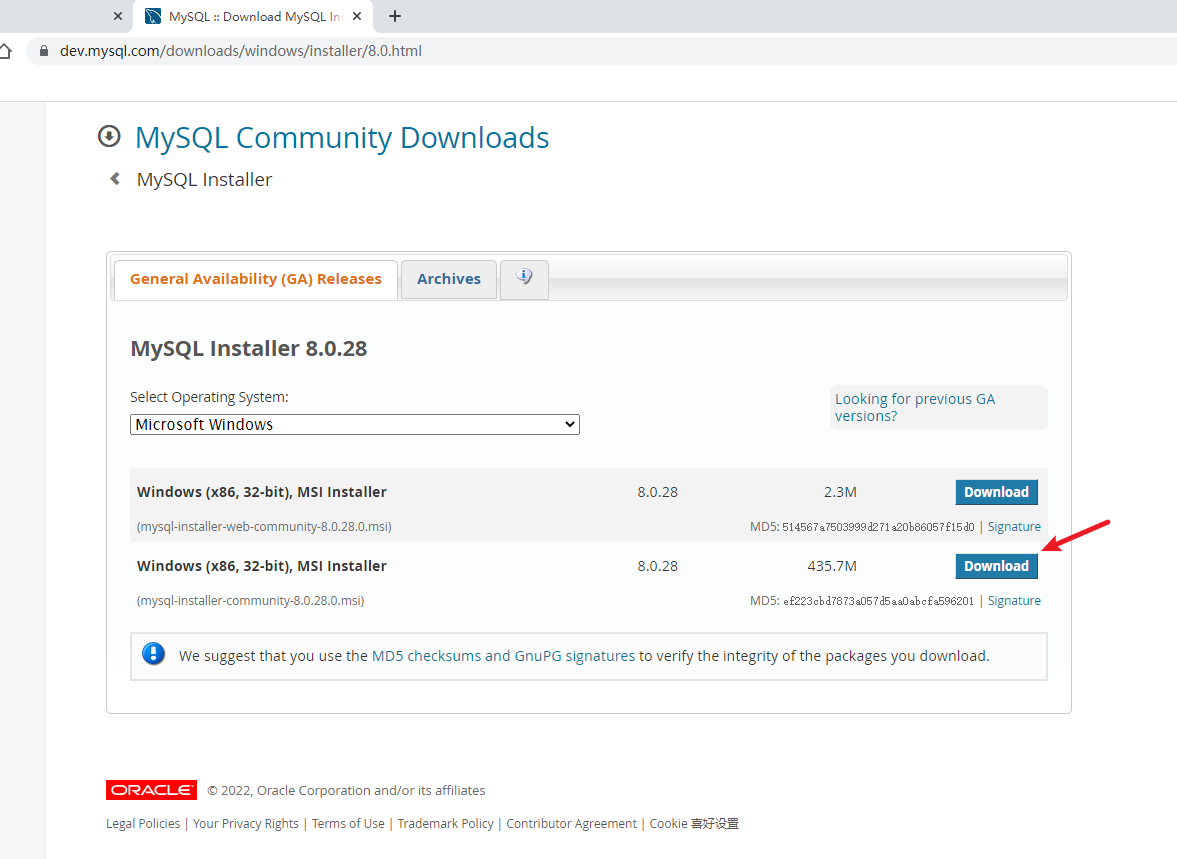
The first: online installation using the network at runtime
The second: offline installation package, no network required for installation. (recommend)
Installation process
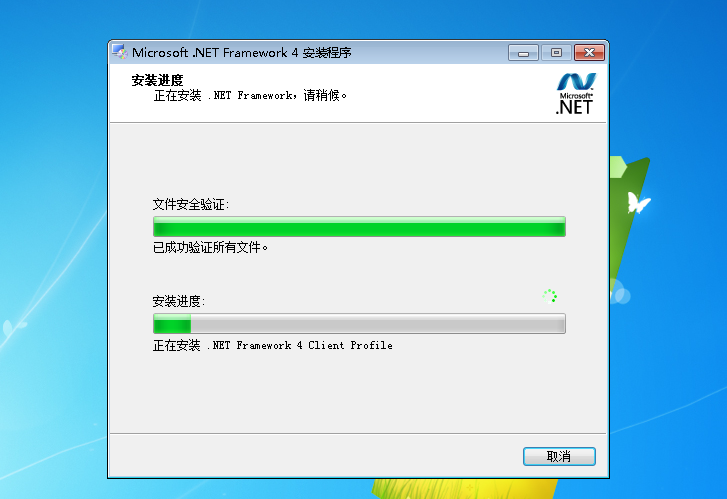
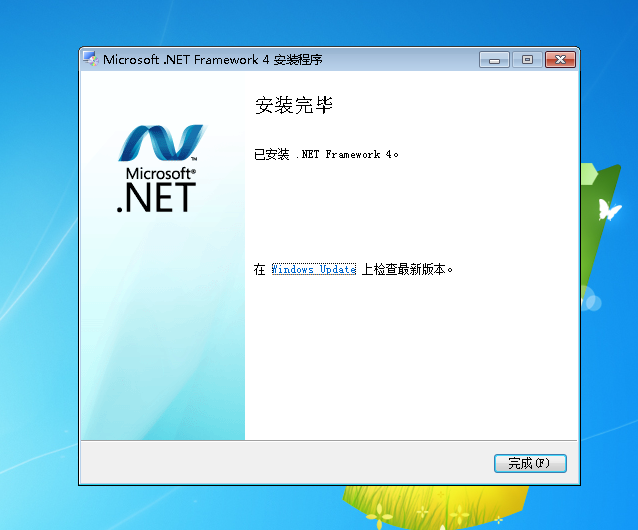
1. Double-click the installation file (.msi)

possible problems

This means that MySQL needs .NET Framework 4.0 to continue the installation, so let's install it
Open Download Microsoft .NET Framework 4 (standalone installer) from Official Microsoft Download Center with a browser , click Download, you can download it smoothly, and install it directly after downloading
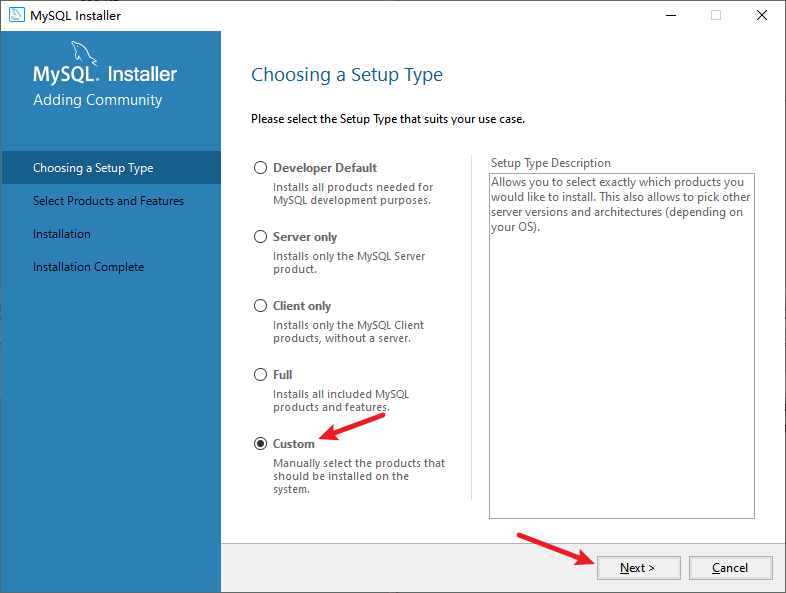
2. Select the installation type
- "Developer Default": Contains other components of MySQL, such as MySQL Workbench, MySQL for Excel, etc.
- "Server only": Only install the MySQL database server. (will also include the client's command line program)
- "Custom": You can specify the installation location, etc. Otherwise, install it to the C drive.
Here I choose: "Custom", then click "Next"
3. Select the service to install
Install the server and connector here


Then select it => click on "Advanced Options"

4. Select the installation location

Change it to your own path, here I changed it to:
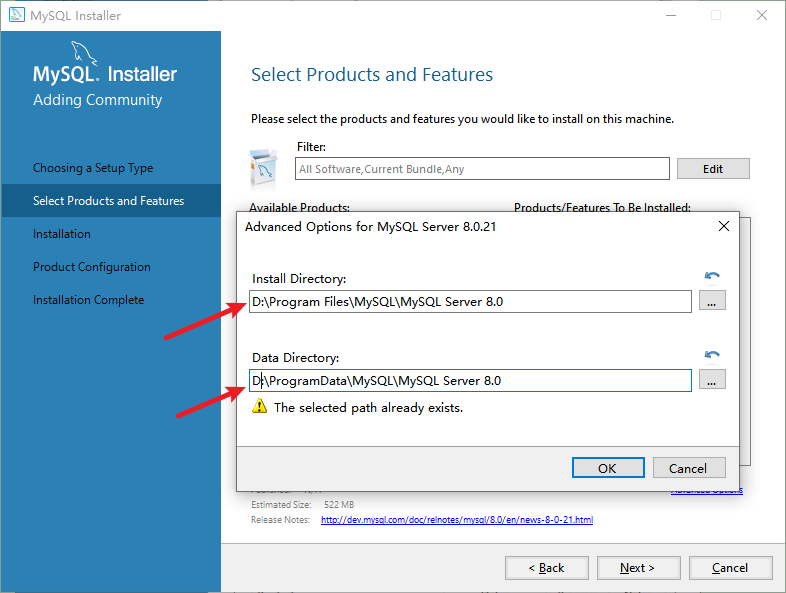
Click "OK" => "Next"
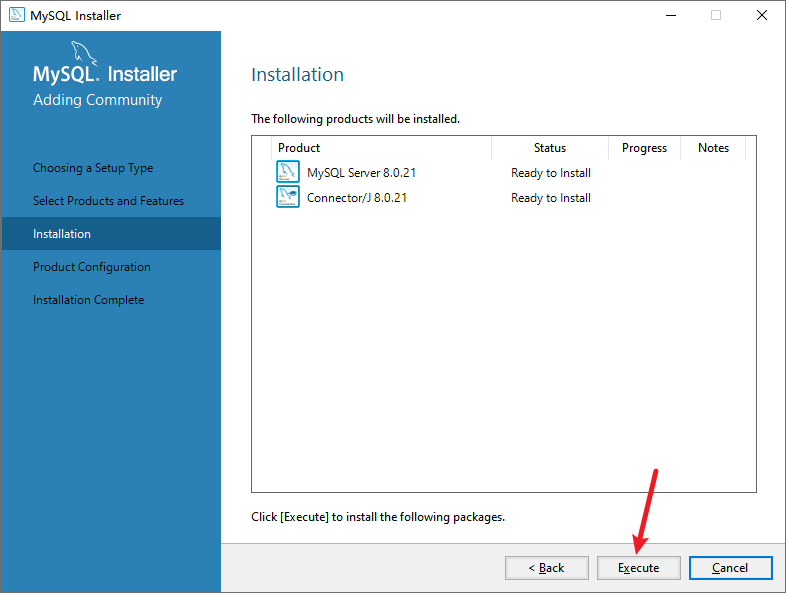
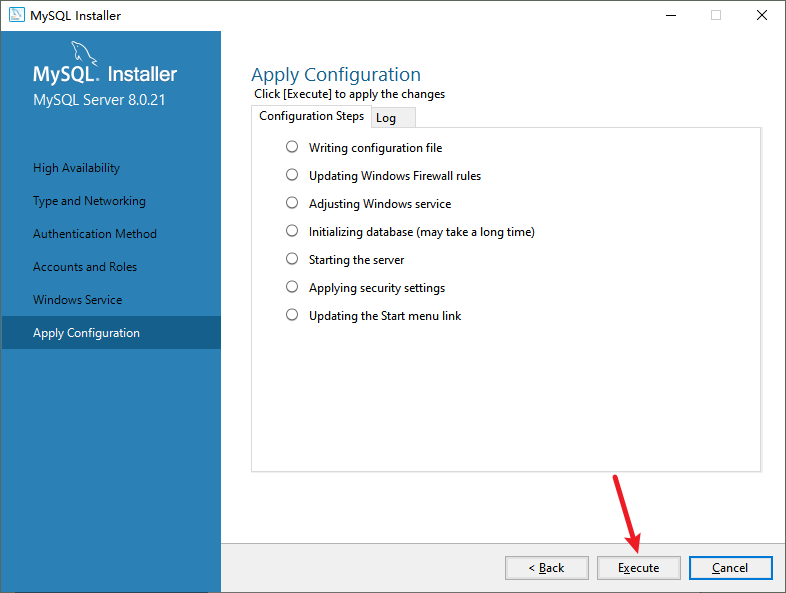
5. Execute the installation
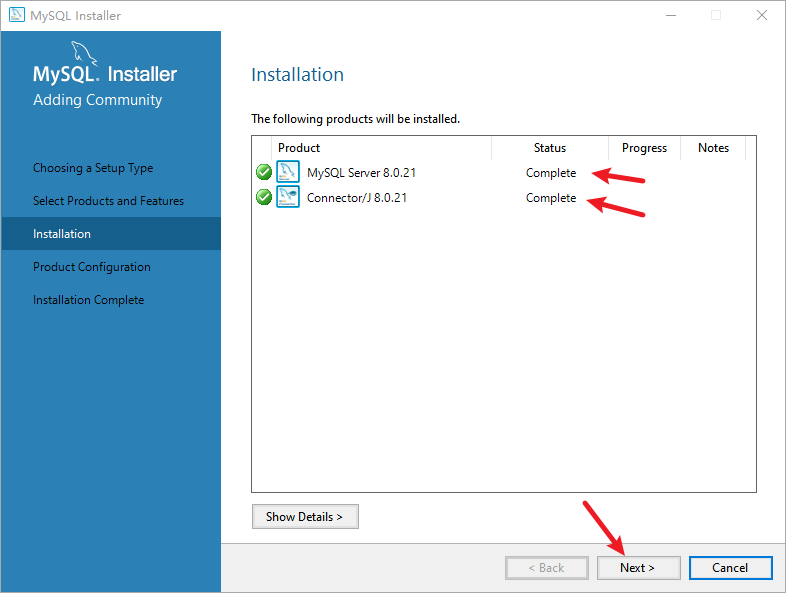
After installation:
6. Configure password, etc.

Configure single machine and cluster (select the first one (single machine) here)

Configure server type and network (default, just "Next")

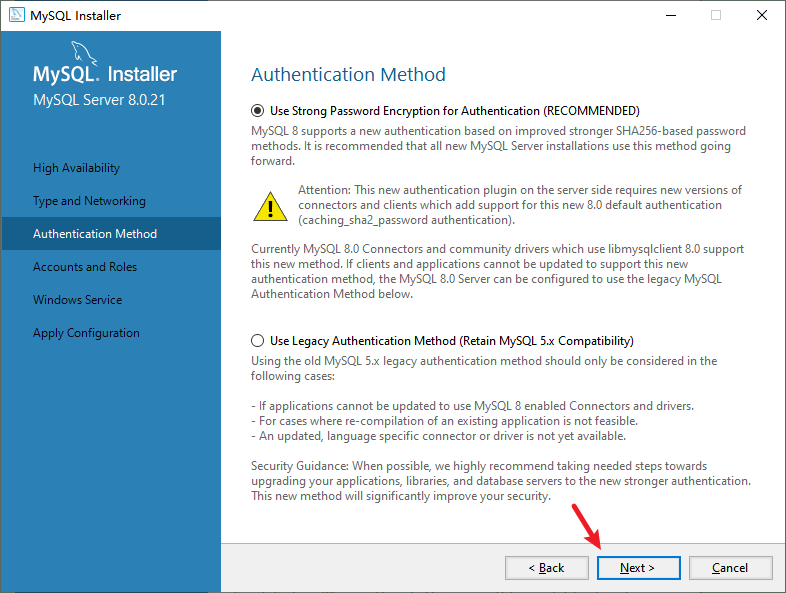
Configure the authorization type (the default, just "Next")
Configure users

Root Account Password: Fill in the password of the root user in MySQL, with a minimum length of 4 characters
MySQL User Accounts: You can add ordinary users. There is no need to create a user here, just use root directly
7. Configure the service startup mode and self-start

The first selection box: whether to register MySQL as a Windows service
The second text box: the registered service name. Use this name later when you start it with the command
The third selection box: whether to start automatically when the system starts. uncheck it here
8. Application configuration
9. End configuration

click finish

Click Next

Click Finish
10. Start the service
start the service
net start MYSQL80Note: The shutdown service is
net stop MYSQL8011. Test the connection
Open MySQL Command Line Tool

Enter the password, as shown in the figure below, it is successful

Notice
If the following problem occurs after installing MySQL 8.0, it is because MySQL 8.0 does not support win7. For details, see:
MySQL :: Supported Platforms: MySQL Workbench
Solution: Download MySQL 6.3.10 and install it.
