低バージョンのreactプロジェクトは、迅速なテストに便利な反応関連テストの基本環境として使用できます。
git clone [email protected]:whosMeya/simple-react-app.git
git checkout v1.0.0
GitHubアドレス:simple-react-app v1.0.0
プロジェクト建設プロセスは次のとおりです
プロジェクトの初期化
# 新建文件夹
mkdir simple-react-app
# 进入文件夹
cd ./simple-react-app
# npm初始化 -y参数表示使用默认配置,执行后会生成package.json文件
npm init -y
Reactコードを追加する
反応関連の依存関係をインストールする
npm install --save react react-dom @types/react @types/react-dom
新しいindex.jsファイルを作成し、次のコードを記述します
import React from 'react';
import ReactDOM from 'react-dom';

class App extends React.Component {

  render() {
    return (
      <div>Hello World!</div>
    )
  }
}

ReactDOM.render(
  <App />,
  document.getElementById('root')
);
新しいindex.htmlファイルを作成し、次のコードを記述します
<!DOCTYPE html>
<html lang="en">

<head>
  <meta charset="UTF-8">
  <meta name="viewport" content="width=device-width, initial-scale=1.0">
  <title>Simple React App</title>
</head>

<body>
  <div id="root"></div>
</body>
<script src="./index.js"></script>

</html>
構成
Webpack関連の依存関係をインストールする
npm install --save-dev webpack webpack-cli
Webpack構成ファイルを追加する
ルートディレクトリに新しいファイルwebpack.config.jsを作成し、次のコードを記述します。
const path = require('path');

let config = {
  entry: './index.js',
  output: {
    path: path.resolve(__dirname, 'dist'),
    filename: 'index.js'
  },

}
module.exports = config;
プラグインhtml-webpack-pluginを追加
html-webpack-pluginは、htmlファイルをパックするために使用されます。
インストールする
npm install --save-dev html-webpack-plugin
webpack.config.jsを変更する
const path = require('path');
+ const HtmlWebpackPlugin = require('html-webpack-plugin');

let config = {
  entry: './index.js',
  output: {
    path: path.resolve(__dirname, 'dist'),
    filename: 'index.js'
  },
+ plugins: [
+   new HtmlWebpackPlugin({
+     filename: 'index.html',
+     template: 'index.html',
+   }),
+ ],
}
module.exports = config;
Babel関連の依存関係をインストールする
Babelは、react構文をブラウザが認識できる構文にコンパイルします。
PS:Babel7はすべてのパッケージを@ babel /の下に置きます。
npm install --save-dev babel-loader @babel/core @babel/preset-env @babel/polyfill @babel/preset-react @babel/plugin-proposal-class-properties
Babel設定ファイルを追加
ルートディレクトリに新しいファイルbabel.config.jsonを作成し、次のコードを記述します
{
  "presets": [
    "@babel/preset-env",
    "@babel/preset-react"
  ],
  "plugins": [
    "@babel/plugin-proposal-class-properties"
  ]
}
Webpack構成ファイルにBabel構成を追加する
const path = require('path');
const HtmlWebpackPlugin = require('html-webpack-plugin');

let config = {
  entry: './index.js',
  output: {
    path: path.resolve(__dirname, 'dist'),
    filename: 'index.js'
  },
+ module: {
+   rules: [
+     { test: /\.js$/, use: 'babel-loader' }
+   ]
+ },
  plugins: [
    new HtmlWebpackPlugin({
      filename: 'index.html',
      template: 'index.html',
    }),
  ],
}
module.exports = config;
ビルドコマンドを追加
package.jsonを変更する
"scripts": {
+ "build": "webpack --mode production",
  "test": "echo \"Error: no test specified\" && exit 1"
},
ビルドコマンドを実行して効果を確認する
npm run build
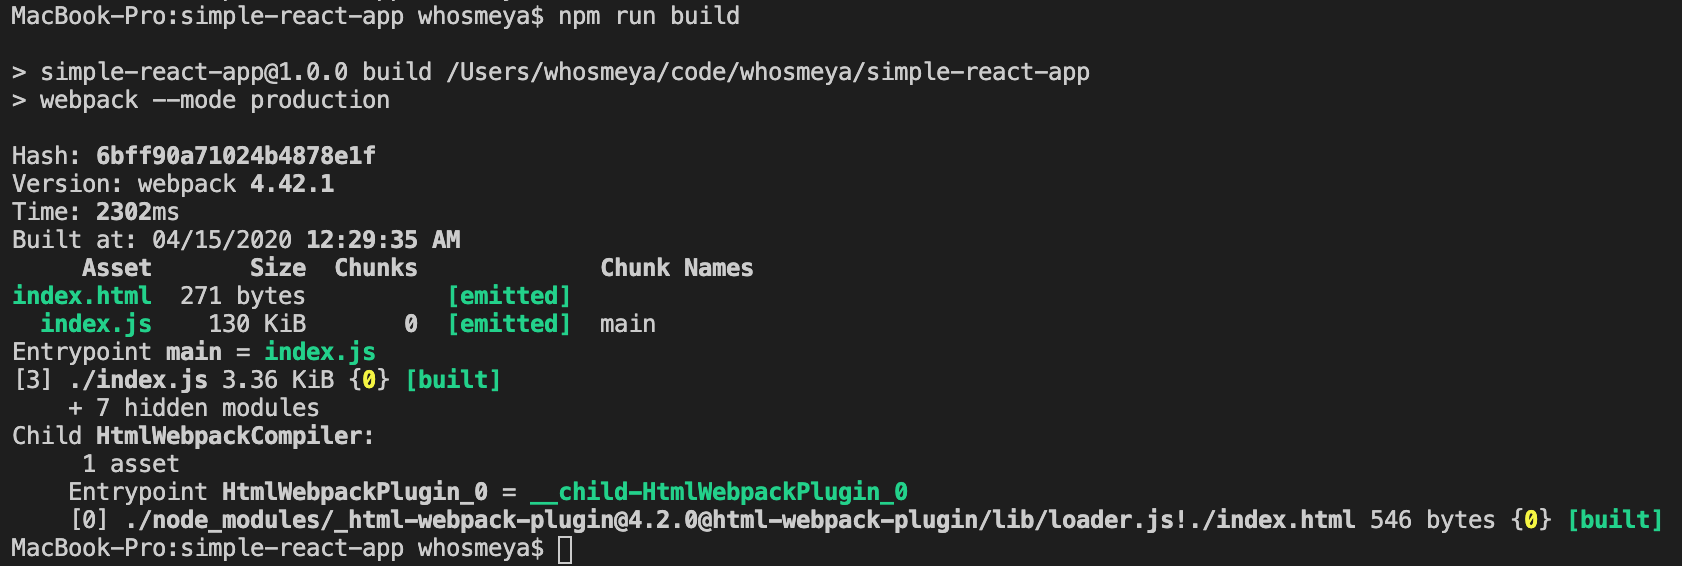
パッケージ化が成功した場合、ルートディレクトリはdistを生成します。
distの下でindex.htmlを開くと、Hello World!が表示されます。
開始コマンドを追加
webpack-dev-server hot startを使用します。
npm install --save-dev webpack-dev-server
package.jsonを変更する
"scripts": {
  "build": "webpack --mode production",
+ "start": "webpack-dev-server",
  "test": "echo \"Error: no test specified\" && exit 1"
},
開始コマンドを実行して効果を確認します
npm run start
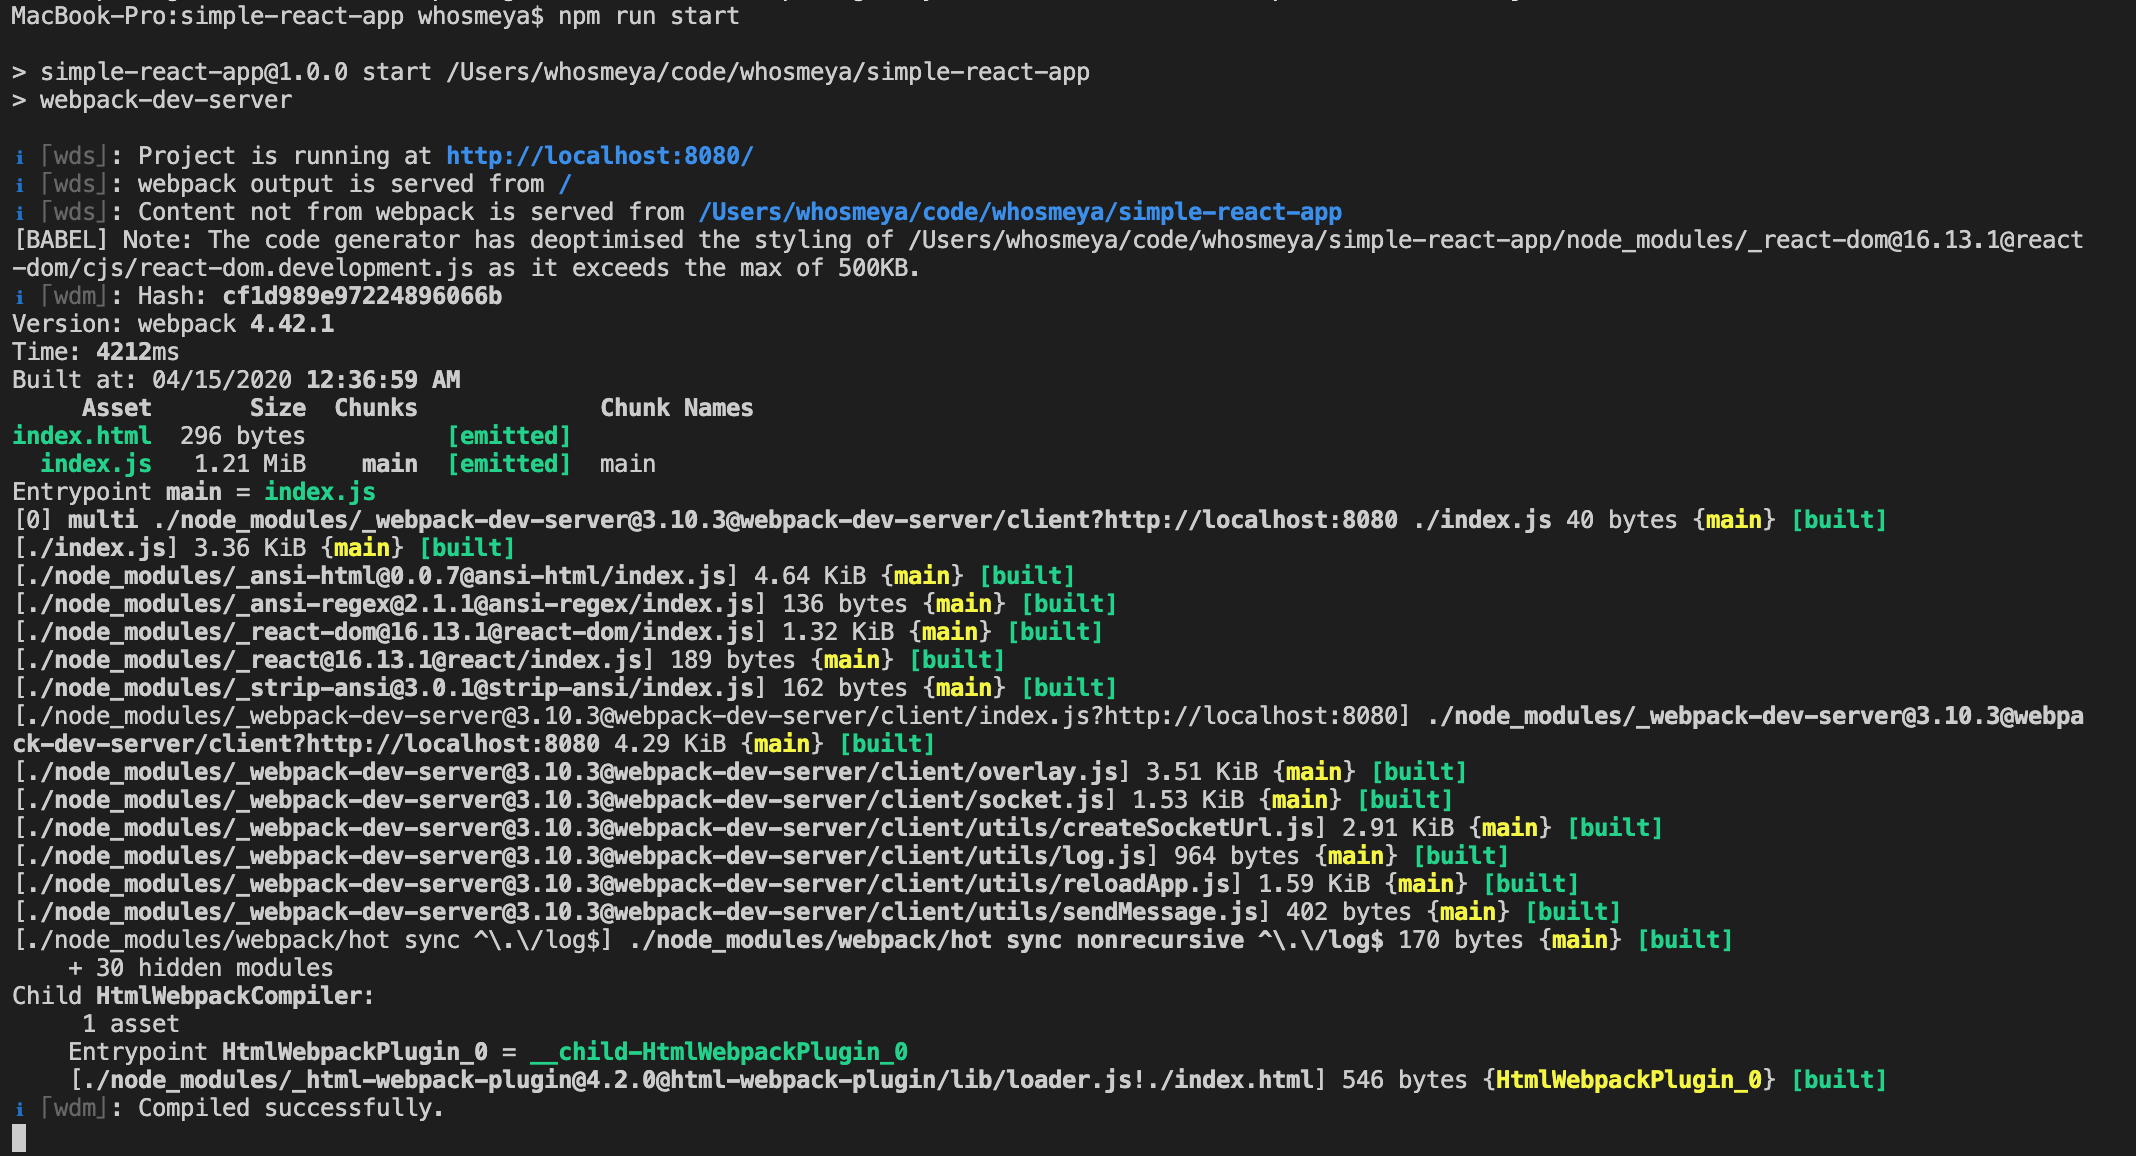
プロジェクトは正常に実行されます。http:// localhost:8080 /を開くと、 Hello World!が表示されます。
index.jsを変更すると、ページは保存後に同期的に更新されます。