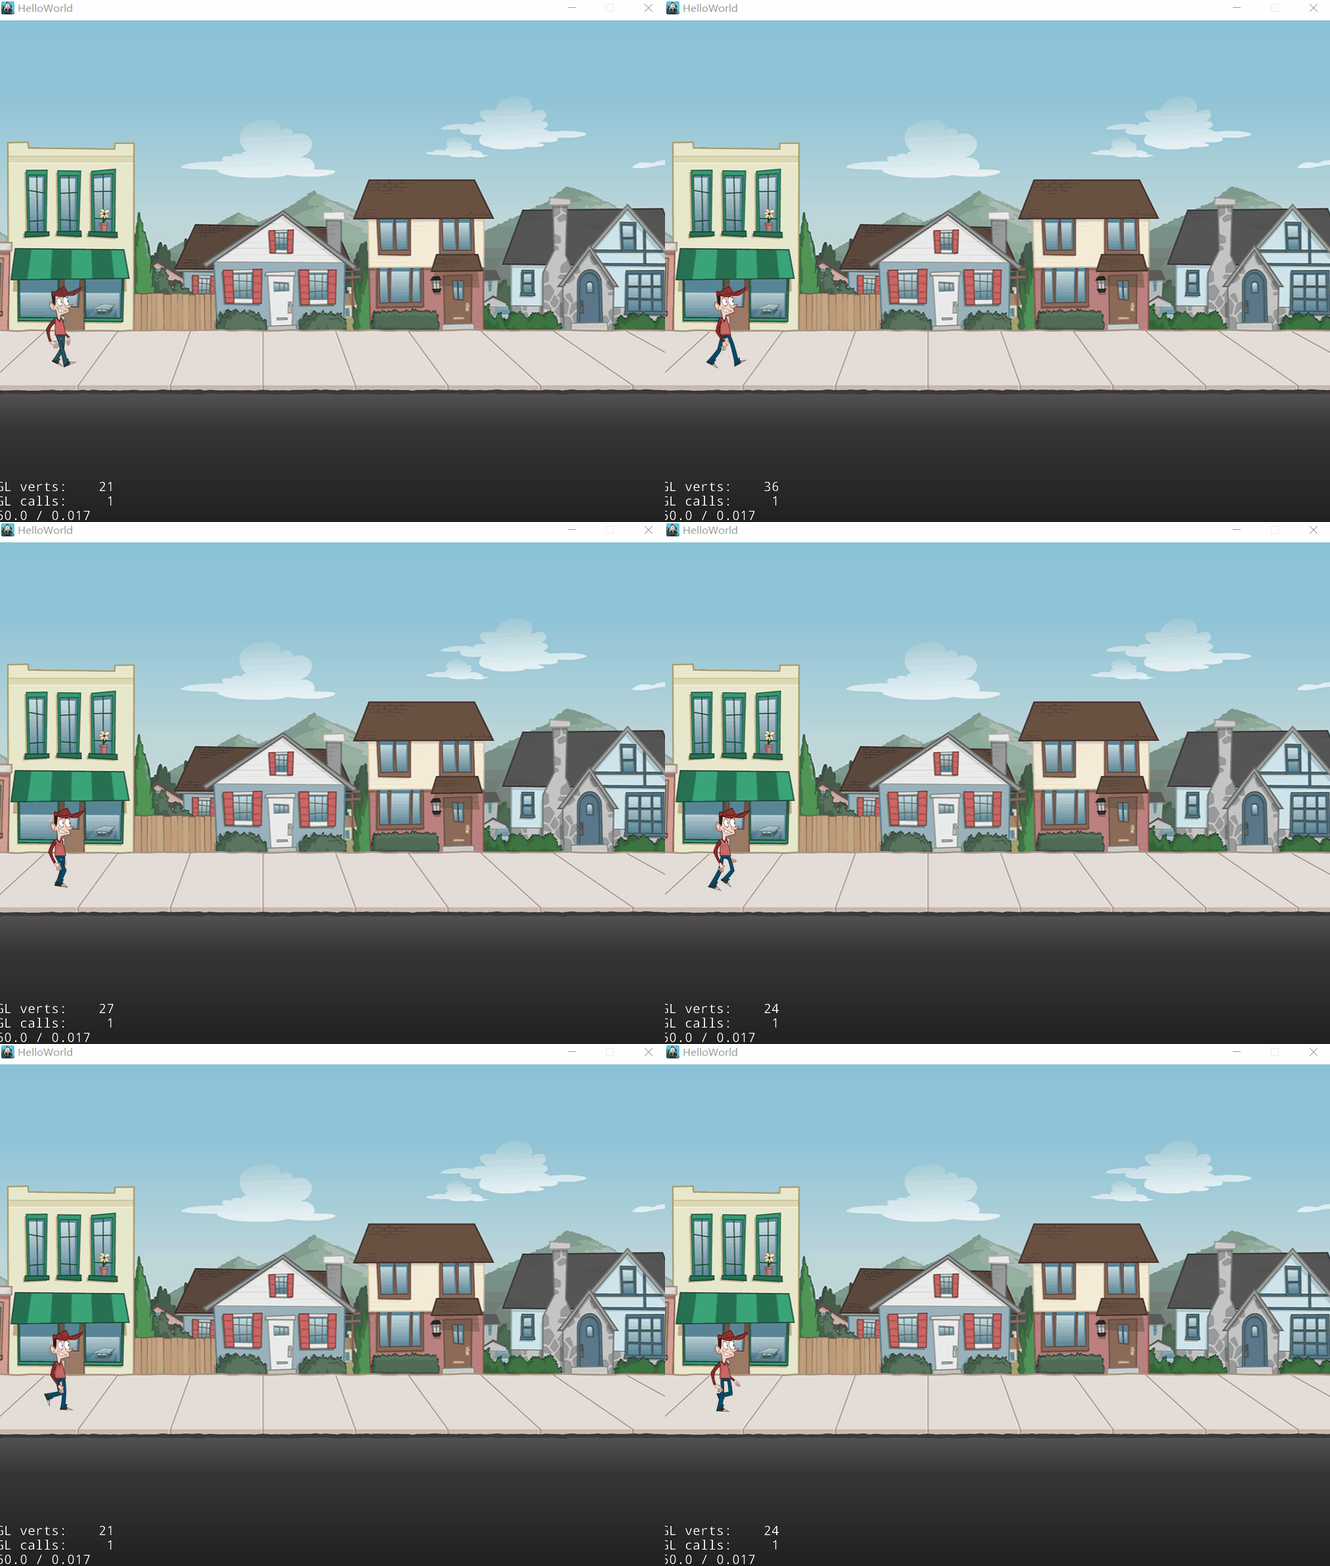
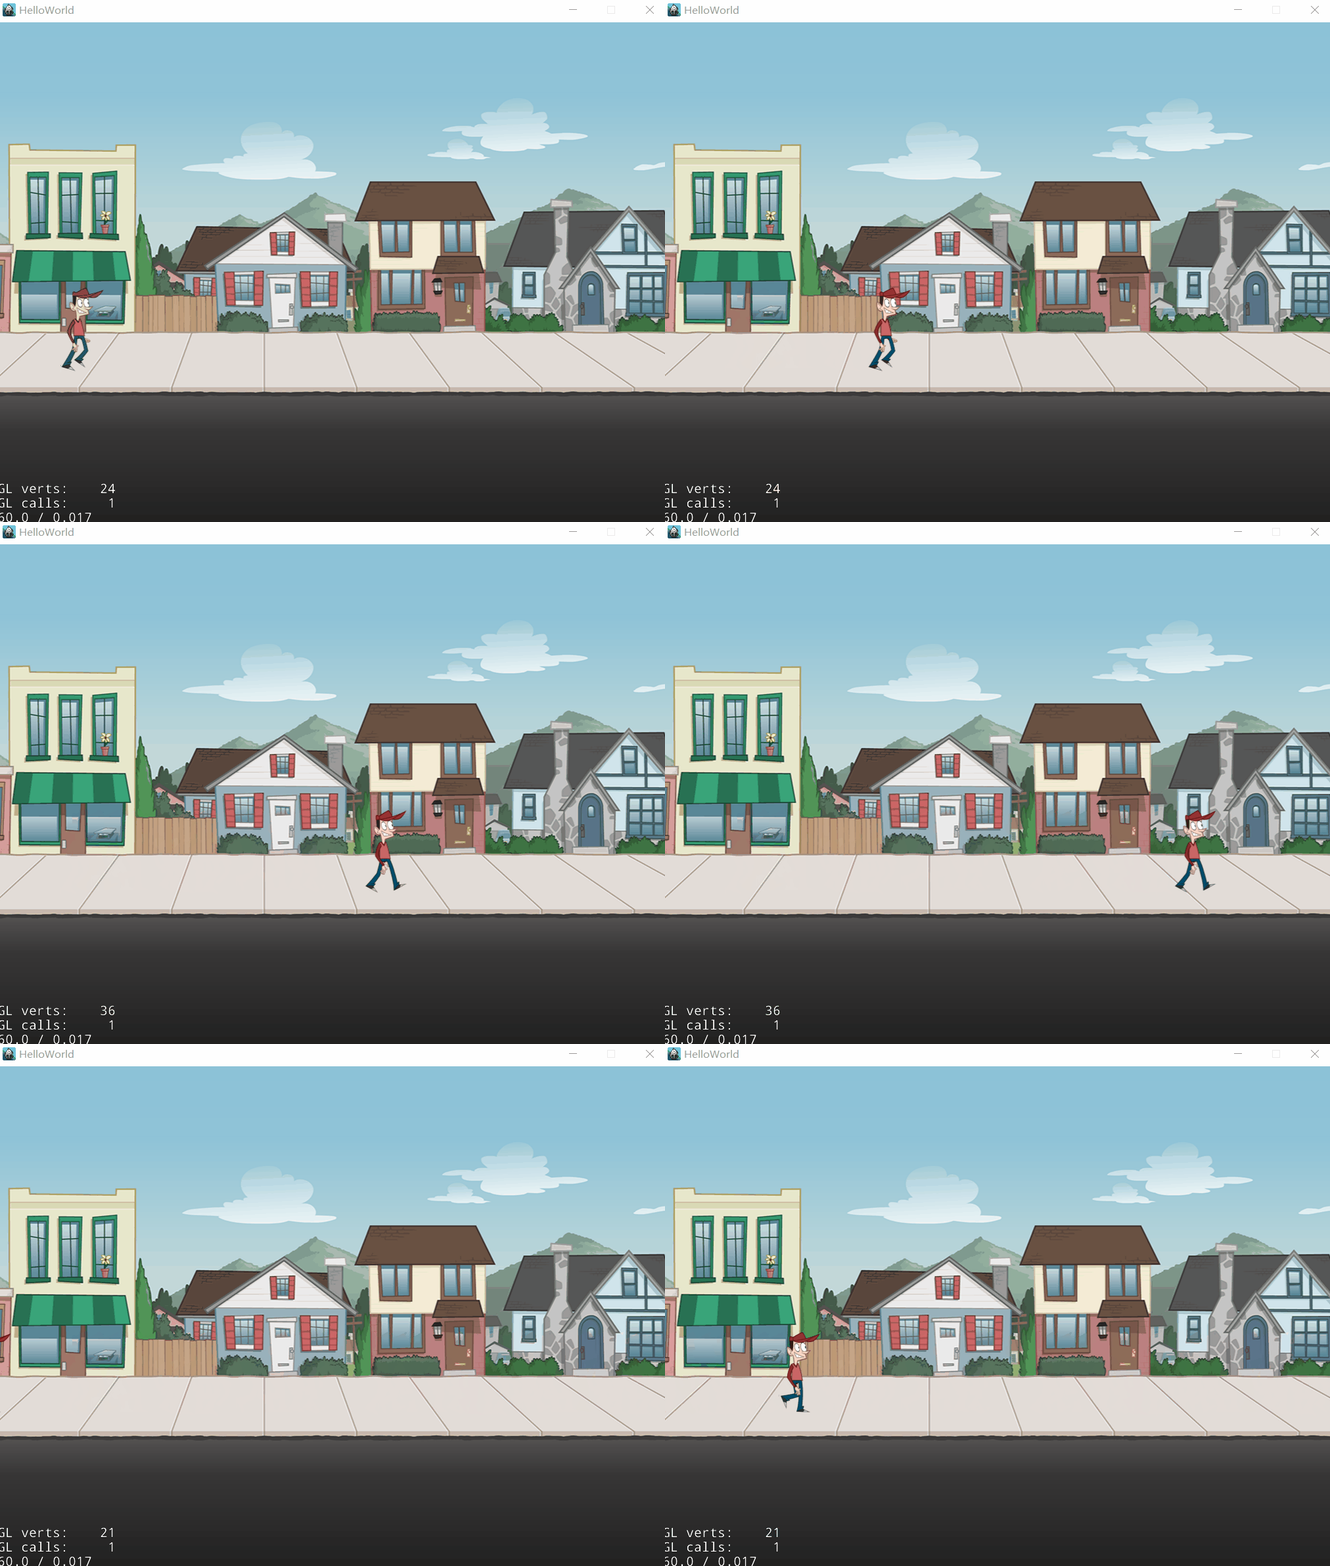
前の記事の次に、フレームバッファを使用してスプライトを作成します。
特にフレームアニメーションでは、このメソッドはスプライトを作成するためにさらに必要です。たとえば、次のスケルトンアニメーション:

フレームキャッシュの作業手順は次のとおりです。最初にすべてのスプライトをファイルに作成します。このファイルはスプライトシートと呼ばれ、.plistファイルです。次に、このファイルをSpriteFrameCacheにロードします。呼び出されたら、表示するスプライトをキャッシュから直接読み取ります。
スプライトシートを使用する理由 理由:
1.時間を節約します。ファイルを1つずつロードする場合、コンピューターが使い果たされていませんか。
2.個別にロードされた場合、メモリ内の各画像の場所は別々になり、プログラムがすばやく引用するのに不便です
3.テクスチャの形で、画像が変換された場合、プログラムはより多くを消費します
4.ウィザードは最適化できません。たとえば、ポリゴン用に最適化されたスプライトはメモリを節約できます。
まあ、スプライトシートを使用すると、プログラムを高速に実行でき、使用するのに非常に便利です。始めましょう〜
私たちの目標は骨格アニメーションを行うことです。すべてのリソースがここにあります。
最初のステップは、スプライトシートを作成することです
もちろんツールが必要なので、公式サイトで推奨されるツールはtexturePacker です。ダウンロードしてください。インストールが完了すると、起動インターフェイスは次のようになります。

次に、citysceneフォルダーをドラッグします。右側のいくつかの設定の必要性に注意してください。

ズームバリアントをクリックして、cocos2d-x HDR / HD / SDを選択し、[適用]をクリックして設定ウィンドウを閉じます。

リリースウィザードテーブルをクリックし、保存する場所を選択します。

このエラーが発生するのは、プレースホルダー{v}を追加していないためです。

これをデータファイルに書き込みます:... / res / {v} /cityscene.plist。スプライトシートを再度再発行すると、成功しました。

resの下に3つのフォルダーが生成され、citiescene.plistがあることがわかります。これは3つの異なる解像度用です。
画面の高さh <512、SDを使用; 513 <h <1024、HDを使用; h> 1024、HDRを使用。

plistを開いて見てください。実際にはxml形式のコンテンツです。

ステップ2:plistをSpriteFrameCacheにインポートする
SpriteFrameCache :: getInstance()-> addSpriteFramesWithFile( "cityscene.plist");
その後、最初に背景画像を読み込みます。
// HelloWorldScene.cpp
bool HelloWorld::init()
{
    if (!Scene::init()){ return false; }

    auto visibleSize = Director::getInstance()->getVisibleSize();
    auto origin = Director::getInstance()->getVisibleOrigin();

    SpriteFrameCache::getInstance()->addSpriteFramesWithFile("cityscene.plist");
    // background
    auto background = Sprite::createWithSpriteFrameName("background.png");
    background->setPosition(origin.x + visibleSize.width / 2, origin.y + visibleSize.height / 2);
    this->addChild(background);
    return true;
}
// AppDelegate.cpp
static cocos2d::Size designResolutionSize = cocos2d::Size(1024, 768); // <-- Modify
auto frameSize = glview->getFrameSize();
std::vector<std::string> searchPaths; // <-- Add
// if the frame's height is larger than the height of medium size.
if (frameSize.height > mediumResolutionSize.height)
{
searchPaths.push_back("res/HDR"); // <-- Add
director->setContentScaleFactor(MIN(largeResolutionSize.height/designResolutionSize.height, largeResolutionSize.width/designResolutionSize.width));
}
// if the frame's height is larger than the height of small size.
else if (frameSize.height > smallResolutionSize.height)
{
searchPaths.push_back("res/HD"); // <-- Add
director->setContentScaleFactor(MIN(mediumResolutionSize.height/designResolutionSize.height, mediumResolutionSize.width/designResolutionSize.width));
}
// if the frame's height is smaller than the height of medium size.
else
{
searchPaths.push_back("res/SD"); // <-- Add
director->setContentScaleFactor(MIN(smallResolutionSize.height/designResolutionSize.height, smallResolutionSize.width/designResolutionSize.width));
}
FileUtils::getInstance()->setSearchPaths(searchPaths); // <-- Add
register_all_packages();
ステップ3:スプライトを読み込む:これは、所定の場所を歩くアニメーションです。
// HelloWorldScene.h Add
private:
    cocos2d::Vector<cocos2d::SpriteFrame*> getAnimation(const char* format, int count);

// HelloWorldScene.cpp
// After this->addChild(background), Add the following code
    auto frames = getAnimation("capguy/walk/%04d.png", 8);
    auto sprite = Sprite::createWithSpriteFrame(frames.front());
    background->addChild(sprite);
    sprite->setPosition(100, 300);

    auto animation = Animation::createWithSpriteFrames(frames, 1.0f / 8);
    sprite->runAction(RepeatForever::create(Animate::create(animation)));

// Create New Function
Vector<SpriteFrame*> HelloWorld::getAnimation(const char* format, int count)
{
    auto spritecache = SpriteFrameCache::getInstance();
    Vector<SpriteFrame*> animFrames;
    char str[100];
    for (int i = 1; i <= count; i++)
    {
        sprintf(str, format, i);
        animFrames.pushBack(spritecache->getSpriteFrameByName(str));
    }
    return animFrames;
}
動きの効果を追加できます:
// HelloWorldScene.cpp
// After sprite->runAction(RepeatForever::create(Animate::create(animation))), Add following code
    auto movement = MoveTo::create(5, Vec2(1024, 300));
    auto resetPosition = MoveTo::create(0, Vec2(-75, 300));
    auto sequence = Sequence::create(movement, resetPosition, NULL);
    sprite->runAction(RepeatForever::create(sequence));
上。
