Development and deployment system environment-isolated multi-system
During development and testing, you need to install another system and do not want to use a virtual machine. I have found many dual-system installation methods on the Internet, but the two systems can access each other. For example, directly deleting the data in system B on system A will have a greater impact. Later, I discovered a method to create a virtual hard disk. Installing the system on the virtual hard disk can prevent each other from accessing each other and implement logical isolation.
Create vhdx virtual hard disk
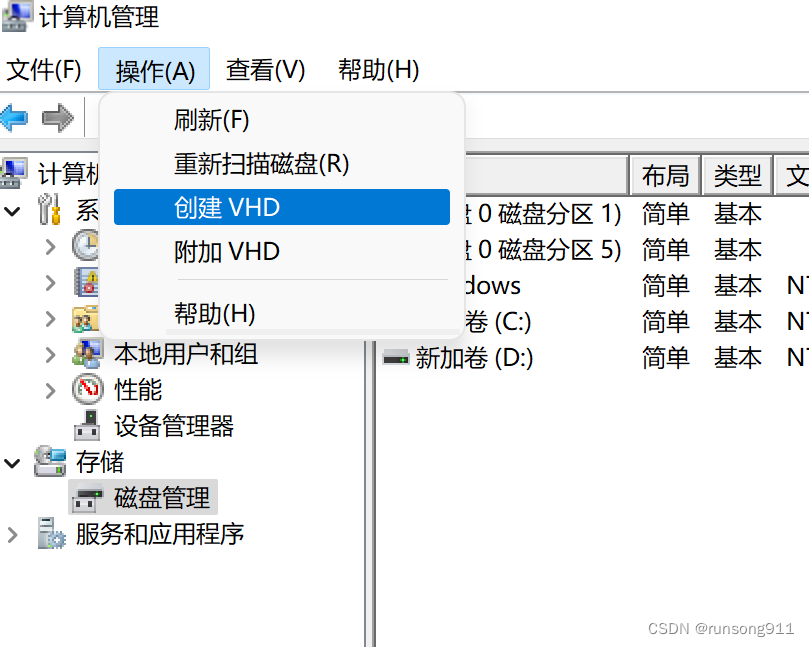
In the Windows system, use the disk management tool, and under the operation, you can create a VHD virtual hard disk.
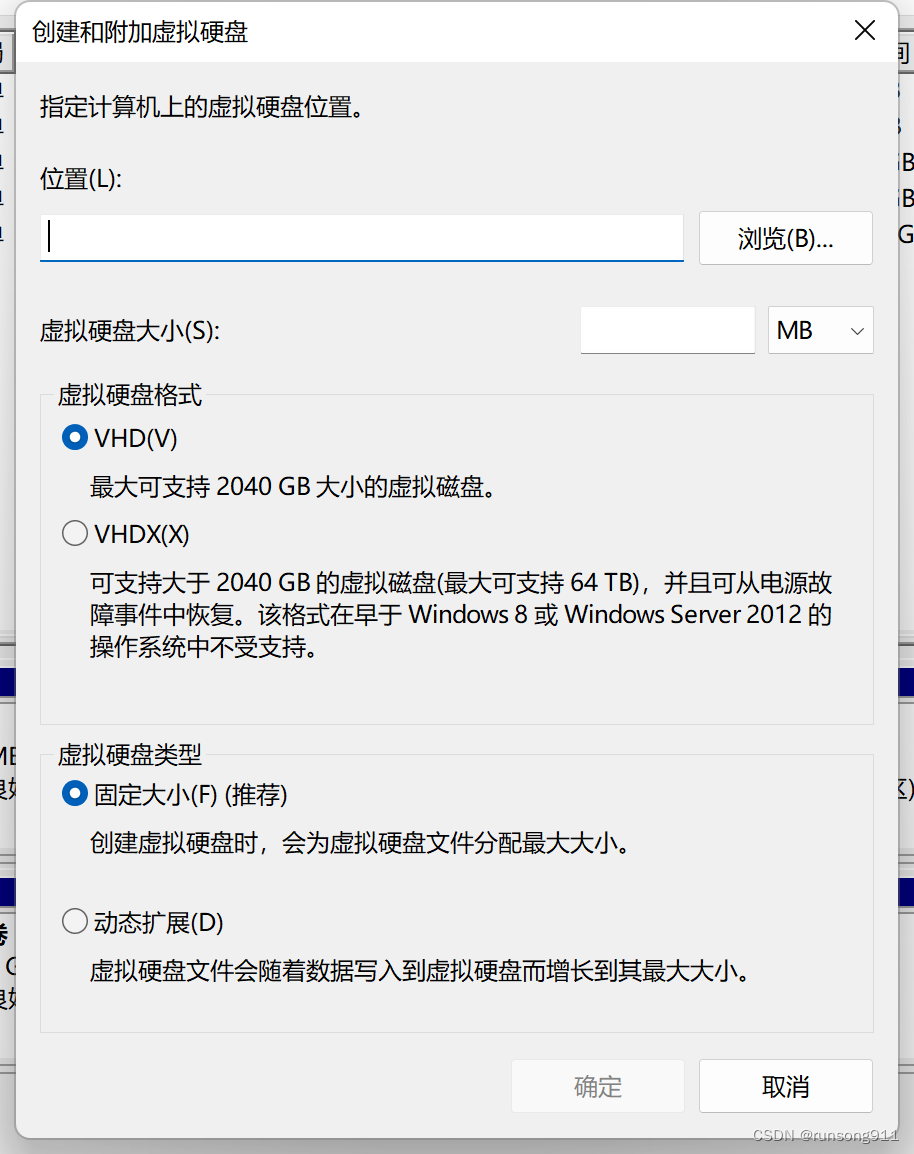
Select the location and size where the virtual hard disk file is saved, and then set the virtual hard disk format and type. It is best to use VHDX as the format, but if the old system does not support it, choose VHD. Types can optionally be expanded dynamically so that all hard drive space is not allocated at once.
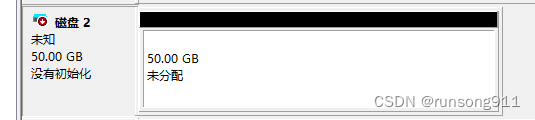
The newly created VHD needs to be initialized before it can be used. Right-click Disk 2 on the left side of the black bar, and then click Initialize Disk to perform this operation. As for whether to choose GPT or MBR, you need to choose according to the type of disk where the current system is located. I plan to use GPT disk type and EFI boot, so I choose GPT type disk here.
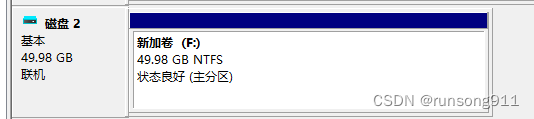
After initializing the disk, create a simple volume and format it, and you will get a prepared VHD that can be used as an actual disk.
Mount system image
I am going to install win11. I first go to the Internet to download the original installation image file of win11, and then I can load this iso image file. At this time, a virtual optical drive will appear, and the content is the content of the image file.
release image
Image files can be released directly using Dism++. Open Dism++, select File menu -> Release image.
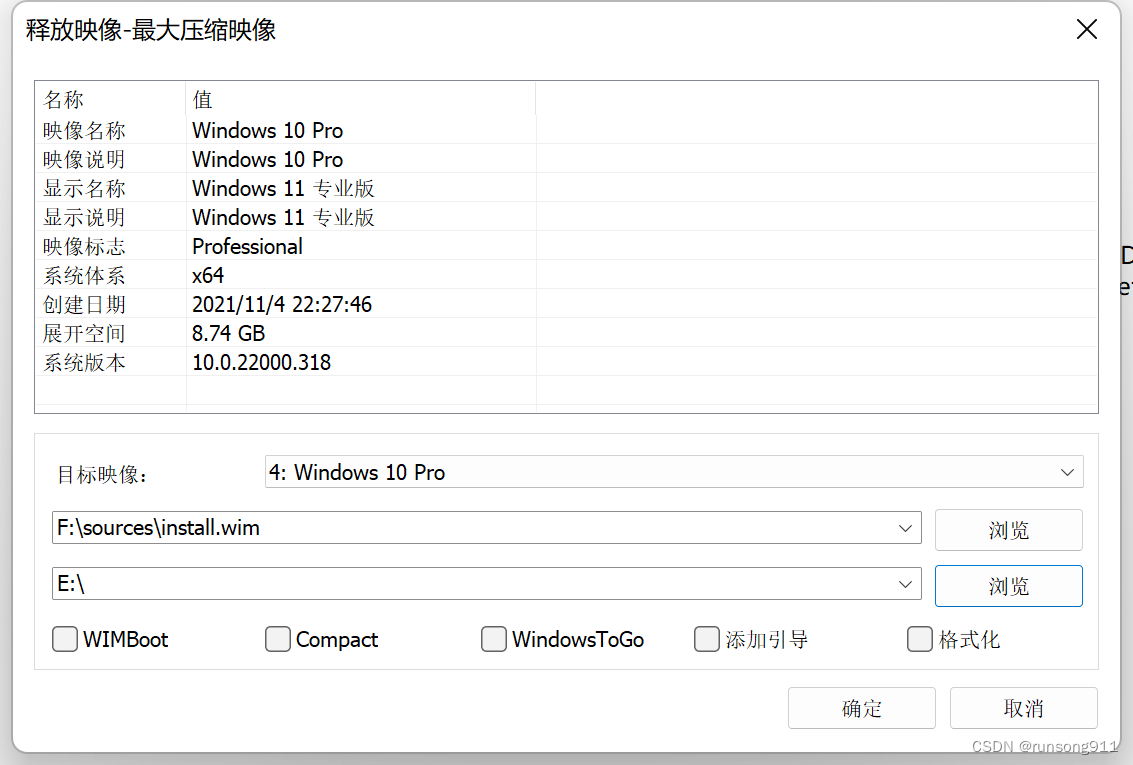
Select the system image file. The win11 I want to install is in the sources folder under the virtual CD-ROM drive and is named install.wim. After selecting this file, you can select the target image, which is the version of the system to be installed, such as Home Edition, Professional Edition, etc. The image information displayed here is win10 because my Dism++ version cannot directly recognize win11. Then just select the drive to install. After clicking OK, release the image.
Setup boot
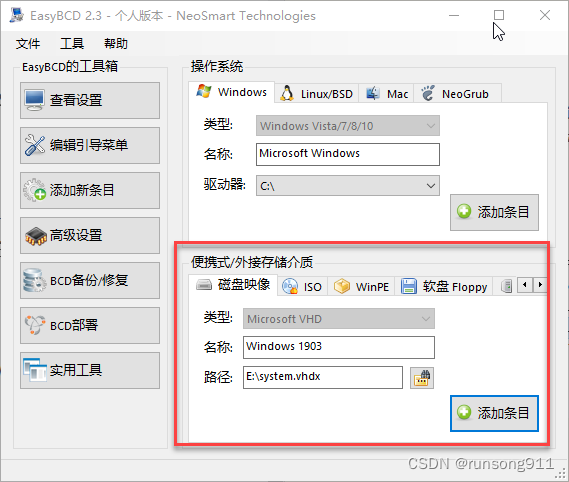
Use EasyBCD to add a boot entry, open the software and click Add New Entry. Please note that for systems installed in VHD mode, you need to use the following disk image when adding a boot entry, and then select the VHD file path. Click Add Entry, and then the guide will be added successfully.
Enter new system
After adding the boot items, you can restart the computer. Remember to select the system you just installed when the dual system selection appears. It should be noted that releasing the image is only a step in system installation. After rebooting into the new system, you need to reboot multiple times before you can actually enter the system. The Win11 system you just installed will automatically download the driver when connected to the Internet. Wait a moment and reset the system resolution, and you will see a newly installed system.
logical isolation
If you do not want the two systems to access each other, you can delete the drive letter of the target disk in the disk management tool of each system . Deleting the drive letter will not affect the data, and the data in it will no longer be accessible, creating a logical isolation effect.
Delete virtual hard disk
In the disk management tool of the original system , the virtual hard disk can be separated, and the created VHDX file can be deleted after separation.