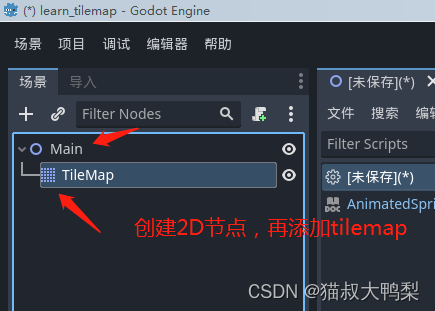
Add node, node2d->Tilemap

After setting, click Tile Set again, and the operation panel will appear in the lower left corner of the editor

Ask if you want to create an Atlas collection, click OK.
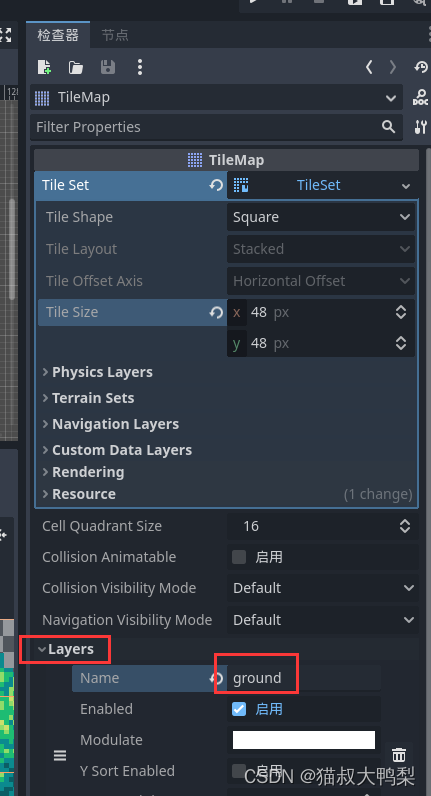
According to the resource content, set the width and height of the tile, the resource given here is 48*48
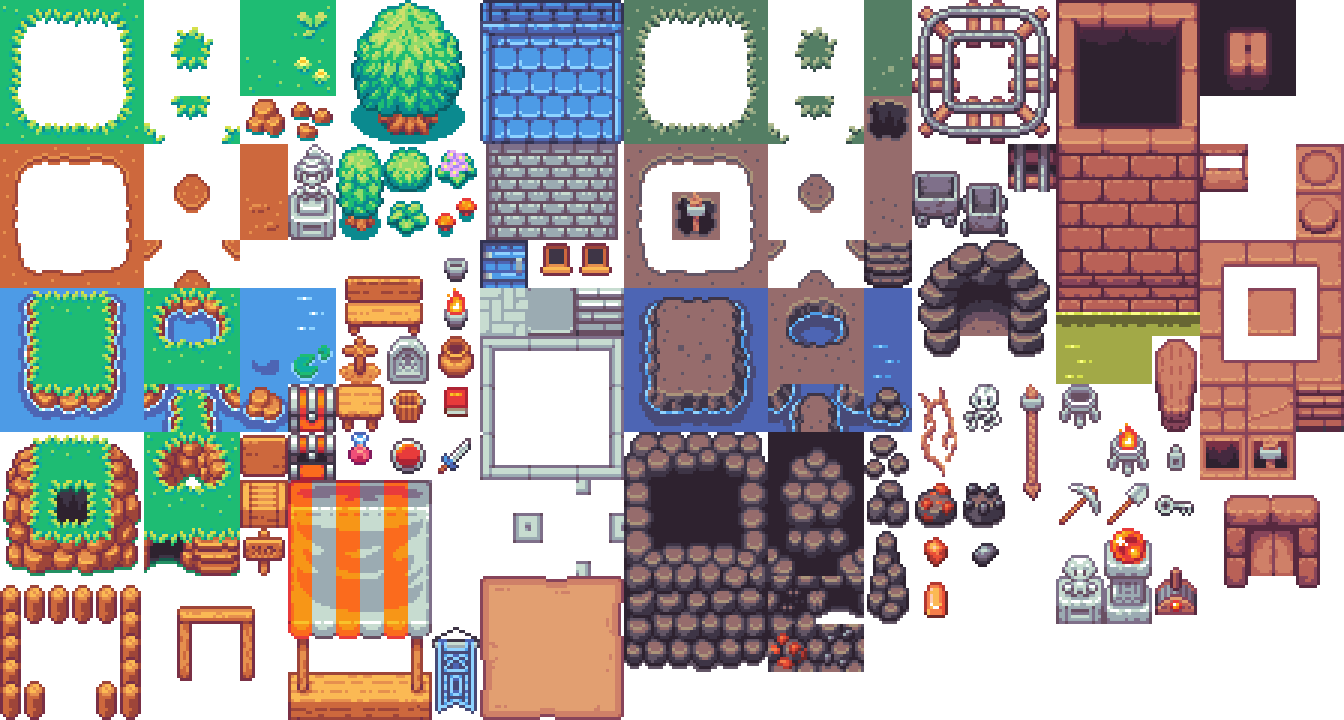
(There is a bug in the beta1 version. Setting the width and height may not work. Just drag the png in and create it again. Delete the wrong atlas.)
Create layers
4.0 is a new feature, so that there is no need to use 3 tilemap nodes to distinguish as before .
Create a terrain

Add Element, name grass, and modify the color of the mark for easy distinction.

Set block properties in batches, select the grass you just created.

Drag and select the tiles in this part (the two stones in the lower right corner are not needed), highlighting is selected, and then set bitmash.

Setting up bitmash (the gray part in the picture) is for autotile, and quickly arranges the scene.

The effect of auto tile is as follows
