1. Build the basic environment of Python
Introduction to Anaconda
Anaconda refers to an open source Python distribution that includes more than 180 scientific packages such as conda and Python and their dependencies. Because it contains a large number of scientific packages, the download file of Anaconda is relatively large (about 531 MB). If you only need some packages, or you need to save bandwidth or storage space, you can also use Miniconda , a smaller distribution (only conda and Python).
Install anaconda on win system
Preparations before installation
Obtaining the installation package
If you have any questions and don’t understand, you can click on the business card at the end of the article to communicate and learn
Anaconda's installation package can be downloaded directly from the official website, but because the server is set up abroad, the download speed is very slow, except for people who are abroad and over the wall!
Domestic friends can download from some domestic mirror servers, the following is the link address of the server:
Official website address: https://www.anaconda.com/distribution/
Domestic Tsinghua mirror address: https://mirrors.tuna.tsinghua.edu.cn/anaconda/archive/
You can choose the one that suits your system from the above link
It is recommended to choose to install anaconda3
installation process
- First open the anaconda installation package we prepared, please download the installation package from the above link

- After opening, click next

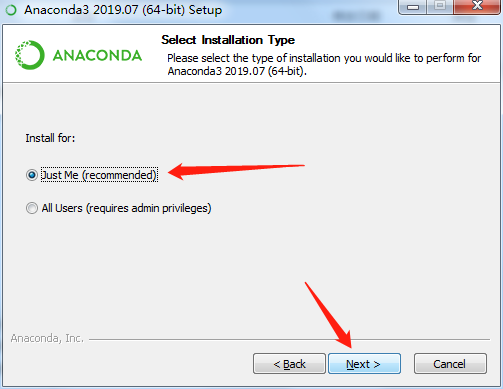
- The third step, choose to install for yourself
-
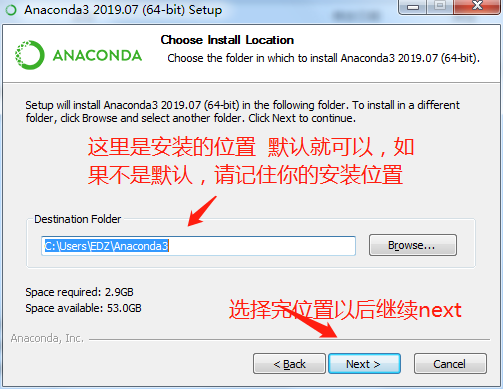
Select the software installation location, it is recommended to install by default
-
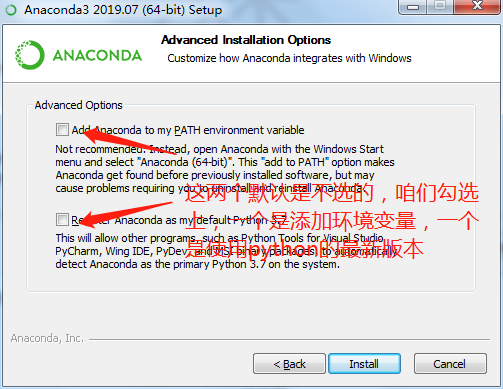
Check these two options in the next interface (Add Anaconda to my PATH envitonment variable and Register Anaconda as my default python 3.7)
The first option is to add anaconda to the environment variable, and the second option is to install the latest version of Python3.7
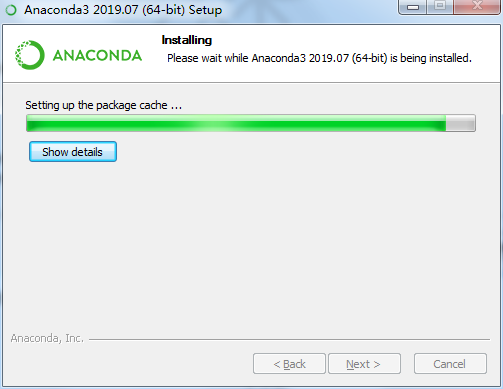
- Wait for the completion of the progress bar, the process will be slow, please wait patiently
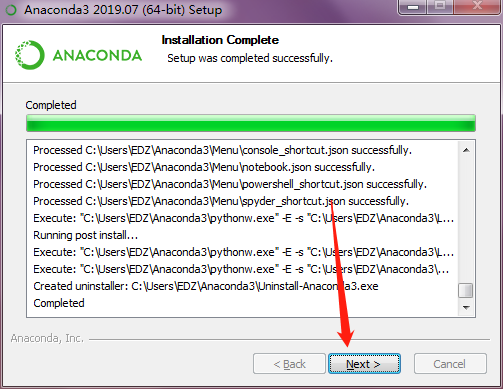
7. After the progress bar is completed, click next
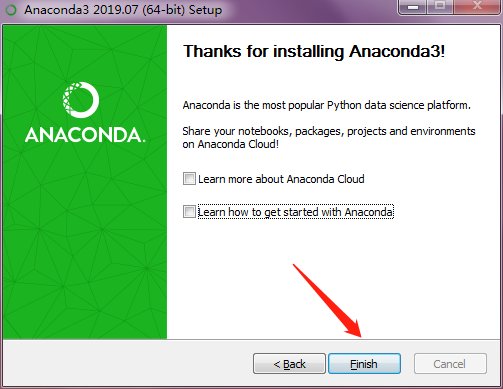
- Remove the default two options, click finsh to complete the installation
Verify that the installation was successful
-
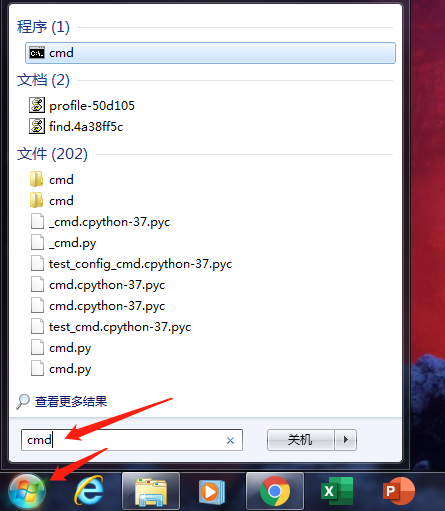
Click the windows icon in the lower left corner of the computer screen or click the windows button on the keyboard, and enter cmd at the bottom of the pop-up window to open dos
-
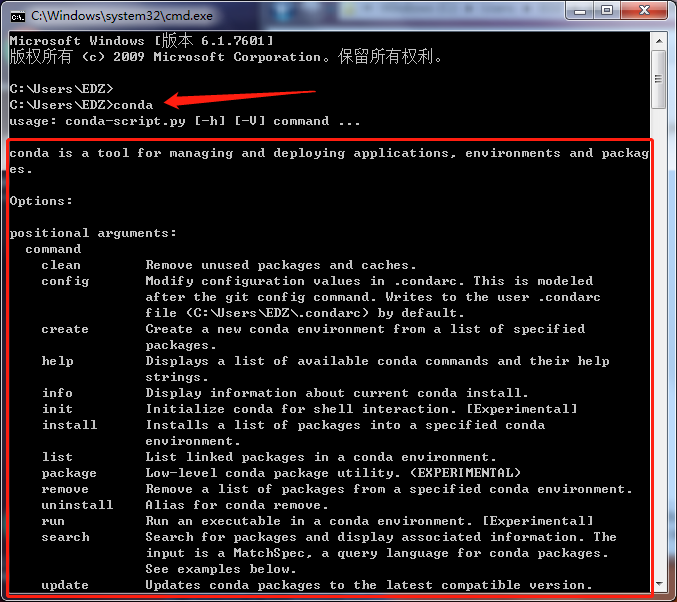
Enter the conda command in the opened dos, and the following prompt will appear, which means that we have completed the installation
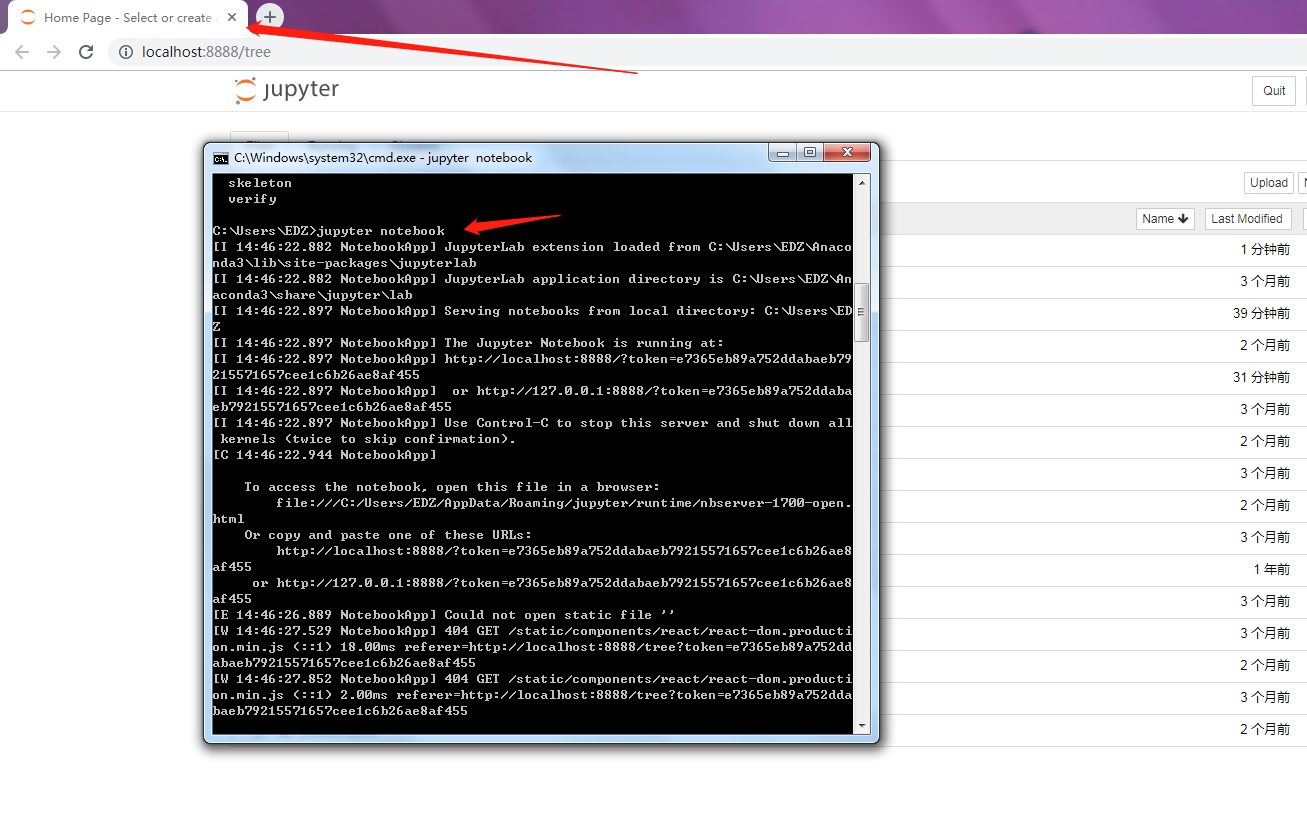
3. Enter jupyter notebook in dos to open the editor commonly used in our later courses. Do not close the dos window when this command is started. When you want to close jupyter notebook, press ctrl+c in the dos window to end the operation of jupyter
Mac installation anaconda tutorial
installation process
Open the installed installation package, select the one ending with **.pkg for the Mac system, and select the one ending with .exe** for the Win system
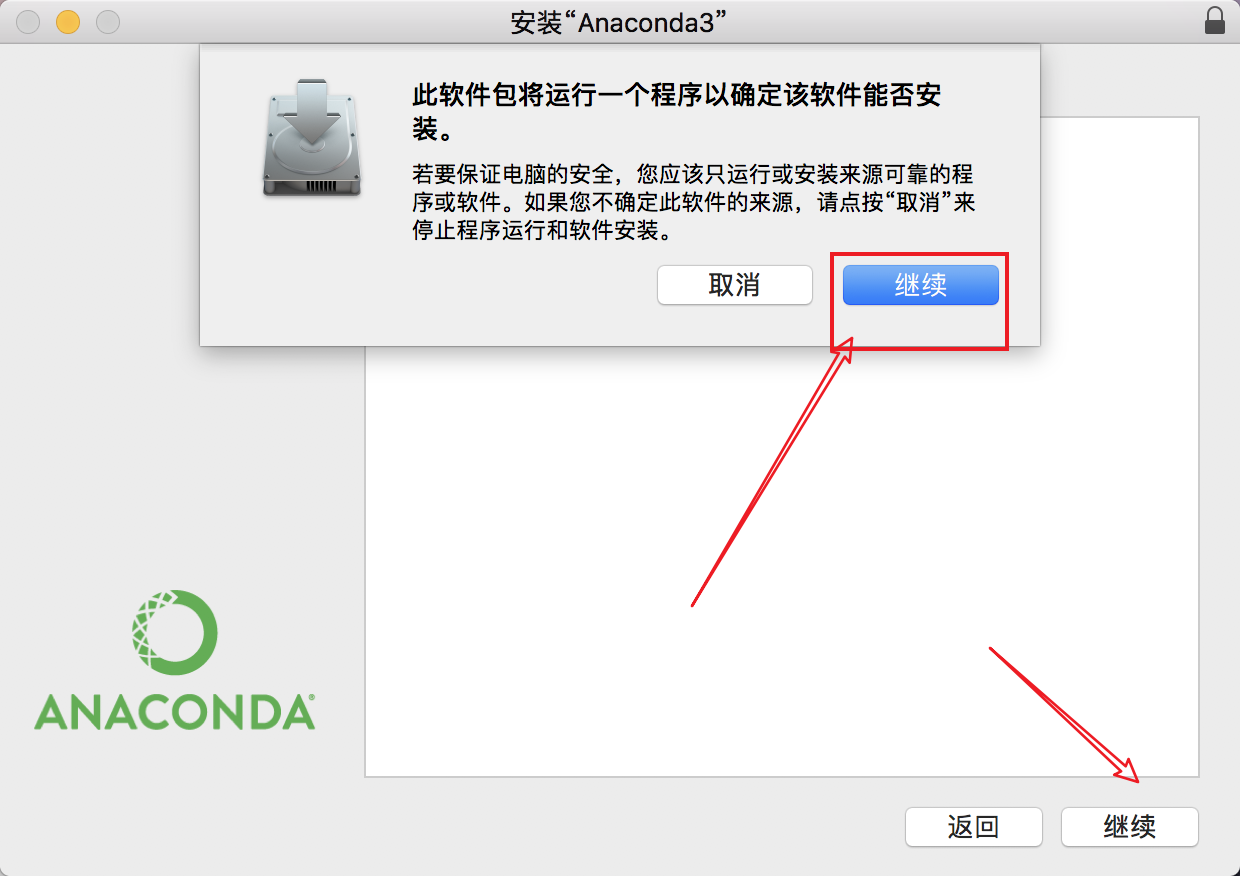
After clicking to open, the interface is as follows, and start clicking to continue
What follows is a variety of continuations
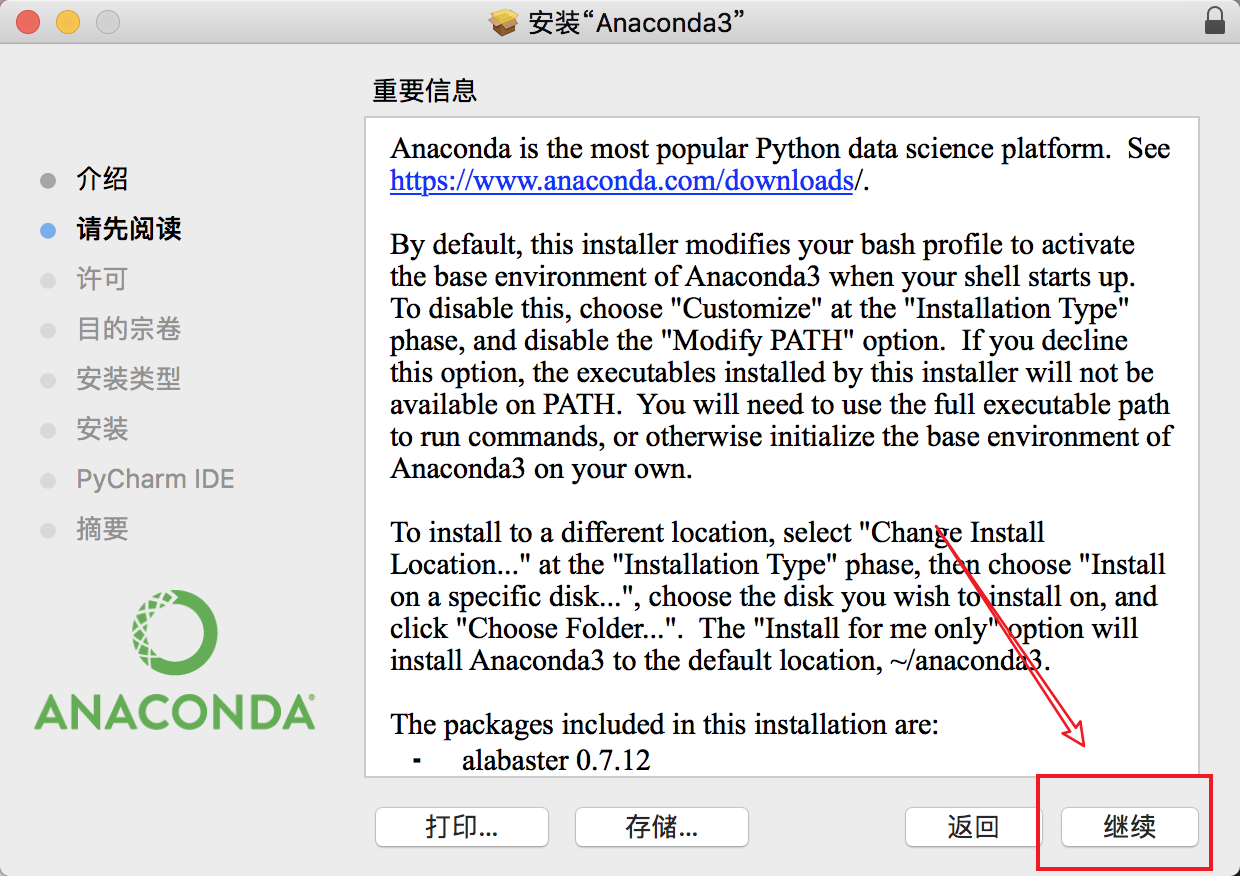
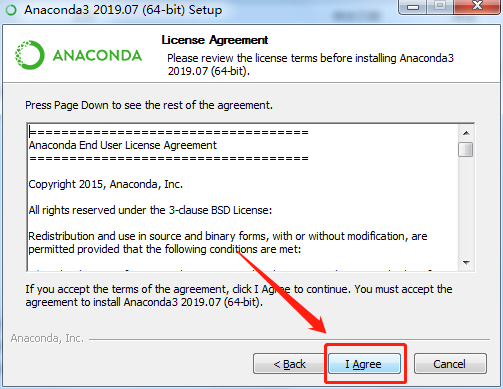
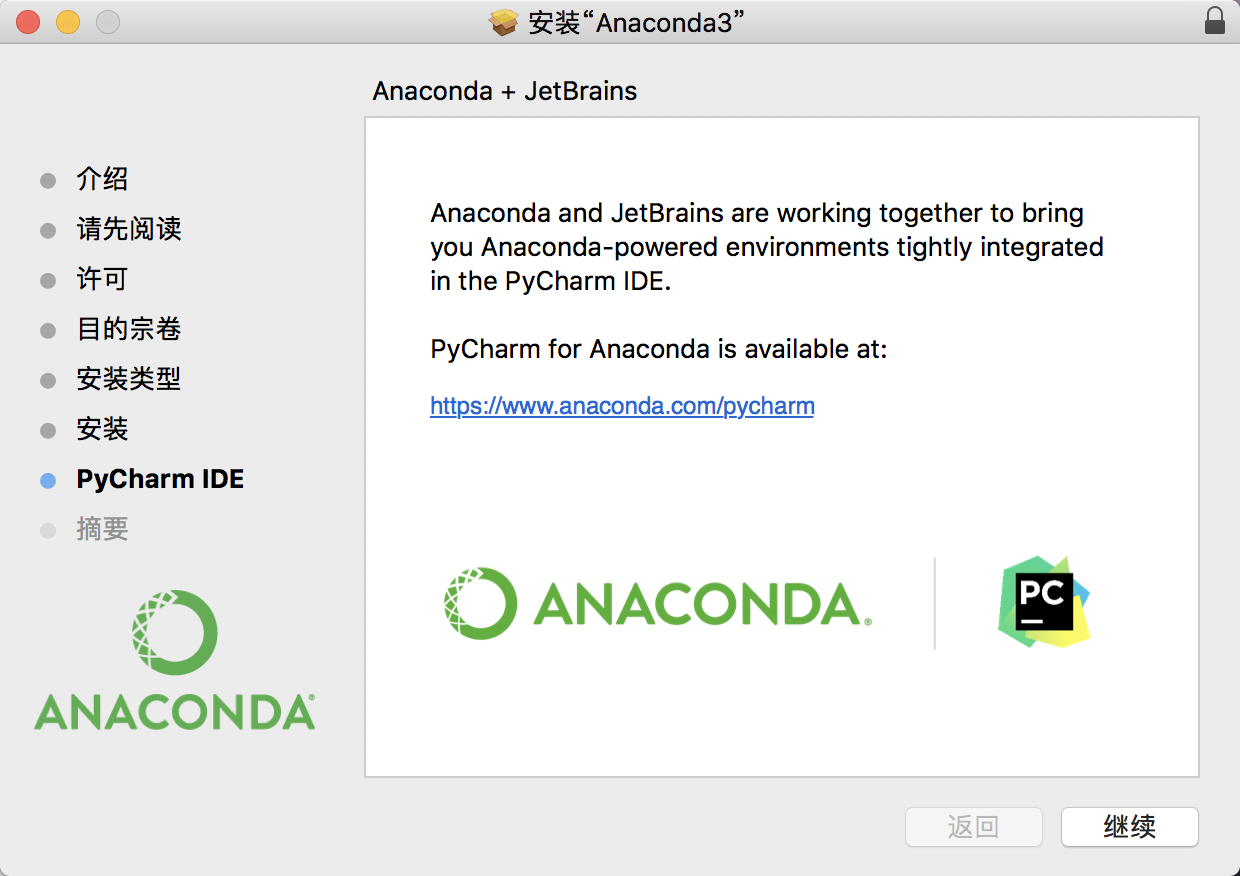
Of course, it will be necessary to agree to their overlord terms

It is not recommended to modify the default installation location. If you want to modify it, please remember where the installation location you choose is
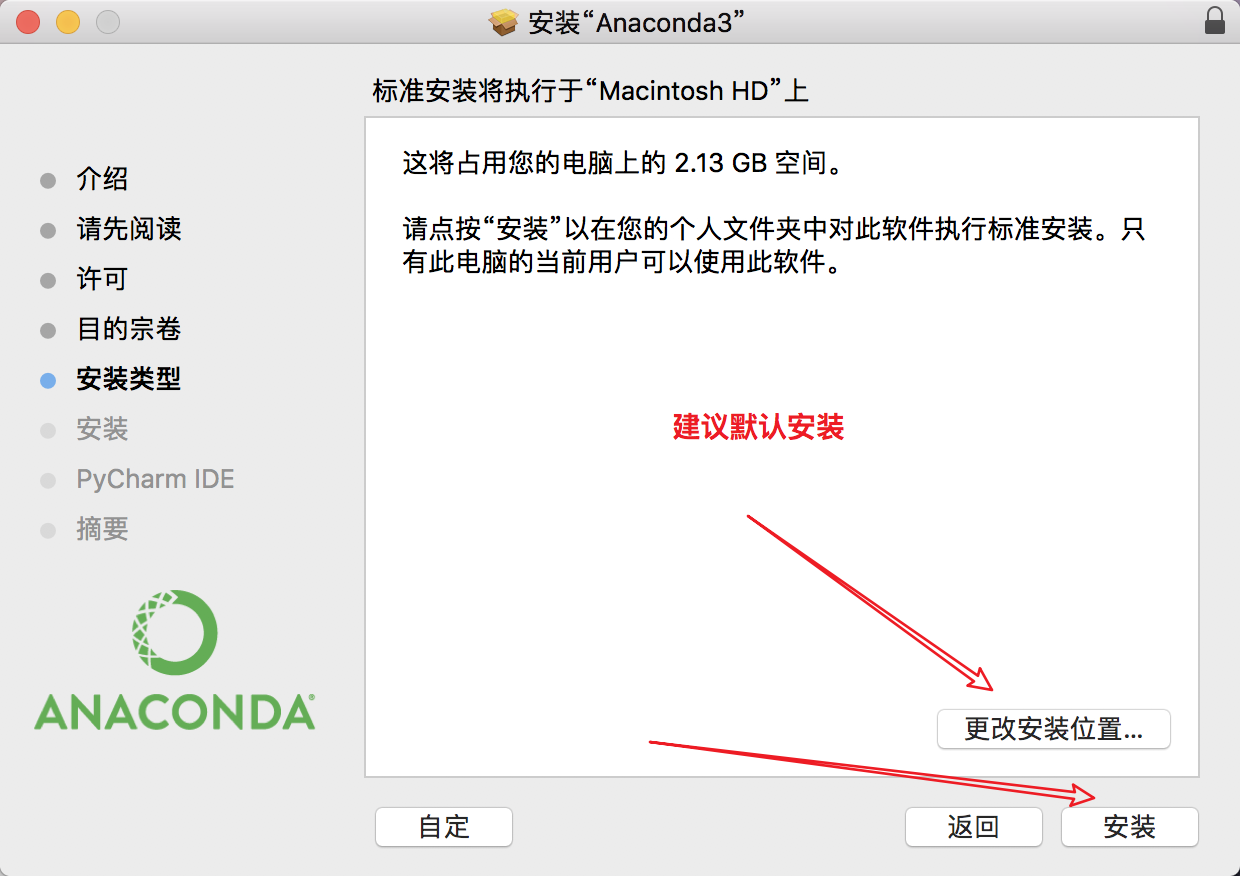
Finally, wait patiently for the end of the installation progress bar

After the progress bar is over, click continue, and then the installation is complete
After the installation, we can see such an icon in the program

We can click this icon to start the jupyter notebook we need, or we can start it through the terminal command line
Let's first check whether the installation is successful, open a new terminal and enter conda
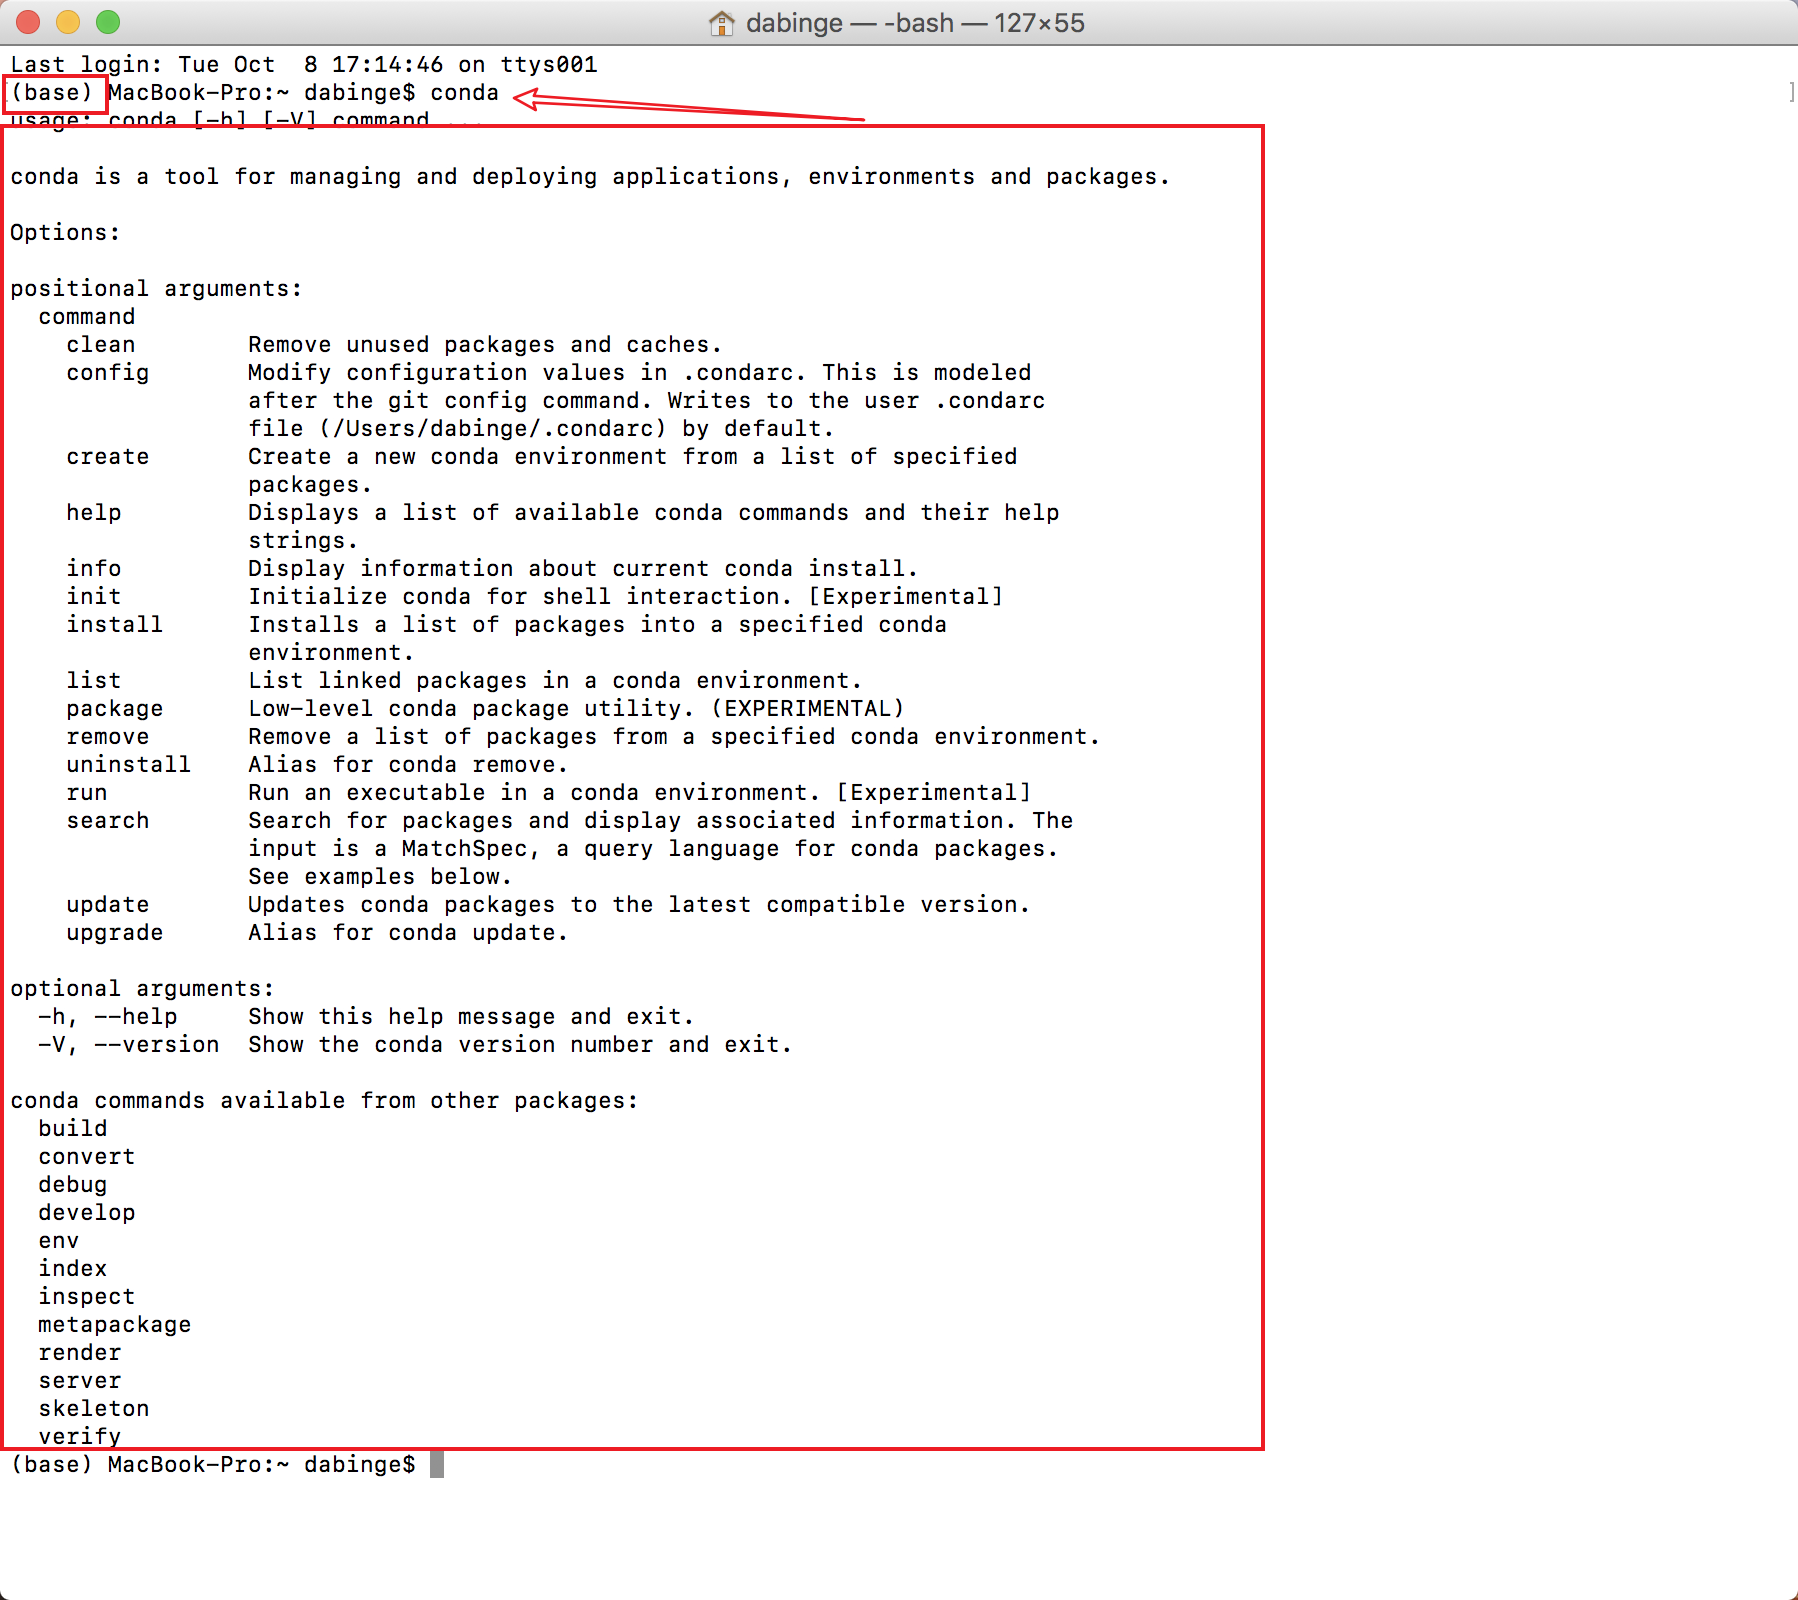
If (base) and the following prompt appear, the installation is successful. If conda: command not found appears, please check whether the display on the terminal is bash or zsh . If it is zsh, you need to switch to bash. Enter chsh -s /bin/bashEnter in the terminal and enter the power-on password .Then restart the terminal

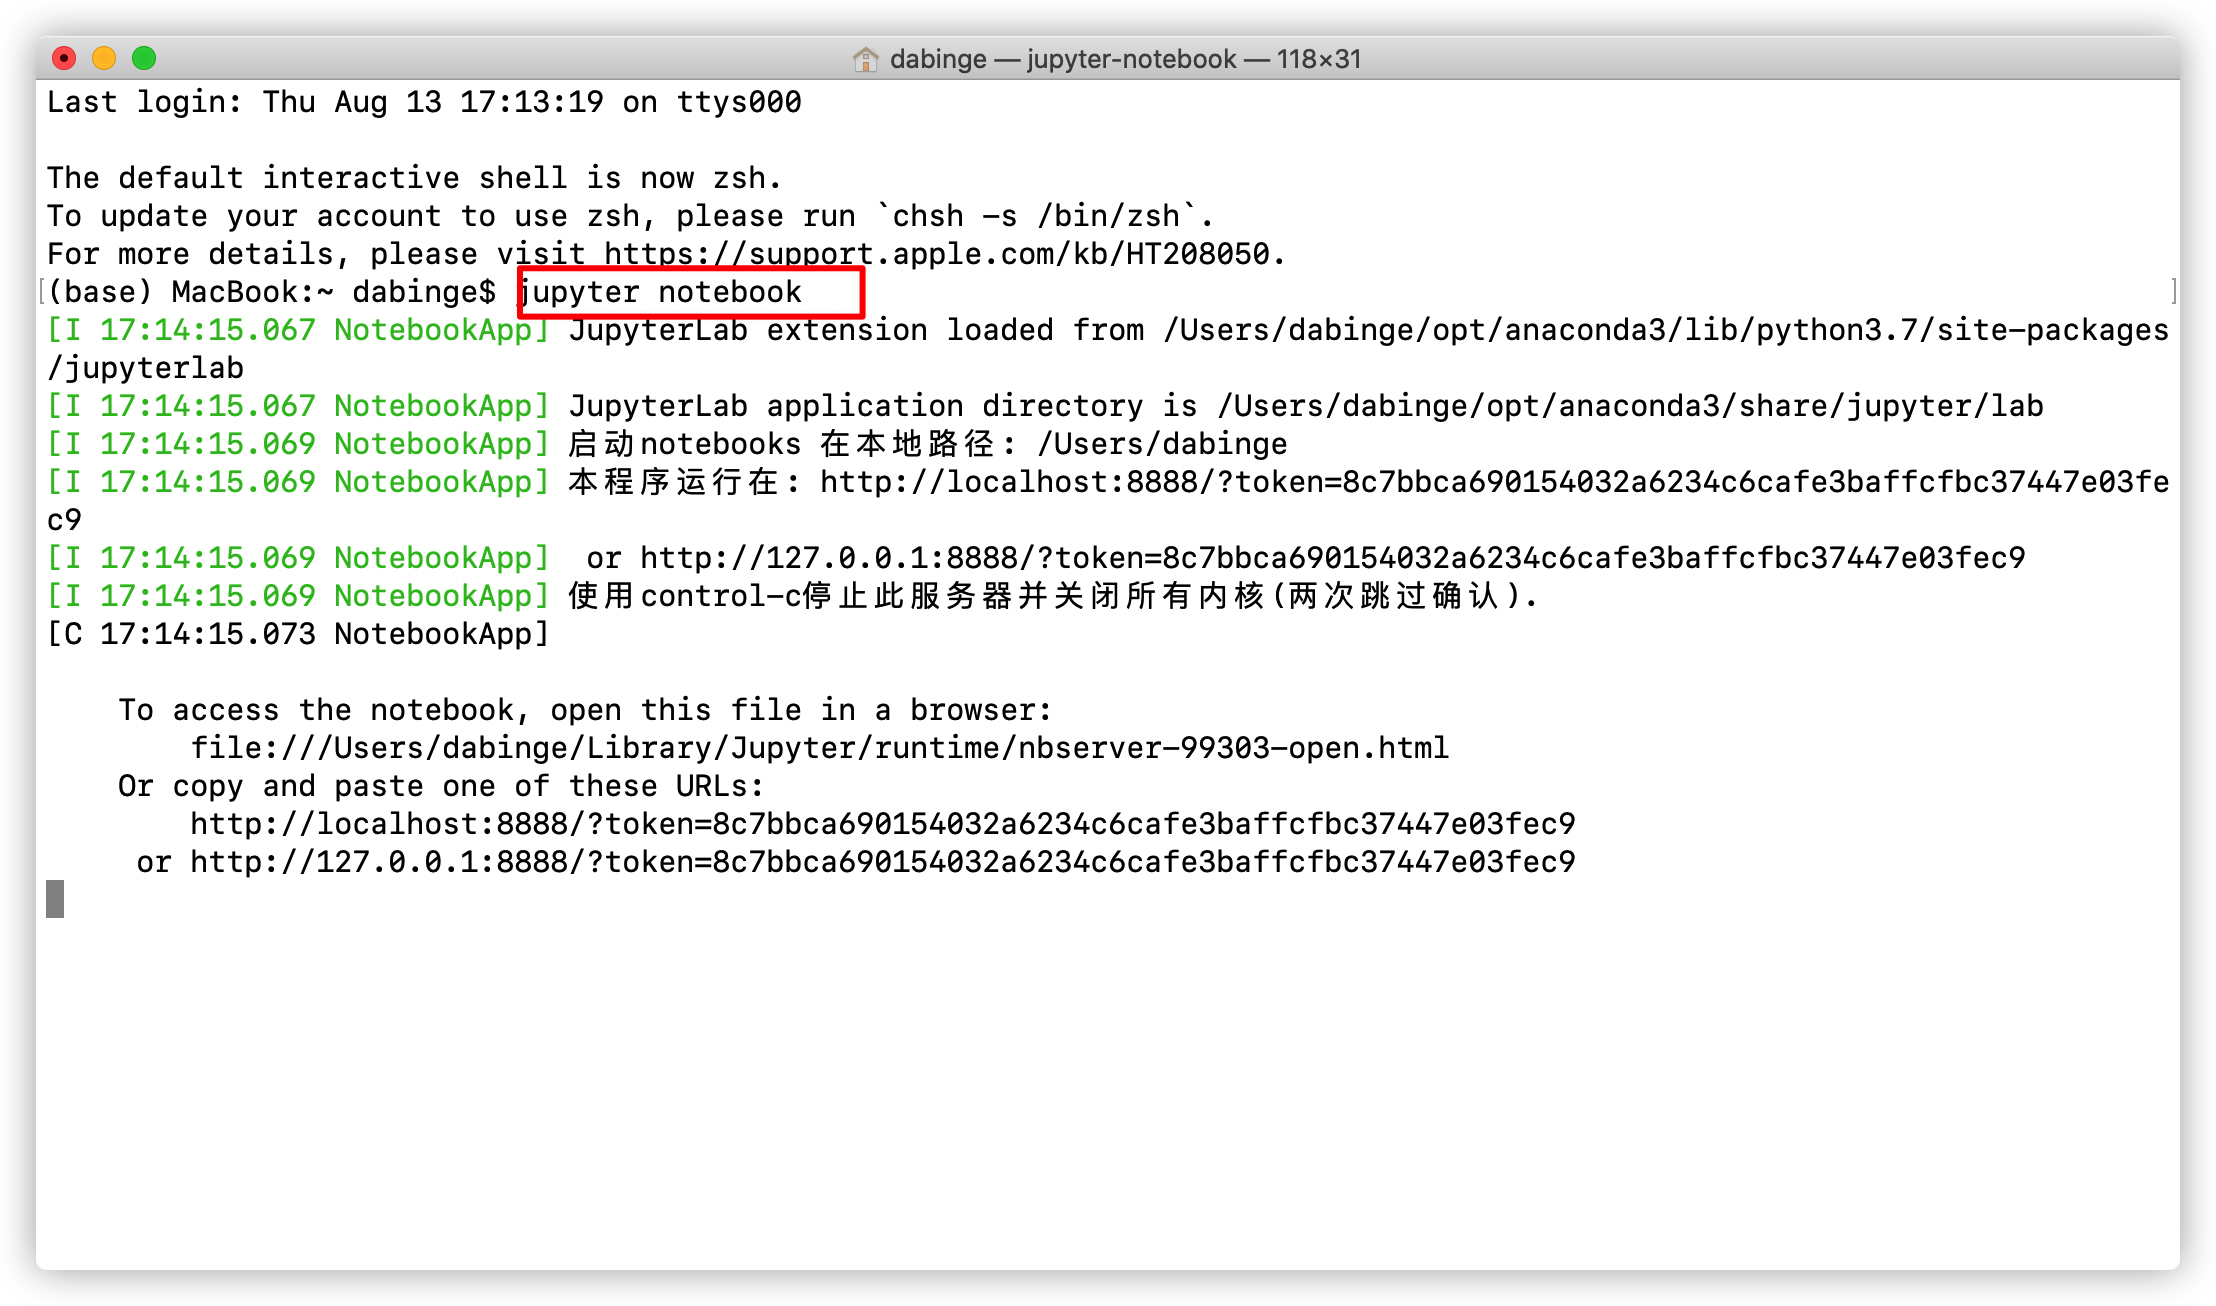
The next step is to start our jupyter notebook , enter jupyter notebook in the terminal, the following prompt will appear, and a browser window will pop up, as shown below
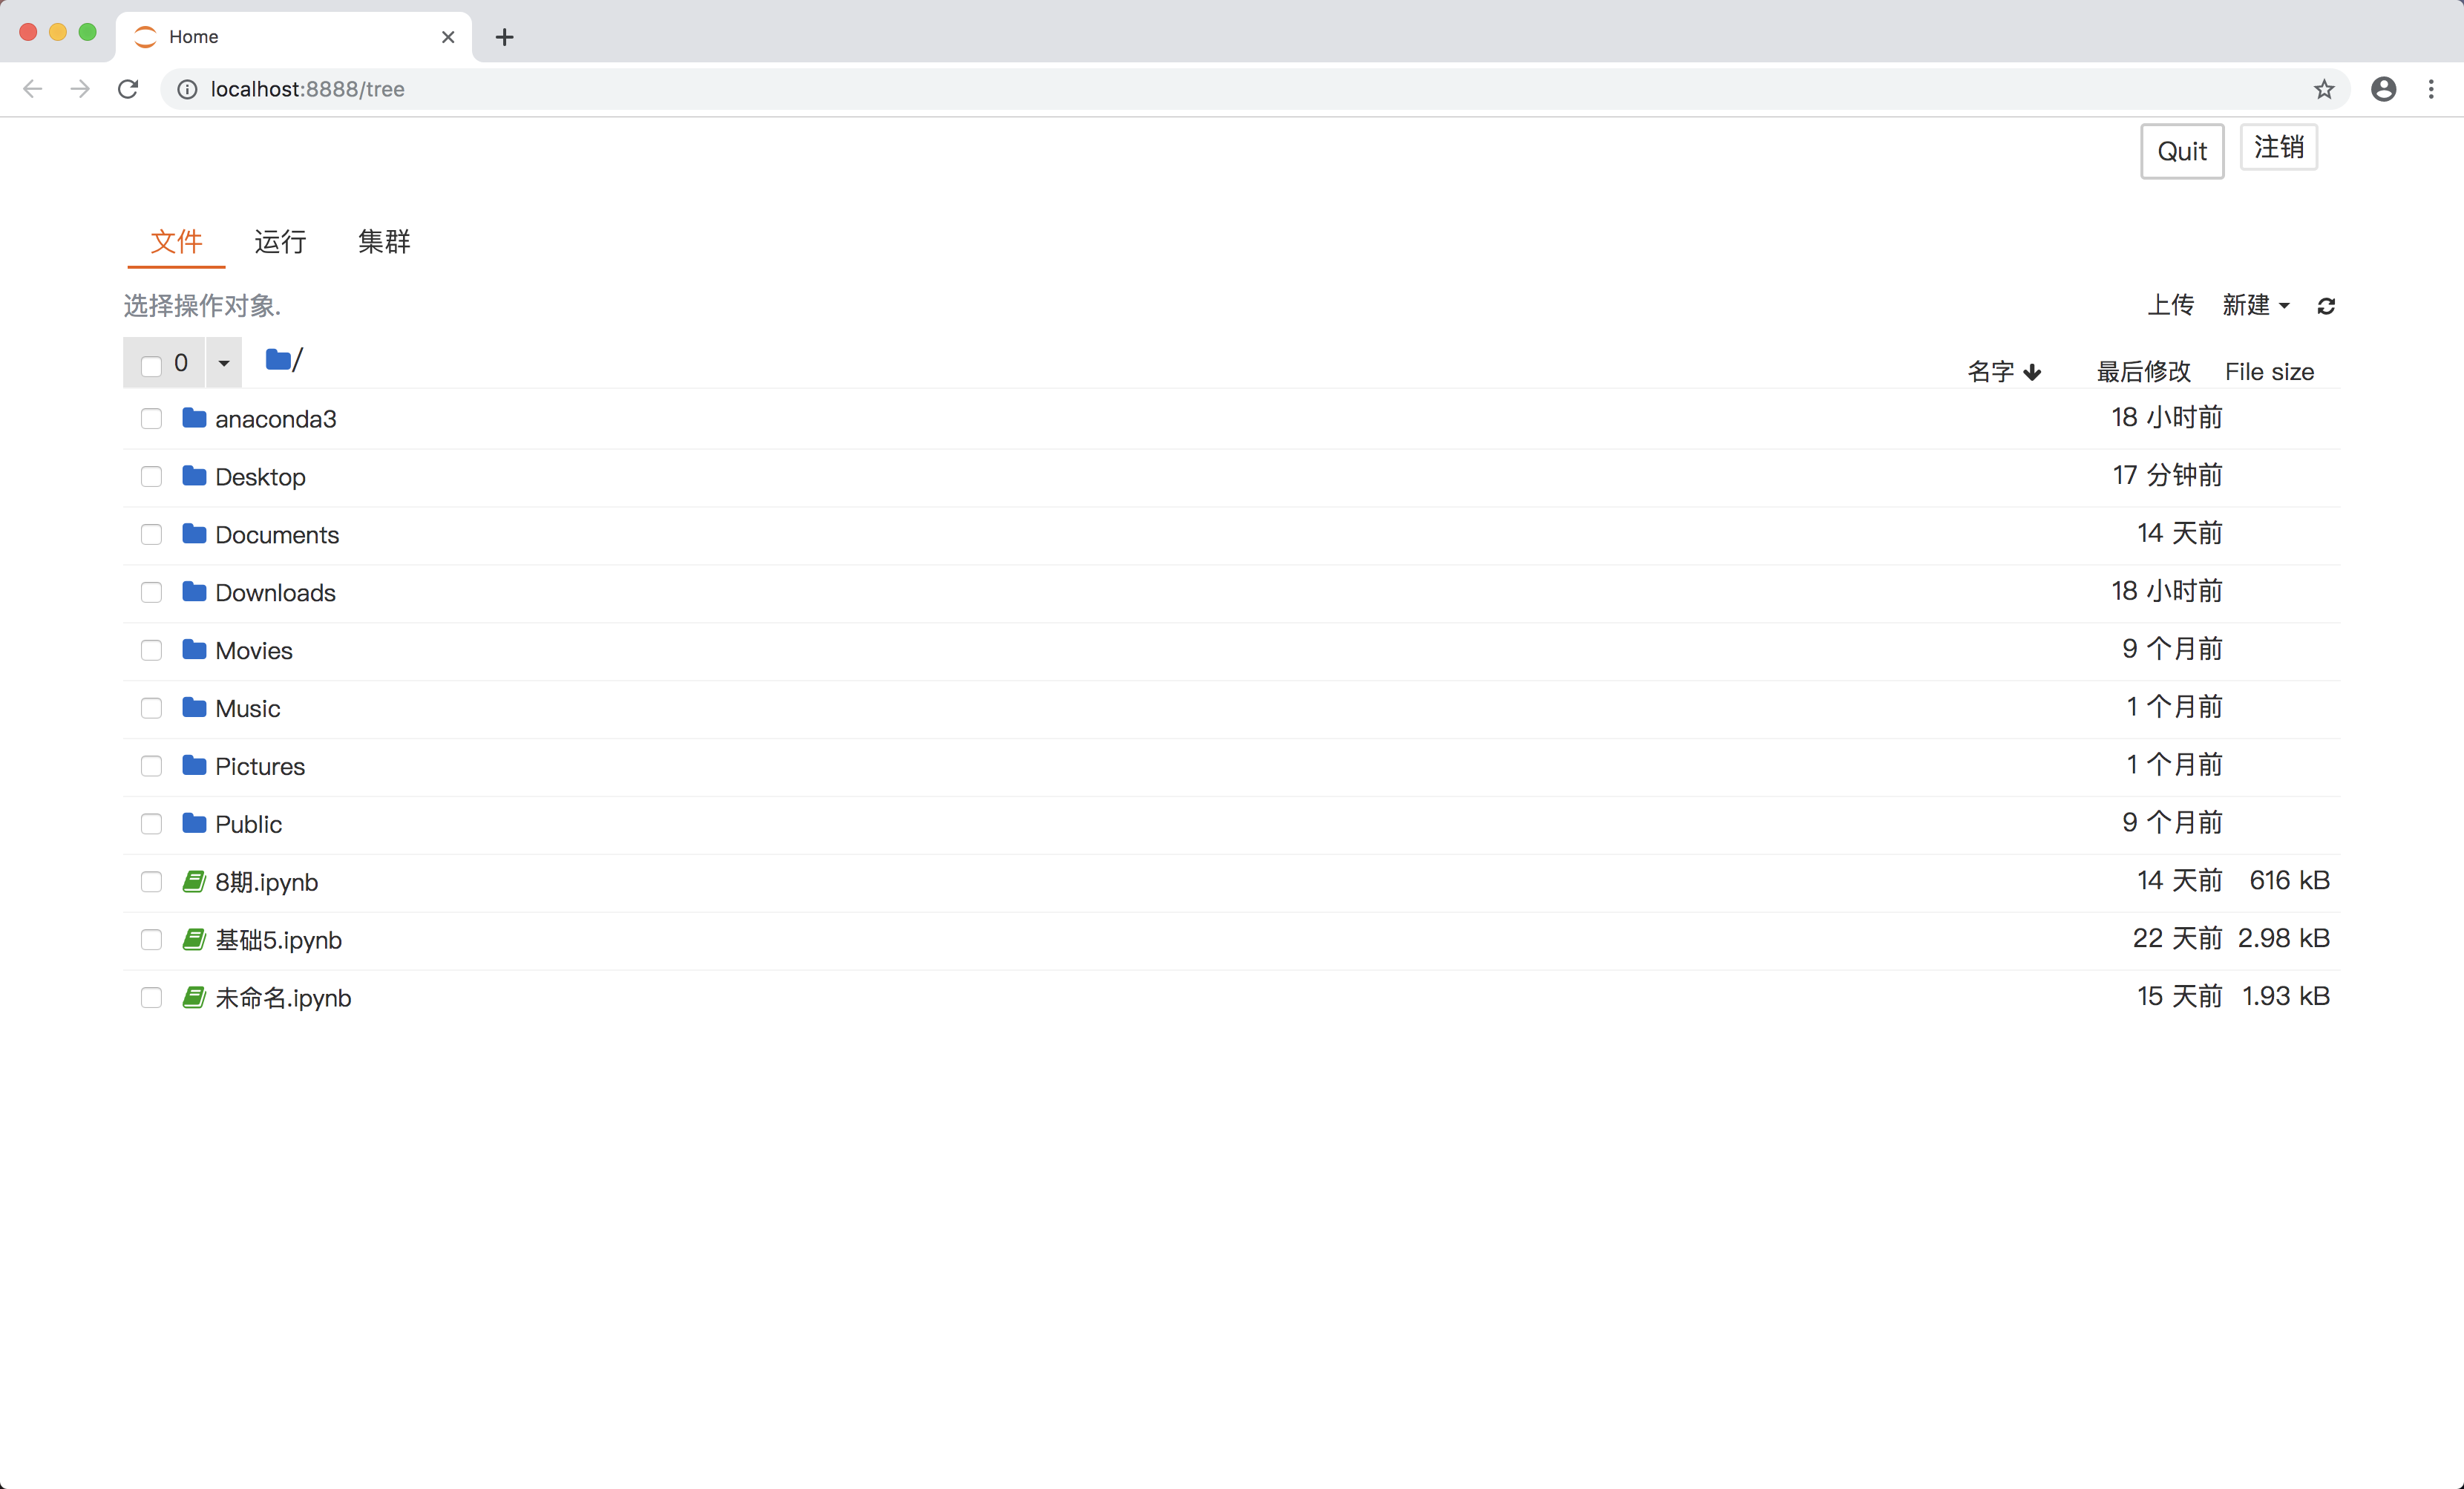
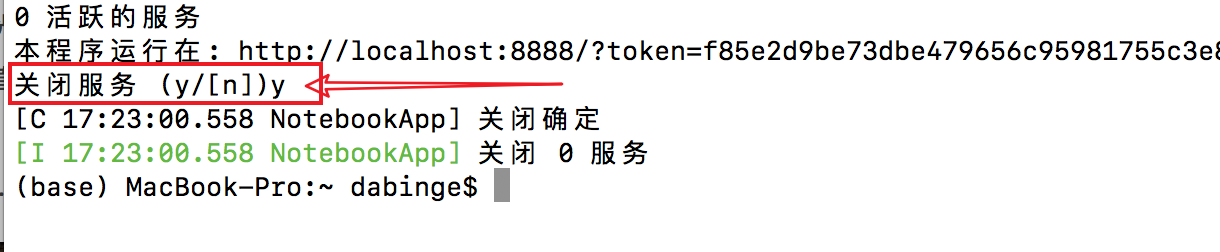
At this point, we have entered the jupyter notebook. When we need to close it, press control + c on the terminal interface and the shutdown service will appear (y/[n]) and enter y to close it.
Author: Brother Dabin who is trying to lose weight
Link: https://www.jianshu.com/p/3084e62f51b1
Source: Jianshu
The copyright belongs to the author. For commercial reprint, please contact the author for authorization, for non-commercial reprint, please indicate the source.
2. Install Pycharm
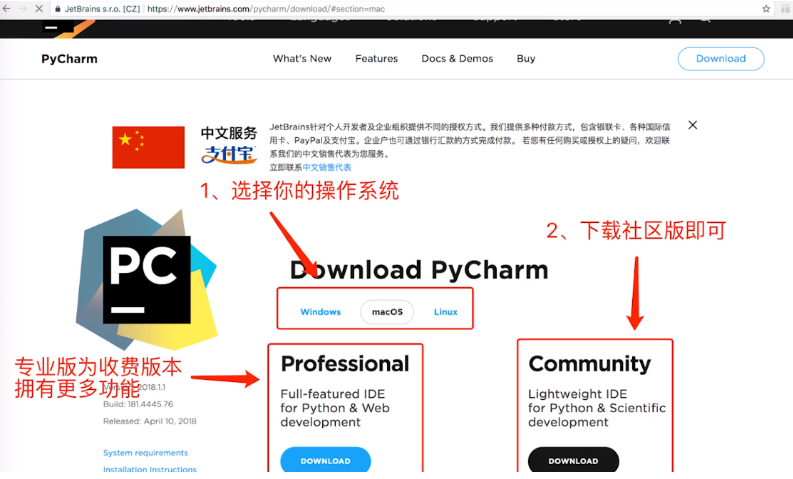
Choose to download the window version of Pycharm.
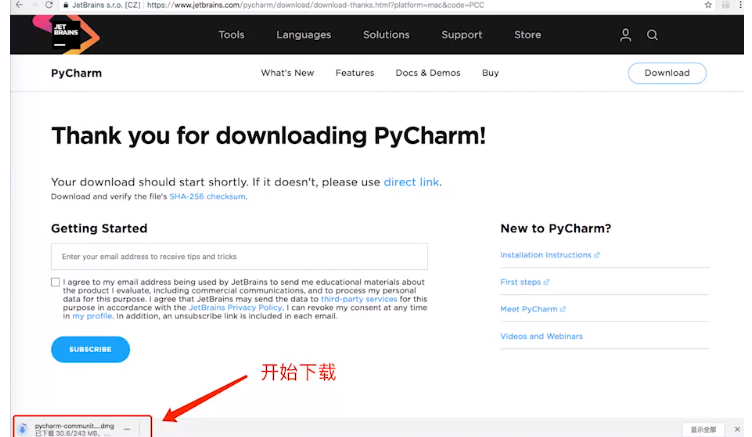
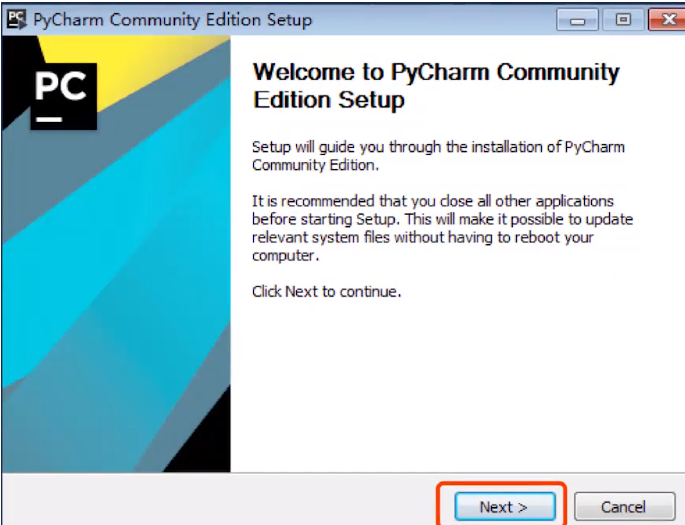
After the download is complete, we click the exe file to install, the installation will pop up the following interface, we directly select Next
The following interface is to select the installation directory. We try not to install it by default. It is installed in the C drive by default, and you can install it yourself. But pay attention to one thing: the installation path must not be in Chinese. If there is Chinese, there may be problems.

Then click Next to select the installation path and click Next.
After the next step, it tells you what to create a desktop program, whether it is 64-bit or 32-bit, in fact, there is no need to choose more,
basically all are 64-bit operating systems.
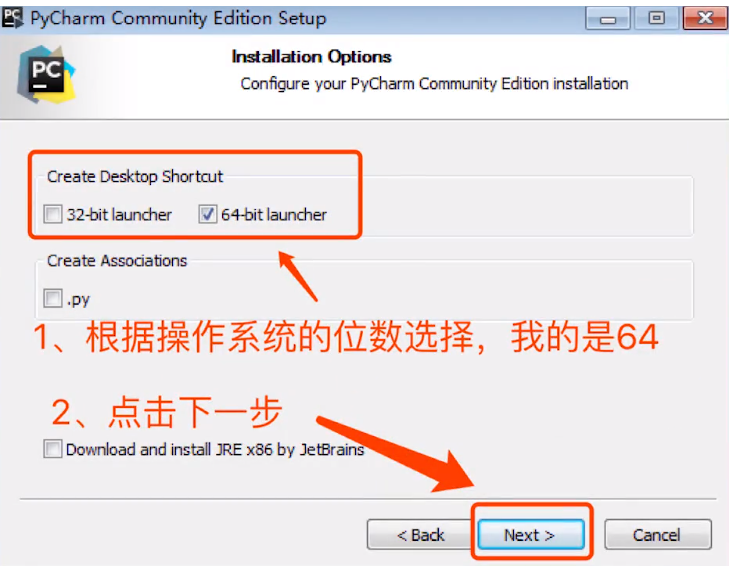
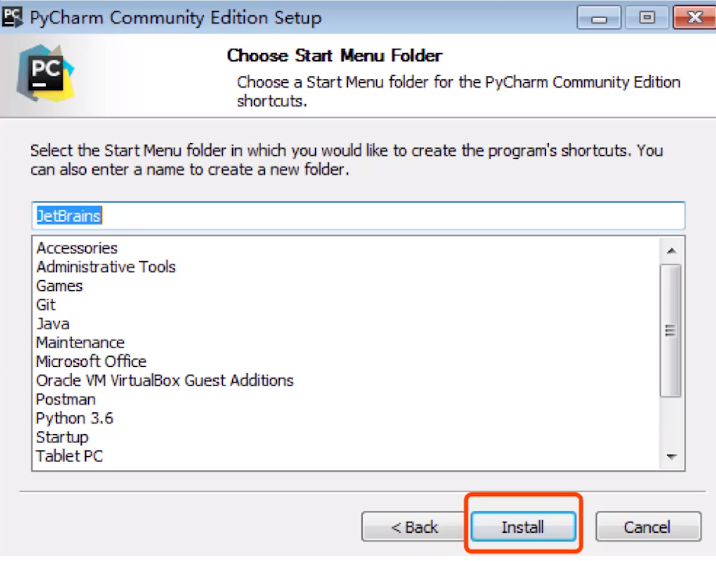
Click Next, we don't need to modify the name, just click install to install.
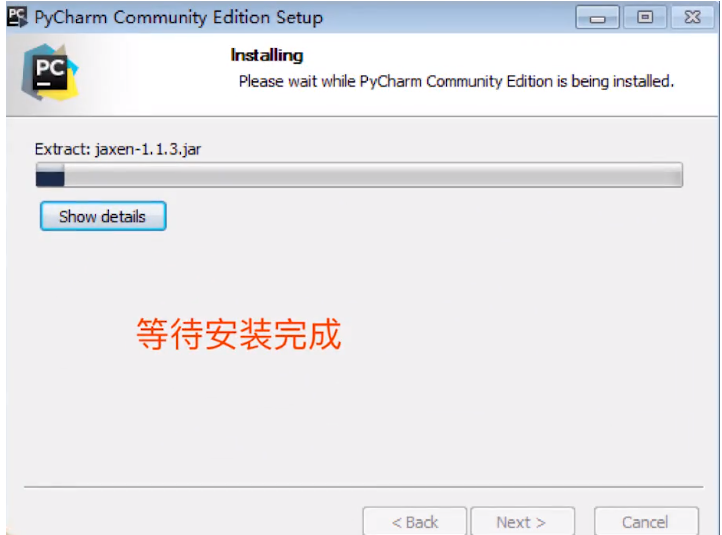
The following is to wait for the installation to complete the process, just wait and wait, and then the installation is complete.
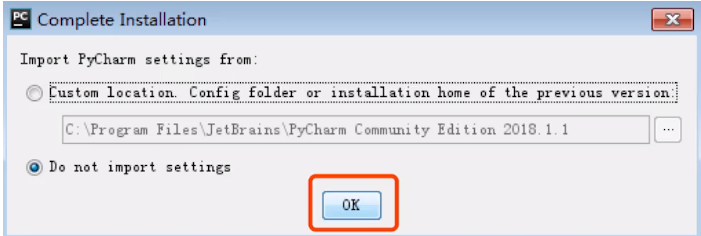
Then double-click the first time we use PyCharm to double-click it, and then a small box will pop up, what does it do in this small box, and tell us whether to import some basic settings. We didn’t set it up before using it for the first time, so we don’t import it, just do not, select this, and then OK.
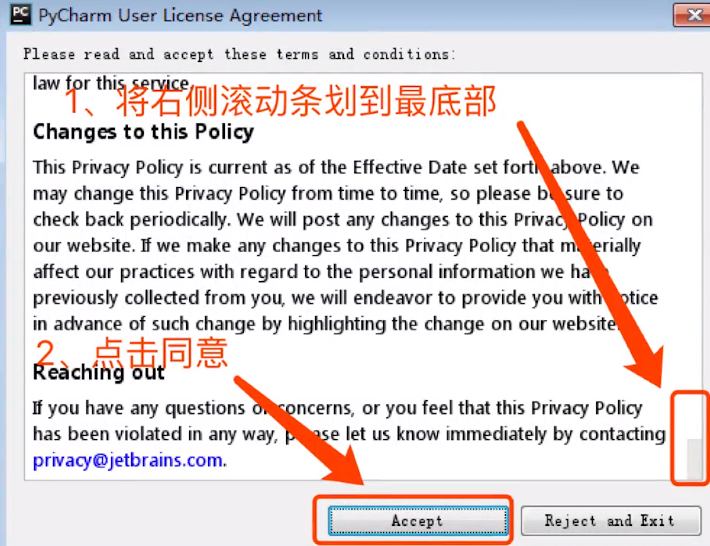
OK, you must agree to the terms of service here, and you don't have to worry about anything here. Slide the scroll bar on the right to the bottom and
click the accept button.
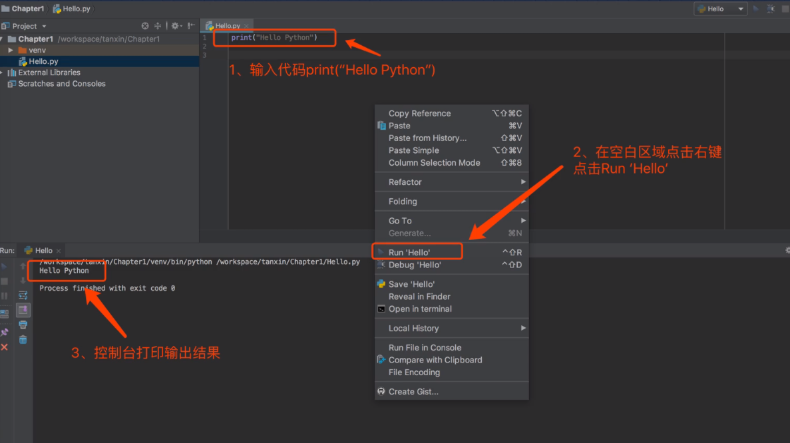
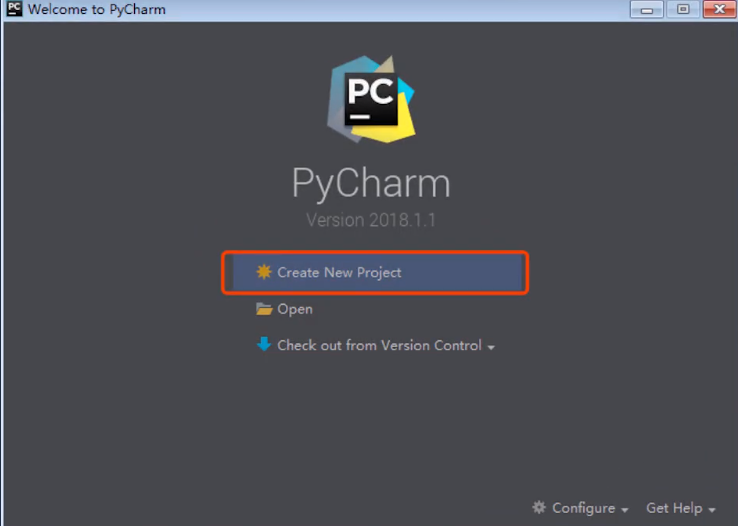
Next, write a Hello Python program.
We click create new project, this is to create a new project
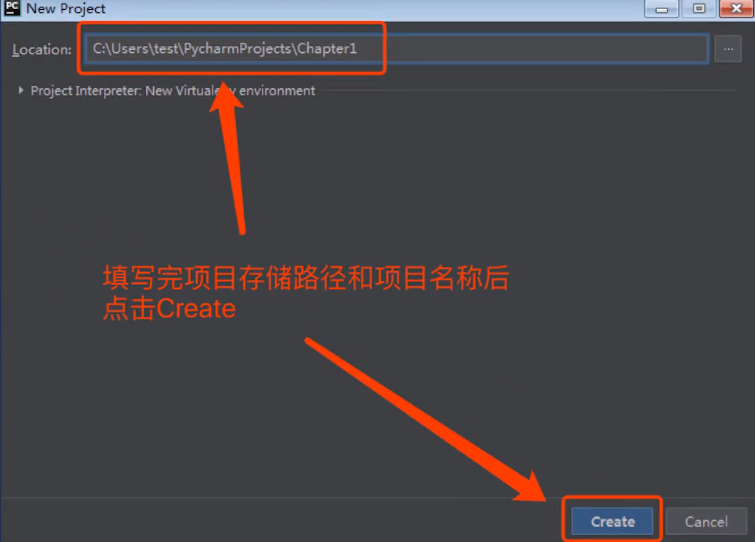
After creating a new project, we need to enter the storage path and project name of our project. Then I will directly change the last field here. In fact, this is our own name. After the project path and project name are added, you can name it yourself, and then I click create here to start creating
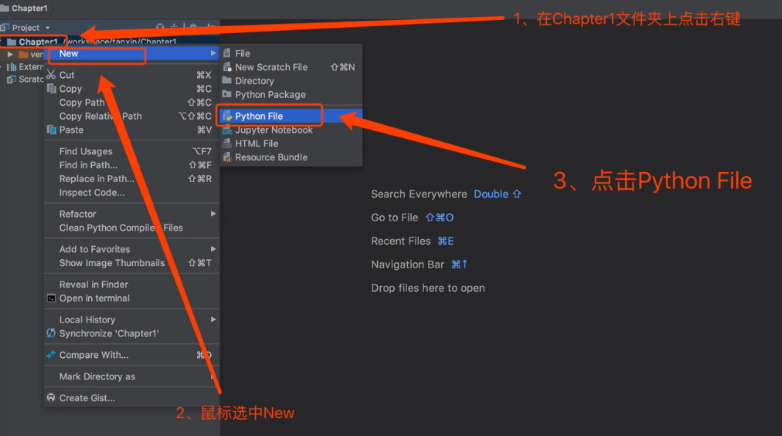
Let's do the same thing as last time. The first step is in our own project name, inside the project name, right click is the first step, and the second step is to move the mouse pointer to new and select new. The third step, then click python file to create a python file
Our code will be written into this file, and then enter hello, this hello is actually the name of this file
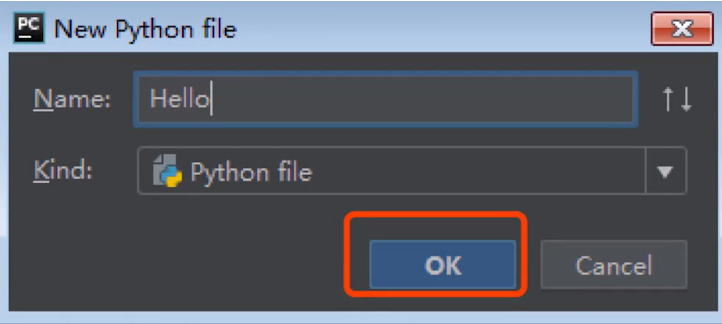
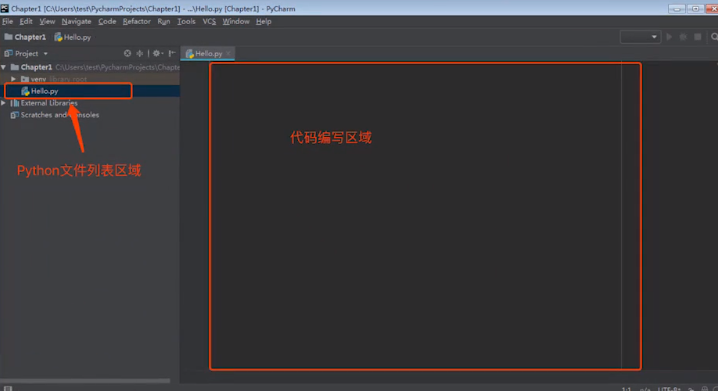
Then click OK. After clicking OK, you will be presented with such a page. It is divided into two areas, one is the python file list area
This is actually a list of all the files in our project, now we only created one file called hello.py. Then there is the code writing area
, all of our code must be written in the code writing area.
So what are we going to do here, the input is the same as the one we lost before, that line of code print("hello Python"). After inputting, right-click on the blank area, just right-click on the blank area, it will pop up such a box, right? In this box, we click RunHello, run this code, and hello Python will appear at the bottom of your IDE