Login using third-party implementation of micro letter
1. Turn on the internal network penetration
What is a network penetration?
Penetration within the network, i.e. NAT penetration term network connection, the computer is a local area network, computer network and the external network node is connected to the communication needs, and sometimes does not occur within the network through support. That port mapping , allowing external network of computers to find computers in the network , increase download speed. Whether within the network penetration or other types of network penetration, network penetration are unified approach to research and resolve.
Popular point : is your project so that local people can access external network
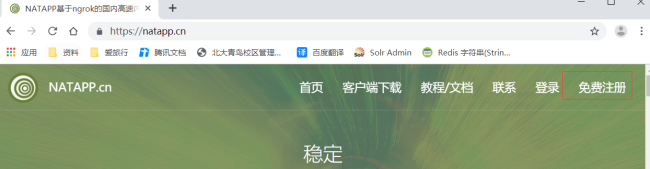
Select a tool https://natapp.cn/
sign up for free
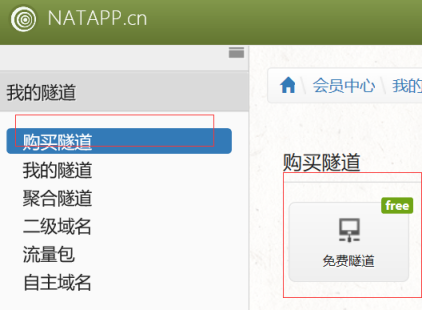
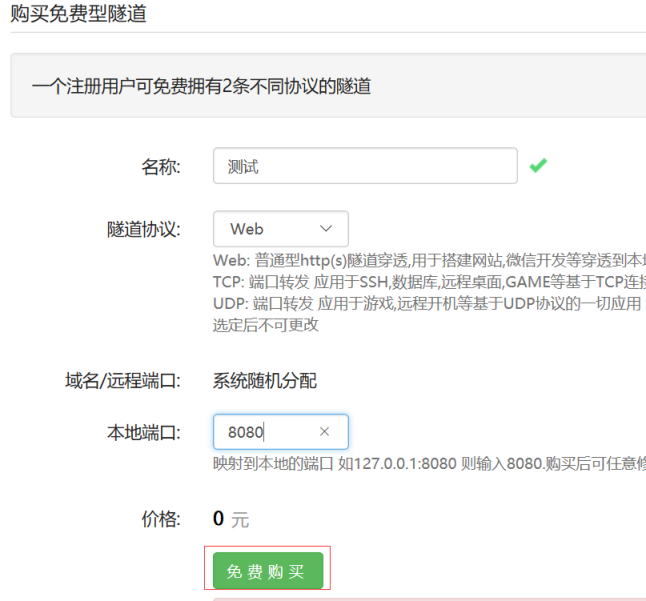
Purchase channels, free choice of
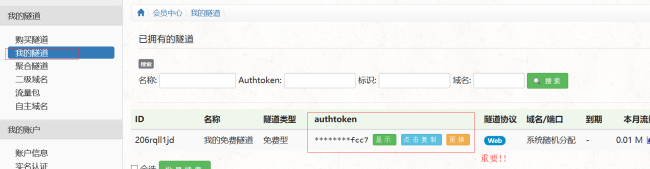
My channel, copy the key authtoken
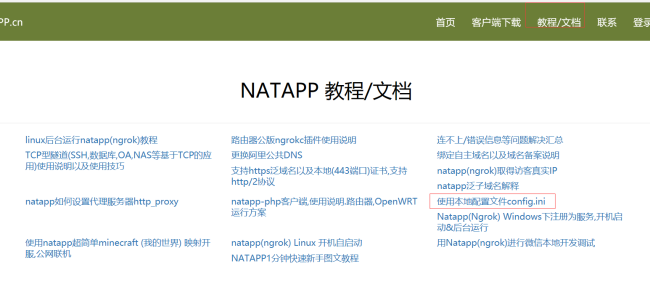
Tutorial can see tutorials / documentation on the upper right corner of the page

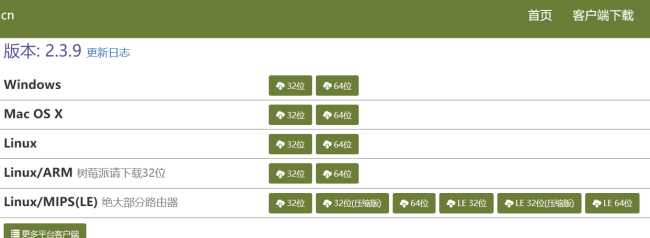
If necessary , download the client

In natapp.exe new directory conf.ini modify the configuration restart

Conf.ini content inside
# Present document placed natapp same directory will read the [default] section
# Command line parameter mode as natapp -authtoken = xxx same parameters will overwrite this configuration
# Command line argument -config = You can specify any config.ini file
[default]
authtoken=f5e6474f4bc9fcc7 #对应购买的隧道中的authtoken
clienttoken= #对应客户端的clienttoken,将会忽略authtoken,若无请留空,
log=none #log 日志文件,可指定本地文件, none=不做记录,stdout=直接屏幕输出 ,默认为none
loglevel=ERROR #日志等级 DEBUG, INFO, WARNING, ERROR 默认为 DEBUG
http_proxy= #代理设置 如 http://10.123.10.10:3128 非代理上网用户请务必留空
双击启动natapp.exe,可使用http://6z3mph.natappfree.cc访问tomcat

微信登录
打开微信开放平台 https://open.weixin.qq.com/
点击资源中心,查看微信登录文档
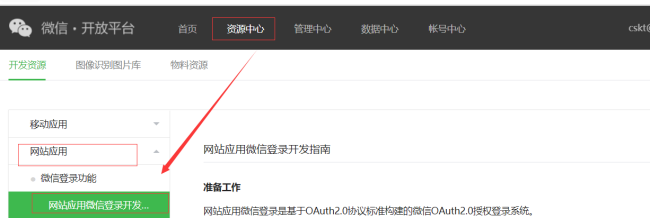
查看文档,了解开发流程
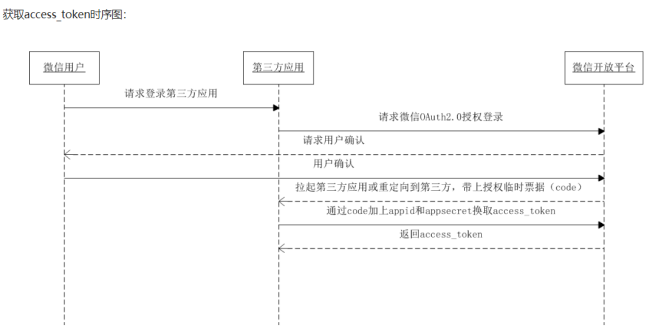
授权流程
1.第三方发起微信授权登录请求,微信用户允许授权第三方应用后,微信会拉起应用或重定向到第三方网站,
并且带上授权临时票据code参数;
2.通过code参数加上AppID和AppSecret等,通过API换取access_token;
3.通过access_token进行接口调用,获取用户基本数据资源或帮助用户实现基本操作。
根据开发流程
搭建一个springboot可以访问web的项目
添加依赖
 <properties>
    <java.version>1.8</java.version>
    <thymeleaf.version>3.0.11.RELEASE</thymeleaf.version>
    <thymeleaf-layout-dialect.version>2.1.1</thymeleaf-layout-dialect.version>
</properties>

<dependencies>
    <dependency>
        <groupId>org.springframework.boot</groupId>
        <artifactId>spring-boot-starter-web</artifactId>
    </dependency>
    <dependency>
        <groupId>org.springframework.boot</groupId>
        <artifactId>spring-boot-starter-test</artifactId>
        <scope>test</scope>
    </dependency>
    <dependency>
        <groupId>org.apache.httpcomponents</groupId>
        <artifactId>httpclient</artifactId>
        <version>4.5.9</version>
    </dependency>
    <dependency>
        <groupId>com.alibaba</groupId>
        <artifactId>fastjson</artifactId>
        <version>1.2.31</version>
    </dependency>
    <dependency>
        <groupId>org.springframework.boot</groupId>
        <artifactId>spring-boot-starter-thymeleaf</artifactId>
    </dependency>
</dependencies>
需要一个用来在java代码中发送请求的HttpRequestUtils,百度一大把
package cn.weixin_login.utils;

import com.alibaba.fastjson.JSON;
import com.alibaba.fastjson.JSONObject;
import org.springframework.http.*;
import org.springframework.util.MultiValueMap;
import org.springframework.web.client.RestTemplate;

public class HttpRequestUtils {

    /**
     * 向目的URL发送post请求
     */
    public static String sendPostRequest(String url, MultiValueMap<String, String> params) {
        RestTemplate client = new RestTemplate();
        //新建Http头,add方法可以添加参数
        HttpHeaders headers = new HttpHeaders();
        // 以表单的方式提交
        headers.setContentType(MediaType.APPLICATION_FORM_URLENCODED);
        //将请求头部和参数合成一个请求
        HttpEntity<MultiValueMap<String, String>> requestEntity = new HttpEntity<>(params, headers);
        //执行HTTP请求,将返回的结构使用String 类格式化(可设置为对应返回值格式的类)
        ResponseEntity<String> response = client.exchange(url, HttpMethod.POST, requestEntity, String.class);
        return response.getBody();
    }

    /**
     * 向目的URL发送get请求
     */
    public static JSONObject sendGetRequest(String url) {
        RestTemplate client = new RestTemplate();
        ResponseEntity<String> response = client.exchange(url, HttpMethod.GET, null, String.class);
        return JSON.parseObject(response.getBody());
    }
}
编写LoginController
package cn.weixin_login.controller;

import cn.weixin_login.utils.HttpRequestUtils;
import com.alibaba.fastjson.JSONObject;
import org.springframework.stereotype.Controller;
import org.springframework.ui.Model;
import org.springframework.web.bind.annotation.RequestMapping;

import javax.servlet.http.HttpServletRequest;
import javax.servlet.http.HttpServletResponse;
import java.net.URLEncoder;

@Controller
public class LoginController {

    private static final String Appid = "wx860bf23c66d93e33";
    private static final String Secret = "9c92026ab4faa4a4f7ac4cf10b2a8a3c";
    private static final String REDIRECT_URL = "http://xu5ryf.natappfree.cc/callBackLogin";

    /**
     * 微信开发平台https://open.weixin.qq.com 进入资源中心
     *
     * @param APPID:        获取步骤:微信开发平台-管理中心中-对应的应用名称-查看AppID
     *                    [千万注意:一定要记得修改对应appid中的开发信息--授权回调域中的对应的网址,    就是通过内网穿透看见的那个外网地址]
     * @param redirect_uri:         发送到微信后,微信将结果返回进入该项目中的哪个请求去处理,对应下面写的callBackLogin方法
     *                              记得使用使用URLEncoder
     * @param scope=snsapi_login
     */
    @RequestMapping("/weixinLogin")
    public void weixinLogin(HttpServletResponse response) {
        try {
            StringBuffer url = new StringBuffer("https://open.weixin.qq.com/connect/qrconnect?");
            url.append("appid=").append(Appid);
            url.append("&redirect_uri=").append(URLEncoder.encode(REDIRECT_URL, "UTF-8"));
            url.append("&response_type=code");
            url.append("&scope=").append("snsapi_login");
            url.append("&state=123#wechat_redirect");
            response.sendRedirect(url.toString());
        } catch (Exception e) {
            e.printStackTrace();
        }
    }

    /**
     * 发出第一次请求后,微信将返回结果给项目,根据结果再次发送请求给微信
     */
    @RequestMapping("/callBackLogin")
    public String callBackLogin(HttpServletRequest request, Model moedl) {
        // 获取发生第一次请求后,微信给的回应,如果用户拒绝登陆code参数不会返回
        String code = request.getParameter("code");

        // 发送请求,并根据返回的json数据,解析获取access_token
        StringBuffer sb = new StringBuffer(
                "https://api.weixin.qq.com/sns/oauth2/access_token?")// 通过code换取access_token
                .append("appid=").append(Appid)// 跟第一次请求的一致
                .append("&secret=").append(Secret)// 查看科泰服务器信息_微信开发对应appid的
                .append("&code=").append(code)// 第一次请求后得到的参数
                .append("&grant_type=authorization_code");
        JSONObject jsonObject = HttpRequestUtils.sendGetRequest(sb.toString());
        //获取access_token凭证
        String access_token = jsonObject.getString("access_token");
        String openid = jsonObject.getString("openid");

        // 发送第三次请求:若是要获取用户信息,使用/sns/userinfo 获取用户个人信息
        sb = new StringBuffer("https://api.weixin.qq.com/sns/userinfo?")
                .append("access_token=").append(access_token)
                .append("&openid=").append(openid);
        JSONObject jsonInfo = HttpRequestUtils.sendGetRequest(sb.toString());
        String sex = jsonInfo.getString("sex");   // 获取用户的性别
        String province = jsonInfo.getString("province");   // 获取用户的省
        String city = jsonInfo.getString("city");  // 市
        String headimgurl = jsonInfo.getString("headimgurl"); // 用户的头像
        String unionid = jsonInfo.getString("unionid"); // 用户的唯一标示
        String nickname = jsonInfo.getString("nickname"); // 昵称
nickname=new String(nickname.getBytes("ISO-8859-1"), "UTF-8");//中文乱码
        String country = jsonInfo.getString("country"); // 国家,如中国为CN
        // 在前台显示
        moedl.addAttribute("sex", sex);
        moedl.addAttribute("province", province);
        moedl.addAttribute("city", city);
        moedl.addAttribute("headimgurl", headimgurl);
        moedl.addAttribute("unionid", unionid);
        moedl.addAttribute("nickname", nickname);
        moedl.addAttribute("country", country);
        return "success";
    }
}