Brief introduction
Built on JavaScript, HTML and CSS cross-platform desktop applications.
installation
Domestic use npm install Electron will complain, so use cnmp installation Electron
Installation homebrew: Copy command to the terminal
/usr/bin/ruby -e "$(curl -fsSL https://raw.githubusercontent.com/Homebrew/install/master/install)"
Installation npm:brew install node
Installation cnpm:npm install -g cnpm --registry=https://registry.npm.taobao.org
Installation Electron:npm install electron -g
The first simple project
May be operated by atom, vscode other editor.
Electron is the basic structure of the project
your-app/
├── package.json
├── main.js
└── index.html
Create a file folder own project, carried out under the current folder
npm init
After the current folder will produce one of the following package.jsonfile. The following mainis a startup script will be executed in the main process.
package.json example:
{
  "name": "your-app",
  "version": "0.1.0",
  "main": "main.js"
}
Note : If the mainfield is not in package.jsonappearance, then Electron will try to load index.jsa file (like Node.js itself did). If you actually developed is a simple Node application, then you need to add a startscript to guide nodeto the implementation of the current package:
{
  "name": "your-app",
  "version": "0.1.0",
  "main": "main.js",
  "scripts": {
    "start": "node ."
  }
}
This application converts into a Node Electron application is very simple, we just put nodereplaced with runtime electronruntime.
{
  "name": "your-app",
  "version": "0.1.0",
  "main": "main.js",
  "scripts": {
    "start": "electron ."
  }
}
Installation Electron
Now, you need to install electron. Our recommended installation method is to develop it as dependencies in your app, which allows you to use different versions of Electron in a different app. Run the following command in your app where the folder:
npm install --save-dev electron
In addition, there are other ways of installing Electron. Consult the Installation Guide to learn how to use a proxy, mirroring and custom cache.
Develop a simple Electron
Electron apps using JavaScript developers, and it works the same methods and Node.js development. electronIt encompasses all the API functions and provides Electron, and the general method for introducing the same Node.js modules:
const electron = require('electron')
electronThe module provides functions are exposed through namespace. For example: electron.appis responsible for managing the life cycle of Electron application electron.BrowserWindowclass is responsible for creating a window. Here is a simple main.jsfile, it will open a window when the application is ready:
const { app, BrowserWindow } = require('electron')

function createWindow () {
  // 创建浏览器窗口
  let win = new BrowserWindow({
    width: 800,
    height: 600,
    webPreferences: {
      nodeIntegration: true
    }
  })

  // 加载index.html文件
  win.loadFile('index.html')
}

app.on('ready', createWindow)
You should main.jscreate a window and handles all system events program may encounter. Below we will complete the above example, add the following features: open developer tools, process window closing event, when a user clicks on an icon in macOS reconstruction window on the dock, after the addition, main js like this:
const { app, BrowserWindow } = require('electron')

// 保持对window对象的全局引用,如果不这么做的话,当JavaScript对象被
// 垃圾回收的时候,window对象将会自动的关闭
let win

function createWindow () {
  // 创建浏览器窗口。
  win = new BrowserWindow({
    width: 800,
    height: 600,
    webPreferences: {
      nodeIntegration: true
    }
  })

  // 加载index.html文件
  win.loadFile('index.html')

  // 打开开发者工具
  win.webContents.openDevTools()

  // 当 window 被关闭,这个事件会被触发。
  win.on('closed', () => {
    // 取消引用 window 对象,如果你的应用支持多窗口的话,
    // 通常会把多个 window 对象存放在一个数组里面,
    // 与此同时,你应该删除相应的元素。
    win = null
  })
}

// Electron 会在初始化后并准备
// 创建浏览器窗口时,调用这个函数。
// 部分 API 在 ready 事件触发后才能使用。
app.on('ready', createWindow)

// 当全部窗口关闭时退出。
app.on('window-all-closed', () => {
  // 在 macOS 上,除非用户用 Cmd   Q 确定地退出,
  // 否则绝大部分应用及其菜单栏会保持激活。
  if (process.platform !== 'darwin') {
    app.quit()
  }
})

app.on('activate', () => {
  // 在macOS上,当单击dock图标并且没有其他窗口打开时,
  // 通常在应用程序中重新创建一个窗口。
  if (win === null) {
    createWindow()
  }
})

// 在这个文件中,你可以续写应用剩下主进程代码。
// 也可以拆分成几个文件,然后用 require 导入。
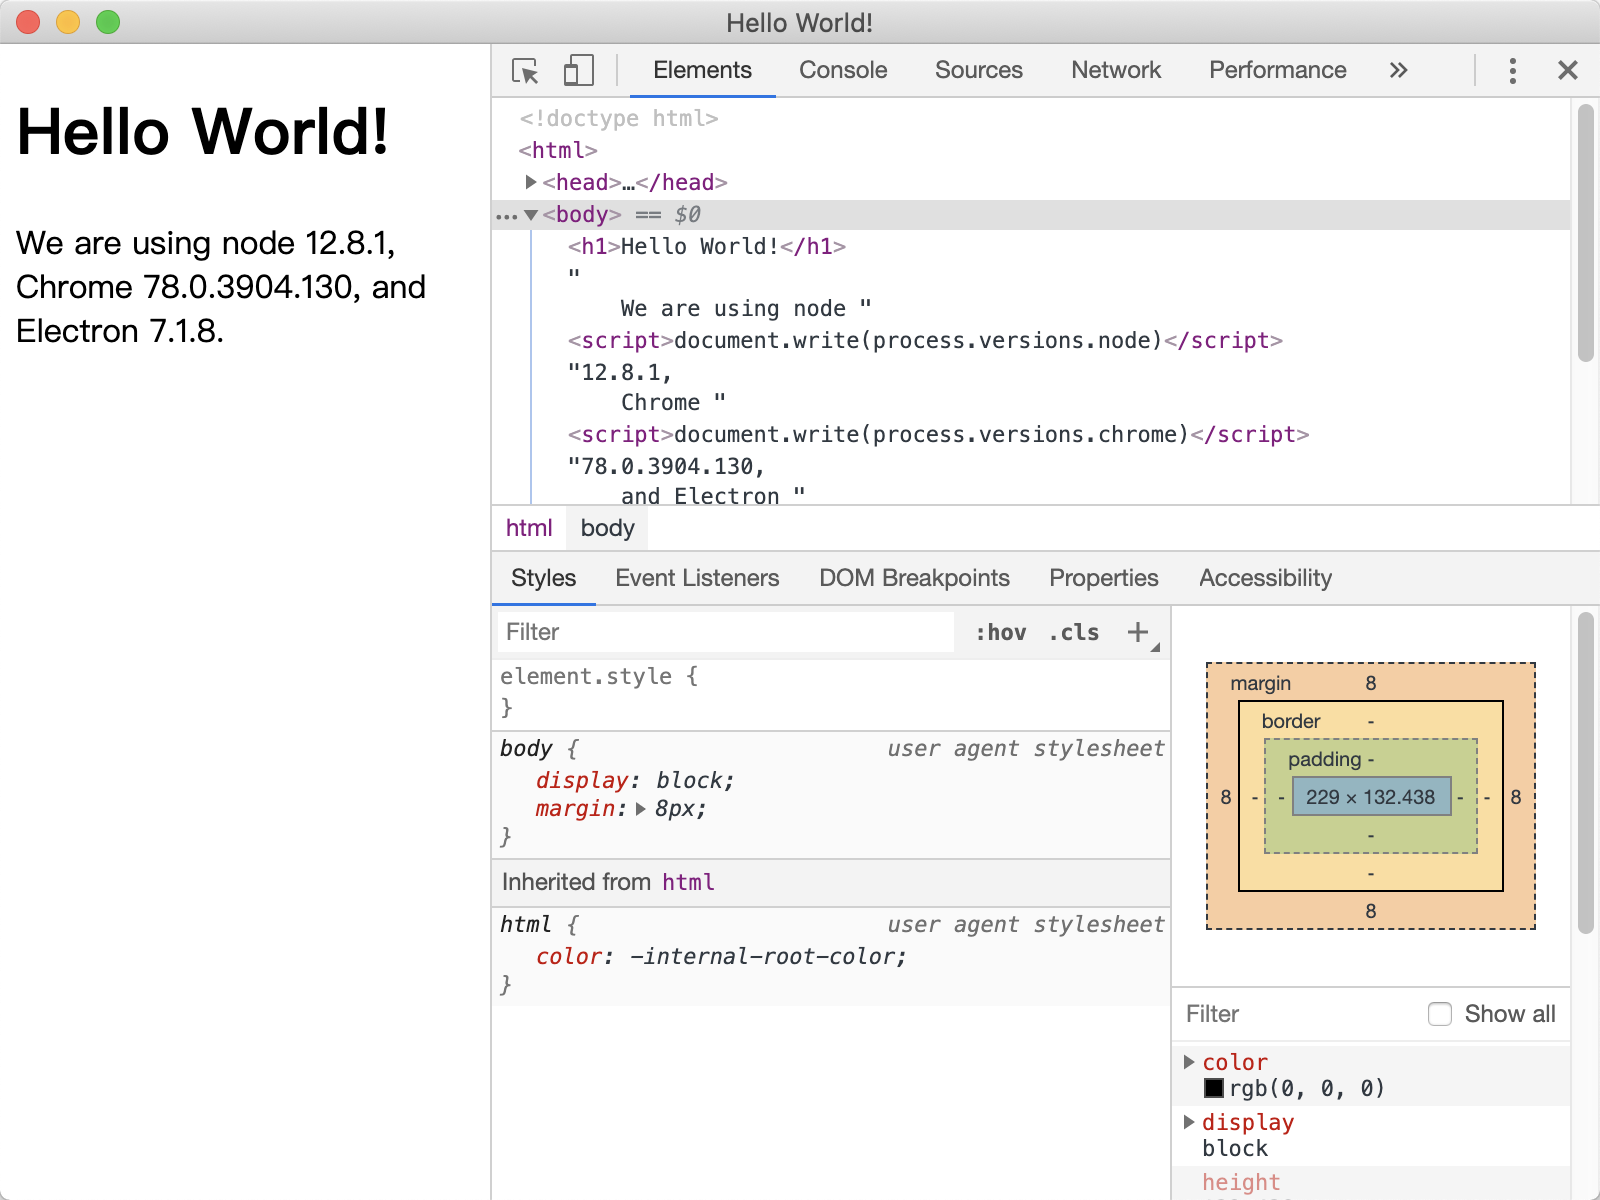
Finally, you want to create a show index.html:
<!DOCTYPE html>
<html>
  <head>
    <meta charset="UTF-8">
    <title>Hello World!</title>
    <!-- https://electronjs.org/docs/tutorial/security#csp-meta-tag -->
    <meta http-equiv="Content-Security-Policy" content="script-src 'self' 'unsafe-inline';" />
  </head>
  <body>
    <h1>Hello World!</h1>
    We are using node <script>document.write(process.versions.node)</script>,
    Chrome <script>document.write(process.versions.chrome)</script>,
    and Electron <script>document.write(process.versions.electron)</script>.
  </body>
</html>
Start your application
In the creation and initialization is complete main.js, index.htmland package.jsonafter that you can perform in the root directory of the current project npm startcommand to start the program you just wrote good Electron.
An error
When I try to start the following error occurred
➜  PrettyCode npm start
npm ERR! missing script: start

npm ERR! A complete log of this run can be found in:
npm ERR!     /Users/leesin/.npm/_logs/2020-01-11T10_31_11_276Z-debug.log

npm run start or npm run-script start needs to be defined to start package.json of scripts in the command field
 "scripts" : {
    "start" : "electron main.js"
  },
https://blog.csdn.net/haoaiqian/article/details/78584992 (of course, the original a little problem, I make a little change up)
Then executed again
npm run startwhen we finally succeeded
Complete package.json
{
  "name": "prettycode",
  "version": "1.0.0",
  "description": "",
  "main": "main.js",
  "scripts": {
    "test": "echo \"Error: no test specified\" && exit 1",
    "start": "electron main.js"
  },
  "author": "",
  "license": "ISC",
  "devDependencies": {
    "electron": "^7.1.8"
  }
}
The remaining two index.html file and then follow the above main.js on it.
Try this example (the official case)
Copy and run the library electron/electron-quick-start.
Note : This example requires Git and npm run.
# 克隆这仓库
$ git clone https://github.com/electron/electron-quick-start
# 进入仓库
$ cd electron-quick-start
# 安装依赖库
$ npm install
# 运行应用
$ npm start
The relevant template file and list of tools to start the development process, see the CLI template files and documents.
