When you have no contact with the CAD and small series at a loss, so the following to share with a CAD drawing beginner introductory tutorial, draw an arrow in CAD. When tagging content on the CAD drawing usually use the arrows to indicate, that specifically how to operate it in CAD? Specific methods are as follows:

Tools: fast CAD Editor
http://www.xunjiecad.com/download.html
Steps:
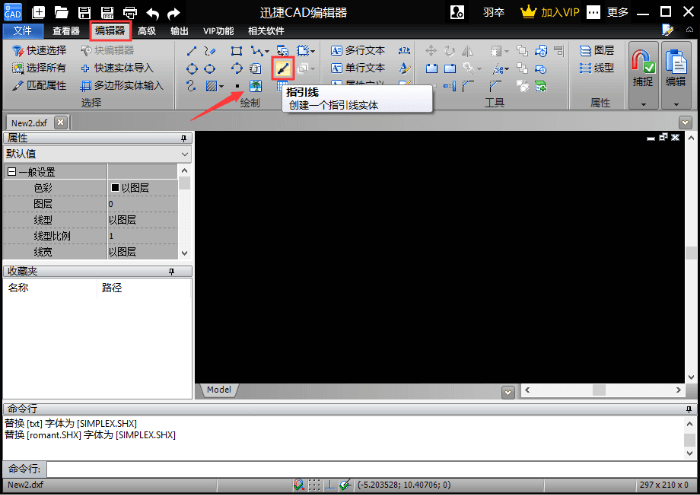
1. First use the quick CAD editor open, go to the CAD user interface, the software tab to switch to the "Edit" menu panel, locate one of the "painted" ribbon.

2. Next you choose the "Draw" ribbon "Leader" tool, then you can create a leader line arrows indicate the entity.
3. Use the mouse in the CAD drawing window, click on the arrow as the start point, using the mouse after painting extends, in a small pop pop set length and an angle indicated by arrow, the rendering is completed click the Enter button.
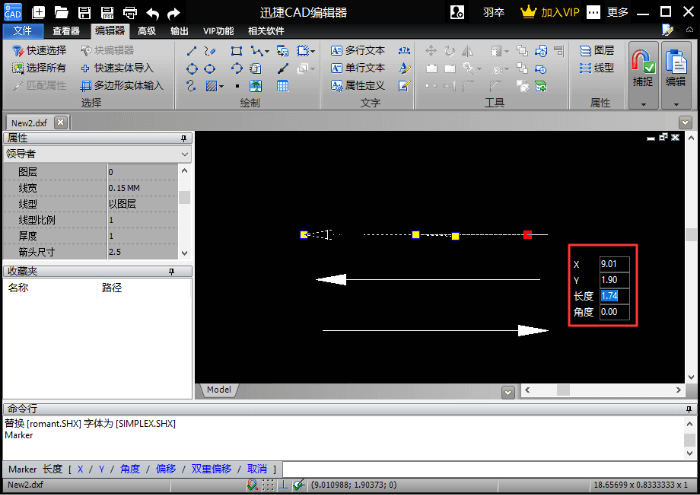
4. After the left side of the "Properties" screen, you can see the corresponding attribute is set, the line width may be selected, linear, linear proportion and an arrow indicating the size and other attributes of the corresponding arrow provided.

5. The graph is plotted, the click interface to the top "Save" button, or use the shortcut key "Ctrl + O" to draw a good indicator arrow save.

Today's share on here, that's CAD drawings beginner introductory tutorial method in the CAD drawing arrows, drawing method is relatively simple, suitable for beginners to paint. CAD is learning little friends can come to see. I hope to be helpful.