1. Authenticator google phone installation, can be installed in the browser search Authenticator.

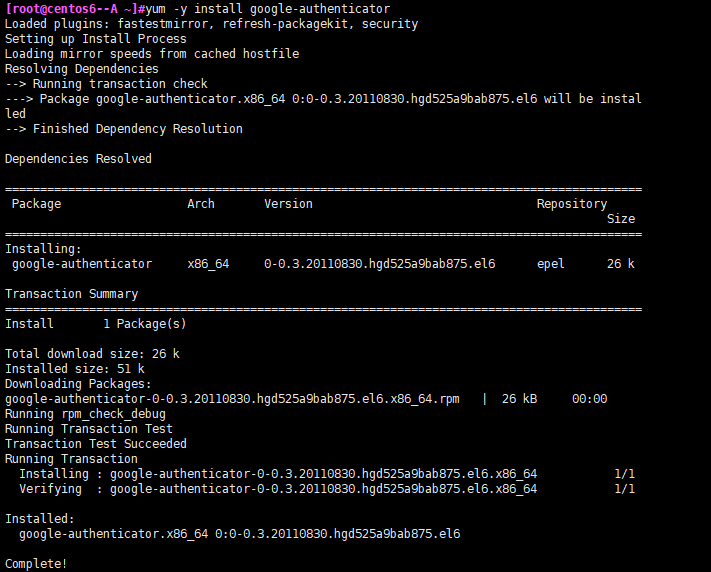
Centos6 software installation required --- google-authenticator
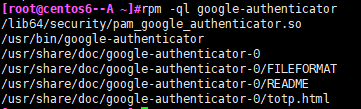
2. Check the package to generate all the files and commands
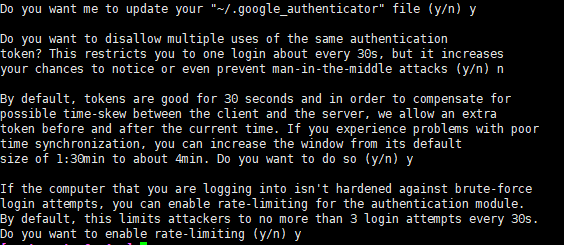
3. Enter google-authenticator command to enter interactive commands
here can be copied in the figure below URL into your browser, open the link, this two-dimensional code scanning software mobile phone just installed, generate random passwords. (Two-dimensional code can not sweep the input keys may change the way, lost account account name, password input keys i.e., the figure key, the same effect as two-dimensional code, and scan. If centos7 automatically generated two-dimensional code, direct you can sweep), the phone can be random verification code will appear.

The figure translation, reference selection.
1>, I want you to update your ~ / .google_authenticator it?
Selected y (described here, the chart appears on the 5 string random verification code to do temporary use, stored in ~ / .google_authenticator file)
2> To disable the same authentication token used more than once? it limits you to log about once every 30 seconds, but it increases your attention even prevent middle attack opportunities
actual production option y, to experiment, then choose it n
3> default case, the token valid time is 30 seconds, to compensate for time offset that may exist between the client and the server, we allow time before and after the use of additional current token. If you experience problems synchronizing the time difference, the default window size can be from about 1: 30min increased to 4min. You want to do this you
choose the y-
4> If the computer you are logged in not logged in for a brute force attempt to reinforce, authentication modules that can enable rate limiting.
By default, this limits the attacker tries to log up to 3 times every 30 seconds.
You want to enable rate limiting it
selected y
the end
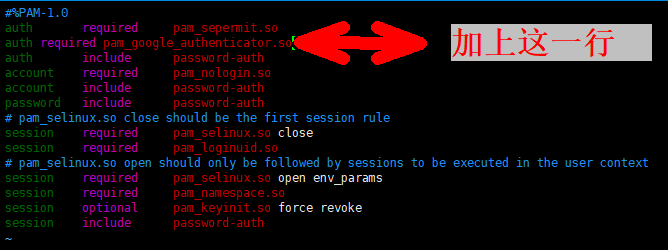
4. Set pam profile
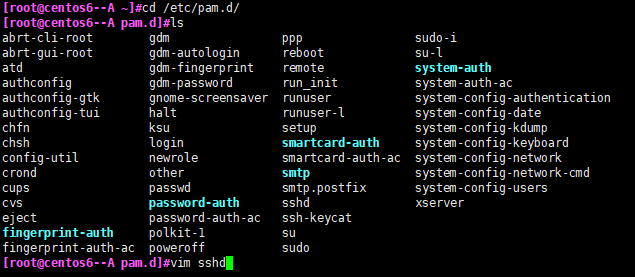
5. Set sshd service profile
[root @ centos6 - A pam.d] # vim / etc / ssh / sshd_config

6. Restart the ssh service
service sshd restart
7. Whether the test is successful
