First, the preparatory work:
- Download the installation package xampp xampp-windows-x64-7.3.9-0-VC15-installer.exe
- Downloading the installation package testlink-1.9.19.tar.gz testlink
Second, install xampp
- First, create a separate folder: Create a folder on the D drive xampp
- Open xampp-windows-x64-7.3.9-0-VC15-installer.exe installation
- Select the installation path D: / xampp
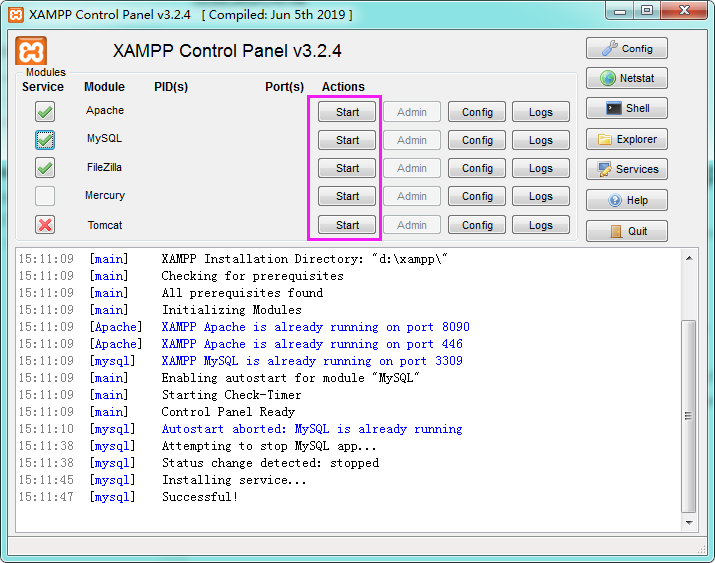
- After installing xampp find the folder opens, find the executable file open xampp-control.exe
- You can see the tools needed are: Apche + MySQL + FileZilla + Mercury + Tomcat Click to start verifying whether the latter are executed successfully
6. The Executive summary of reasons for failure:
Apache:
If Apache fails Typically the port is occupied, you can click back to select http.config config can be changed to modify inside Listen: after 8090 saved, click on the rightmost column config and then select the service and port Setting Setting Apache port number
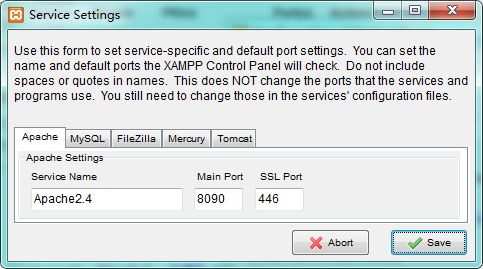
Click Save changes and then complete the implementation of Apache, SSL port is also likely to be occupied here can also be modified, then click on the back of the Apache config select http-ssl.config open for modification
mysql:
mysql execution error will generally occur in two ways:
1. Port Error:
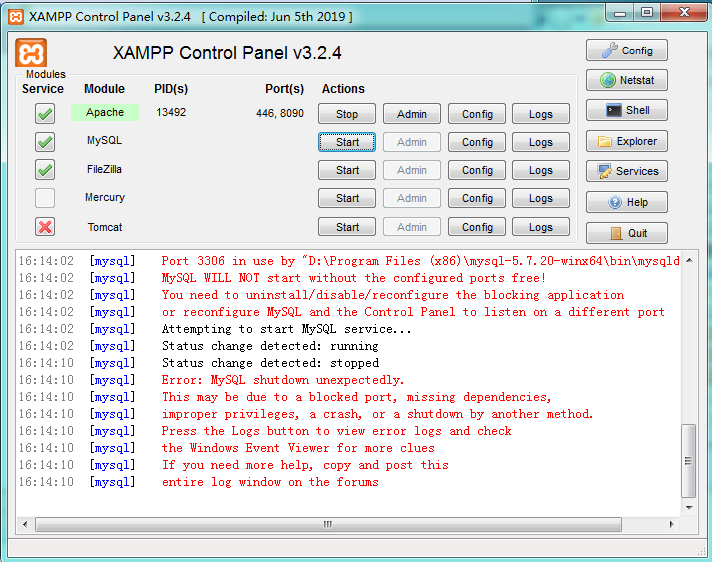
According to information given can see that 3306 port is occupied, and steps need to be modified to modify the Apache modify almost, click on the back of config mysql my.ini choose to modify the inside of the port is 3309 or other digital preservation before turning right column config to modify port configuration of mysql
2.mysql Service error:
This error is usually open xampp-control.exe will prompt this error may be due to the path already started MySQL services previously installed mysql service error is detected
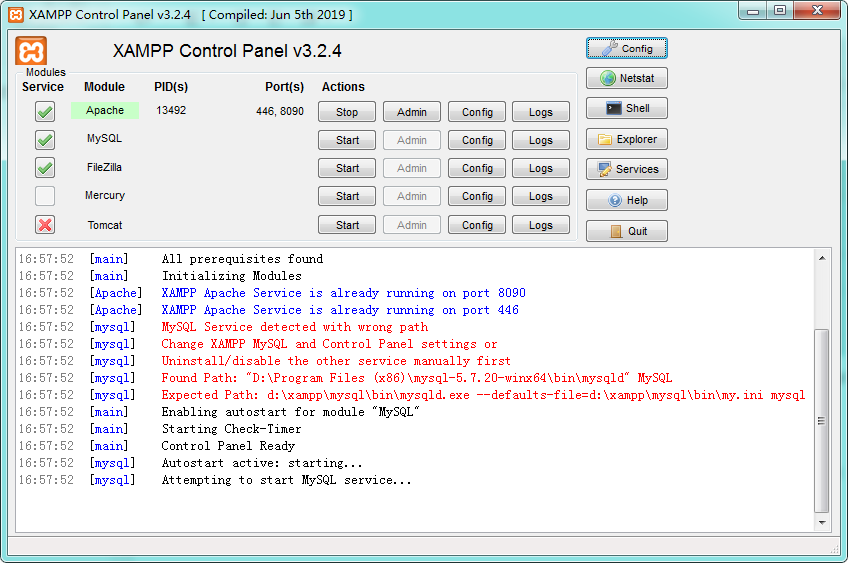
The solution is to open cmd enter the command: regedit to open the registry: Locate the following registry path mysql
HKEY_LOCAL_MACHINE \ SYSTEM \ CurrentControlSet \ Services \ MySQL] the ImagePath modified into a new location: the path that is being given back information Expected Path and then restart the mysql service, if that does not work or the error can only delete the original mysql: Open cmd enter sc delete mysql If you later need to have administrator privileges, then you can log in cmd in the original directory mysqld.exe --install install the service on the line.
After the successful implementation of positive mysql continue with the following tools, in addition to the other two tomcat generally not an error Tomcat no need
Third, open the browser to do to prepare for the installation of database testlink
1. After the start we open the browser and enter http: // localhost: 8090 may be 8090 127.0.0.1:8090 here is the port number above to Apache settings, open the URL displayed: (campp version will have a different display interface difference)
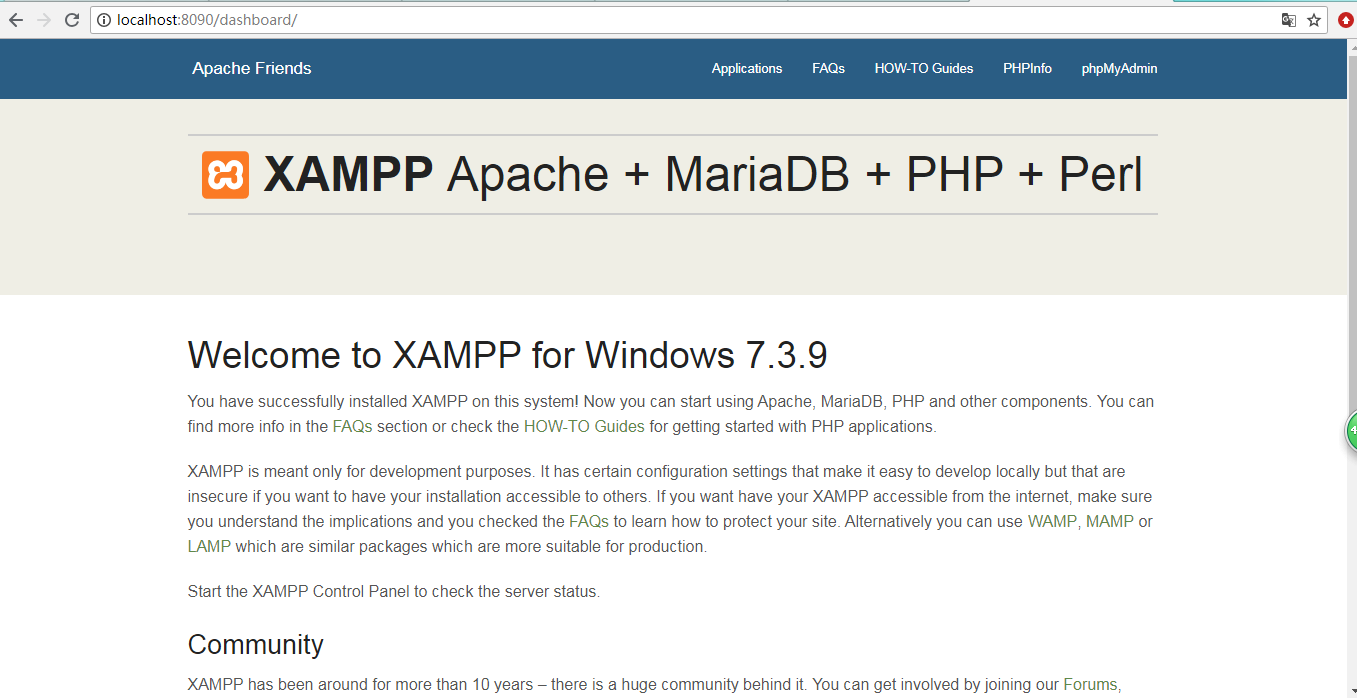
Proof has been successfully installed the xampp
2. Click on the phpMyAdmin database to enter the page click New to create a database input testlink click Create a database named testlink
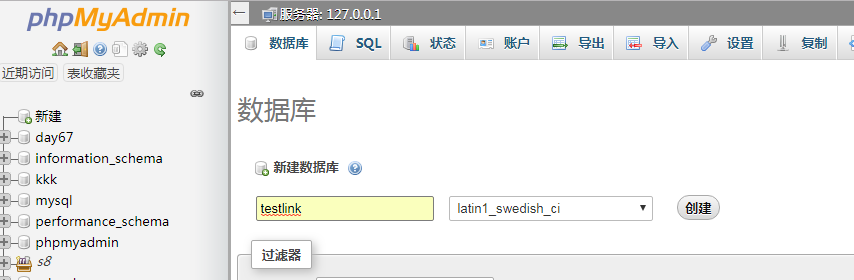
Once created appear in the database list and click Check Permissions

New user account:

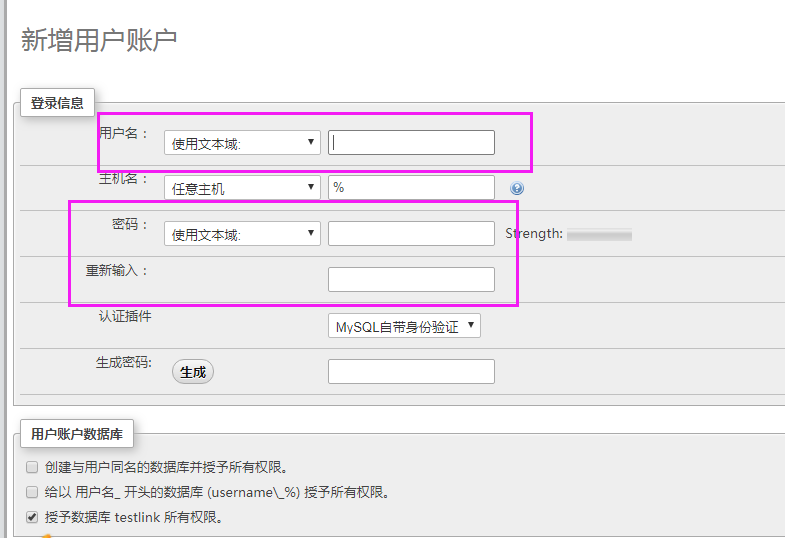
Fill out three laps example: Username Password kxl 123456 123456 then click Confirm password generation, and then click on the bottom of the Execute button to create the user is successful, the database ready
Fourth, the installation testlink
- The testlink-1.9.19.tar.gz extract to the D: / xampp / htdocs / folder suffixes removed, renamed: testlink
- Open testlink installation page: In your browser http: // localhost: 8090 / testlink / install / index.php
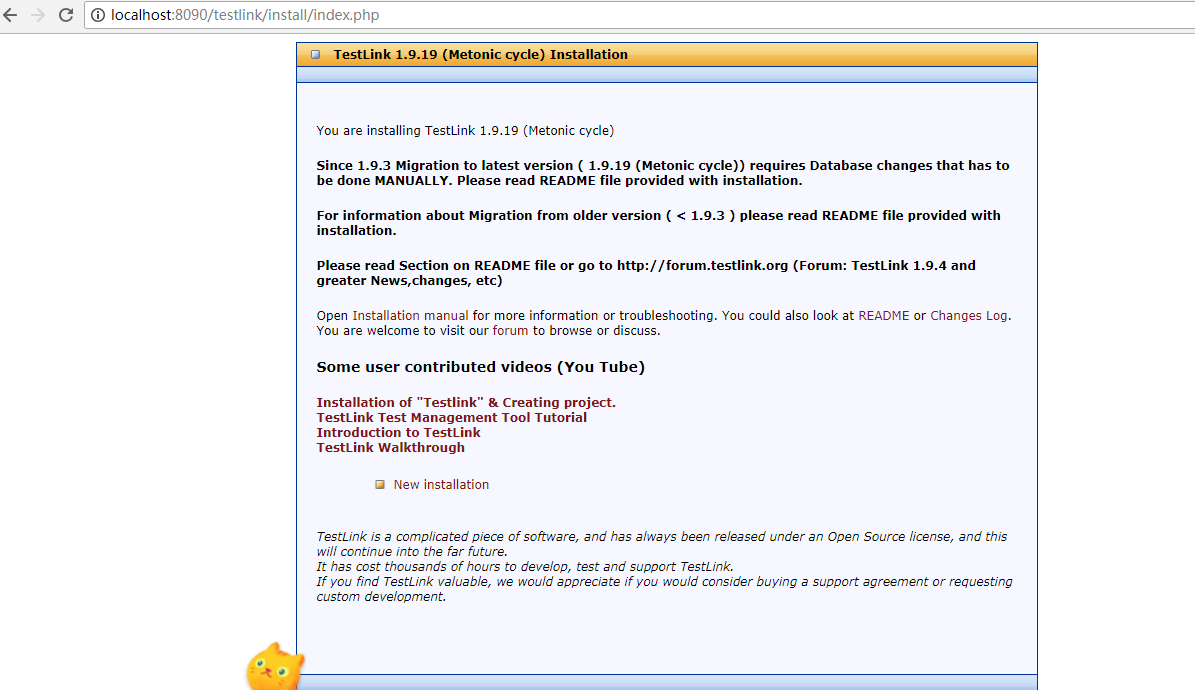
- Click New installation

Check the consent agreement, click continue

If this happen to exit the installation, modification testlink directory (D: \ xampp \ htdocs \ testlink) config.inc.php file under: $ tlCfg-> log_path = 'D: / xampp / htdocs / testlink / logs';
$g_repositoryPath='D:/xampp/htdocs/testlink/upload_area';
Reopen testlink install page

It represents the detection continues database configuration by clicking continue:
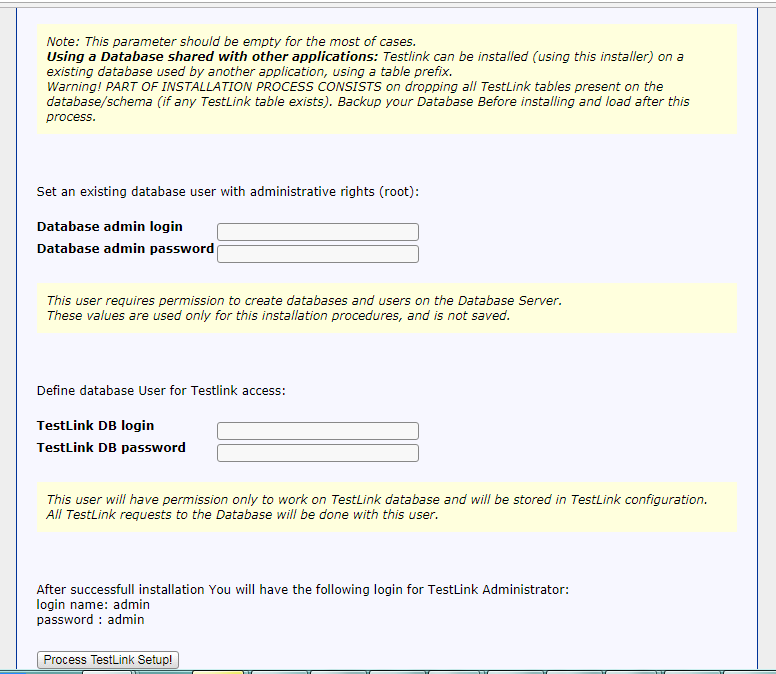
database host (host database) by default: localhost do not change
database name (database name) is testlink we created
database admin login (database administrator name) Enter the root (find the default user name and password phpmyadmin / config.ini.php in)
database admin password (database administrator password) do not fill
testlink DB login (testlink database administrator): kxl
testlink DB password (testlink database administrator password): 123456
Click Process testlink setup installation

Successful installation click on the following testlink
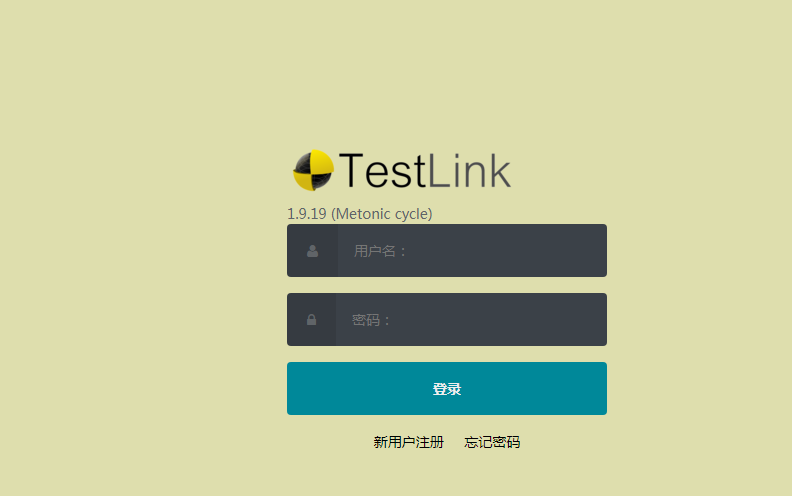
Testlink enter the login page, the default user is admin password: admin
login successful

testlink installation is complete