sourceMap
Mapping relationship between the source code and packetized. For example, in a source file test.js there are errors, if turned on, then the error message will be run after the package instructions specific location is wrong, if it is turned off, after the error, suggesting that the error location will It is packaged export documents.
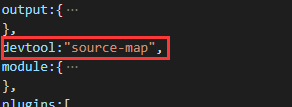
In development mode, the default open and close, you can add in the configuration file:
devtool common configuration:
- eval: fastest, package module code using eval
- source-map: generate .map file
- cheap: faster, without information management column, nor of sourcemap loader
- Module: third-party modules, including loader of sourcemap
- inline: The .map as DataURI embedded, does not generate a separate file .map
Recommended:

webpackDevServer
webpackDevServer is a tool to enhance development efficiency. After the completion of the code before each change, we need to repack again, refresh, after installation of webpackDevServer, this one can be improved operation and experience.
First need to install: npm install webpack-dev-server -D
Then modify package.json

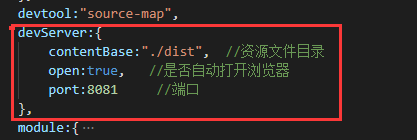
And perform related configurations in the configuration file webpack.config.js:
Then execute the command npm run server packaged.
To solve cross-domain
Another important function is to solve cross-domain webpackDevServer:
When we use the following request in this way in one page, the cross-domain error will be reported:

At this point, it can be resolved through cross-domain configuration webpackDevServer:

Then the above modification request can be:

Hot Module Replacement (HMR: thermal module replacement)

Then configure the plugins inside:
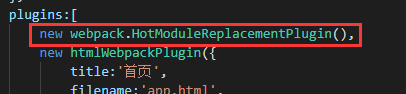
Finally, turn on it:

Js processing module HRM
The above process to update the style is very effective, but if you want to deal with js, then also need to add module.hot.accept Based on this observation module to update.
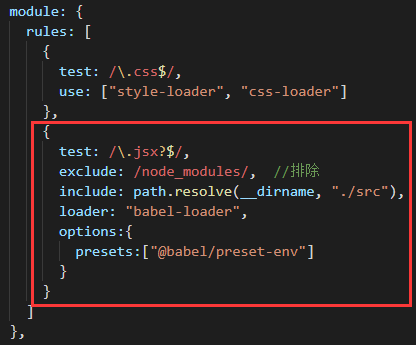
babel processing ES6
babel-loader bridge webpack communication with the babel, @ babel / preset-env contains transformation rules ES6 rotation of ES5.
Before using first need to install: npm i babel-loader @ babel / core @ babel / preset-env -D
And then configured in the configuration file in webpack.config.js
@babel/polyfill
At this point, just a few simple ES6 were converted, if it is to fully normal use, but also need the help of @ babel / polyfill, es6 of the new features are installed in, compensate for the lack of low version of the browser performance.
First installation: npm install @ babel / polyfill -D
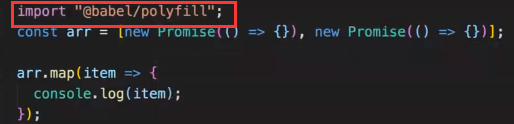
Then introduced at the top and other files to promise ES6 syntax:
index.js
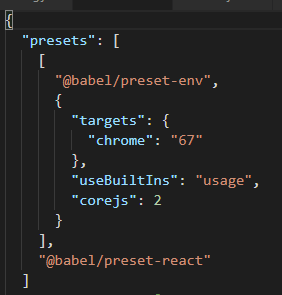
Configured in the configuration file loaded on demand in webpack.config.js. (Polyfill default injection will come all features, without adding the following configuration, it will become very large volume of package)

Then pack it.
There is another approach, the new project root directory .babelrc in the file, and then configure the options above inside part moved into this file, and then packaged, is also possible.
webpack.config.js

@babel/plugin-transform-runtime
When we develop a component library, tool library time, polyfill is inappropriate, because polyfill is injected into the global variable window down, it will pollute the global environment. In this case, the @ babel / plugin-transform-runtime more appropriate.
First installation:
npm install --save-dev @babel/plugin-transform-runtime
npm install --save @babel/runtime
Then prior to use, but also need to comment polyfill inside the previously incorporated index.js
Then add the configuration inside .babelrc
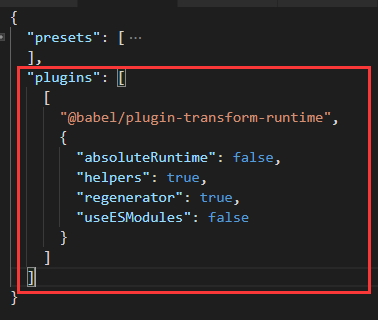
After configuration is complete, you can use the package.