Ubuntu18 Lamp installation environment
1, su root root account switching (high root account permissions do not always enter sudo)
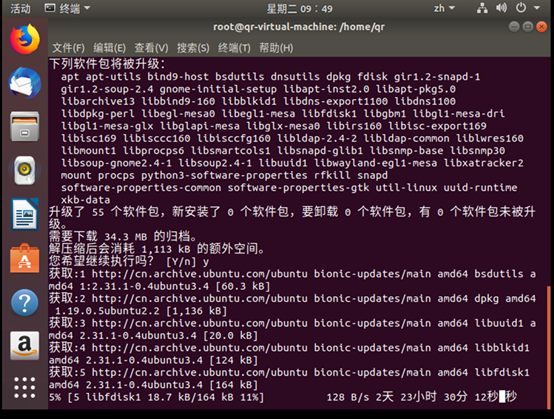
2, you can update server
apt-get update for the latest Resource Kit
apt-get upgrade all of this software update
apt-get dist-upgrade this system software update
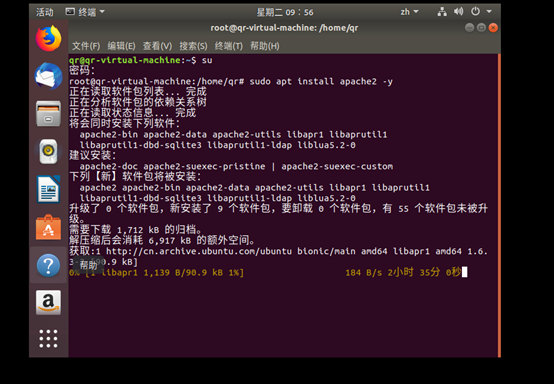
3, install apache
apt install apache2 -y
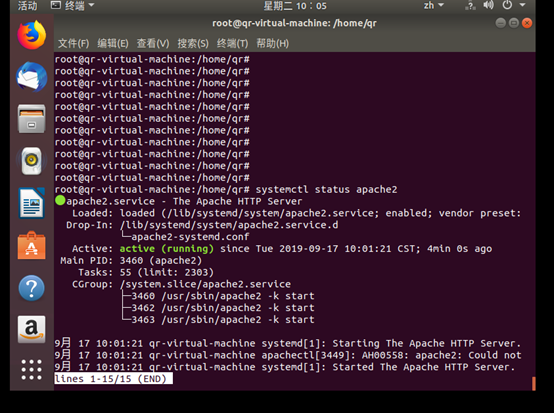
Detection is turned apache, usually turned on by default
systemctl status apache2 apache2 detection is turned on
Open, close and restart the server
service apache2 start
service apache2 stop
service apache2 restart
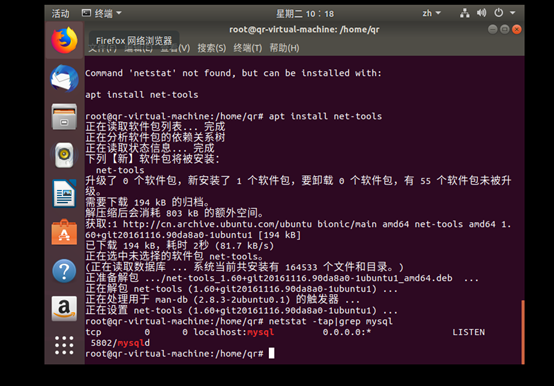
You can not view IP, then install a net-tools like
apt install net-tools
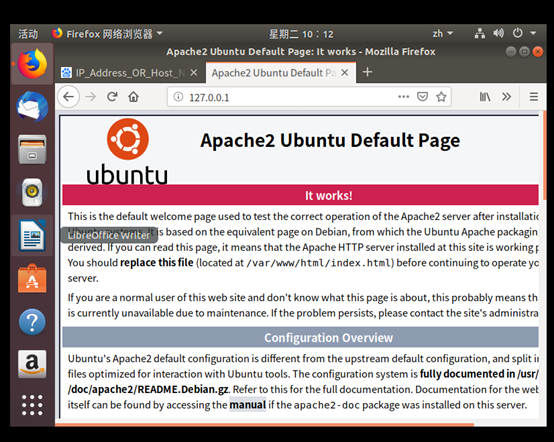
Open your browser and enter the IP address appears on this page to complete the install apache
3, the database server installation (MySQL Server 5.7 or MariaDB, one can select)
MySQL安装:apt install mysql-server mysql-client
(Note: there will be time to install y / n y option to directly select all like)
During the installation, you will be asked to set a password mysql server root account
Open the mysql service: service mysql start
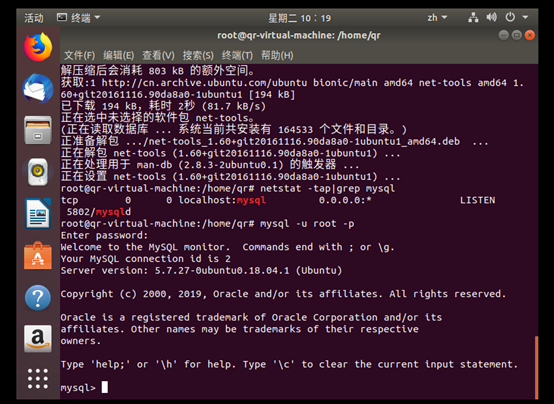
Detecting whether the installation was successful: netstat -tap | grep mysql
Database Test: mysql -u root -p
Select the -u represent login user name -p Indicates login user password quit from the database
This screen appears on the installation was successful
4, php scripting language installed
Run the following commands in the terminal to install PHP 7.2:
apt install php7.2-mysql php7.2-curl php7.2-json php7.2-cgi php7.2 libapache2-mod-php7.2
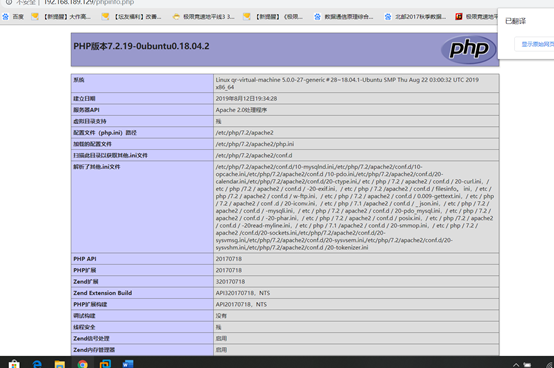
Testing PHP, view version:
php --version output phpinfo
Finally, we need to restart the Apache Web server.
systemctl restart apache2
vim /var/www/html/phpinfo.php
Create and write the following phpinfo.php
1、<?php
2、 echo phpinfo();
3、?>
http://ip/phpinfo.php
You can now access this page from a browser, enter: ip address, IP is your server ip, (ip viewed by ifconfig command) can see the following page.