VS Code provided by Microsoft is a lightweight but very powerful editor, built-in support for JavaScript, TypeScript and Node.js language, and other languages as a rich C ++, C #, Python, PHP, etc. when extensions and run.
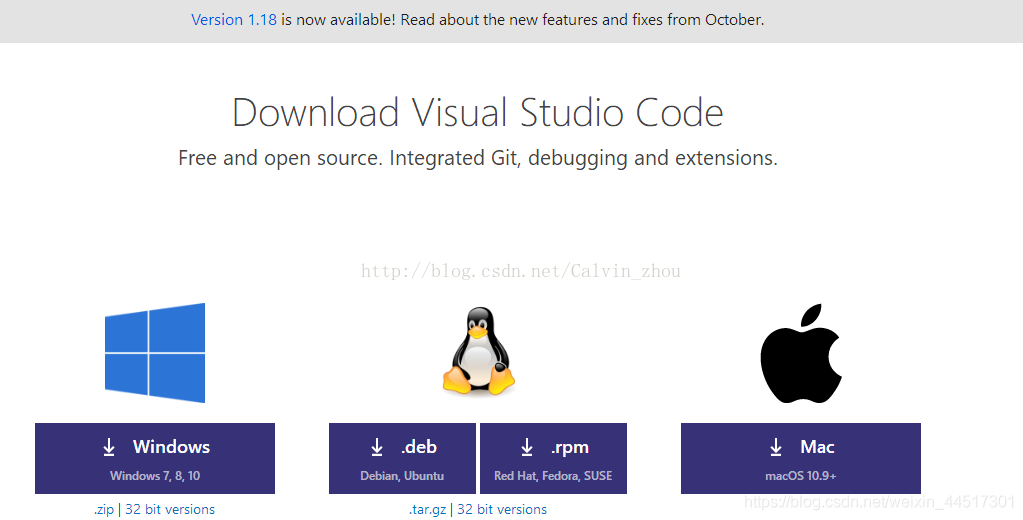
A: VS Code of installation (to download),
1.1: VS Code of the current version 1.18, supports Windows, Ubuntu, Mac
1.2: Installation
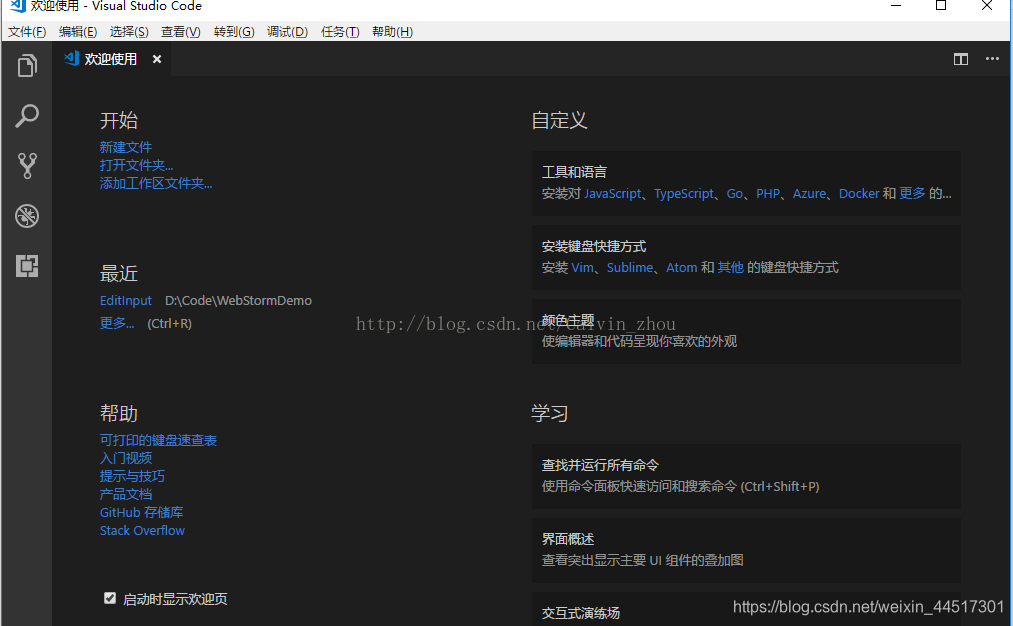
VS Code installation is relatively simple, you can have the next step. After installation is complete, open interface is as follows:
Two: a brief introduction and use of VS Code
2.1: interface brief
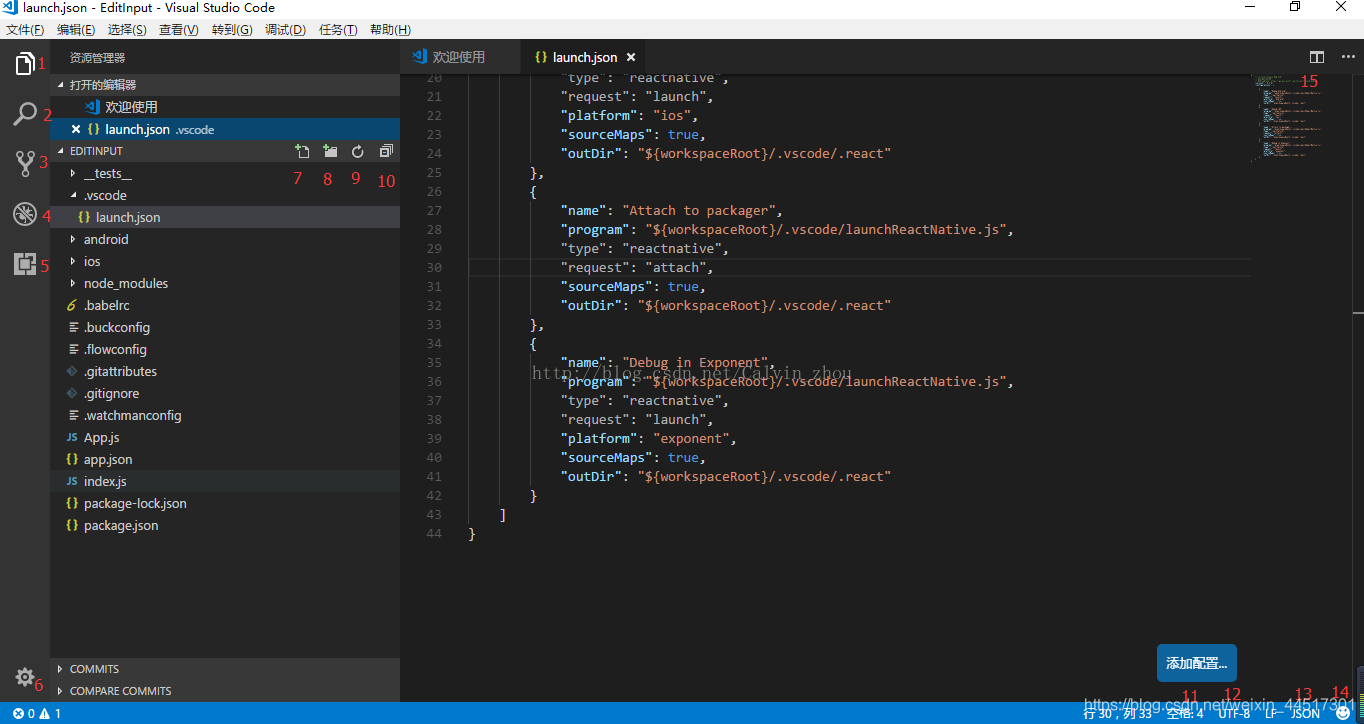
2.1: 1 mark, Explorer, here is a file and folder, click Explorer to open and close the show
2.2: 2 mark, search, Explorer if too many files, can be found by typing
2.3: Dimension 3, source code management, such as importing project by the git init file, just below this display
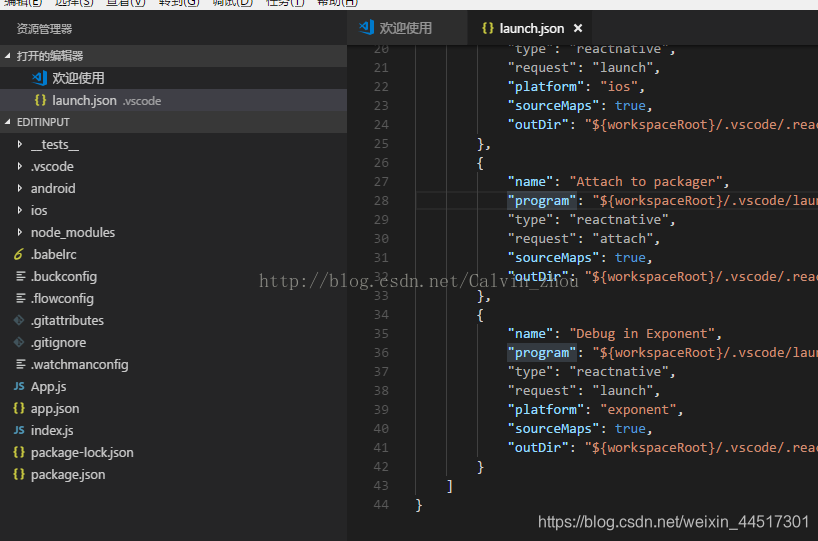
2.4: 4 after labeling, testing, debugging configuration options take effect

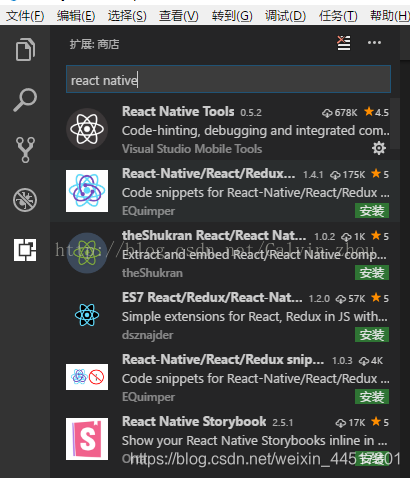
2.5: Extended search content you need to install the plug
2.6: The number of errors and warnings displayed document
2.7: After the new file, click this button to enter a file name to create a new file
2.8: create a new folder, click on the button to enter the folder name to create a new folder
2.9: refresh, content changes, click on this button to refresh
2.10: Collapse Click this button to display the closed folder
2.11: TAB key to indent number of spaces
2.12: file encoding format
2.13: file type, as shown, is gson
2.14: Status
Three: Skills Introduction
3.1: Open the file or folder: File - "Open -" File or Folder Options

3.2: open below a react-native program
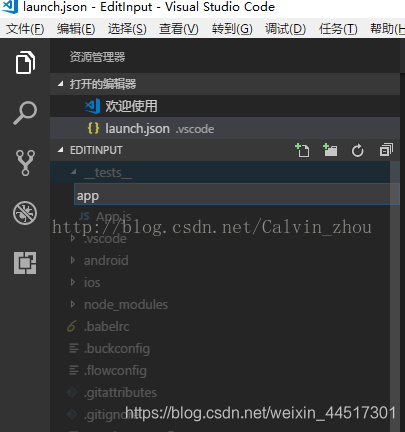
3.3: New Folder: figure, click on the project root directory create a new folder, enter the app, create a folder, create a file with this
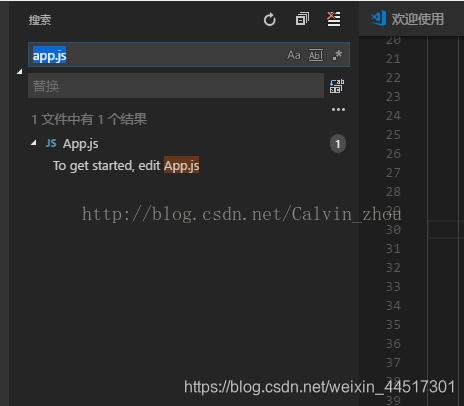
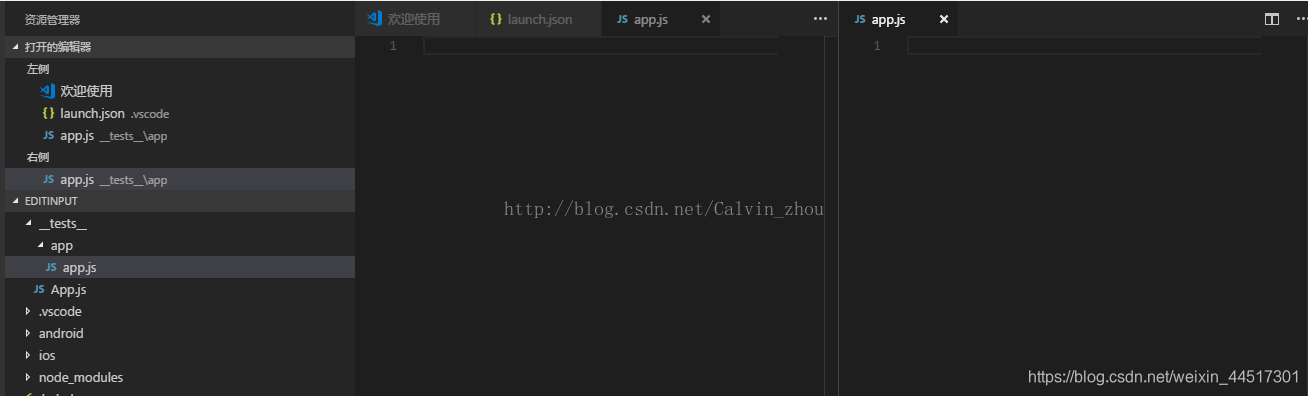
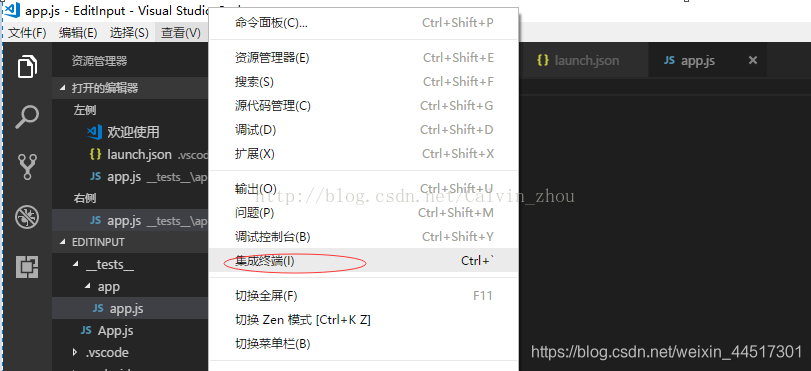
3.4: Split editor, open app.js, when clicked split editor, open the same file a app.js
3.5: Open a terminal debugging, open the View -> Integrated Terminal to open a terminal window debugging
----------------
Disclaimer: This article is CSDN blogger "PGzxc 'original article, follow the CC 4.0 by-sa copyright agreement, reproduced, please attach the original source link and this statement. .
Original link: https: //blog.csdn.net/Calvin_zhou/article/details/78487121