1. Obtain Git for Windows installation package
Go https://git-scm.com/download/win obtain the installation package
2. Open the downloaded installation package to start the installation program displays the following (on the GPL Git follow), click "Next" to continue the installation:

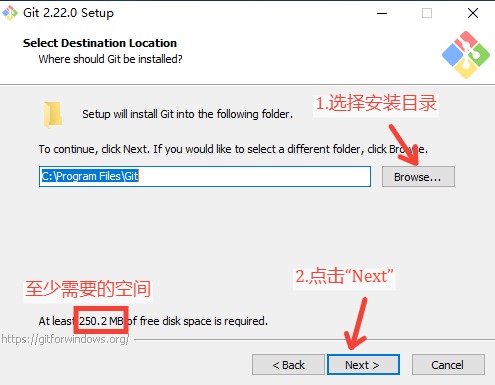
3. Set the desired installation directory, where the installation directory via "Browse ..." can be used to choose the software, choose a good click "Next" to continue the installation:
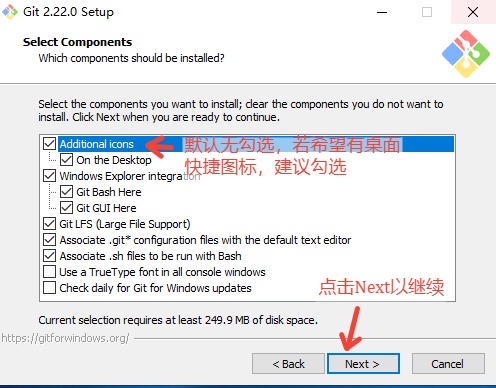
4. Check the components you want to install, it is recommended not to cancel the default checked items. If you want desktop has shortcut icon, you can manually check the "Additional icons" (This default no check), then click on "Next" to continue the installation:
5. Choose whether to create Start menu shortcuts, and Start menu shortcuts directory belongs to, if you want to create a shortcut to the Start menu, you can check the "Do not create a Start Menu folder" (Start menu shortcuts and desktop shortcuts recommended at least a second election, in order to quickly open Git), and then click "Next" to continue the installation:

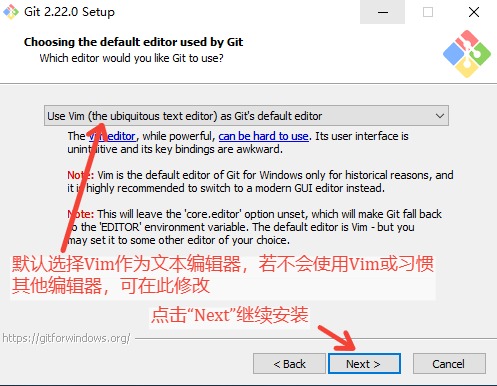
6. Select the default editor Git (when submitting changes need to add a note of this submission, to explain the purpose of this submission, this time need to use a text editor), the default is Vim, Vim if it will not use or habit other editors, you can choose a different editor, such as Notepad ++, Sublime, VS Code, etc. here, a selection and click "Next" to continue the installation:
7. Select the impact on the environment variable PATH when you install Git, checked by default, the middle term, it is recommended not to modify, click on "Next" to continue the installation:

8. Select the library to use Git when using HTTPS, without special needs, can keep the default options, click "Next" to continue the installation:

9. Select Submit to pull records, handling of line breaks 1 , without special needs, you can choose the default, click "Next" to continue the installation:

10.选择模拟终端软件(即命令行窗口软件),若无特殊需要,可默认选择,点击 “Next” 继续安装:

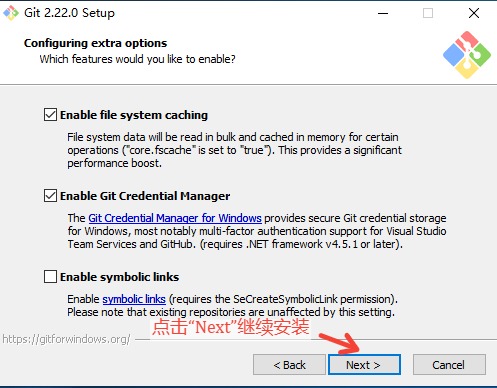
11.几个额外选项,若无特殊需要,保持默认,点击 “Next” 继续安装:
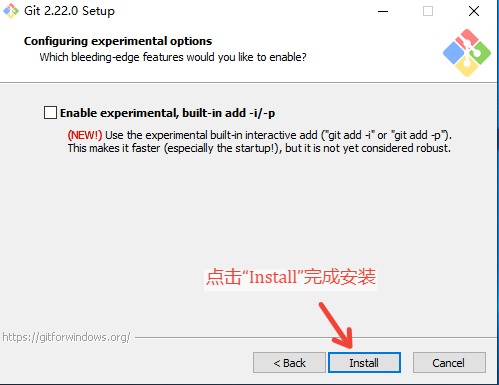
12.最新功能的询问,若不想尝试尚未保证稳定性的新功能,默认不勾选,点击 “Install” 即可完成安装:
13.稍等一会儿,安装完毕后会显示如下内容,点击“Finish”完成安装:

14.若在第四步时勾选了 “Additional icons”,则安装后桌面会有一个名为 “Git Bash” 的快捷方式,可双击以打开 Git 的命令行(操作方式为 Unix/Linux 风格,而不是 Windows 的 Cmd 风格):

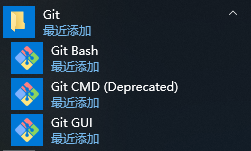
15.若在第五步时没有选择 “Don't create Start Menu folder”,则在开始菜单的 Git 目录下也可以找到 Git Bash,以及 Git GUI(操作 Git 的图形工具)等其他工具:
16.以后即可通过 Git Bash 或 Git GUI 来使用 Git 了。
注释:
1.“换行”在 Windows 和 Unix/Linux 下是不一样的,虽然编辑时都是敲击 Enter 以输入“换行”,但是在 Windows 环境下,一次换行实际上存储了两个字符:回车符(Carriage-Return)和换行符(Line-Feed),简称 CRLF,而在 Unix/Linux 环境下,一次换行就是一个字符:换行符(Line-Feed)。在 Unix/Linux 环境下用 Vim 打开带有 CRLF 的文本文件时,回车符 CR 会被显示为一个转角箭头。