Detailed explanation of nssm
Zero, article directory
1. Introduction to nssm
nssm is a service encapsulation program that can encapsulate ordinary exe programs into services to achieve automatic startup at boot. The same type of tool is Microsoft's own srvany, but nssm is easier to use and more powerful.
Its features are as follows:
- Supports ordinary exe programs (console programs or Windows programs with interfaces are acceptable)
- Easy to install and easy to modify
- Encapsulated services can be automatically protected, and the program can be automatically restarted after it hangs.
Government location:https://nssm.cc/
2. Detailed explanation of nssm configuration
1. Download address
Government location:https://nssm.cc/download
Baidu Netdisk:https://pan.baidu.com/s/12J0jJF9_7-bstH1eGMI8Lg?pwd=1234
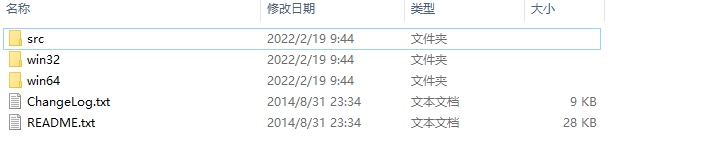
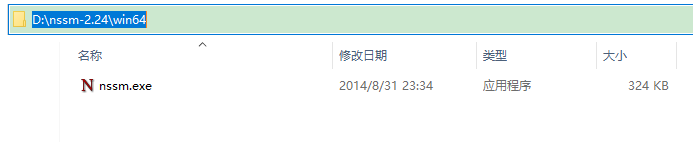
2. Unzip the compressed package and select 64-bit or 32-bit program according to the number of system bits.
3. Open the command line and run the nssm program
Open the command line tool with administrator rights, switch to the path where nssm.exe is located, run nssm install, and open the program configuration interface.
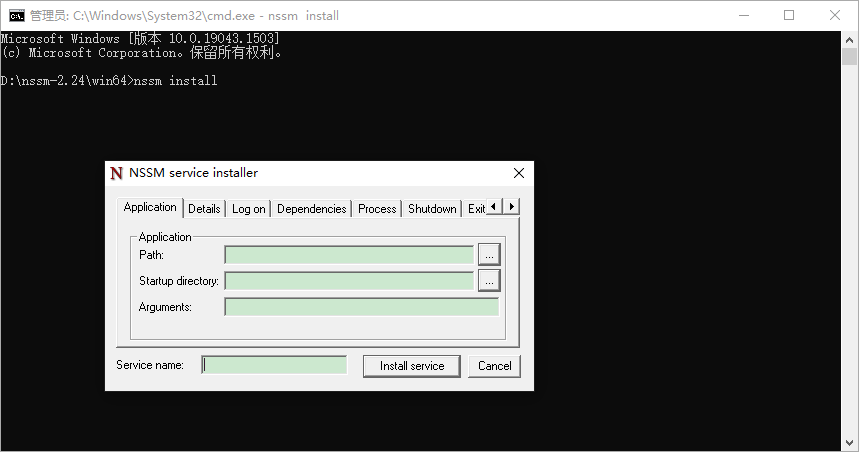
Configuration item description:
-
Path: the program that runs the application
-
Startup directory: The directory where the application is located
-
Arguments: Parameters for application operation
-
Service name: Generate the name of the service
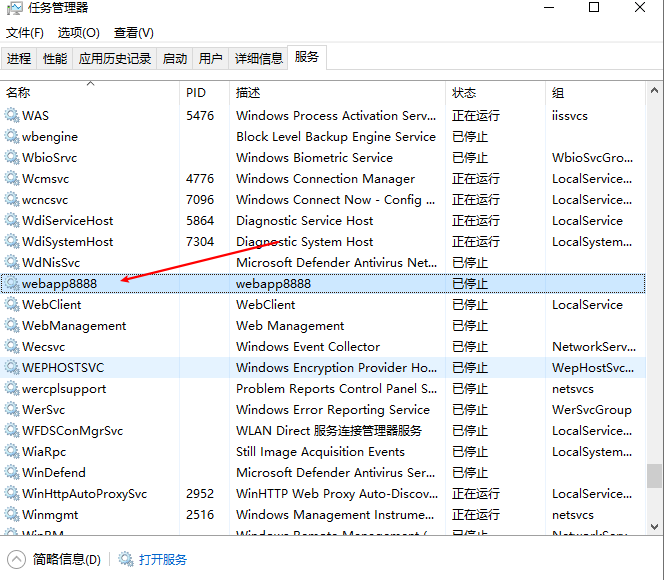
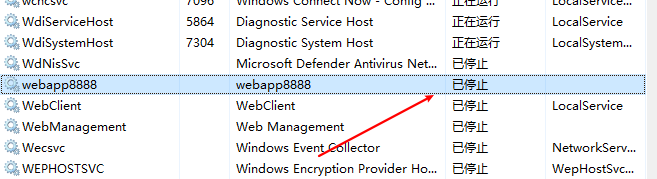
Finally, click install service to complete the windows service installation. You can see the created service in the windows service list.
4. Commonly used commands
- nssm install servername //Create servername service and pop up the configuration interface
- nssm start servername //Start service
- nssm stop servername //pause service
- nssm restart servername //Restart the service
- nssm remove servername //Delete the created servername service
- nssm edit servername//Change the servername service and the modification interface will pop up
- nssm set servername parameter name parameter value //Set service parameter value
- sc delete servername//windows delete service command
- You can also directly use the service management of Windows to operate the service. Right-click the service
属性 - 恢复to set the service to hang up and restart, etc.
3. Practical combat: turning applications into services
1. Program description
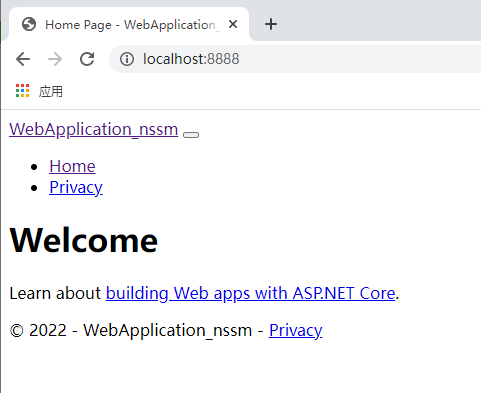
Here is a demonstration of making a net6 web project into a windows service
The application startup command is:dotnet WebApplication_nssm.dll --urls=http://*:8888/ --port=8888
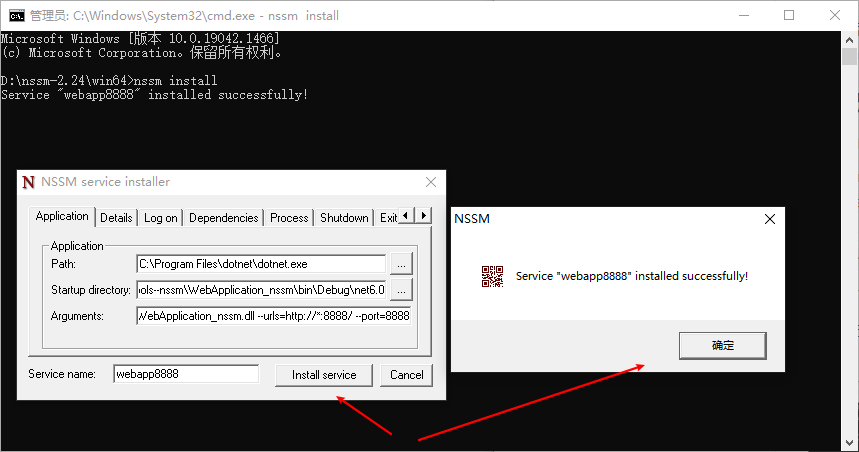
2. Installation service
nssm install
- Path:
C:\Program Files\dotnet\dotnet.exe - Startup directory:
D:\TechLearn\001、Tools--nssm\WebApplication_nssm\bin\Debug\net6.0 - Arguments:
WebApplication_nssm.dll --urls=http://*:8888/ --port=8888 - Service name:
webapp8888
Finally, click install service to complete the windows service installation. You can see the created service in the windows service list.
3. Management services
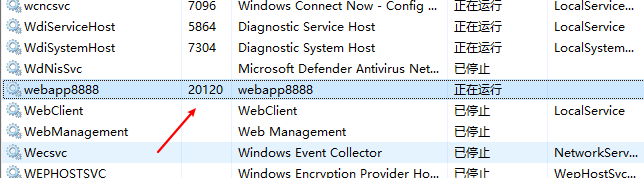
(1) Start the service
D:\nssm-2.24\win64>nssm start webapp8888
webapp8888: START: 操作成功完成。
(2) Close the service
D:\nssm-2.24\win64>nssm stop webapp8888
webapp8888: STOP: 操作成功完成。
(3) Restart the service
If the service is not started, it will be started directly, and if it is started, it will be restarted.
D:\nssm-2.24\win64>nssm restart webapp8888
webapp8888: STOP: 服务尚未启动。
webapp8888: START: 操作成功完成。

D:\nssm-2.24\win64>nssm restart webapp8888
webapp8888: STOP: 操作成功完成。
webapp8888: START: 操作成功完成。
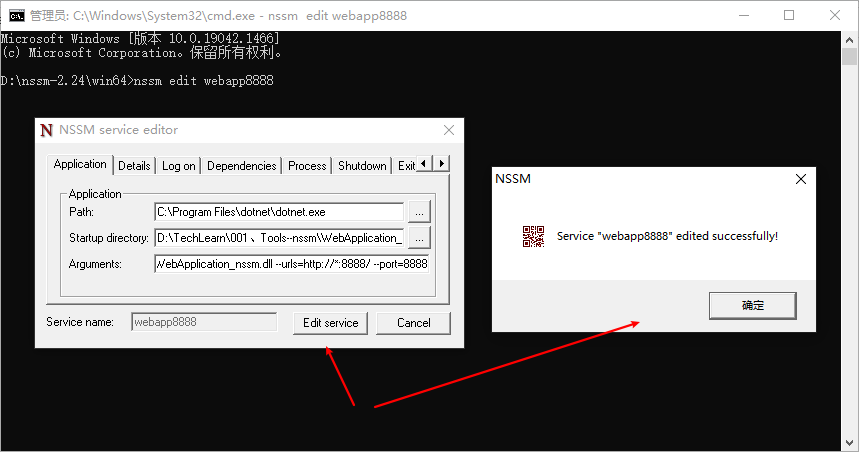
(4) Modification service
Enter the command to modify the configuration. The service name cannot be modified.
D:\nssm-2.24\win64>nssm edit webapp8888
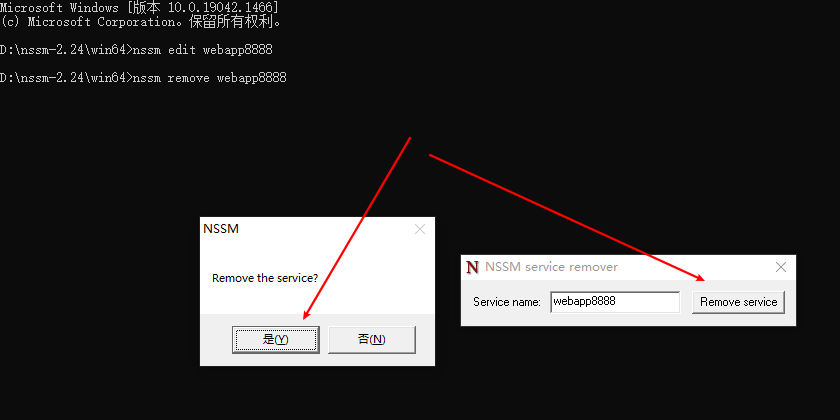
(5) Delete service
There is a second confirmation for deletion. After deletion, the service cannot be found and needs to be reinstalled.
D:\nssm-2.24\win64>nssm remove webapp8888
Service "webapp8888" removed successfully!