Give up personal qualities
Enjoy a wicked life
Refuse to be mentally drained
Go crazy if something happens
1. Install Anaconda
Official website download address
Just select the appropriate system version and install it.
After installation, you can see the following content

2. Use Anaconda to create a development environment
This is why Anaconda is used. Different development environments can be created. The development packages selected in each development environment can be different, and the environments will not interfere with each other.

Open command black window
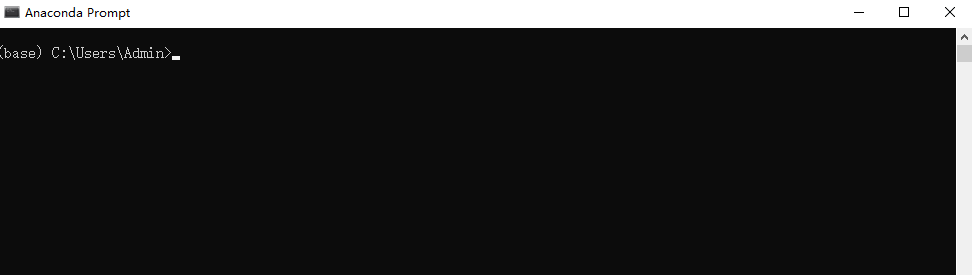
As you can see, we are currently in the initial base environment.
Use commands to create the required development environment
For example, create a development environment named pytorch and specify the python version as 3.6:
conda create -n pytorch python=3.6
After creation, enter this development environment:
conda activate pytorch

You can see that the environment has been switched to pytorch.
3. Install pytorch
Official website download address
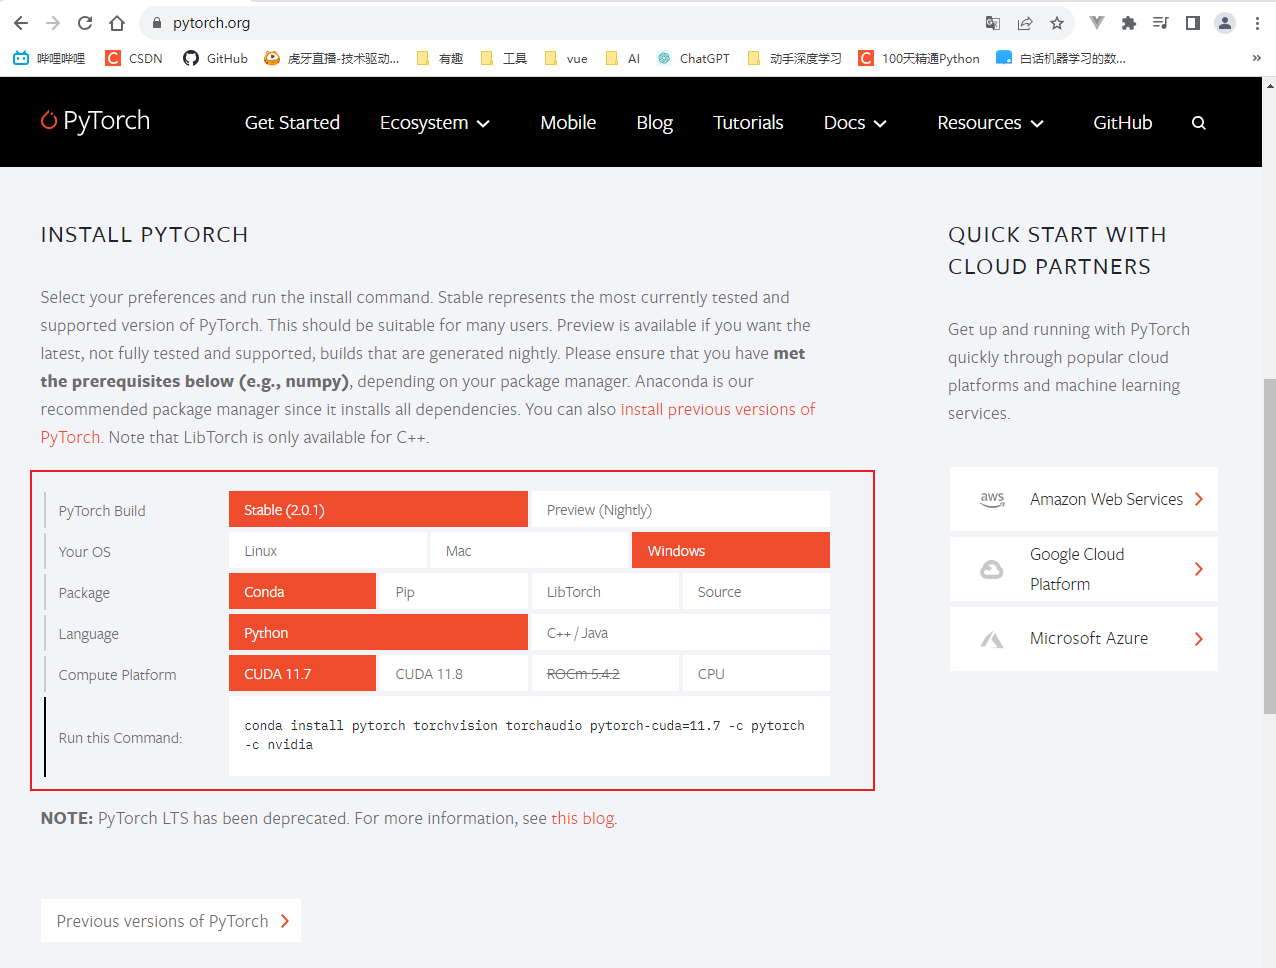
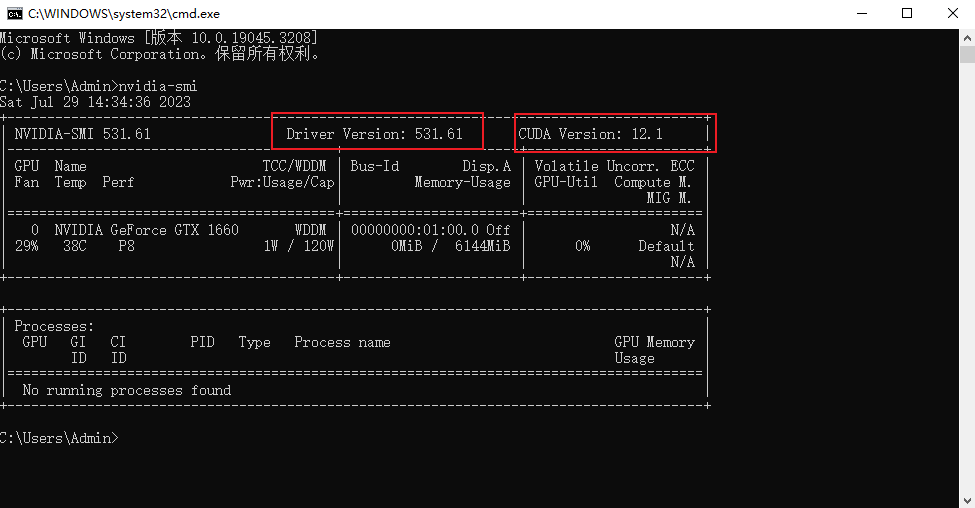
One thing to note is to check if your computer has a GPU. If not, select CPU in the CUDA line.
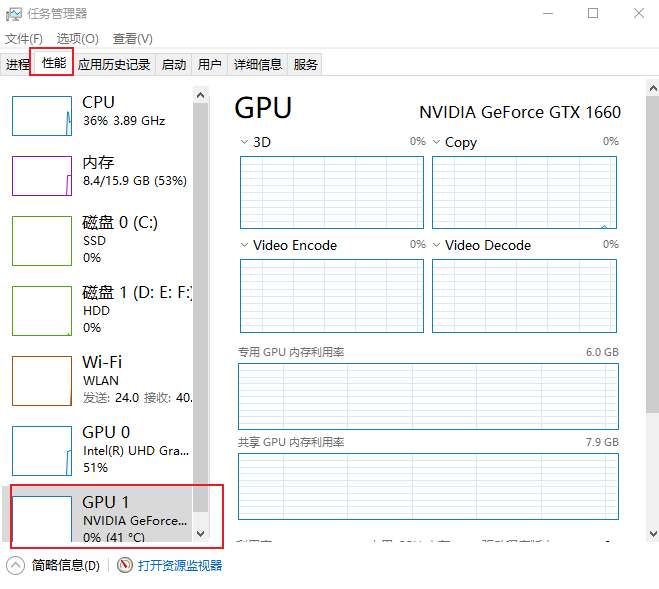
And check the driver version. If the version is not enough, go to nvida official website to download the new driver corresponding to your graphics card.
Check driver version
Install pytorch
After selecting the official website, copy the following line and run the installation in the pytorch environment
conda install pytorch torchvision torchaudio pytorch-cuda=11.7 -c pytorch -c nvidia
Possible errors:
failed with initial frozen solve. Retrying with flexible solve.
Solving environment: failed with repodata from current_repodata.json, will retry with next repodata source.
This error is usually caused by conda being unable to obtain the required package information from the current repodata.json file. One way to solve this problem is to try changing conda's channel configuration to use other available mirror sources to obtain package information.
Solution:
Change the cuda version to 11.8:
conda install pytorch torchvision torchaudio pytorch-cuda=11.8 -c pytorch -c nvidia
Check whether the installation is successful:
python
import torch
torch.cuda.is_available()
output
true
4. Initial understanding of pytorch loading data
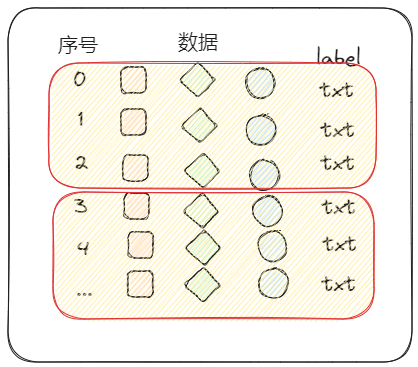
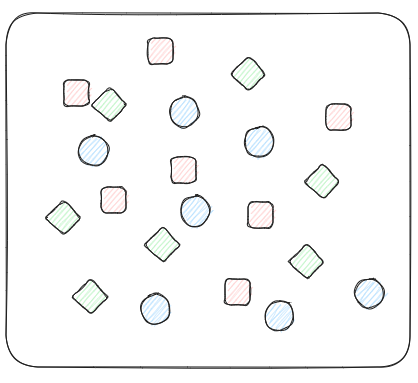
First, assume that we have a massive data pool, which is filled with all kinds of data.
Dataset
The function is to obtain data and its corresponding label from the above data pool.
Dataset in Pytorch is an abstract class used to represent datasets. We can customize our own data set by inheriting the Dataset class. Custom Dataset needs to implement the __len__ and __getitem__ methods.
__len__ method: Returns the size of the data set and the number of samples in the data set.
__getitem__ method: Returns the sample at the specified index. In this method, we need to read the corresponding data from the dataset according to the index and convert it into a PyTorch tensor.
The advantage of custom Dataset is that it can flexibly handle various types of data, such as images, text, audio, etc. At the same time, we can also perform data enhancement, data preprocessing and other operations in the Dataset to improve the performance of the model.

Data loader
Package data to provide different data forms for the subsequent network.
dataloader in PyTorch is a data loader used to load data from a given dataset. This data set can be images in a folder, tabular data in a CSV file, or other forms of data. Dataloader is responsible for loading data in batches and supports parallel processing and data preprocessing to better train neural network models.