1. Connect to the server and create a project folder
1.1 According to the public IP address provided by the server, use Xshell to connect
1.2. In the current directory, create a project deployment folder through # mkdir jty-nx , jty-nx: is the file name
2. Create a Dockerfile
Create a Dockerfile under the project file jty-nx you just created
Dockerfile is a script used to create Docker objects. First create a Dockerfile file, which can be created in the idea project. The file content template is as follows:
FROM ascdc/jdk8

ADD *.jar app.jar

ENTRYPOINT ["java","-jar","app.jar"]
- FROM: The function is to specify the base image and must be the first instruction. For example: FROM ascdc/jdk8 means that the basic environment is jdk8, ascdc/jdk8 must be an image that already exists in the server
- ADD: A copy command to copy files to the image. For example: ADD *.jar app.jar Copy the file matching *.jar in the current directory folder into app.jar and put it in the image
- ENTRYPOINT: used to set the first command to be run when the container starts and its parameters. For example: ENTRYPOINT ["java","-jar","/app.jar"] execute the jar command and run the project
3. Package java project
Package the java project that needs to be deployed. The SpringBoot Maven project is used here. You can directly operate the packaging in the idea.

Click maven, click Lifecyle, click package. After the project is successfully packaged, it will be placed in the target file in the project.
4. Create a Docker image
4.1 Send the prepared Dockerfile and jar package to the jty-nx project folder just created in the server through Xftp, and prepare to create the Docker image
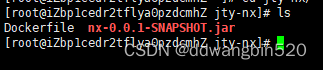
4.2 Create Docker image
In the current project file directory, enter the following command :
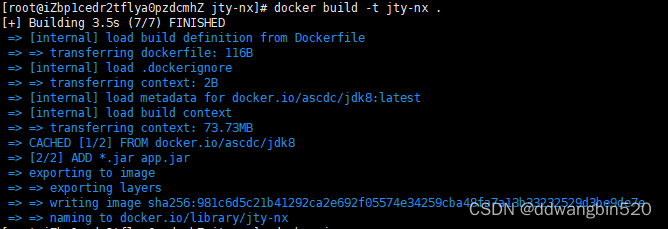
docker build -t jty-nx . Note: jty-nx represents the image name, and there is a. after the command. Don’t ignore it.
After creating the Docker image, a loading progress bar will appear. If no errors are reported, it is most likely successful.
5. Create a Docker container
In the current project file directory , enter the command to create a Docker container:
docker run -p 9029:9029 jty-nxThe 9029 port inside the container is mapped to the 9029 port of our local host
After entering the above command, the springboot project startup scene will appear, as shown in the following figure:
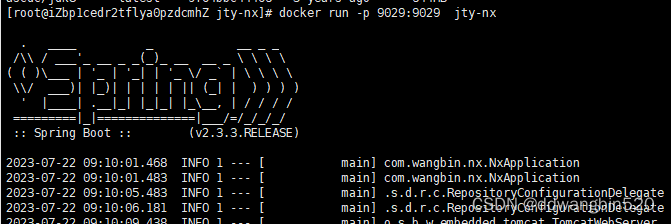
After the startup is successful, enter the command: docker ps to confirm again whether the Docker container is running. After all operations are completed, you can access the relevant interfaces of the server-deployed project through the public network IP; if the access is successful, it means that the Docker deployment of the Java project is successful.