Nacos installation tutorial
Nacos installation guide
1.Windows installation
During the development stage, it can be installed on a single machine.
1.1. Download the installation package
On the GitHub page of Nacos, a download link is provided to download the compiled Nacos server or source code:
GitHub homepage : https://github.com/alibaba/nacos
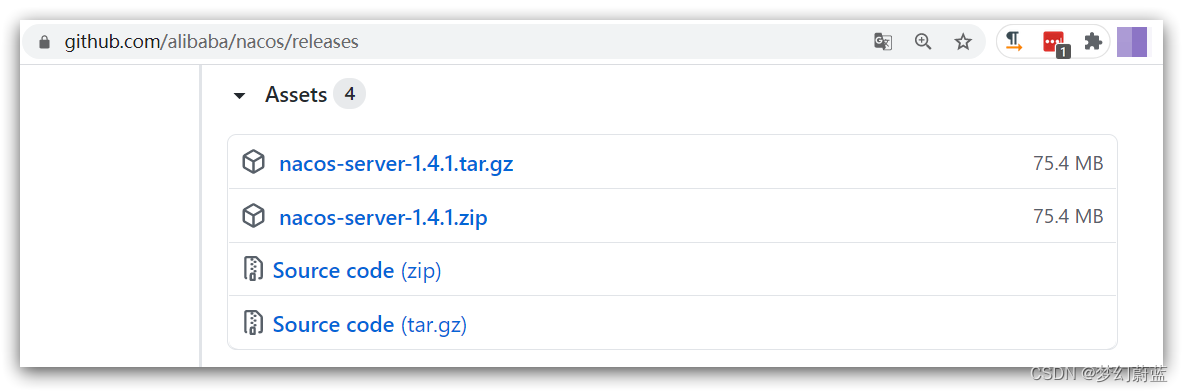
GitHub's Release download page : https://github.com/alibaba/nacos/releases
As shown in the picture:

This course uses Nacos version 1.4.1. The pre-course materials have prepared an installation package:

Just use the package for the windows version nacos-server-1.4.1.zip.
1.2. Unzip
Unzip this package to any non-Chinese directory, as shown in the figure:

Catalog description:
- bin: startup script
- conf: configuration file
1.3.Port configuration
The default port of Nacos is 8848. If other processes on your computer occupy port 8848, please try to close the process first.
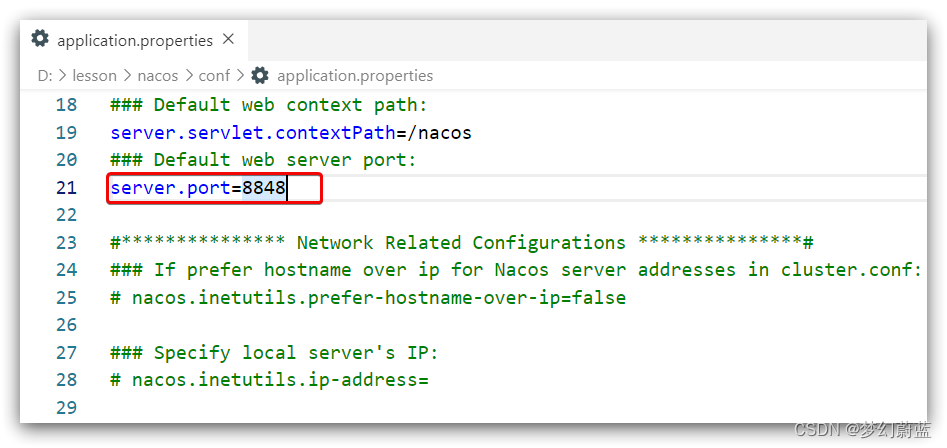
If you cannot close the process occupying port 8848 , you can also enter the conf directory of nacos and modify the port in the configuration file:

Modify the contents:
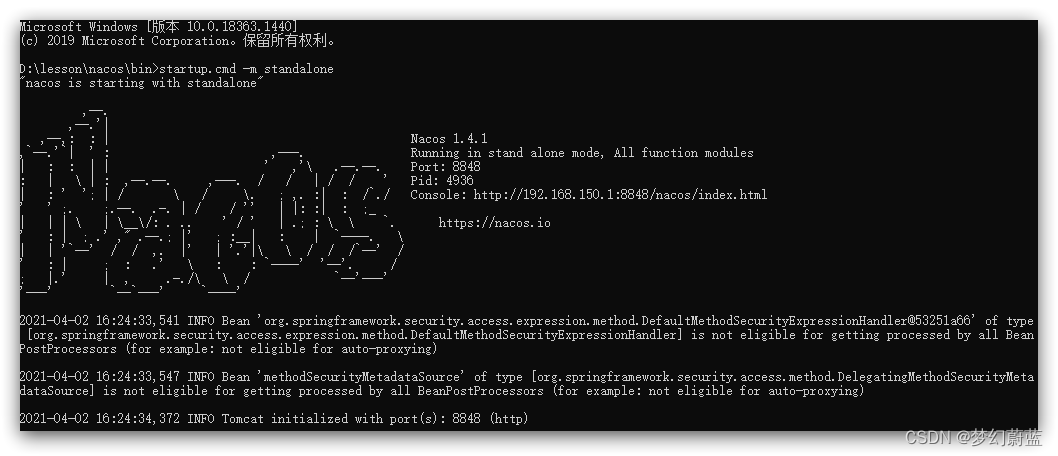
1.4.Startup
Startup is very simple, enter the bin directory, the structure is as follows:

Then execute the command:
-
windows command:
startup.cmd -m standalone
The effect after execution is as follows:
1.5.Access
Enter the address in the browser: http://127.0.0.1:8848/nacos:
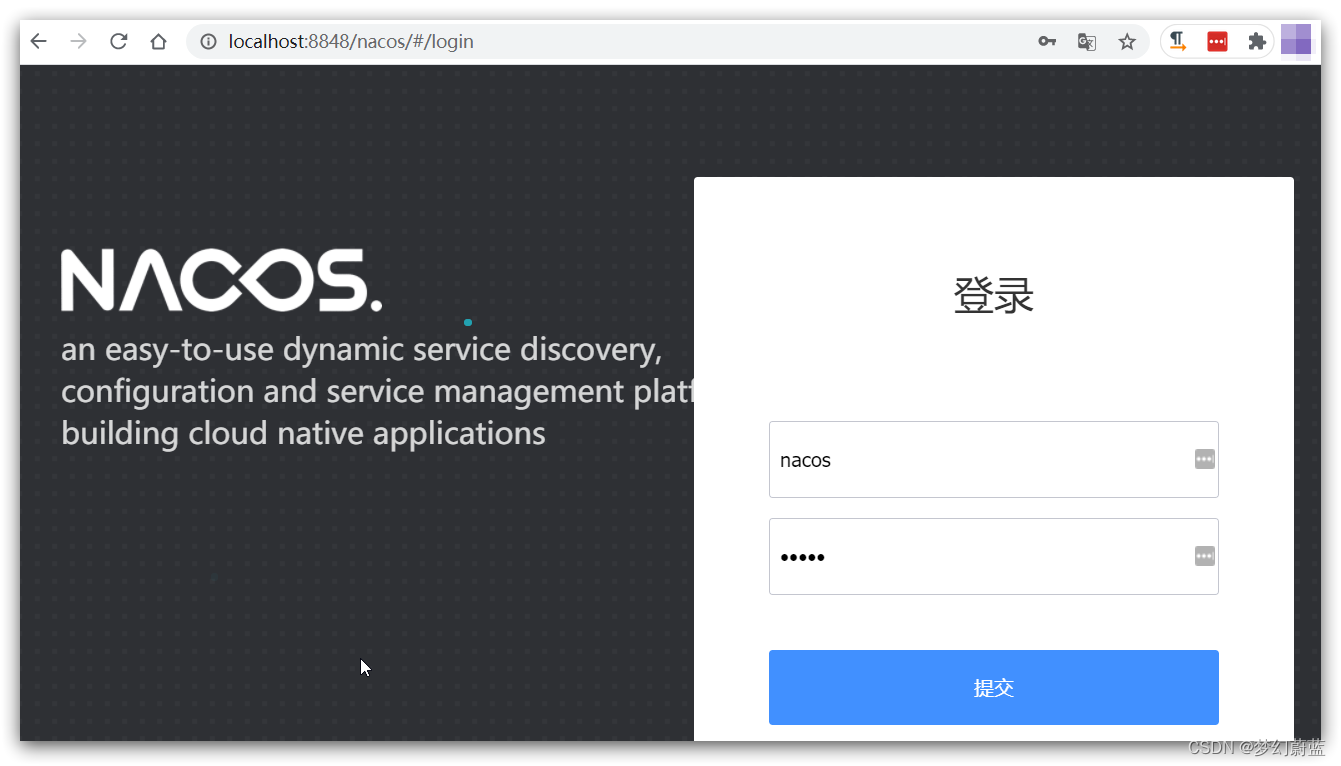
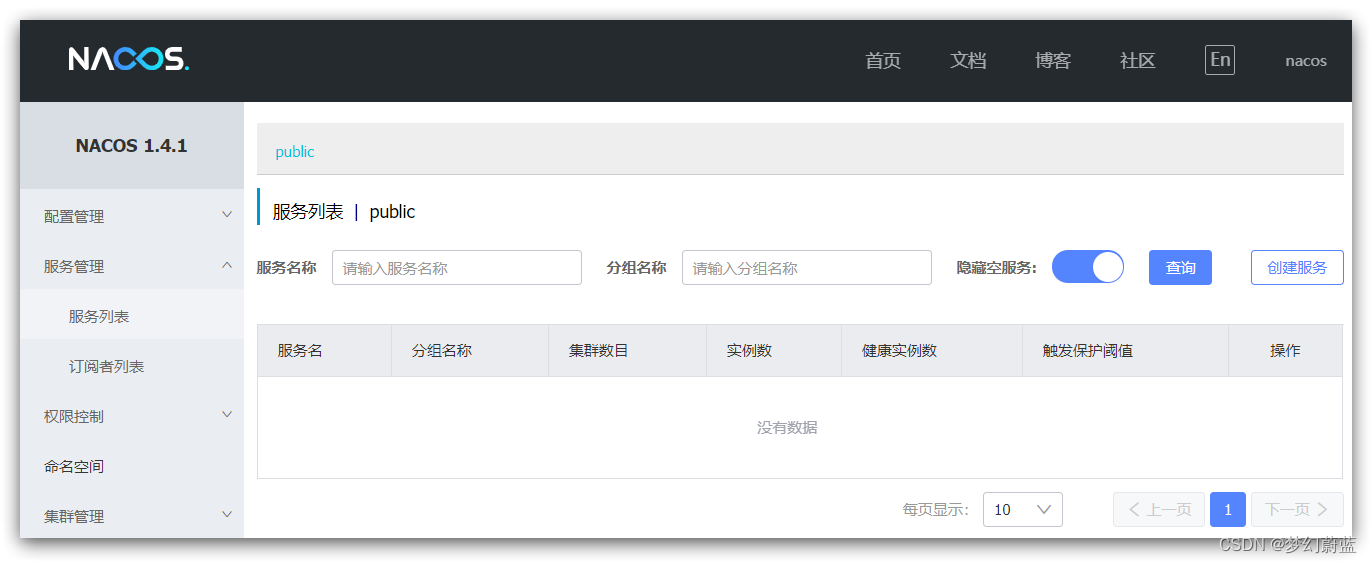
The default account and password are nacos. After entering:
2.Linux installation
The Linux or Mac installation method is similar to Windows.
2.1.Install JDK
Nacos relies on JDK to run, and JDK also needs to be installed on Linux.
Upload jdk installation package:

Upload to a directory, for example:/usr/local/
Then unzip:
tar -xvf jdk-8u144-linux-x64.tar.gz
Then rename to java
Configure environment variables:
export JAVA_HOME=/usr/local/java
export PATH=$PATH:$JAVA_HOME/bin
Set environment variables:
source /etc/profile
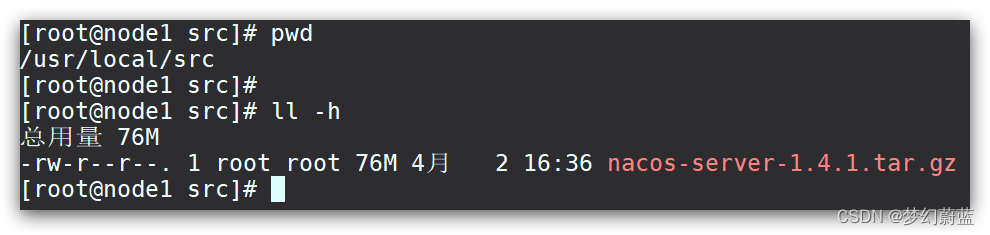
2.2. Upload the installation package
As shown in the picture:
You can also directly use tar.gz in the information:

Upload to a directory on the Linux server, for example /usr/local/src:
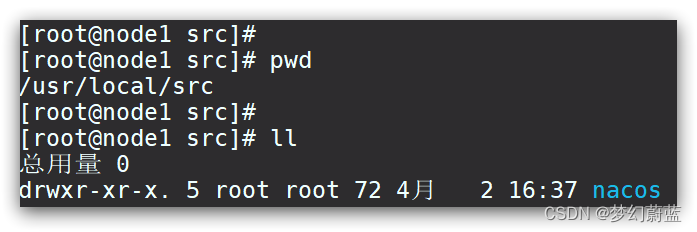
2.3. Unzip
Command to decompress the installation package:
tar -xvf nacos-server-1.4.1.tar.gz
Then delete the installation package:
rm -rf nacos-server-1.4.1.tar.gz
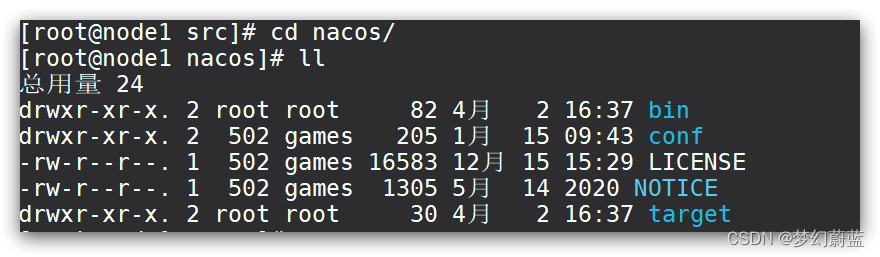
Final styles in catalog:
Inside the directory:
2.4.Port configuration
Similar to windows
2.5.Startup
In the nacos/bin directory, enter the command to start Nacos:
sh startup.sh -m standalone
3.Nacos dependencies
Parent project:
<dependency>
    <groupId>com.alibaba.cloud</groupId>
    <artifactId>spring-cloud-alibaba-dependencies</artifactId>
    <version>2.2.5.RELEASE</version>
    <type>pom</type>
    <scope>import</scope>
</dependency>
Client:
<!-- nacos客户端依赖包 -->
<dependency>
    <groupId>com.alibaba.cloud</groupId>
    <artifactId>spring-cloud-starter-alibaba-nacos-discovery</artifactId>
</dependency>