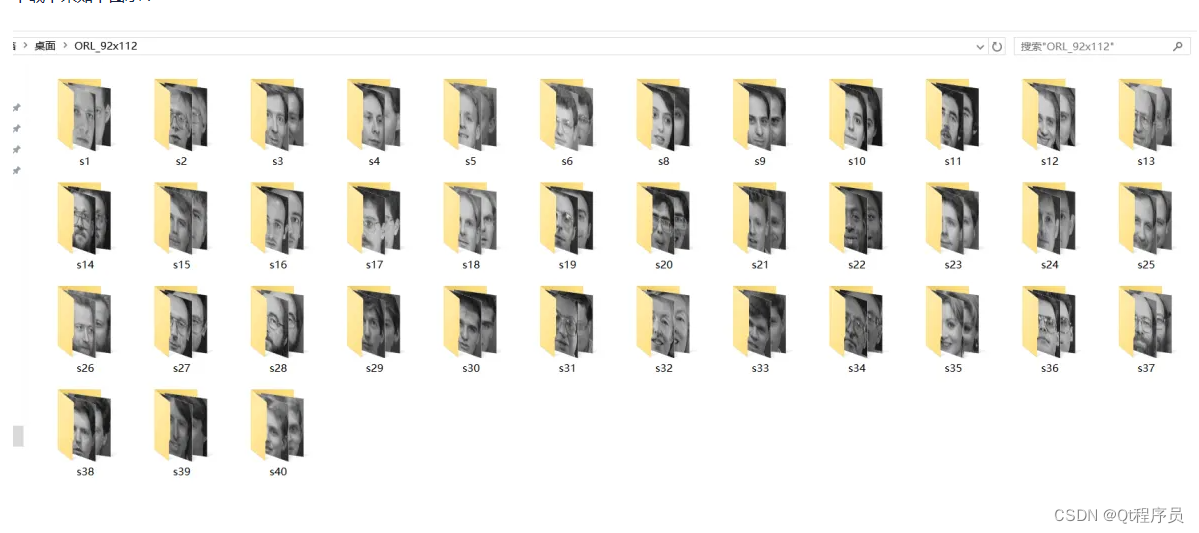
1. Background data set
The data set used this time is the first data set in the tutorial given by opencv: The AT&T Facedatabase, also known as the ORL face database, 40 people, 10 photos each. Photos were collected at different times, with different lighting, with different expressions (eyes open and closed, smiling or not smiling), and with different facial details (with or without glasses). All images were collected against a dark uniform background, with faces upright (some slightly rotated).

2. Your own face data set
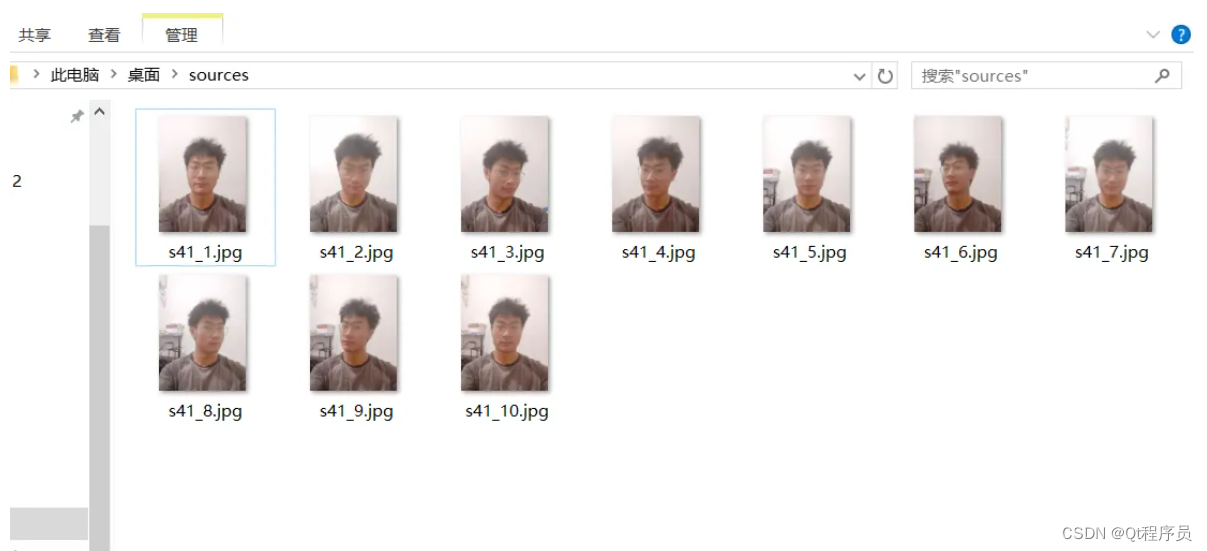
If you want to identify yourself, it is not enough to have other people's data sets alone. You also need photos of your own face. This requires us to collect our own photos and then train the model with the data set above.
Qt development learning base (free registration for learning): C/C++ project practice/Qt5/C language/c++/database/OpenCV/MFC/QT project-learning video tutorial-Tencent Classroom
2.1. Face data collection
The following program calls openCV to take a picture, press the P key to take a picture, and press Esc to exit.
/**Photography program**/
#include "mainwindow.h"
#include <QApplication>
#include <QDebug>
#include <opencv2/opencv.hpp>
using namespace cv;
int main(int argc, char *argv[])
{
QApplication a(argc, argv);
namedWindow("photo",WINDOW_AUTOSIZE);
VideoCapture cap(0);
if(cap.isOpened())
qDebug()<<"打开摄像头成功!";
else
qDebug()<<"打开摄像头失败!";
Mat frame;
int i=1;
while (1)
{
char key = waitKey(100);
cap >> frame;
imshow("photo", frame);
QString filename = QString("D:/Qt/Project/OpenCV/ORL_92x112/s41/s41_%1.bmp").arg(i);
switch (key)
{
case 'p':
imwrite(filename.toStdString(), frame);
waitKey(500);
i++;
break;
default:
break;
}
int c = waitKey(0);
if ((char)c == 27)
return 0;
}
return a.exec();
}
Pay attention to changing angles and expressions. After taking the photo, select ten handsome photos for your own face data set.
2.2. Preprocessing
After getting photos of your own face, you need to perform some preprocessing on these photos before you can use them to train the model. The so-called preprocessing actually means detecting and segmenting faces, and changing the size of the face images, which must be consistent with the size of the images in the downloaded data set (92 x 112). Use the following programs to automatically detect, segment, resize, and store faces.
Note: To call the opencv-trained classifier and built-in detection function to detect faces, you need to put the classifier in the OpenCV source code into your own project directory in advance;
Classifier location: D:\Qt\opencv-3.4.5\opencv-3.4.5\data\haarcascades\haarcascade_frontalface_default.xml Move to: the build directory of your own project (this directory is required)

#include <QApplication>
#include <QDebug>
#include <opencv2/opencv.hpp>
using namespace cv;
int main(int argc, char *argv[])
{
QApplication a(argc, argv);
QString face_cascade_name = "haarcascade_frontalface_default.xml";
CascadeClassifier face_cascade; //定义人脸分类器
QString window_name = "Capture - Face detection";
namedWindow(window_name.toStdString(),WINDOW_AUTOSIZE);
//-- 1. Load the cascades
if (!face_cascade.load(face_cascade_name.toStdString()))
{
qDebug()<<"--(!)Error loading face cascade";
return -1;
}
for(int i=1; i<=10; i++)
{
Mat img = imread(QString("D:/Qt/Project/OpenCV/ORL_92x112/s41/sources/s41_%1.bmp").arg(i).toStdString());
std::vector<Rect> faces;
Mat img_gray;
cvtColor(img, img_gray, COLOR_BGR2GRAY);
equalizeHist(img_gray, img_gray);
//-- Detect faces
face_cascade.detectMultiScale(img_gray, faces, 1.1, 3, CV_HAAR_DO_ROUGH_SEARCH, Size(50, 50));
for (size_t j = 0; j < faces.size(); j++)
{
Mat faceROI = img_gray(faces[j]);
Mat MyFace;
if (faceROI.cols > 100)
{
resize(faceROI, MyFace, Size(92, 112));
QString str = QString("D:/Qt/Project/OpenCV/ORL_92x112/s41/s41_%1.bmp").arg(i);
imwrite(str.toStdString(), MyFace);
imshow(window_name.toStdString(), MyFace);
}
waitKey(10);
}
}
int c = waitKey(0);
if ((char)c == 27)
return 0;
return a.exec();
}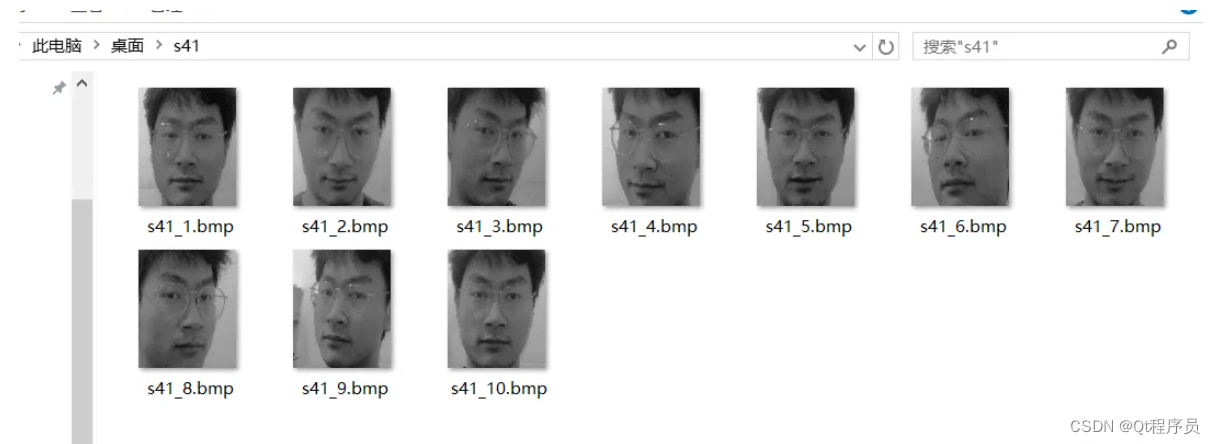
At this point, we have obtained our own face data set with the same face size as the ORL face database. Then we regard ourselves as the 41st person, create a subfolder of s41 under the face folder we downloaded, and put our own face data into it. It looks like this: The last folder contains my own avatar photo:
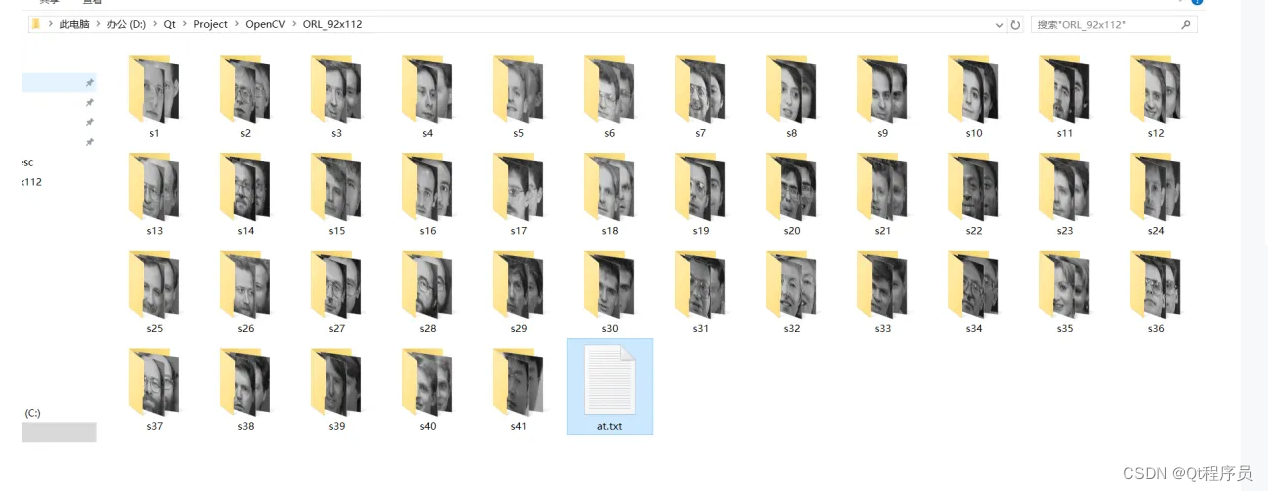
3. csv file generation
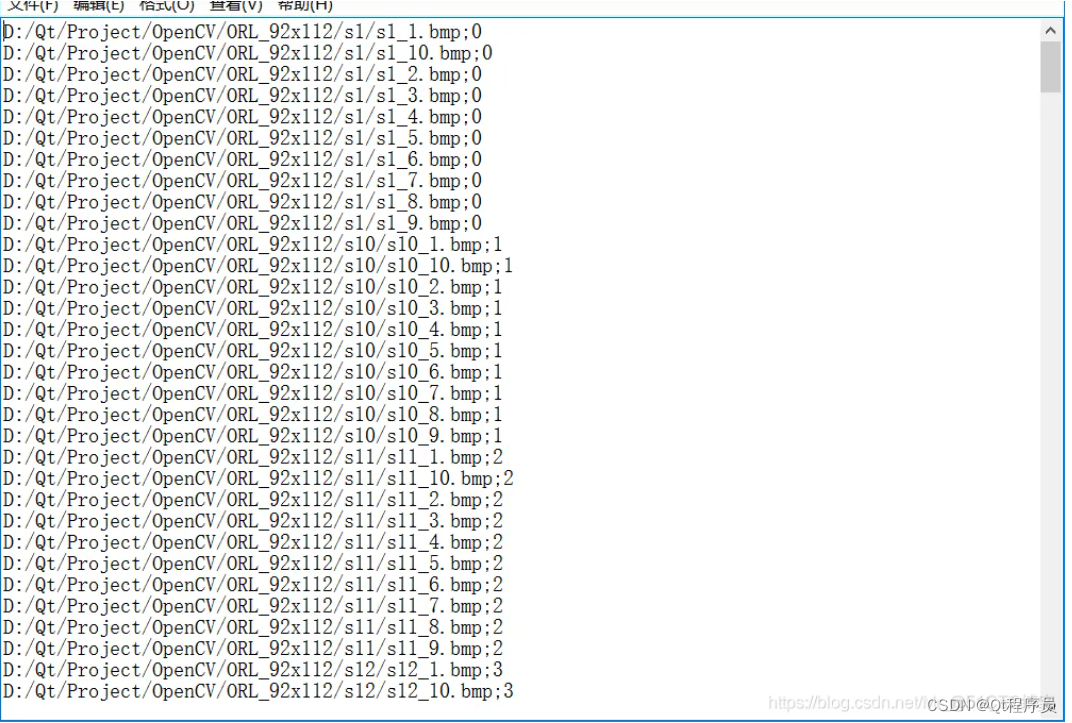
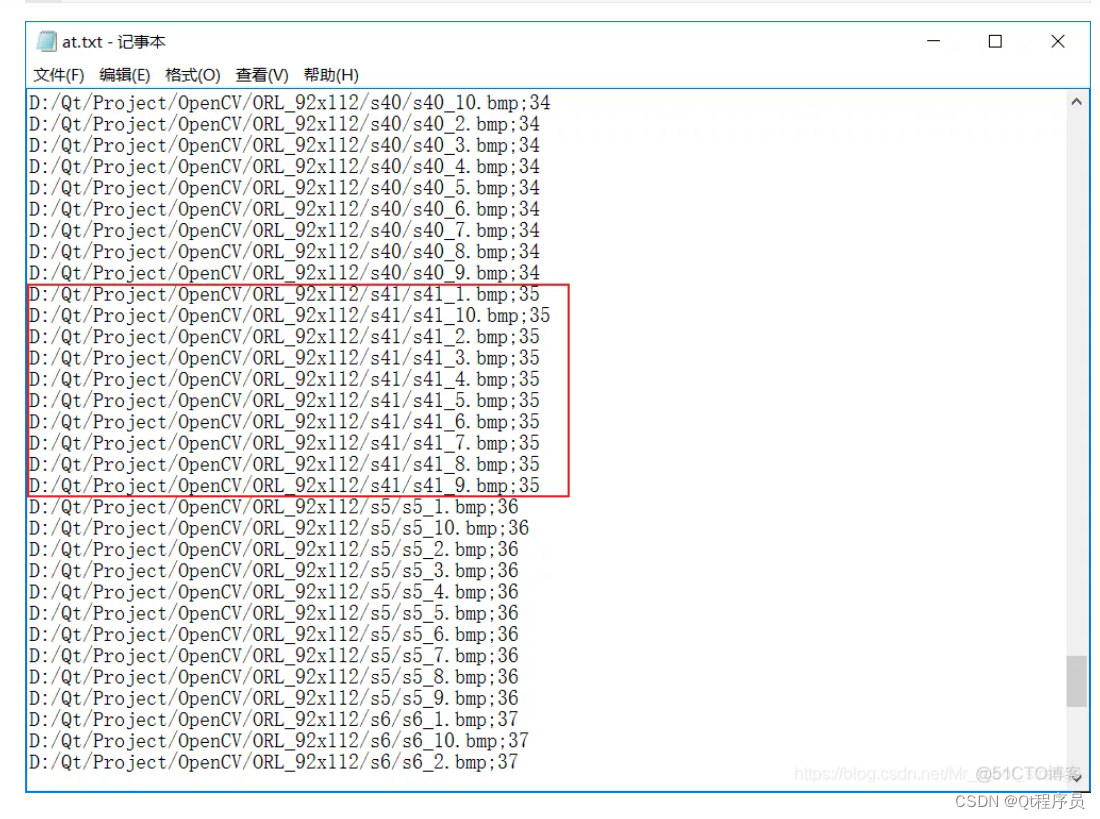
When we write the training program for the face model, we need to read the face and the tags corresponding to the face. Reading directly from the database is obviously inefficient, so we use a csv file to read. The csv file contains two aspects: first, the location of each picture; second, the label corresponding to each face, which is the number for each person. As shown below:
This work can be done manually by yourself, but with more than 400 pictures, it is also very time-consuming. Cherish your life and take the following path!
Open the command line, switch to the face data set directory, and enter the following command:
dir /b/s *bmp > at.txt
As a benefit for this article, you can receive a Qt development learning package and technical videos for free, including (C++ language basics, introduction to Qt programming, QT signal and slot mechanism, QT interface development-image drawing, QT network, QT database programming, QT project practice , QT embedded development, Quick module, etc.) ↓↓↓↓↓↓See below↓↓Click at the bottom of the article to receive the fee↓↓


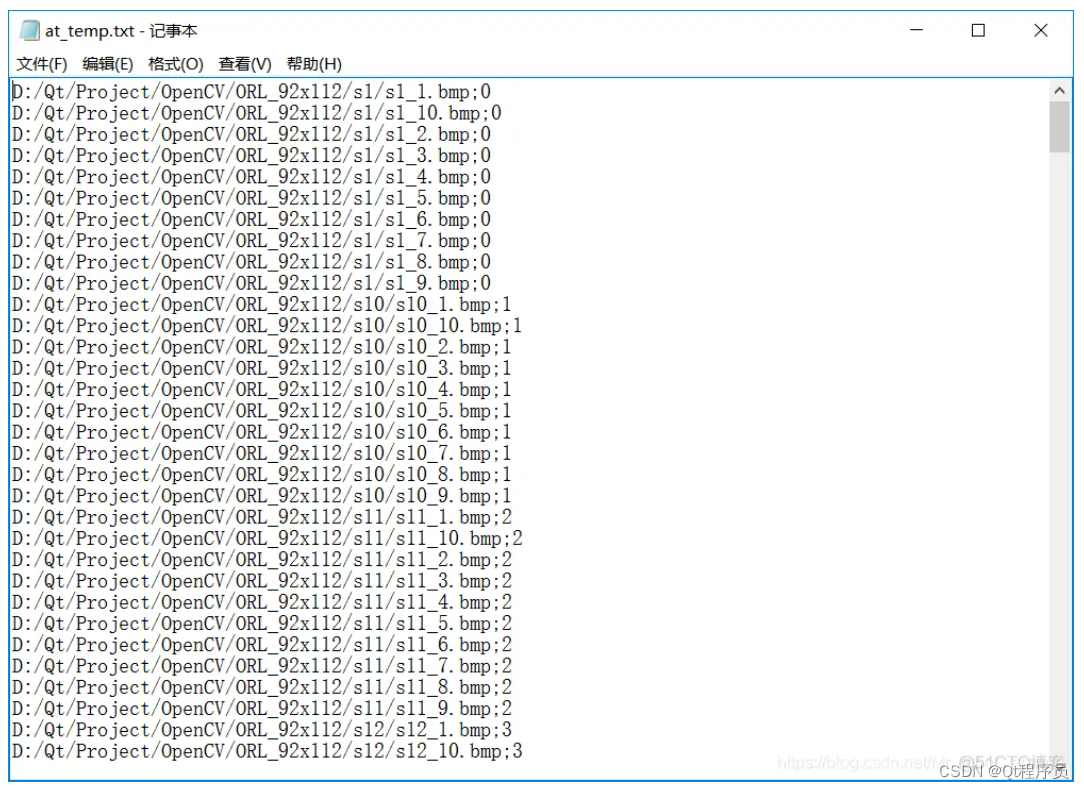
This at.txt is the csv file we need, but now it only has a path and no label. Using the following program, an at_temp.txt will be generated. This has both a path and a label, which is exactly what we want. Delete the previous at.txt and rename the generated at_temp.txt to at.txt.
#include <QApplication>
#include <QDebug>
#include <QFile>
int main(int argc, char *argv[])
{
QApplication a(argc, argv);
QString fileName1 = "D:/Qt/Project/OpenCV/ORL_92x112/at.txt";
QString fileName2 = "D:/Qt/Project/OpenCV/ORL_92x112/at_temp.txt";
QFile file1(fileName1);
QFile file2(fileName2);
file1.open(QIODevice::ReadOnly | QIODevice::Text);
file2.open(QIODevice::WriteOnly | QIODevice::Text);
int i=0;
int count = 0;
while (!file1.atEnd())
{
count++;
QTextStream stream(&file2);
QByteArray line = file1.readLine();
QString str(line);
str.replace('\\','/');
str.replace('\n',';');
stream << str<<QString("%1").arg(i)<<"\n";
if(count%10 == 0)
{
i++;
count=0;
}
}
file1.close();
file2.close();
qDebug()<<"Done!!!";
return a.exec();
}
4. Model training
#include <QApplication>
#include <opencv2\opencv.hpp>
#include <iostream>
#include <opencv2/face.hpp>
#include <QDebug>
using namespace cv;
using namespace std;
using namespace face;
//使用CSV文件去读图像和标签,主要使用stringstream和getline方法
static void read_csv(const string& filename, vector<Mat>& images, vector<int>& labels, char separator = ';') {
std::ifstream file(filename.c_str(), ifstream::in);
if (!file)
{
string error_message = "No valid input file was given, please check the given filename.";
CV_Error(CV_StsBadArg, error_message);
}
string line, path, classlabel;
while (getline(file, line))
{
stringstream liness(line);
getline(liness, path, separator);
getline(liness, classlabel);
if (!path.empty() && !classlabel.empty())
{
images.push_back(imread(path, 0));
labels.push_back(atoi(classlabel.c_str()));
}
}
}
int main(int argc, char *argv[])
{
QApplication a(argc, argv);
//读取你的CSV文件路径.
string fn_csv = "D:/Qt/Project/OpenCV/ORL_92x112/at.txt";
// 2个容器来存放图像数据和对应的标签
vector<Mat> images;
vector<int> labels;
// 读取数据. 如果文件不合法就会出错
// 输入的文件名已经有了.
try
{
read_csv(fn_csv, images, labels);
}
catch (cv::Exception& e)
{
cerr << "Error opening file \"" << fn_csv << "\". Reason: " << e.msg << endl;
// 文件有问题,我们啥也做不了了,退出了
exit(1);
}
// 如果没有读取到足够图片,也退出.
if (images.size() <= 1)
{
string error_message = "This demo needs at least 2 images to work. Please add more images to your data set!";
CV_Error(CV_StsError, error_message);
}
// 下面的几行代码仅仅是从你的数据集中移除最后一张图片
//[gm:自然这里需要根据自己的需要修改,他这里简化了很多问题]
Mat testSample = images[images.size() - 1];
int testLabel = labels[labels.size() - 1];
images.pop_back();
labels.pop_back();
// 下面几行创建了一个特征脸模型用于人脸识别,
// 通过CSV文件读取的图像和标签训练它。
// T这里是一个完整的PCA变换
//如果你只想保留10个主成分,使用如下代码
// cv::createEigenFaceRecognizer(10);
//
// 如果你还希望使用置信度阈值来初始化,使用以下语句:
// cv::createEigenFaceRecognizer(10, 123.0);
//
// 如果你使用所有特征并且使用一个阈值,使用以下语句:
// cv::createEigenFaceRecognizer(0, 123.0);
Ptr<FaceRecognizer> model = EigenFaceRecognizer::create();
model->train(images, labels);
model->save("MyFacePCAModel.xml");
Ptr<FaceRecognizer> model1 = FisherFaceRecognizer::create();
model1->train(images, labels);
model1->save("MyFaceFisherModel.xml");
Ptr<FaceRecognizer> model2 = LBPHFaceRecognizer::create();
model2->train(images, labels);
model2->save("MyFaceLBPHModel.xml");
// 下面对测试图像进行预测,predictedLabel是预测标签结果
int predictedLabel = model->predict(testSample);
int predictedLabel1 = model1->predict(testSample);
int predictedLabel2 = model2->predict(testSample);
QString result_message = QString("Predicted class = %1 | Actual class = %2").arg(predictedLabel).arg(testLabel);
QString result_message1 = QString("Predicted class = %1 | Actual class = %2").arg(predictedLabel1).arg(testLabel);
QString result_message2 = QString("Predicted class = %1 | Actual class = %2").arg(predictedLabel2).arg(testLabel);
qDebug() << result_message << endl;
qDebug() << result_message1 << endl;
qDebug() << result_message2 << endl;
waitKey(0);
return a.exec();
}
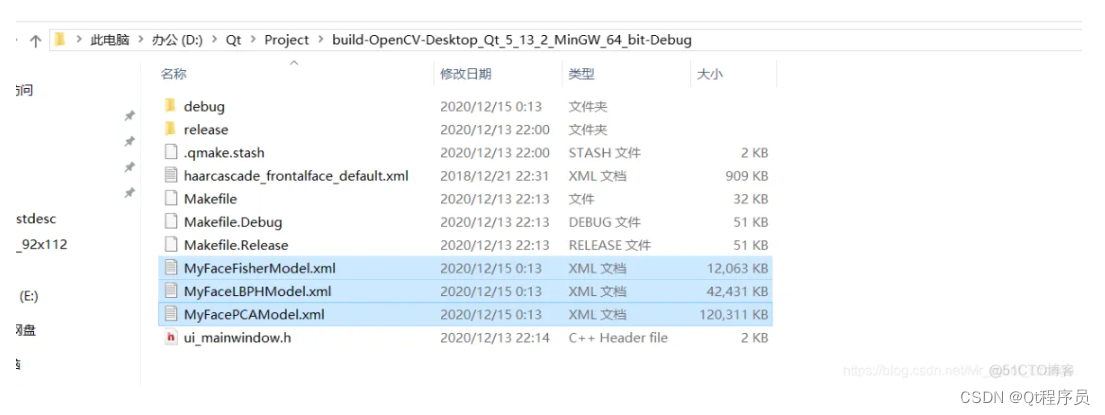
The above program takes the last photo from the face dataset to test the trained model. There are a total of 40+1 people in the face data set, but the labels start from 0, so the final face label is 40. As can be seen from the above program running results, the actual number is 40, and the prediction is also 40, indicating that the model training is successful. Three A trained model is shown below:
5. Face recognition
#include <QApplication>
#include <opencv2\opencv.hpp>
#include <iostream>
#include <opencv2/face.hpp>
#include <QDebug>
using namespace cv;
using namespace std;
using namespace face;
int main(int argc, char *argv[])
{
QApplication a(argc, argv);
VideoCapture cap(0); //打开默认摄像头
if (!cap.isOpened())
{
return -1;
}
Mat frame;
Mat edges;
Mat gray;
CascadeClassifier cascade;
bool stop = false;
//训练好的文件名称,放置在可执行文件同目录下
cascade.load("D:/Qt/opencv-3.4.5/opencv-3.4.5/data/haarcascades/haarcascade_frontalface_default.xml");
//Ptr<FaceRecognizer> modelPCA = createEigenFaceRecognizer();
//modelPCA->load("MyFacePCAModel.xml");
Ptr<FaceRecognizer> modelPCA = EigenFaceRecognizer::create();
modelPCA->read("D:/Qt/Project/build-OpenCV-Desktop_Qt_5_13_2_MinGW_64_bit-Debug/MyFacePCAModel.xml");//训练的模型
while(!stop)
{
cap >> frame;
//建立用于存放人脸的向量容器
vector<Rect> faces(0);
cvtColor(frame, gray, CV_BGR2GRAY);
//改变图像大小,使用双线性差值
//resize(gray, smallImg, smallImg.size(), 0, 0, INTER_LINEAR);
//变换后的图像进行直方图均值化处理
equalizeHist(gray, gray);
cascade.detectMultiScale(gray, faces,
1.1, 2, 0
//|CV_HAAR_FIND_BIGGEST_OBJECT
//|CV_HAAR_DO_ROUGH_SEARCH
| CV_HAAR_SCALE_IMAGE,
Size(30, 30));
Mat face;
Point text_lb;
for (size_t i = 0; i < faces.size(); i++)
{
if (faces[i].height > 0 && faces[i].width > 0)
{
face = gray(faces[i]);
text_lb = Point(faces[i].x, faces[i].y);
rectangle(frame, faces[i], Scalar(255, 0, 0), 1, 8, 0);
}
}
Mat face_test;
int predictPCA = 0;
if (face.rows >= 120)
{
resize(face, face_test, Size(92, 112));
imshow("缩放",face_test);
}
//Mat face_test_gray;
//cvtColor(face_test, face_test_gray, CV_BGR2GRAY);
if (!face_test.empty())
{
//测试图像应该是灰度图
predictPCA = modelPCA->predict(face_test);
}
cout << predictPCA << endl;
if (predictPCA == 40)
{
string name = "WangJiChuan";
putText(frame, name, text_lb, FONT_HERSHEY_COMPLEX, 1, Scalar(255, 0, 0));
}
imshow("face", frame);
if (waitKey(1) >= 0)
stop = true;
}
return a.exec();
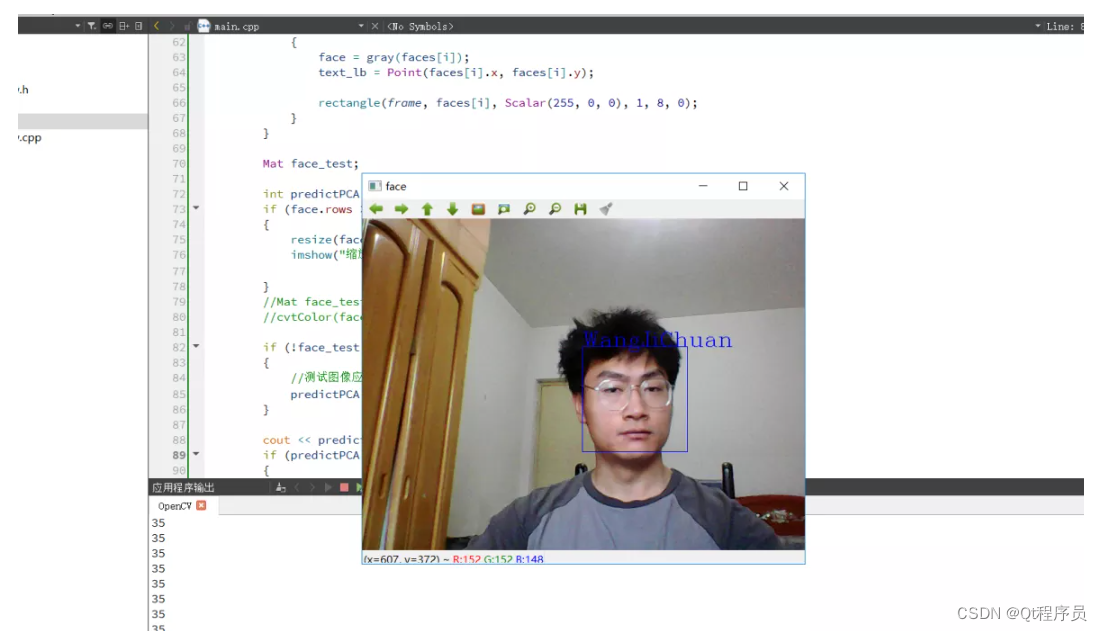
}As can be seen from the picture above, your own face label is 35. When the recognized face is 35, it is successfully recognized as yourself, marked with a face, and affixed with a name.

C++ Qt is a cross-platform application development framework based on C++ language, with rich UI components and API libraries. Qt includes many modules, such as Qt Core, Qt GUI, Qt Network, etc. Each module provides a series of classes and functions. Qt also provides an integrated development environment (IDE) Qt Creator, which allows developers to create, compile, debug and deploy Qt applications.
Don’t know what to do when learning Qt development? The fields I have compiled for you all involve Qt development: embedded field, desktop development, mobile terminal, microcontroller MCU, client (games, live broadcast, etc.), automotive industry, consumer electronics equipment, medical field Industry, industrial automation field, etc.
Qt framework, GUI applications, cross-platform development, signal and slot mechanism, QML language, model view programming, multi-threaded programming, database programming, network programming, XML parsing, JSON parsing, graphics and image processing, user interface design, animation effects, OpenGL, WebKit, embedded development, client/server applications. Custom control QT6, C++ language basics, qt basic programming, qt software development, Qt architecture design, qt layout manager, qt embedded development, qt programming introduction, qt database programming, qt cross-platform framework, QT project practice, Quick module, OpenCV, Qt practice, OpenCV tutorial, QT interface development, Qt framework, C++ data structure, Qt thread, desktop application development, qt desktop application development, Socket network programming , qt development engineer, qt development, application development framework, graphical view framework, database programming, Qt development programming, Qt development control, Qt development engineer, QT development essential skill stack, qt coding, qt network programming, qt network communication, Qt signal, Qt slot mechanism, qt string, qt data type, qt container, qt client development, qt software engineer, qt page drawing
As a benefit for this article, you can receive a Qt development learning package and technical videos for free, including (C++ language basics, introduction to Qt programming, QT signal and slot mechanism, QT interface development-image drawing, QT network, QT database programming, QT project practice , QT embedded development, Quick module, etc.) ↓↓↓↓↓↓See below↓↓Click at the bottom of the article to receive the fee↓↓