Recently, I need to use photoscan software to perform 3D reconstruction of the captured 2D images and record the 3D reconstruction process.
The main interface of the software is shown in the figure below. Follow the steps in the " Workflow " and you will be able to use the photos you take for 3D reconstruction!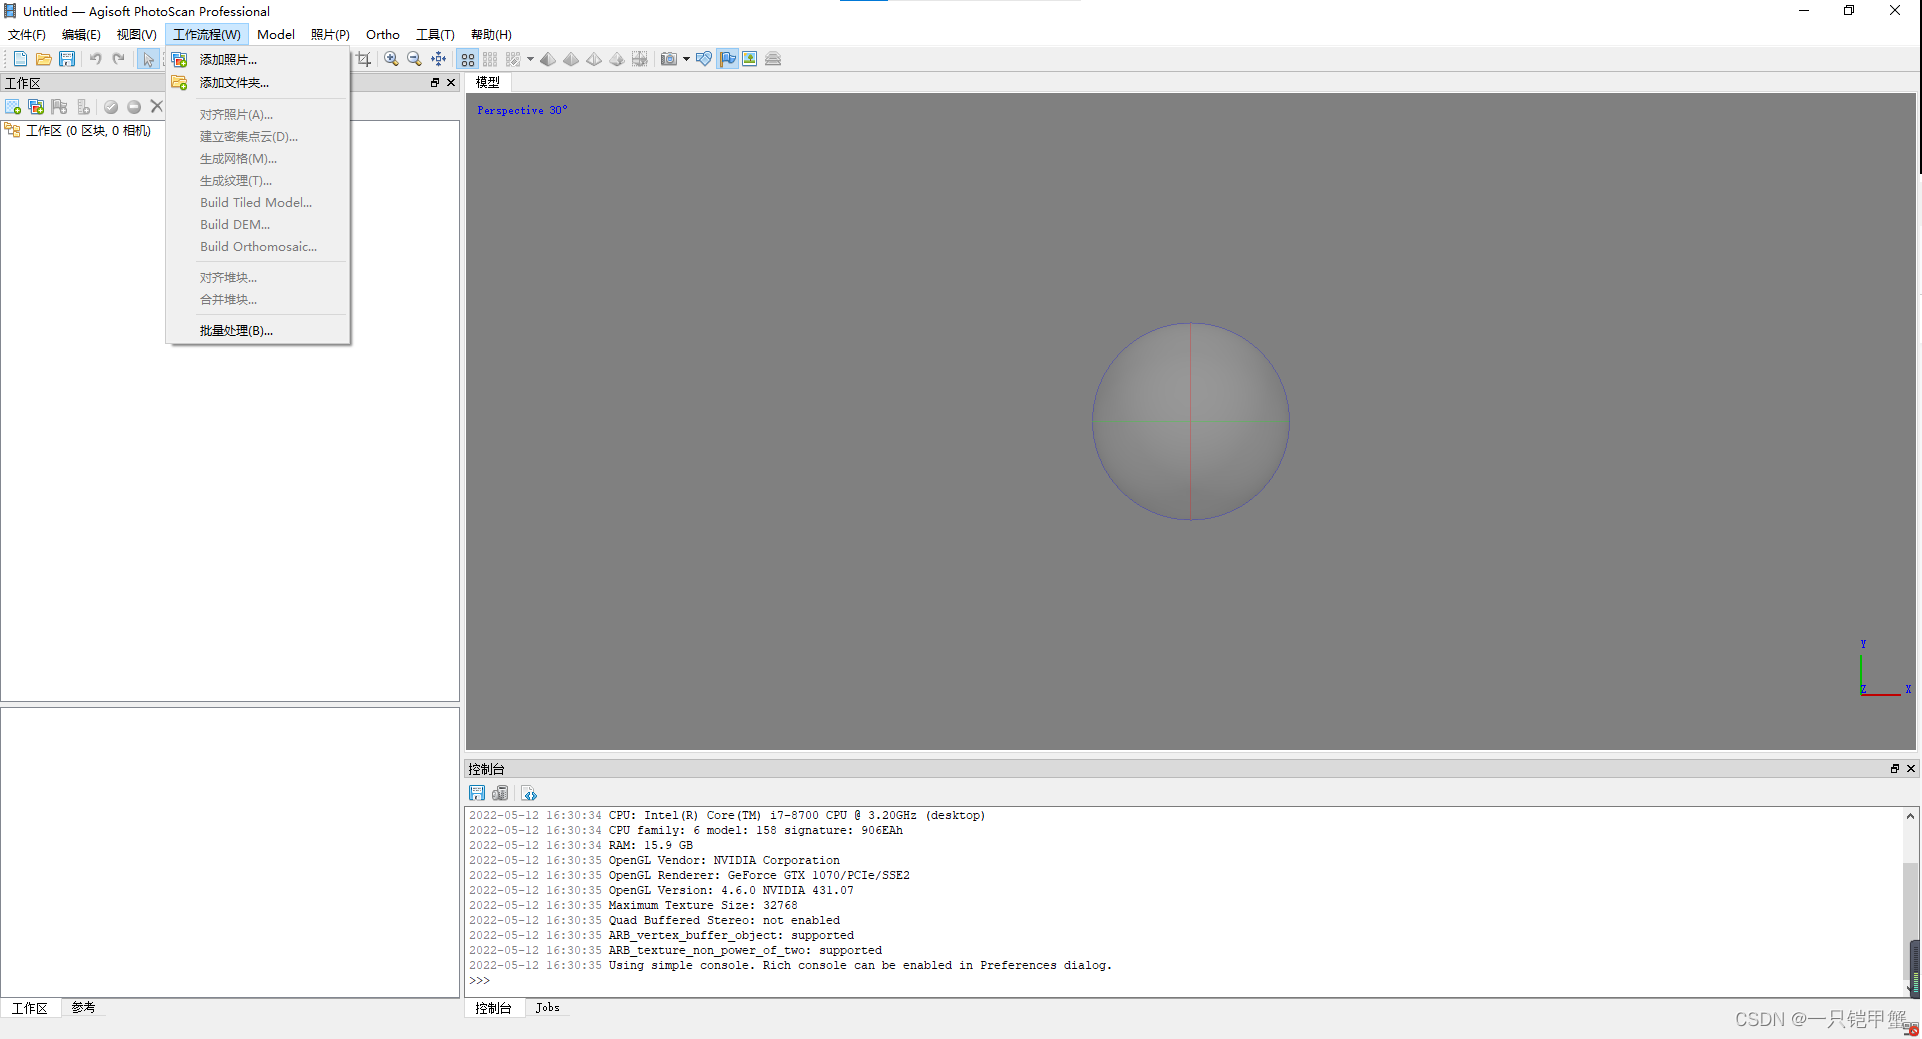
1. Add photos
Click "Workflow" → "Add Photos" in turn, find the storage path of the photos you want to perform 3D reconstruction in the pop-up window, select all the pictures and open them. After opening, the work area will appear in the left work area and all photos will be displayed. Double-click the picture name to view the picture on the right.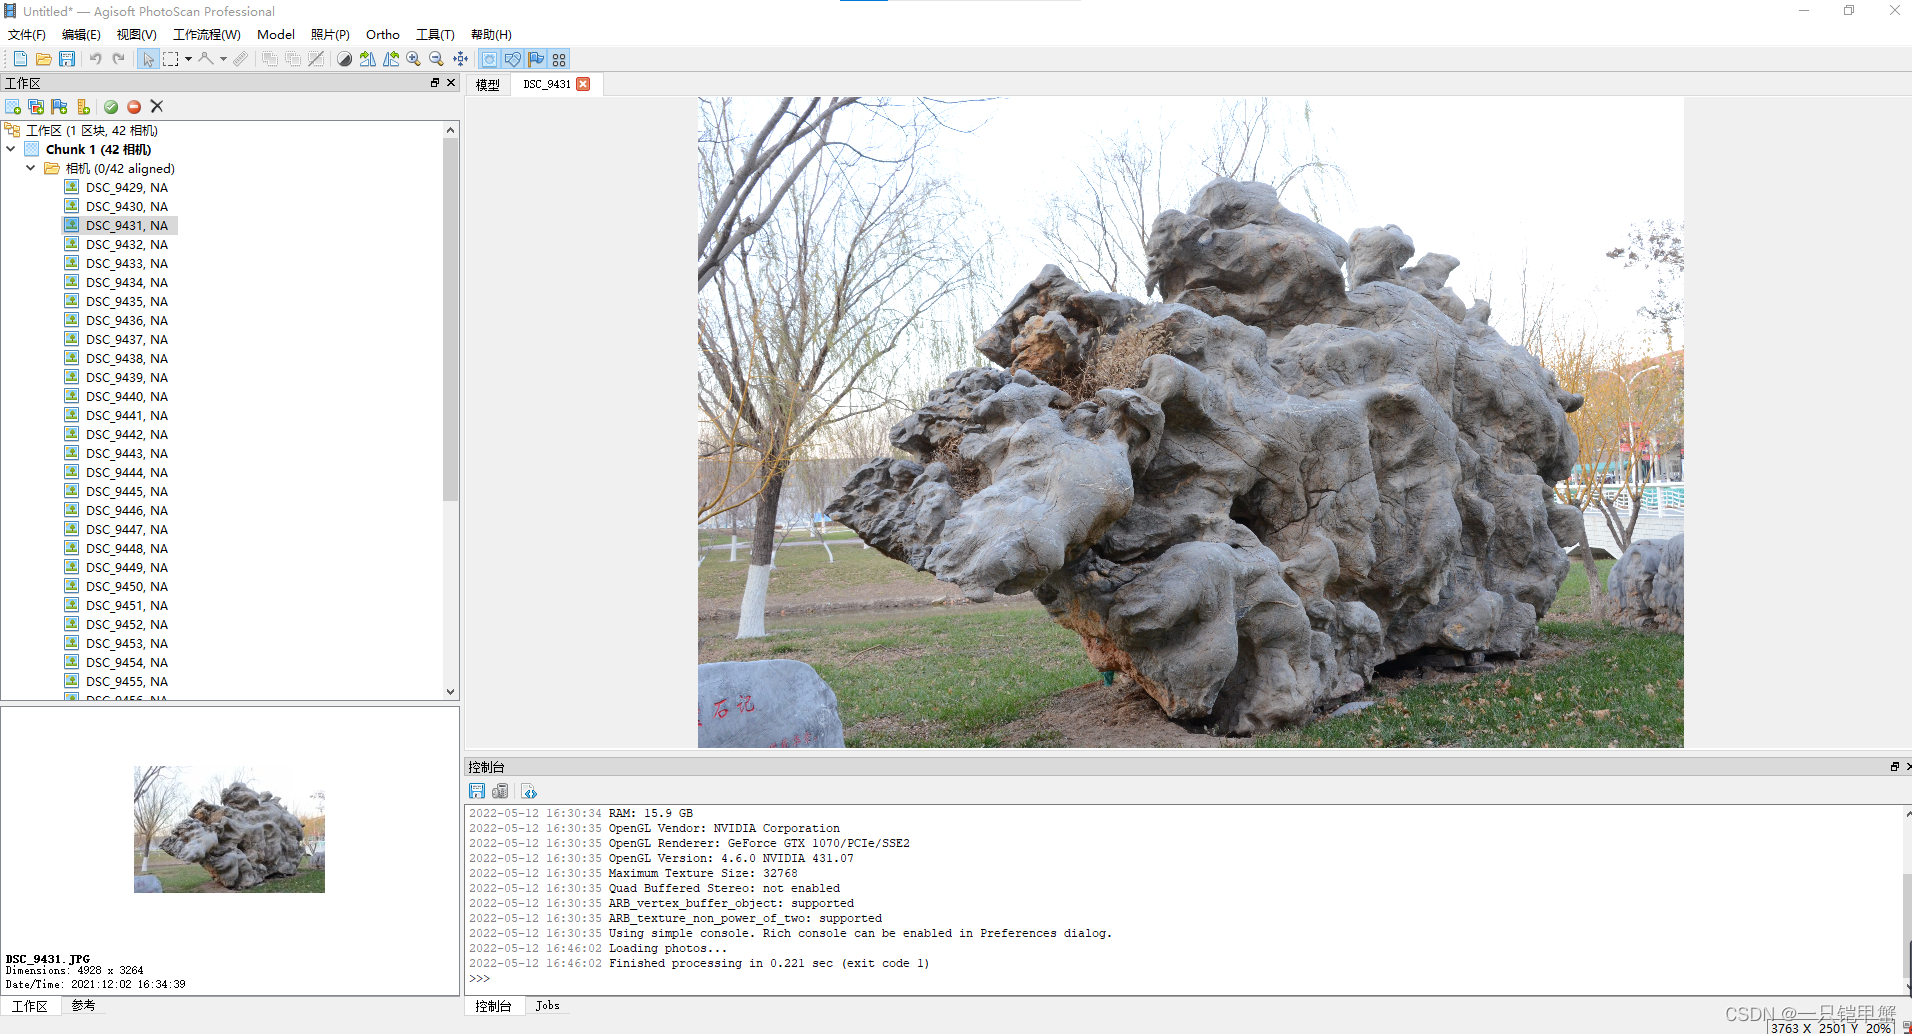
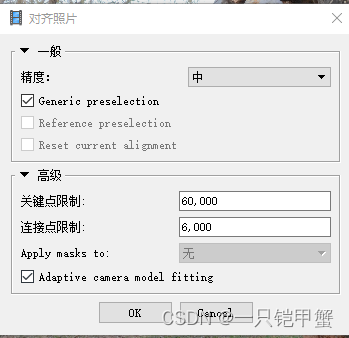
2. Align photos
After adding photos, align the photos. By aligning photos, sparse point clouds and camera pose information of all photos can be obtained.
Click "Workflow" → "Align Photos" in turn to set the sparse reconstruction accuracy, key point limits, connection point limits, etc. in the pop-up window. If the photos are taken in sequence, you can check Adaptive camera model fitting. After clicking OK, the software will automatically align the photos and generate a sparse point cloud.
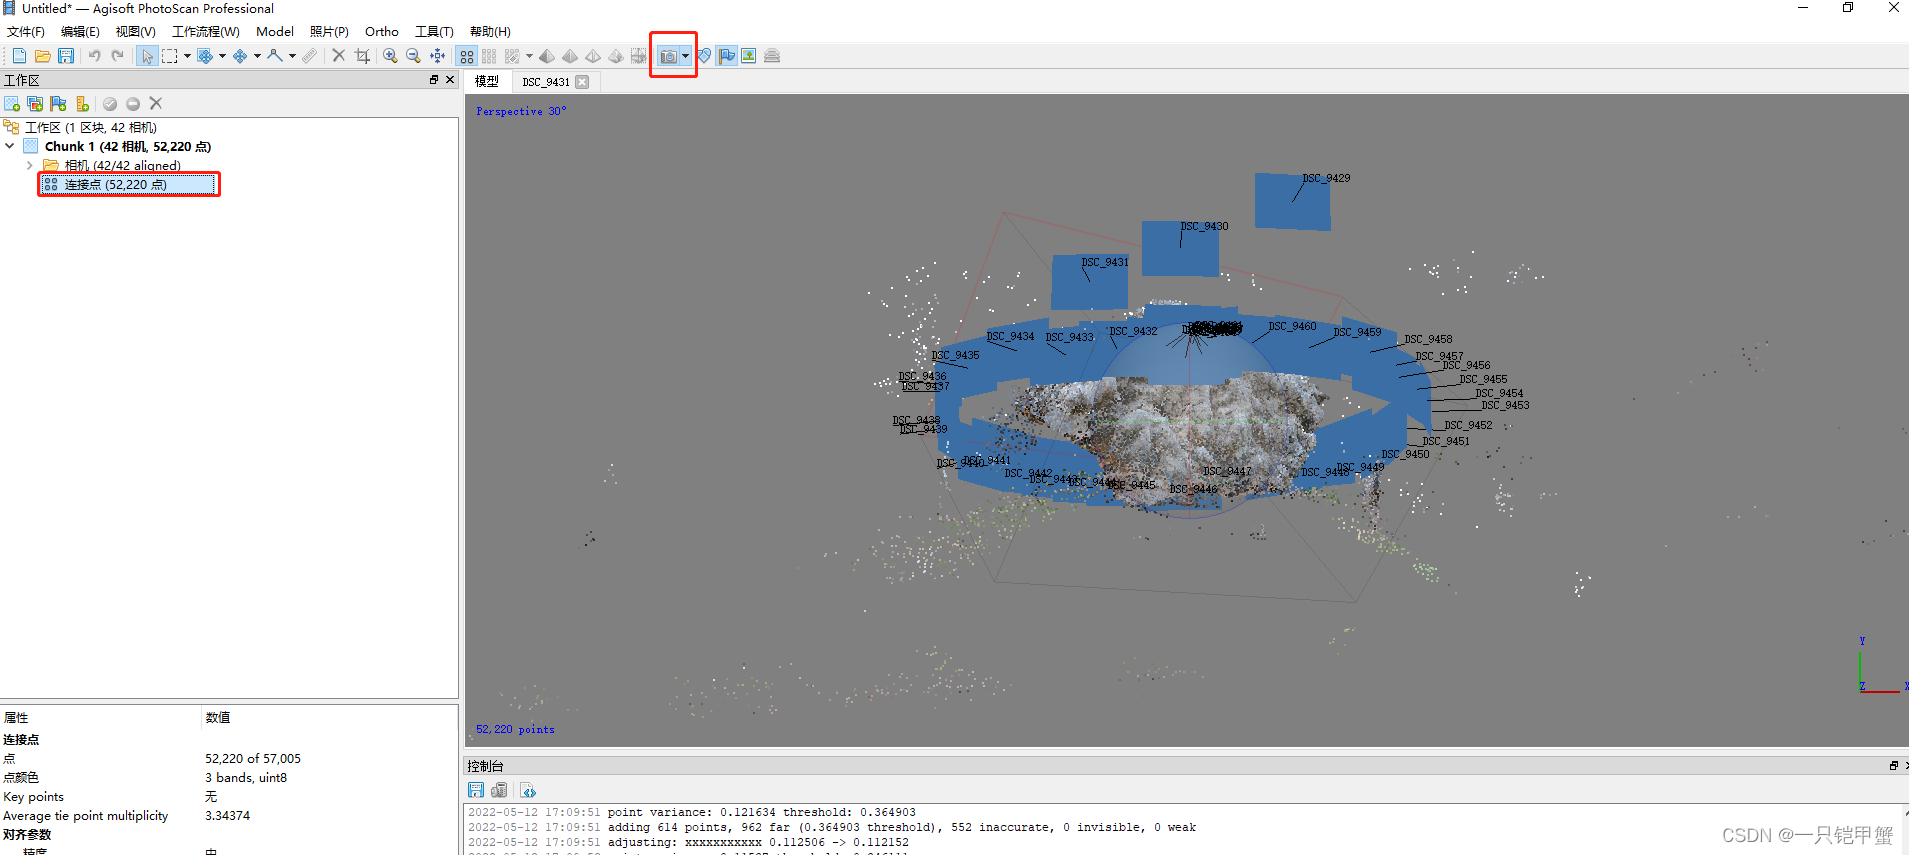
You can see the generated sparse point cloud information in the workspace window on the left. Click the camera icon on the upper side of the window to see all the camera poses generated after the photos are aligned.
3. Intensive reconstruction
Click "Workflow" → "Create Dense Point Cloud" in order to generate a dense point cloud.
