This article has downloaded and installed vscode by default, mainly to solve the problems of environment variable configuration and compilation of task and launch files.
I have tried many blogs myself, and finally configured it successfully through this method.
When configuring vscode in Linux (ubuntu 20.04), you can jump directly to the configuration task and launch files. There is no need to download mingw and configure environment variables. You only need to download gcc and g++ in the terminal.
Open the terminal in the Linux system: run the following two instructions and jump directly to the configuration task and launch files after downloading. The contents of the launch files of Windows and Linux are different. Linux task and launch configurations are added at the bottom of the document.
$sudo apt-get install g++
$sudo apt-get install gcc
Windows:
1. Download MinGW
Mingw download address:
Download the compressed package - ×86_64-posix-sjlj
(then move the antidote to the specified folder, no installation required, but you need to configure the bin folder environment variables)
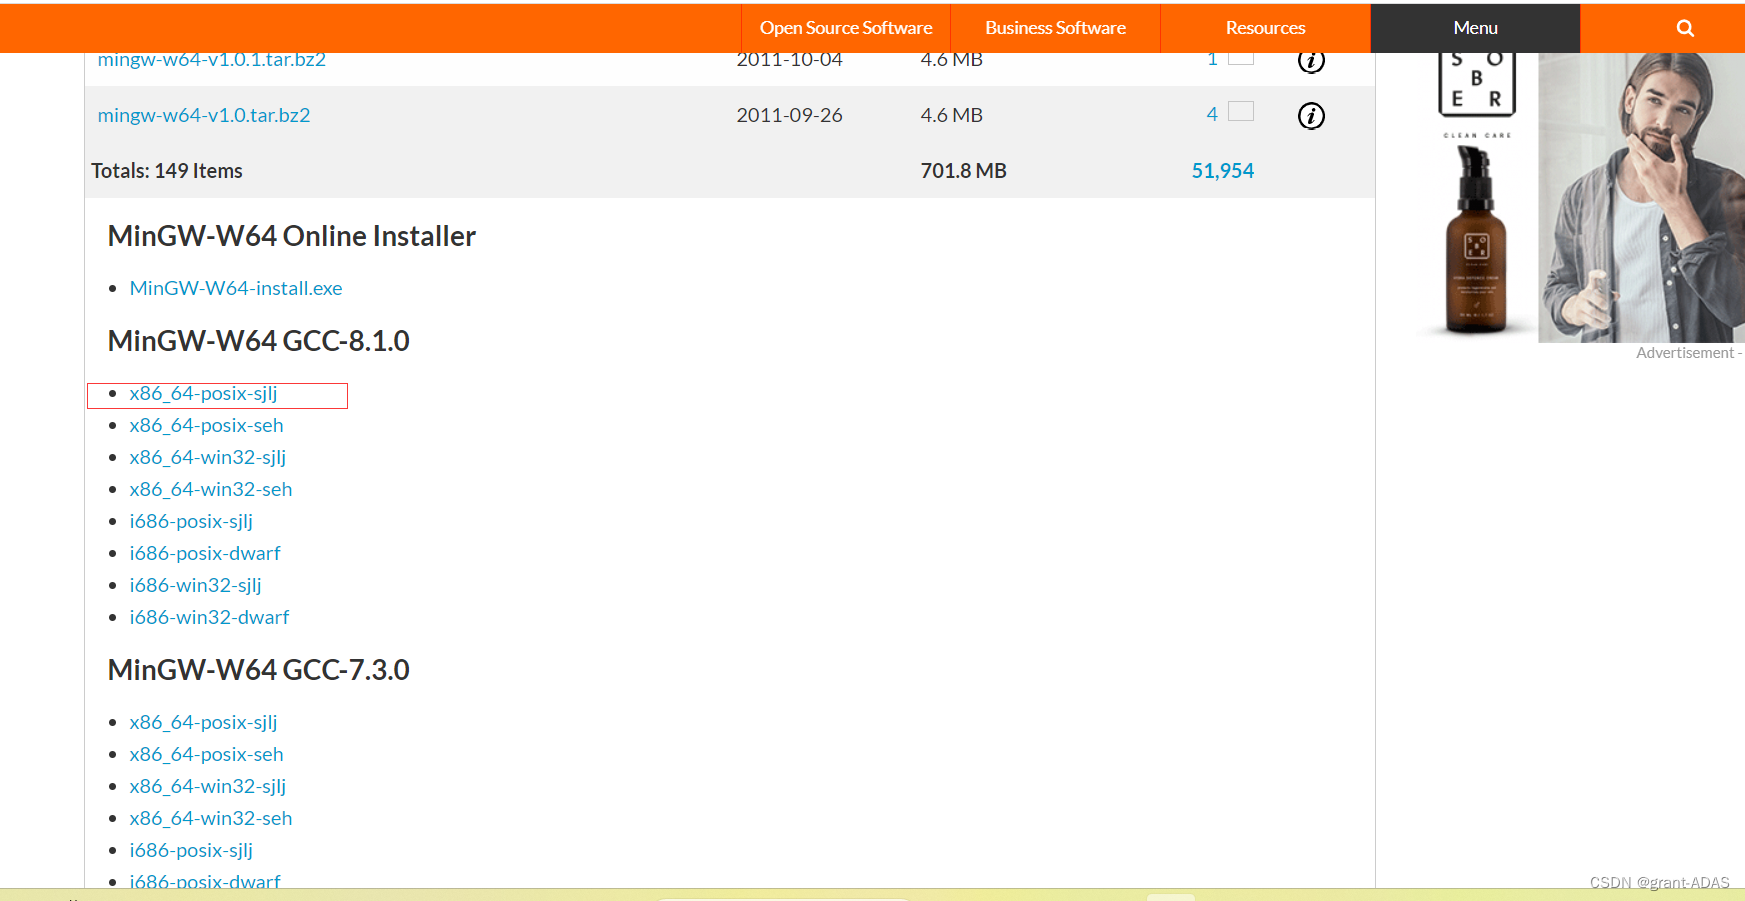
The download from the official website is slow.
You can download it from the domestic website
. The picture after decompression is as follows:
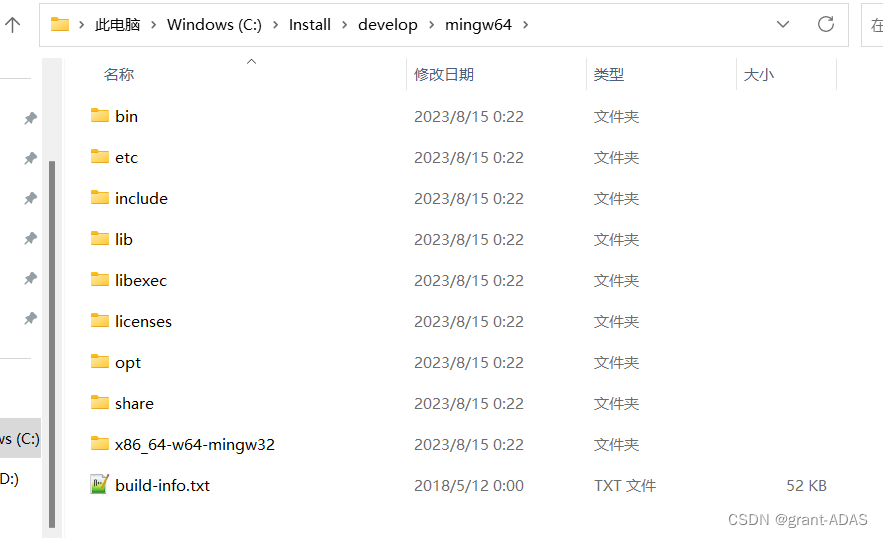
Enter the bin directory and copy the bin file directory. For example, here is D:\binbin-download\mingw64\bin
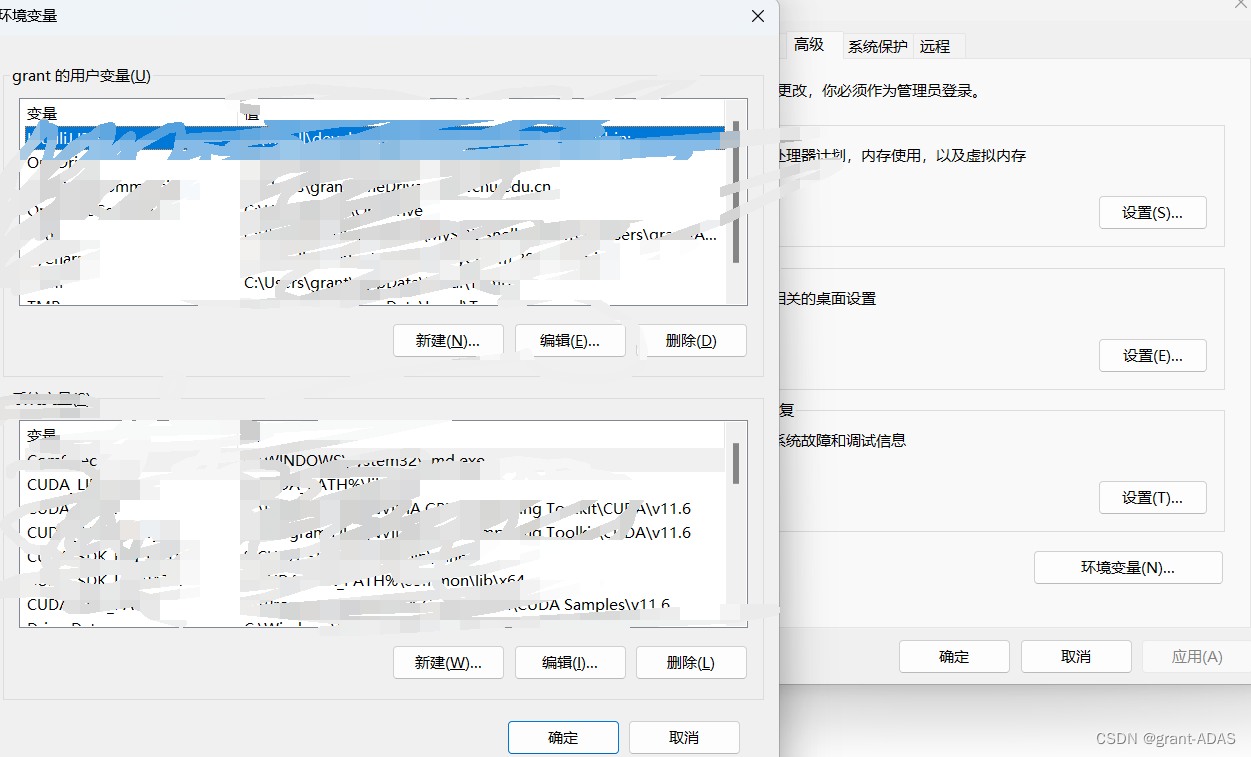
Configure environment variables: Enter the environment variables in the Windows search box and it will come out
Shortcut key win+R to open cmd and run gcc -v or g++ -v
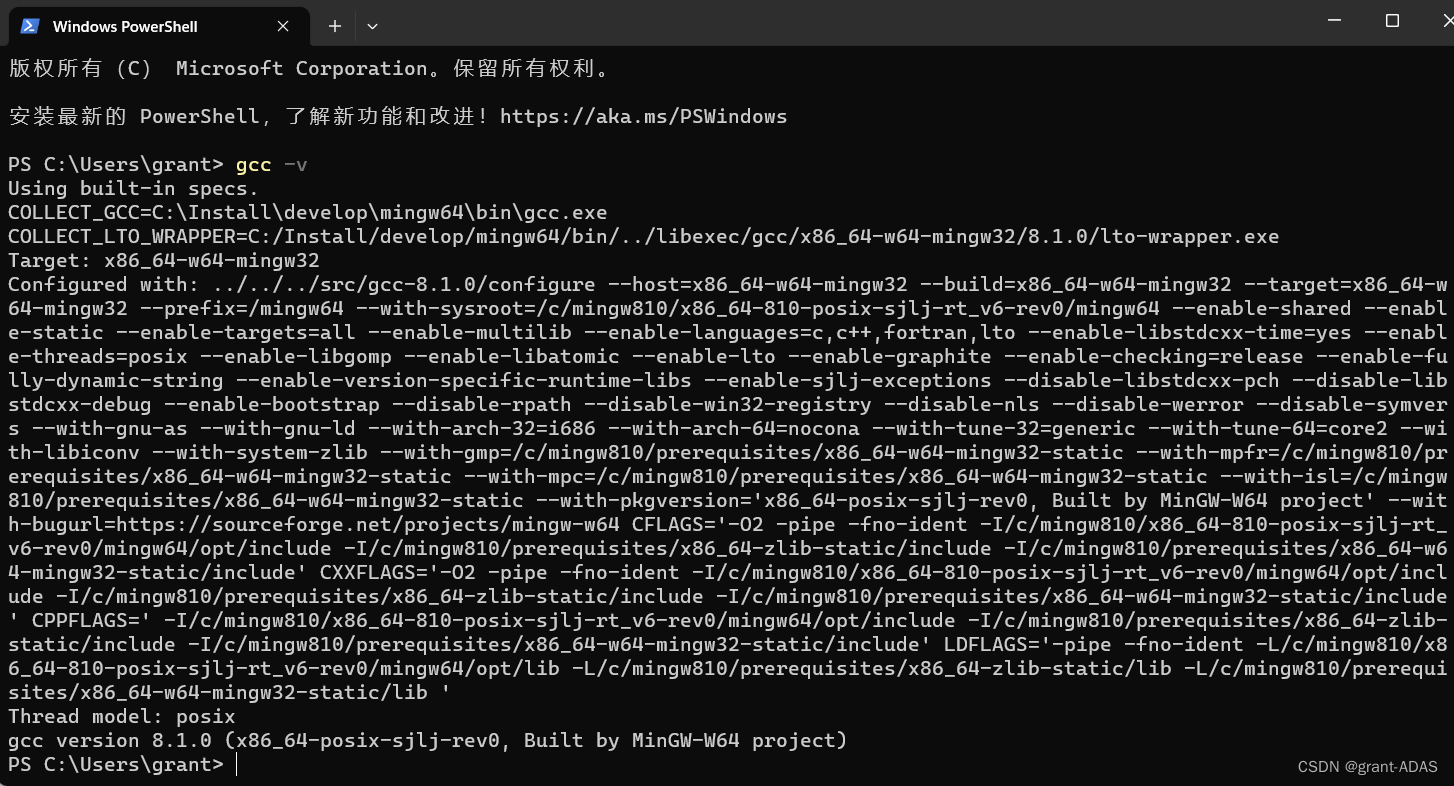
When this prompt box appears and finally displays gcc version, it proves that the environment variables are configured successfully.
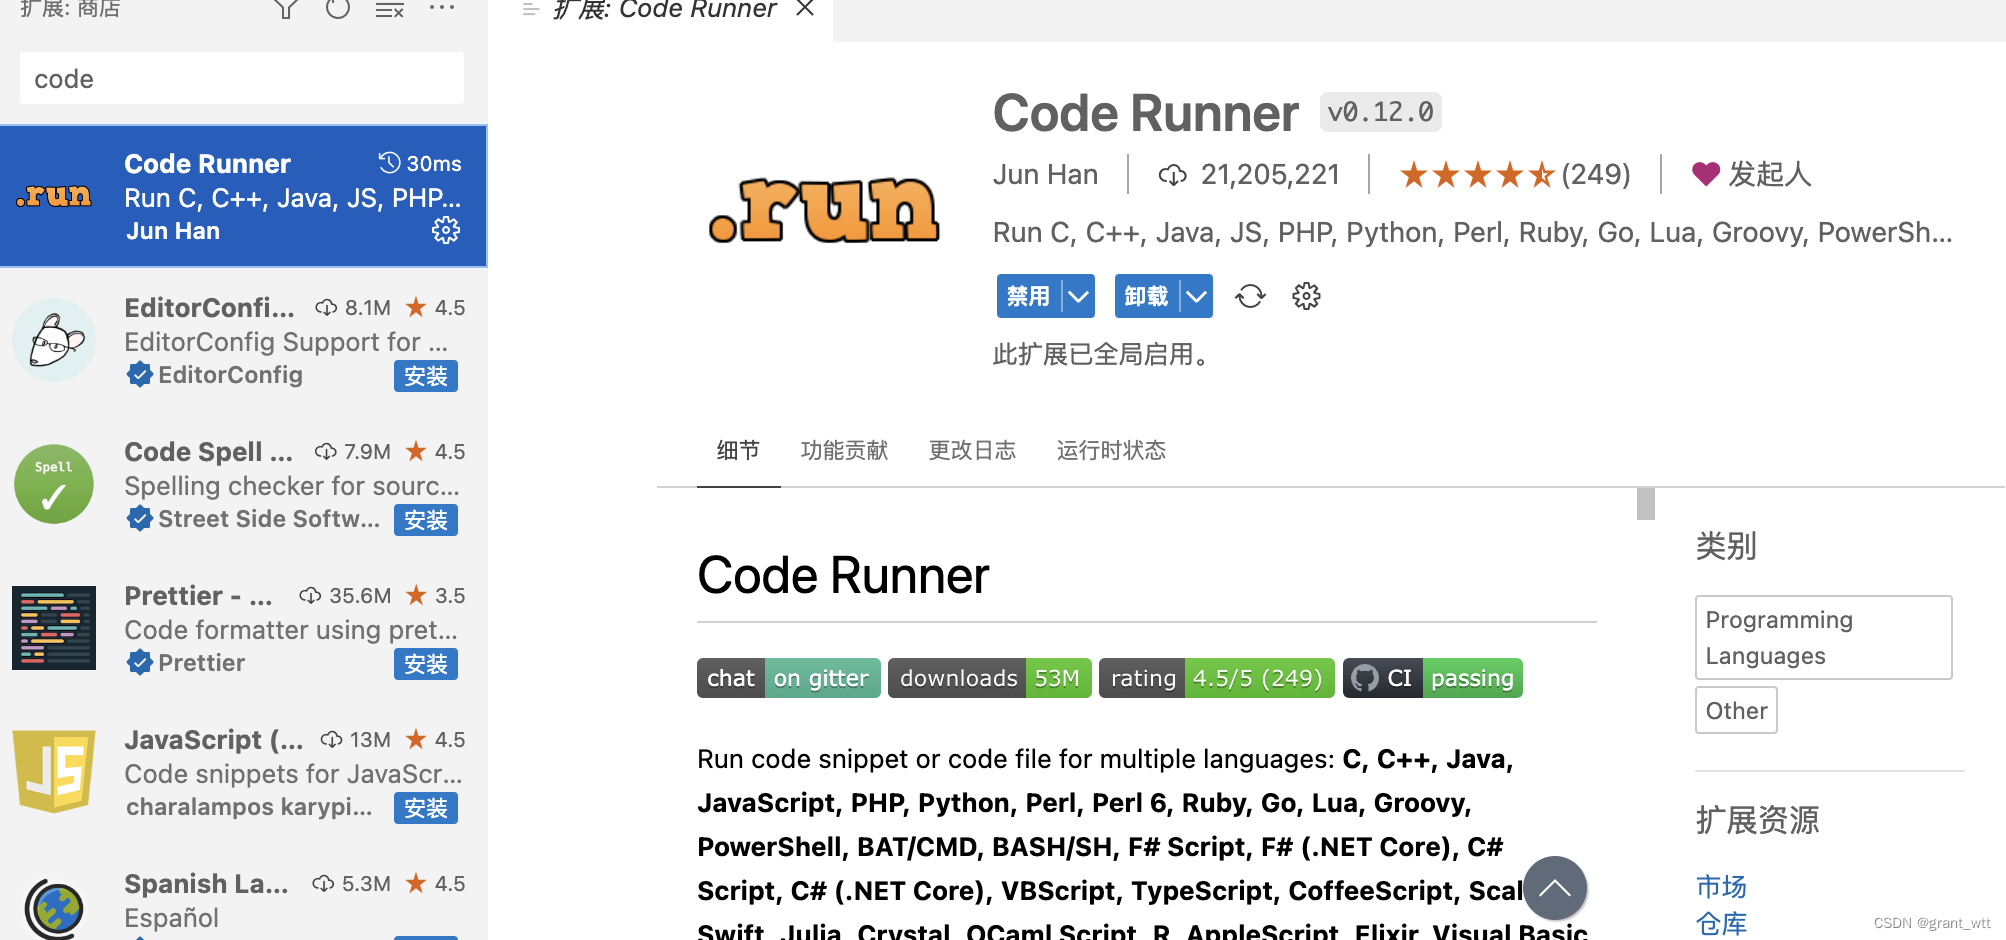
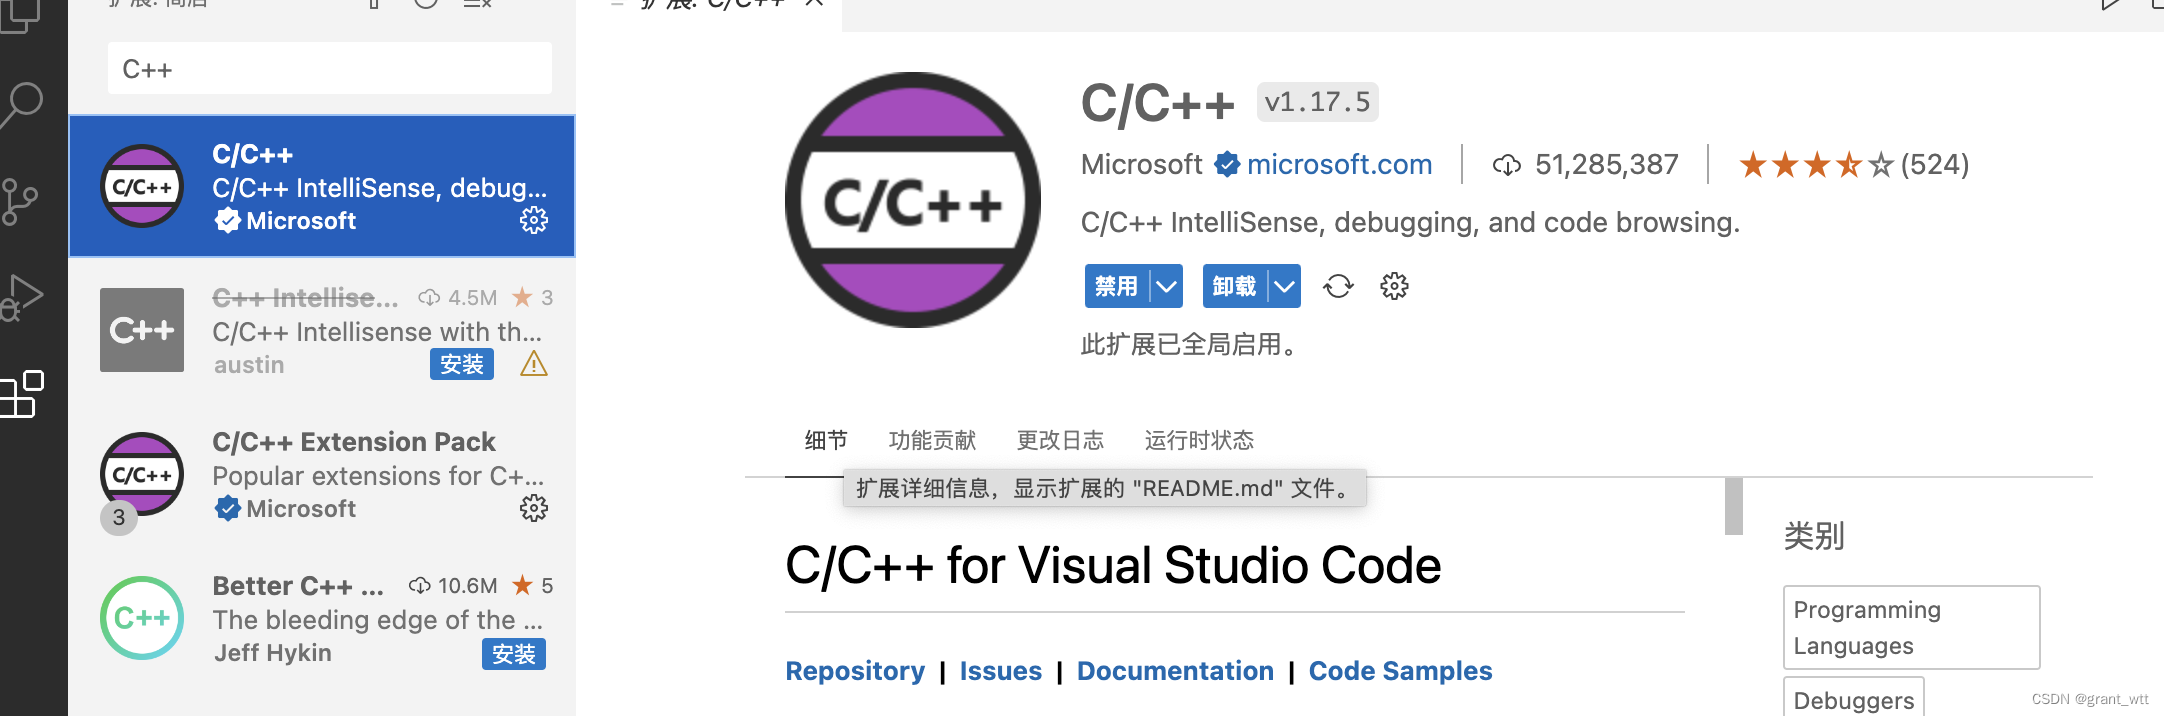
Open vscode, click Extensions, search for c/c++, chinese, code runner at the top, and download c/c++ and chinese plug-ins. (The first one in the picture is fine)
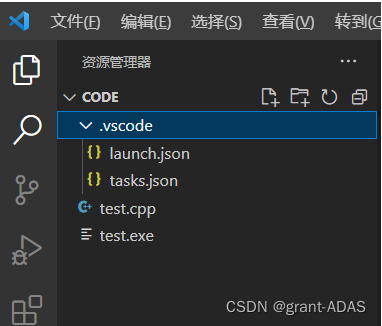
The key step is here. First create a folder named Code to store c/c++ code, then create a .vscode in the Code folder, and then create a c/c++ test file test in the Code root directory. cpp,
As shown in the figure (configuration behind the file in .vscode)
#include <stdio.h>
#include<iostream>
using namespace std;

int main()
{


    printf("Hello World\n");
    return 0;
}
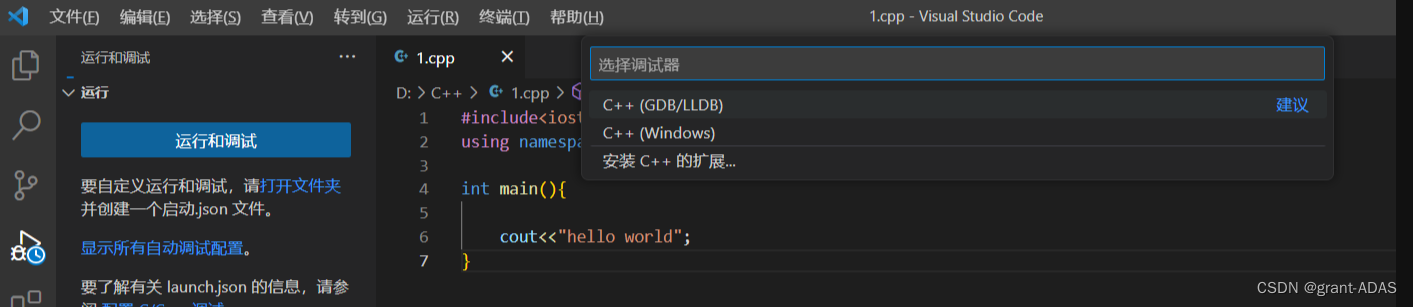
Enter the debugging interface to add the configuration environment, select C++ (GDB/LLDB), and then select g++.exe. The launch.json configuration file will be automatically generated. If it involves the path of mingw, change it to the path name of the file in your own mingw. .
Configure three json files in the .vscode directory of vscode.
Open vscode and press Ctrl+Shift+p. Click in the red box to generate the .vscode folder.


Or create two folders directly here
Then configure task_json, launch_json
task_json:
{


    "tasks": [
        {


            "type": "shell",
            "label": "C/C++: g++.exe 生成活动文件",
            "command": "C:\\Install\\develop\\mingw64\\bin\\g++.exe",//改成自己g++的路劲名
            "args": [
                "-fdiagnostics-color=always",
                "-g",
                "${file}",
                "-o",
                "${fileDirname}\\${fileBasenameNoExtension}.exe"
            ],
            "options": {


                "cwd": "${fileDirname}"
            },
            "problemMatcher": [
                "$gcc"
            ],
            "group": {


                "kind": "build",
                "isDefault": true
            },
            "detail": "调试器生成的任务。"
        }
    ],
    "version": "2.0.0"
}
launch.json:
{


    "version": "0.2.0",
    "configurations": [

         {


             "name": "C++",
             "type": "cppdbg",
             "request": "launch",
             "program": "${fileDirname}\\${fileBasenameNoExtension}.exe",
             "args": [],
             "stopAtEntry": false,
              "cwd": "${workspaceFolder}",
            "environment": [],
            "externalConsole": true,      //修改此项,让其弹出终端
            "MIMode": "gdb",
            "miDebuggerPath": "C:\\Install\\develop\\mingw64\\bin\\gdb.exe",
            "setupCommands": [
                {


                    "description": "Enable pretty-printing for gdb",
                    "text": "-enable-pretty-printing",
                    "ignoreFailures": true
                }
            ],
            "preLaunchTask": "C/C++: g++.exe 生成活动文件" //将此项修改成task.json一样
        }
    ]
}
c_cpp_properties.json
{


    "configurations": [
        {


          "name": "Win64",
          "includePath": ["${workspaceFolder}/**"],
          "defines": ["_DEBUG", "UNICODE", "_UNICODE"],
          "windowsSdkVersion": "10.0.17763.0",
          "compilerPath": "D:\\Install\\Programs\\mingw64\\bin\\g++.exe",   /*修改成自己bin目录下的g++.exe,这里的路径和电脑里复制的文件目录有一点不一样,这里是两个反斜杠\\*/
          "cStandard": "c11",
          "cppStandard": "c++17",
          "intelliSenseMode": "${default}"
        }
    ],
      "version": 4
}
settings.json
{


    "C_Cpp.errorSquiggles": "disabled",
    "files.associations": {


        "iostream": "cpp",
        "ostream": "cpp"
    }
}
VScode user settings
- Open settings
File – Preferences – Settings, open user settings. VScode supports selecting configurations and editing the setting.json file to modify the default configuration. Personally, I prefer to configure by writing json. My personal configuration code is attached below.
Here are some common configuration items:
(1) editor.fontsize is used to set the font size. You can set editor.fontsize: 14;
(2) The attribute files.autoSave indicates whether the file is automatically saved. It is recommended to set it to onFocusChange - automatically save when the focus of the file changes.
(3) editor.tabCompletion is used to automatically fill in the best recommended value when the Tab key is pressed when the recommended value appears. The recommended setting is on;
(4) The source.organizeImports attribute in editor.codeActionsOnSave. This attribute can automatically adjust the order of import statements when saving, allowing your import statements to be arranged in alphabetical order. It is recommended to set it to true, that is, "editor.codeActionsOnSave" : { "source.organizeImports": true };
(5) editor.lineNumbers sets the code line number, that is, editor.lineNumbers: true;
My personal configuration for reference:
{


  "files.associations": {


  "*.vue": "vue",
  "*.wpy": "vue",
  "*.wxml": "html",
  "*.wxss": "css"
  },
  "terminal.integrated.shell.windows": "C:\\Windows\\System32\\cmd.exe",
  "git.enableSmartCommit": true,
  "git.autofetch": true,
  "emmet.triggerExpansionOnTab": true,
  "emmet.showAbbreviationSuggestions": true,
  "emmet.showExpandedAbbreviation": "always",
  "emmet.includeLanguages": {


  "vue-html": "html",
  "vue": "html",
  "wpy": "html"
  },
  //主题颜色
  //"workbench.colorTheme": "Monokai",
  "git.confirmSync": false,
  "explorer.confirmDelete": false,
  "editor.fontSize": 14,
  "window.zoomLevel": 1,
  "editor.wordWrap": "on",
  "editor.detectIndentation": false,
  // 重新设定tabsize
  "editor.tabSize": 2,
  //失去焦点后自动保存
  "files.autoSave": "onFocusChange",
  // #值设置为true时,每次保存的时候自动格式化;
  "editor.formatOnSave": false,
   //每120行就显示一条线
  "editor.rulers": [
  ],
  // 在使用搜索功能时,将这些文件夹/文件排除在外
  "search.exclude": {


      "**/node_modules": true,
      "**/bower_components": true,
      "**/target": true,
      "**/logs": true,
  },
  // 这些文件将不会显示在工作空间中
  "files.exclude": {


      "**/.git": true,
      "**/.svn": true,
      "**/.hg": true,
      "**/CVS": true,
      "**/.DS_Store": true,
      "**/*.js": {


          "when": "$(basename).ts" //ts编译后生成的js文件将不会显示在工作空中
      },
      "**/node_modules": true
  },
  // #让vue中的js按"prettier"格式进行格式化
  "vetur.format.defaultFormatter.html": "js-beautify-html",
  "vetur.format.defaultFormatter.js": "prettier",
  "vetur.format.defaultFormatterOptions": {


      "js-beautify-html": {


          // #vue组件中html代码格式化样式
          "wrap_attributes": "force-aligned", //也可以设置为“auto”,效果会不一样
          "wrap_line_length": 200,
          "end_with_newline": false,
          "semi": false,
          "singleQuote": true
      },
      "prettier": {


          "semi": false,
          "singleQuote": true
      }
  }
}
Recently, people often ask me on WeChat, where is this configuration code written?
The new version of vscode settings default to UI settings instead of the previous json settings. If you want to copy my above code for configuration, you can make the following modifications
File>Preferences>Settings> Search workbench.settings.editor, select json to change to json settings;
Disable automatic updates
File > Preferences > Settings (macOS: Code > Preferences > Settings, search for update mode and change the setting to none.
Turn on code hint settings
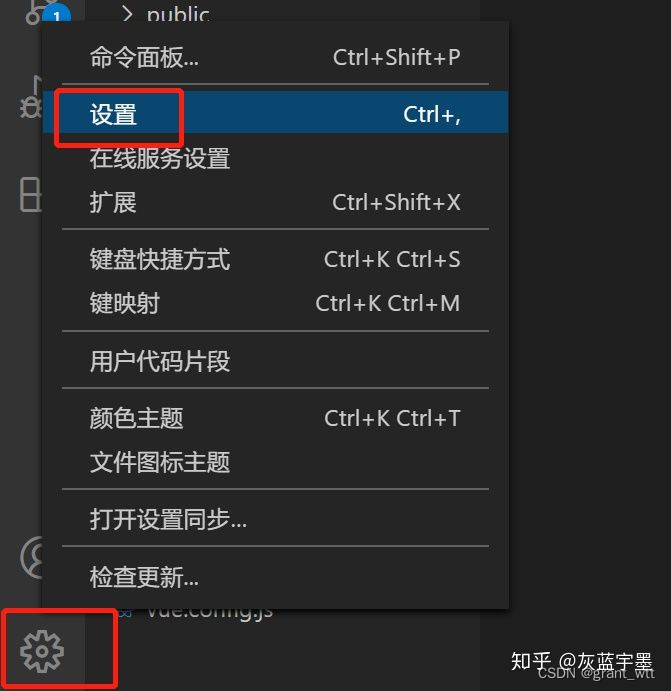
Step 1: Click the settings icon in the lower left corner, find and click "setting"
Step 2: Search for "prevent" in the search box -> and uncheck this item

Commonly used shortcut keys
To use vscode efficiently, it is essential to remember some commonly used shortcut keys. I have listed for you some shortcut keys that are commonly used in daily work.
The following is mainly based on Windows. Ctrl in windows can be replaced with Command in mac.
For row operations:
Reopen a line: If the cursor is at the end of the line, just press Enter; if it is not at the end of the line, ctrl + enter will reopen a line downward; ctrl + shift + enter will reopen a line on the previous line and delete a line: when the cursor has no content selected
, CTRL
+
_ Copy a line up
ctrl + z to go back and
operate on words:
- Select a word: ctrl + d
to search or replace:
ctrl + f: search
ctrl + alt + f: replace
ctrl + shift + f: search within the project
Ctrl + ` can open or close the terminal
Ctrl+P quickly opens recently opened files
Ctrl+Shift+N Open a new editor window
Ctrl+Shift+W close editor
Home The cursor jumps to the beginning of the line
End The cursor jumps to the end of the line
Ctrl + Home Jump to the top of the page
Ctrl + End Jump to the end of the page
Ctrl + Shift + [Collapse region code
Ctrl + Shift + ] expand region code
Ctrl + / Add closing line comment
Shift + Alt +A block area annotation
Plug-in installation
Enter the name of the plug-in you want to install in the input box and click Install. There is no effect after installation, you can restart vscode
Essential plug-ins:
1. View In Browser
Essential for previewing web pages in the browser. Run html file
2, vscode-icons
to change the file icon in the editor
3. Bracket Pair Colorizer
adds different colors to various nested brackets.
4. Auto Rename Tag
automatically modifies matching HTML tags.
5. Path Intellisense
intelligent path prompts, which can intelligently prompt you when you enter the file path.
6. Markdown Preview
previews markdown in real time.
7. stylelint
CSS / SCSS / Less grammar check
8. Import Cost
introduces package size calculation, which is very helpful for controlling the volume of the project after packaging.
9. Prettier
is a more useful code formatting plug-in than Beautify.
Vue plug-in
vetur
syntax highlighting, intelligent sensing, Emmet, etc.
VueHelper
snippet code snippet
Other plug-ins
1, CSScomb
CSS writing order rules, here I recommend the specifications of Tencent AollyTeam team:
http://alloyteam.github.io/CodeGuide/#css-declaration-orderalloyteam.github.io/CodeGuide/#css-declaration-order
Let’s briefly talk about how to use this plug-in:
Create a file named csscomb.json in the root directory of the project, and then add some configuration items. You can also write configuration items to the csscombConfig field in the project's package.json file.
As for the added configuration items, CSScomb provides a sample configuration file:
https://github.com/csscomb/csscomb.js/blob/master/config/csscomb.jsongithub.com/csscomb/csscomb.js/blob/master/config/csscomb.json
The sort-order is the writing order of CSS properties, which can be set according to the specifications you follow, so I directly replaced it with Tencent's.
The functions of each field in this configuration file can be viewed here:
csscomb/csscomb.jsgithub.com/csscomb/csscomb.js/blob/master/doc/options.md
2、Turbo Console Log
Quickly add console.log and comment/enable/delete all console.logs with one click. This is also my most commonly used plug-in
Let’s briefly talk about the shortcut keys used by this plug-in:
ctrl + alt + l 选中变量之后,使用这个快捷键生成 console.log
alt + shift + c 注释所有 console.log
alt + shift + u 启用所有 console.log
alt + shift + d 删除所有 console.log
3、GitLens
Detailed Git commit log.
A must-have for heavy Git users, especially when multiple people collaborate: every line of code, when and who submitted it are all recorded.
Mom no longer has to worry about me taking the blame!
4. css-auto-prefix
automatically adds CSS private prefix.
5. Change-case
converts naming style.
6. CSS Peek
Position the CSS class name.
7. vscode-json
Process JSON files, see the picture for usage:
8. Regex Previewer
previews the effect of regular expressions in real time.
Setting up synchronization
It took me a day to finally configure vscode to the way I was satisfied with it. If I had to do it all over again every time I changed computers, everyone would definitely tear me apart. Don’t worry, we’ve already prepared it for everyone. Settings Sync, synchronize your plug-ins between different computers.
First, to synchronize your plug-in between different devices, you need Token and Gist id
Token is the character that you are asked to save when you upload the plug-in to github. The Gist id is saved on the computer where you uploaded the plug-in.
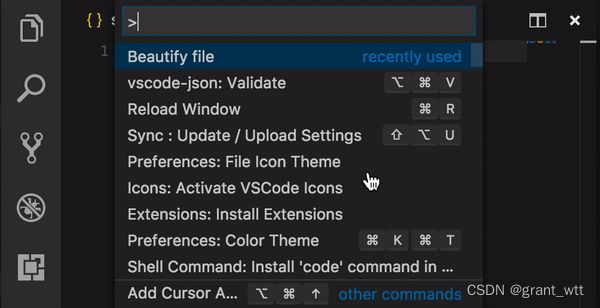
Let me give you three shortcut keys first, which will be used later.
1、CTRL+SHIFT+P 我也不知道叫什么,暂且就叫它功能搜索功能吧
2、ALT+SHIFT+D 下载配置
3、ALT+SHIFT+U 上传配置
Now I will teach you how to configure it step by step:
1. Install Settings Sync
2. Log in to Github>settings>Developer settings>personal access tokens>generate new token, enter the name, check Gist, and submit
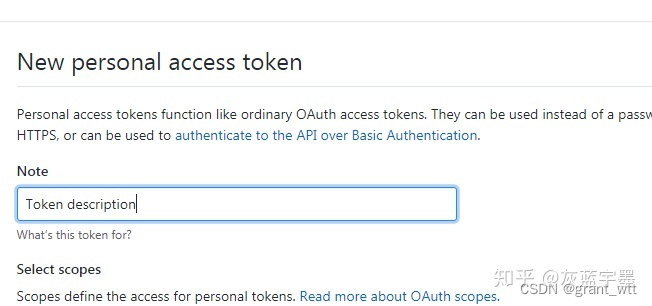
3. Save Github Access Token
4. Open vscode, Ctrl+Shift+P to open the command box –> enter sync –> select advanced settings –> edit local extension settings –> edit token
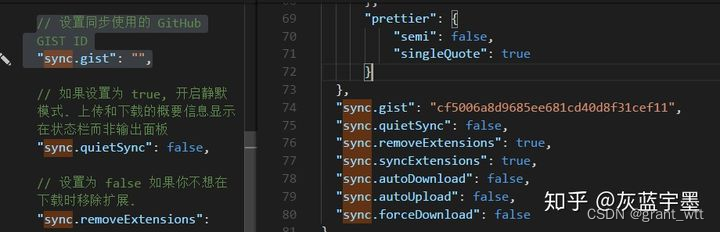
5. Ctrl+Shift+P to open the command box –> enter sync –> find update/upload settings. After the upload is successful, the Gist ID will be returned and the Gist ID will be saved.
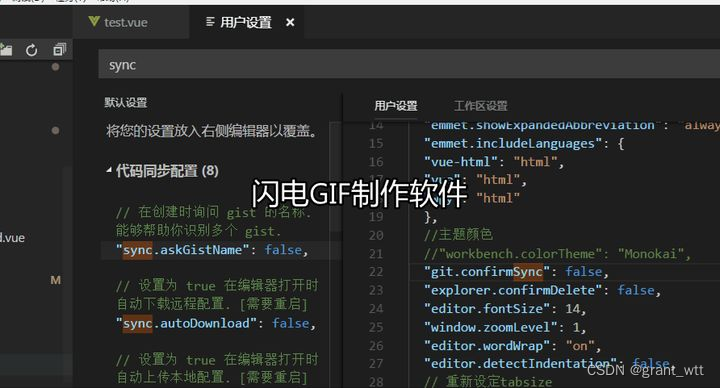
6. In VSCode, open: File -> Preferences -> Settings, then enter Sync to search: you can find your gist id 7. If you need to
DownLoad the plug-in on other machines, similarly, Ctrl+Shift+P opens the command box, enter sync, find Download settings, you will jump to Github's Token editing interface, click Edit, regenerate token, save the newly generated token, enter this Token in the vscode command box, press Enter, and then enter the previous Gist ID. You can sync plugins and settings
Start a local service.
The first way
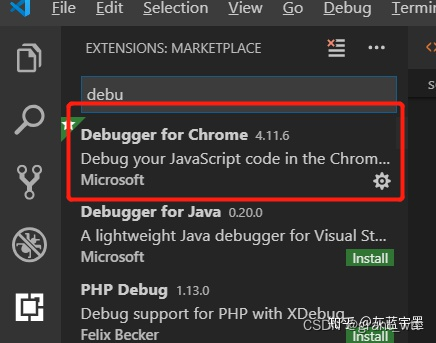
1. Install the Debugger for Chrome plug-in
2. Use the ctrl+` shortcut key to open the terminal, and then enter npm install -g live-server
3. Enter live-server in the command line.
Second way
When writing front-end pages, HTML pages are often run in the browser. The file protocol is usually opened directly from the local folder. When there is an http or https link in the code, the HTML page cannot be opened normally. In order to solve this problem In this case, you need to start a local server locally. This article uses http-server in node.js to start local services. The steps are as follows:
1.Install http-server
Enter in the terminal: $ npm install http-server -g
2. Start the http-server service
Enter the target folder in the terminal and enter:
$ http-server -c-1   (⚠️只输入http-server的话,更新了代码后,页面不会同步更新)
Starting up http-server, serving ./
Available on:
  http://127.0.0.1:8080
  http://192.168.8.196:8080
Hit CTRL-C to stop the server
3. Close the http-server service
Press the shortcut key CTRL-C. The terminal displays ^Chttp-server stopped. That means the service is closed successfully.