The STM32 microcontroller is very powerful. Most tutorials use the keil compiler. keil is paid and gcc is open source and free. Here are some experiences in developing microcontroller programs using gcc + vscode . (What gcc is is not explained here).
First: Environmental preparation
gcc
-
ARM developer official website
https://developer.arm.com/

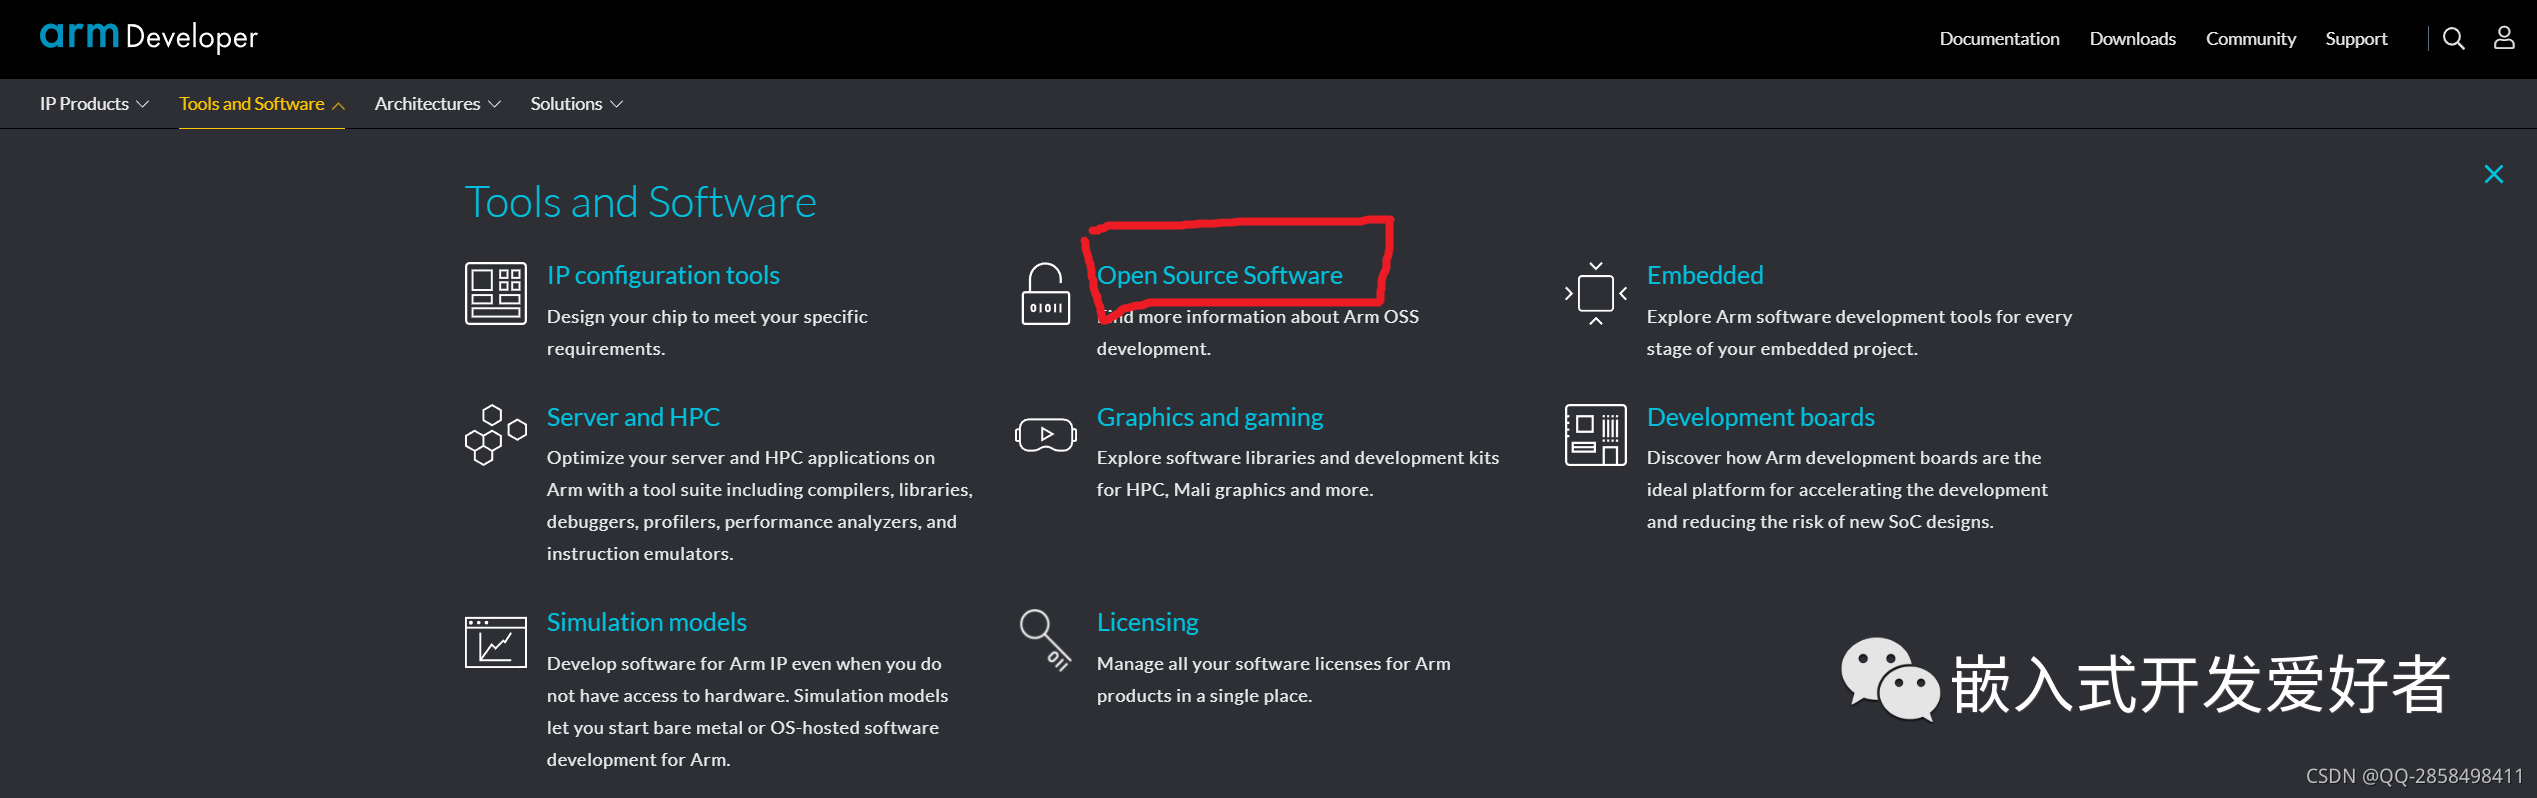


I have a habit: try to use the installation-free version of the software, extract it directly to the software installation directory, add environment variables and use it, so that you don’t have to reinstall the software even if you reinstall the system.
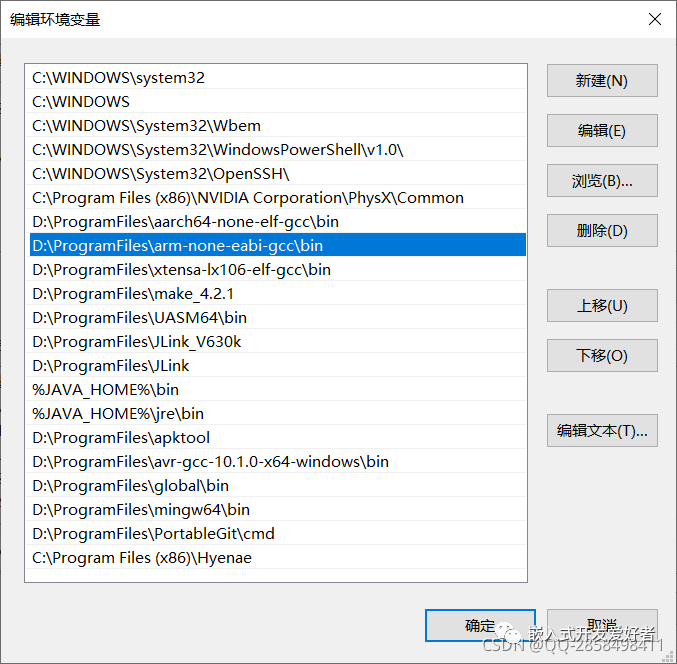
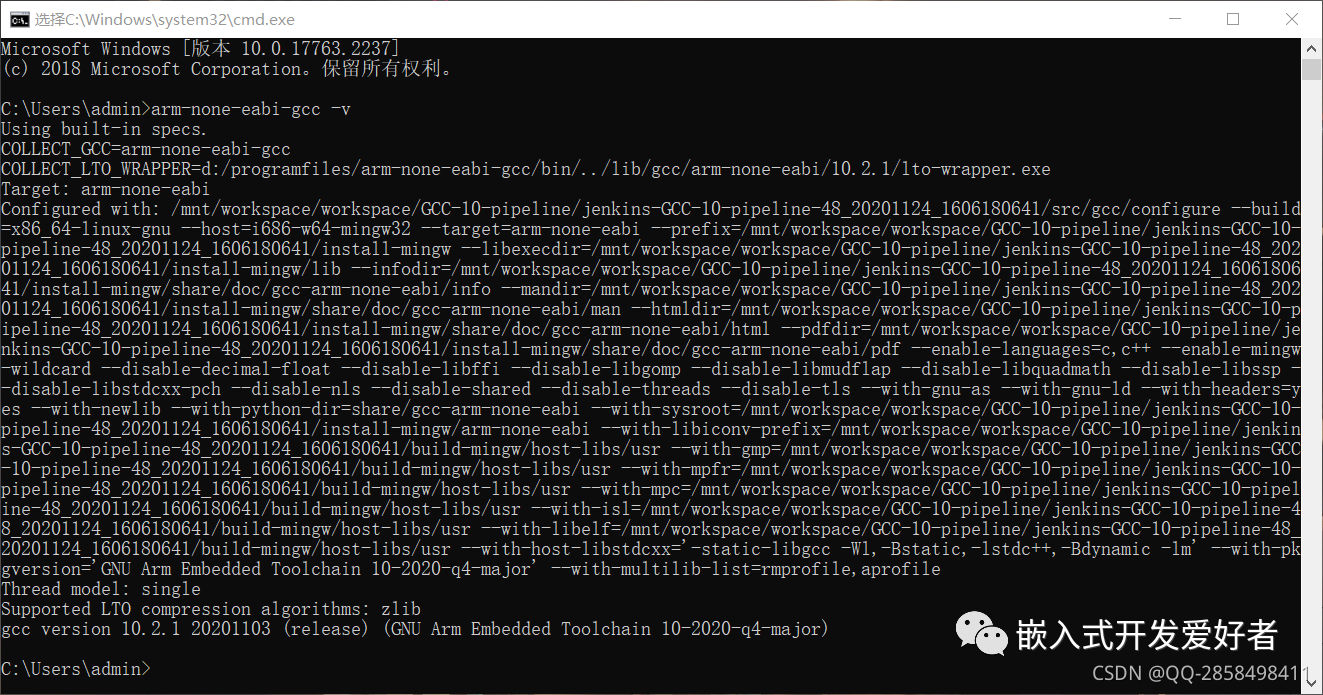
Add the bin/ directory of arm-none-eabi-gcc to the environment variable Path and the installation is complete. Open command line execution
arm-none-eabi-gcc -vDisplaying the version information indicates that arm-none-eabi-gcc can be used.
Second: make
The make I use is copied from mingw-w64.
http://mingw-w64.yaxm.org/doku.php
It is convenient to download make separately:
https://download.csdn.net/download/qq_33523299/33634450
The downloaded make tool can also be added to the environment variable Path for use.
Third: vscode
vscode is just a text editor, you can develop without it (txt to write code, command line to compile).
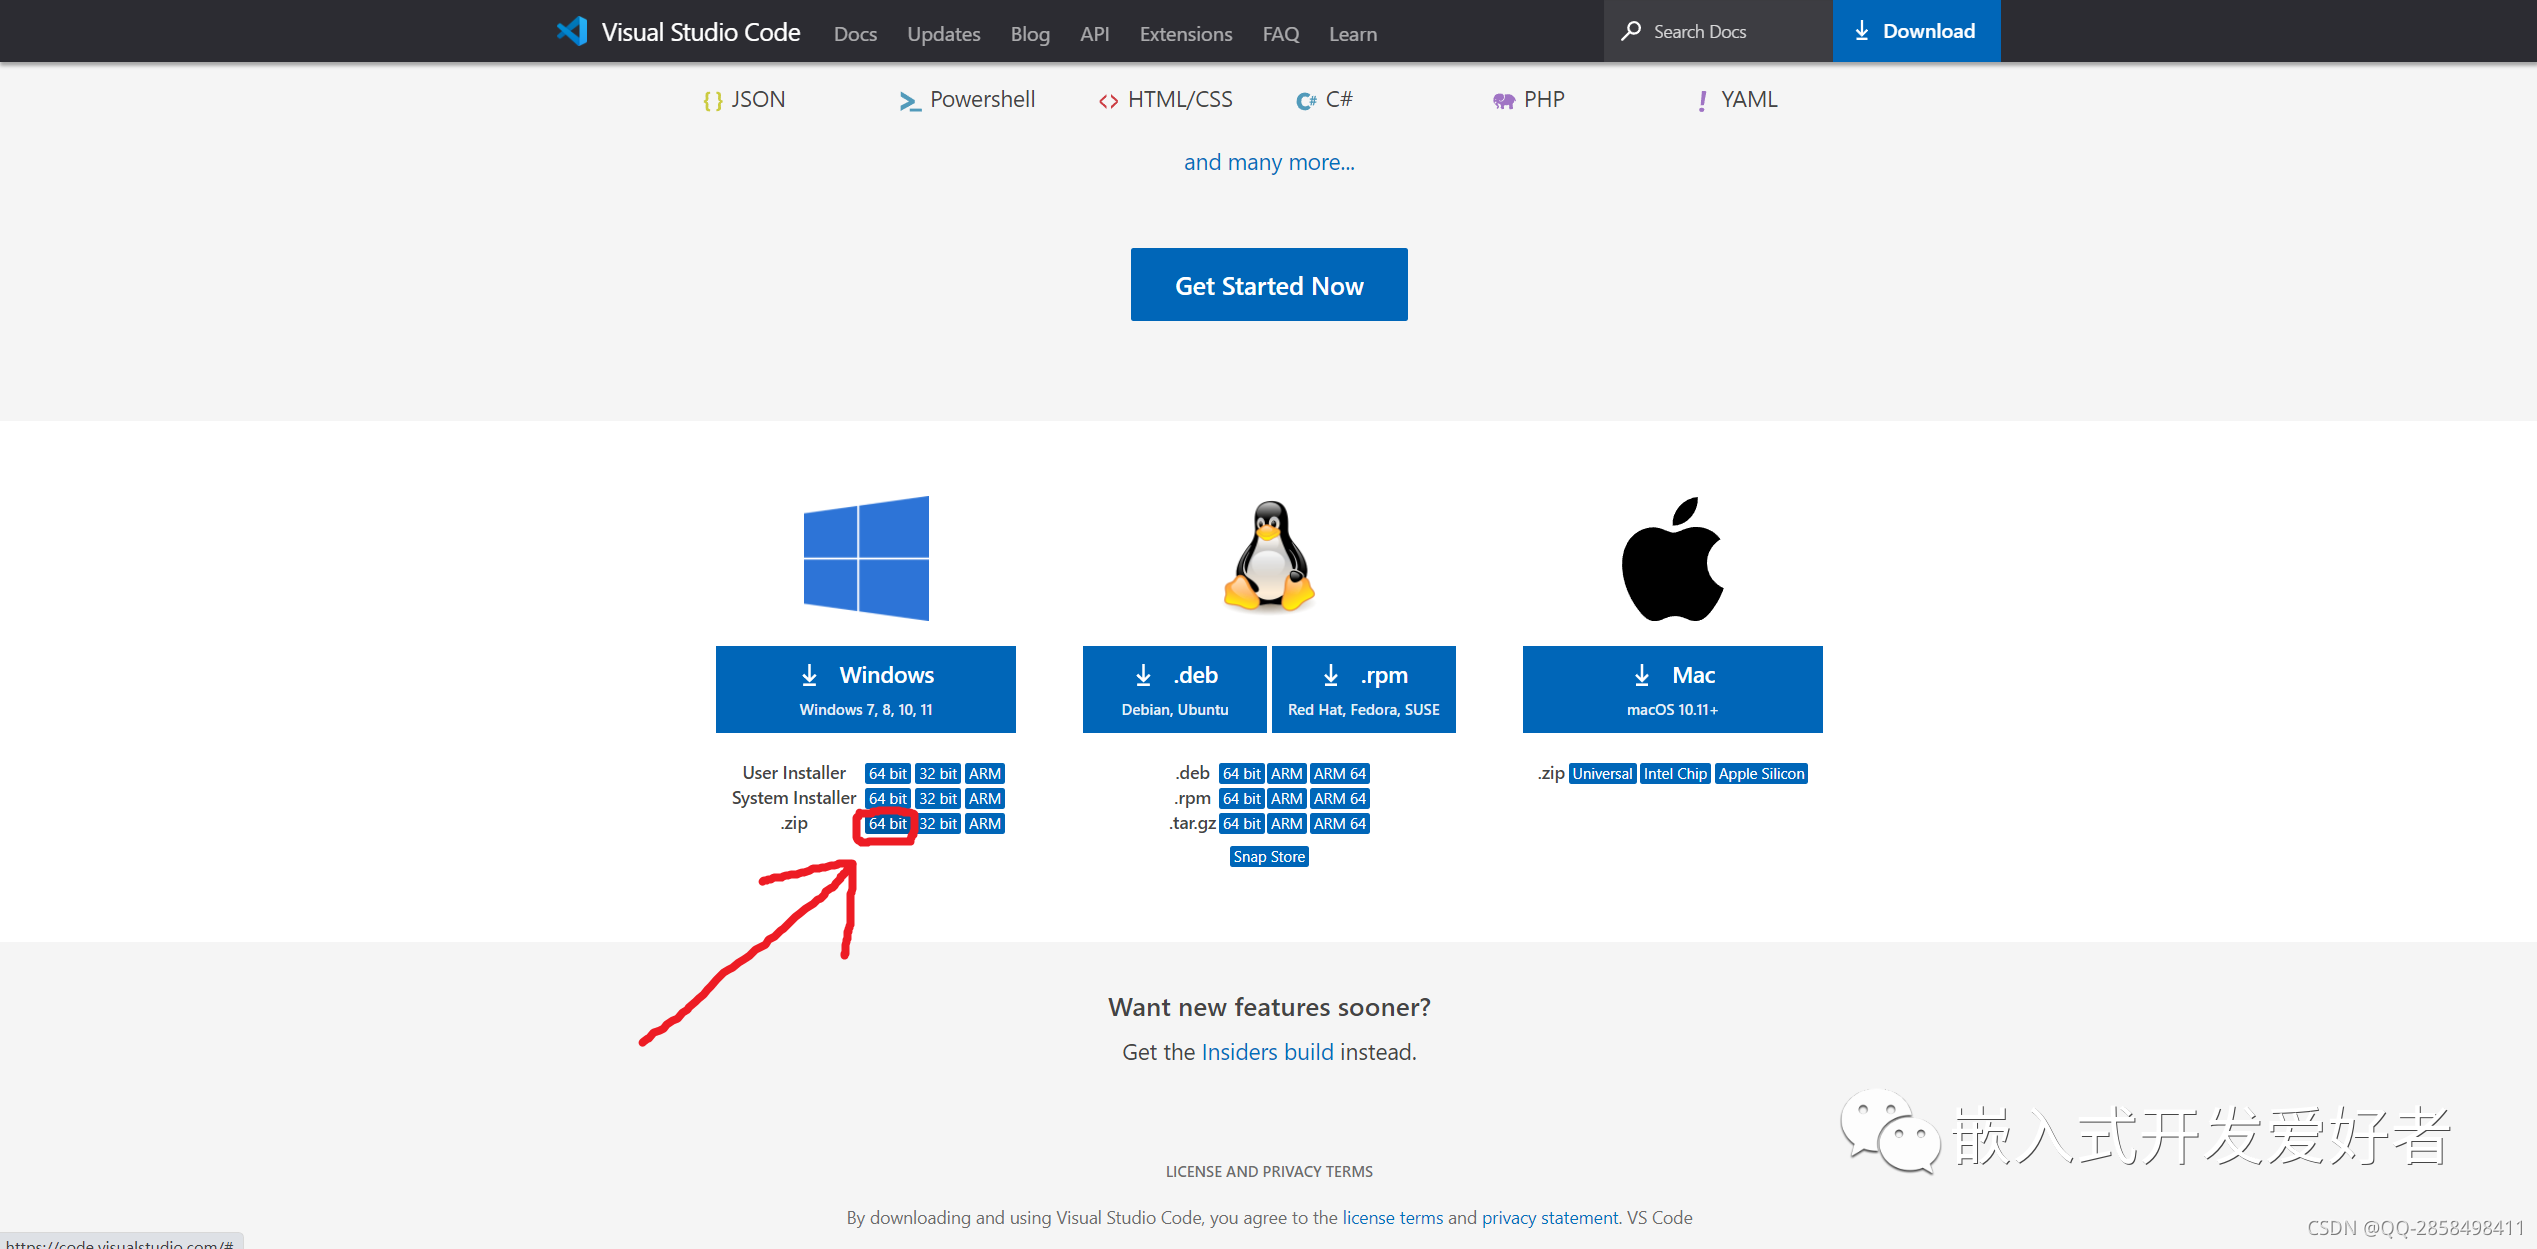
https://code.visualstudio.com/#alt-downloads
Another installation-free version:

Creating a new folder data/ in the software directory can prevent vscode from using the C drive space at all, and all cache files will be generated in data/.

Fourth: Compilation and linking process

Makefile tells make what to do, who to compile, and how to compile it specifically;
make generates corresponding commands to call each tool to perform actions;
gcc is responsible for compiling c source files into assembly;
as is responsible for converting the assembly files generated by the compiler and the assembly files produced by the bald programmer into binary instructions, and outputting them to relocatable object files (*.o);
(gcc can also complete compilation and assembly at one time, directly using the .c file to generate the .o file)
The .ld file is a link script, which tells the linker which address is memory RAM, which address is Flash, which RAM is allocated to the stack, and which addresses are allocated to the heap...
The linker combines all .o files. The addresses of static variables and functions will be determined here. The function name of the calling function will be replaced with the address of the function... Finally, an elf file will be generated;
Although elf is an executable file, bare metal cannot parse elf files, so objcopy is required to export pure binary code. This binary file can be directly burned into the microcontroller for operation. This step can also output a hex file;
If necessary, you can also use objdump to disassemble binary files, elf files, and .o files to help with debugging.
Create an empty project

A ".vscode" folder contains some configurations, "boot" contains assembly files for starting the microcontroller, "cmsis" contains official source files, "inc" contains header files, "src" contains source files, and "output" contains output. file, add a makefile and a linker script and you're done. There is absolutely no redundant stuff (write code in txt, you can delete ".vscode" if you compile from the command line).

Execute "make" in the directory where the makefile is located to compile.
https://github.com/bfuxd/stm32f103EmptyProject
This is the complete project (empty folders and output directories have been removed), and the makefile supports windows and linux.
https://github.com/bfuxd/stm32f1Template
It is a template project that adds some basic functions.
J-Link programming and debugging
Write in .vscode/launch.json
{// 使用 IntelliSense 了解相关属性。// 悬停以查看现有属性的描述。// 欲了解更多信息,请访问: https://go.microsoft.com/fwlink/?linkid=830387"version": "0.2.0","configurations": [{"name": "Cortex Debug","type": "cortex-debug","cwd": "${workspaceRoot}","executable": "${workspaceFolder}\\output\\template.elf","request": "launch","servertype": "jlink","device": "STM32F103ZE","interface": "swd","preLaunchTask": "Compile"}],}
Write in .vscode/tasks.json
{"version": "2.0.0",//每次执行都不启动一个新的控制台"presentation": {"reveal": "always","panel": "shared", //"new","echo": true},//设置环境变量"options": {"env": {//"Path": "%Path%;D:\\ProgramFiles\\MinGW64\\bin","LOCAL_SRC_HOME": "${workspaceRoot}"}},//任务列表"tasks": [{"label": "Compile","command": "make","args": [],"group": {"kind": "build","isDefault": true}}]}
After installing the J-Link driver, add J-Link to the environment variable Path and click F5 to simulate.
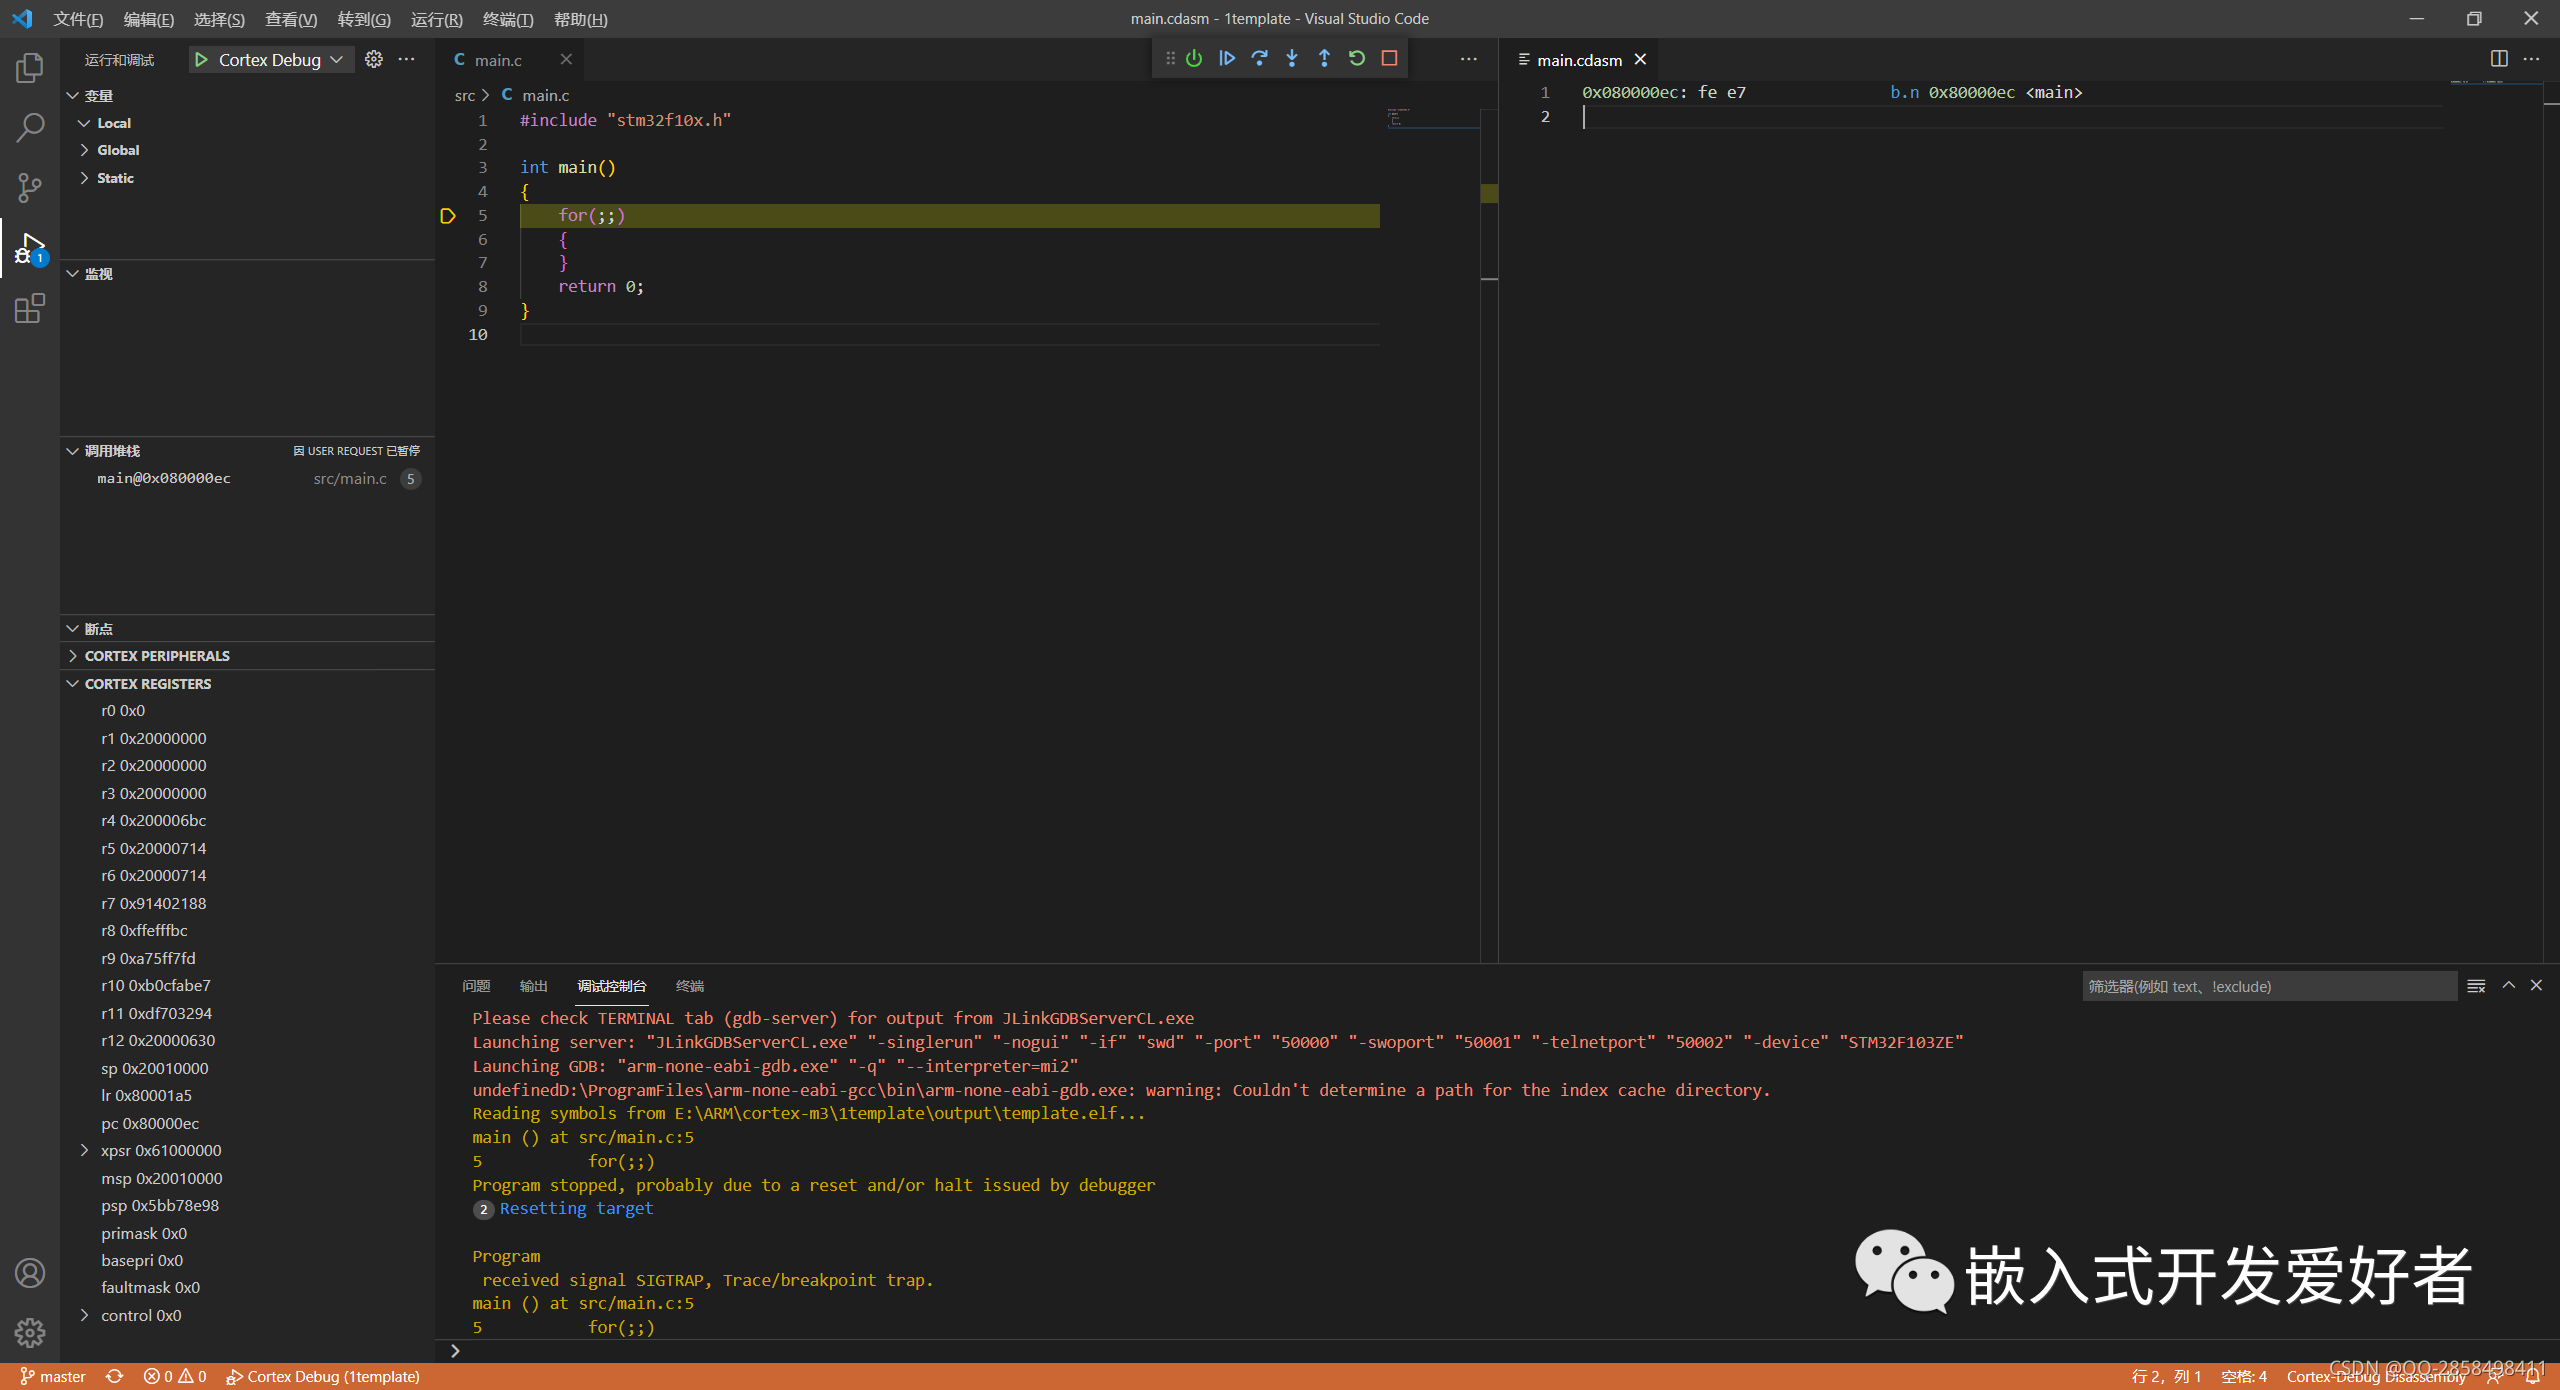
You can also monitor specified memory, variables, registers, and disassemble specified functions...
During simulation, click " Ctrl + Shift + P " and enter Cortex-debug: Show disassembly and press Enter to enter the function name to execute the specified function in assembly. " Ctrl + Shift + P " Enter Cortex-debug: View Memory and press Enter to start. By selecting the starting address and data length, you can view the data in the specified area in the memory.
Say goodbye to Keil completely.