Software introduction: ArcGIS is a professional electronic map information editing and development software that provides a fast and easy-to-use way to browse geographic information, whether it is 2D or 3D information. The software has a variety of built-in editing tools, which can easily complete the entire process of map production, provides new solutions for map analysis and processing, and allows unlimited sharing of data and maps. At the same time, we fully embrace cutting-edge IT technology and upgrade the core capabilities of the platform such as big data, 3D, and imaging, creating a WebGIS platform with powerful functions, excellent performance, and high stability for us.
ArcGIS 10.6
installation steps:
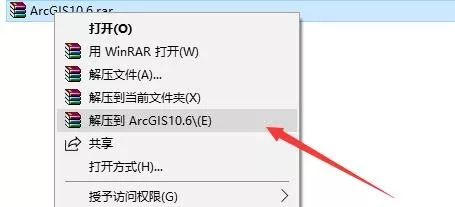
1. Select the installation package we downloaded and right-click to unzip it.
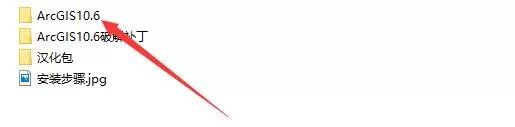
2. Get the following files after decompression, open the ArcGIS10.6 folder
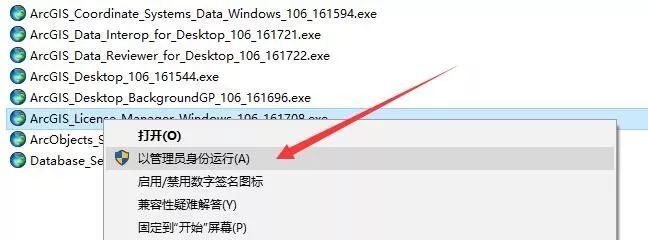
3. Right-click and run the License installer as administrator.
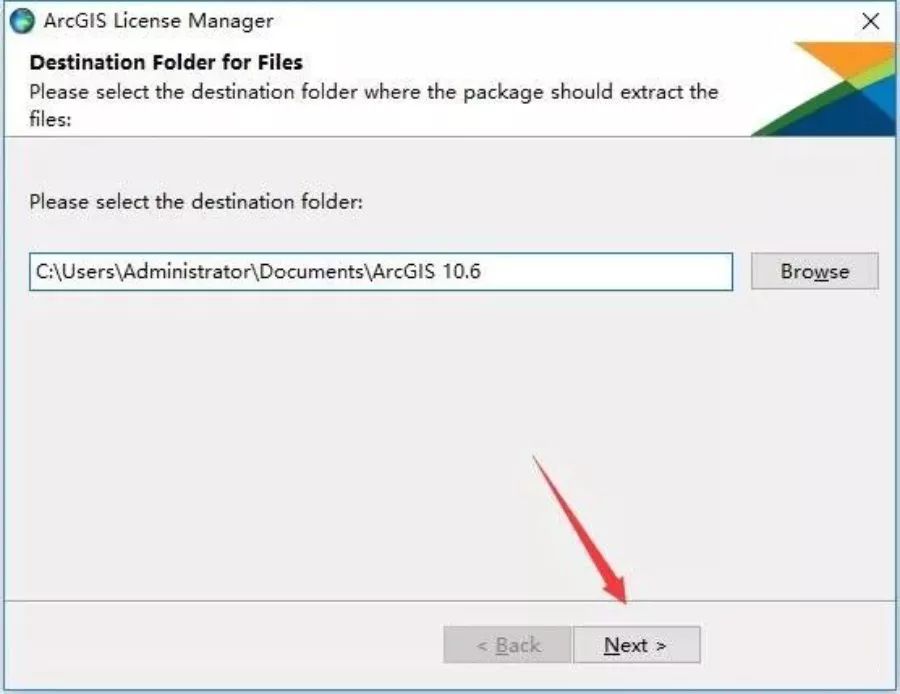
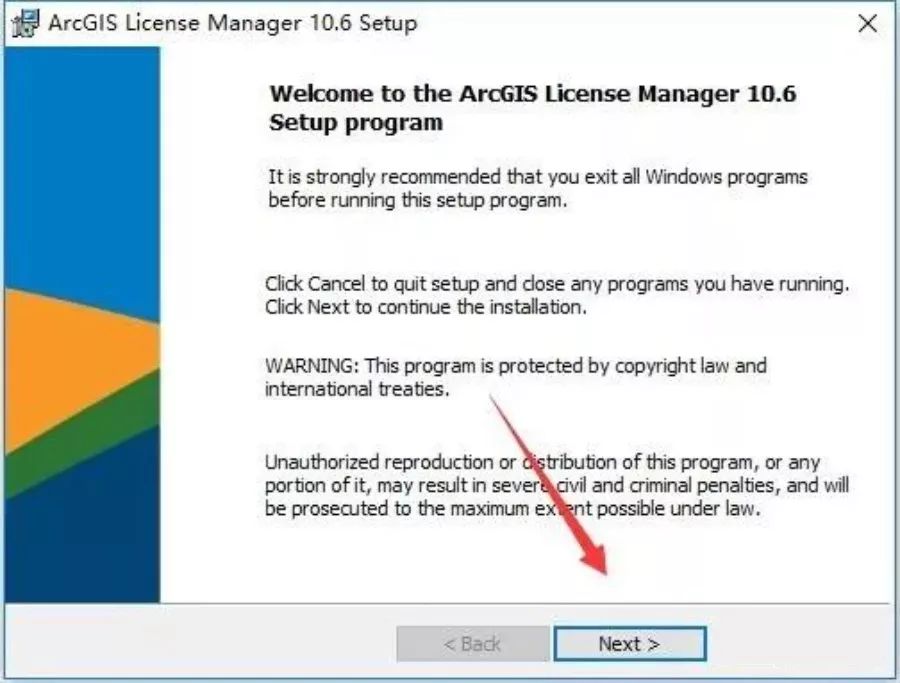
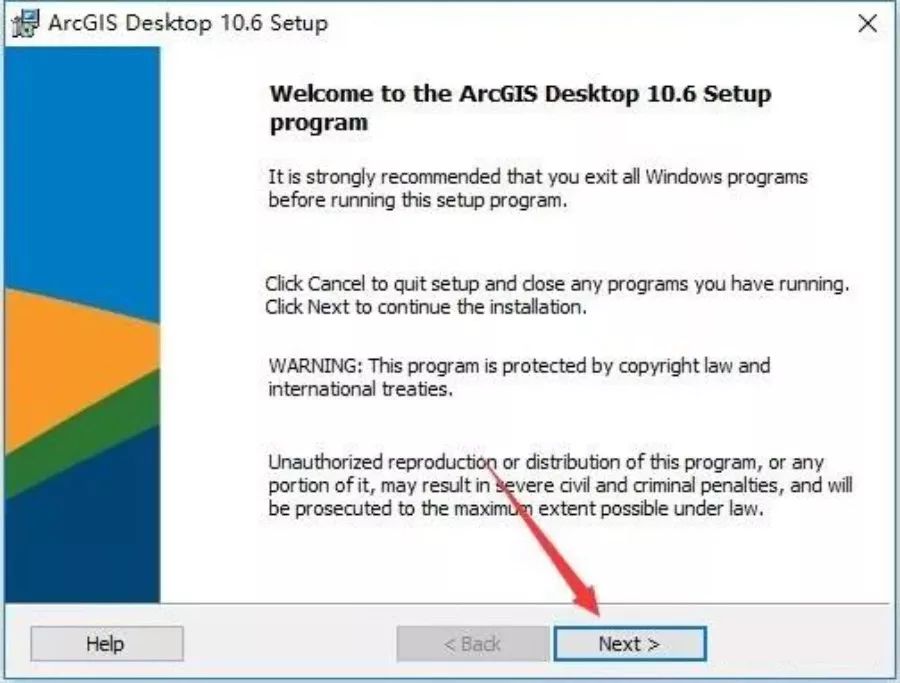
4. Click Next
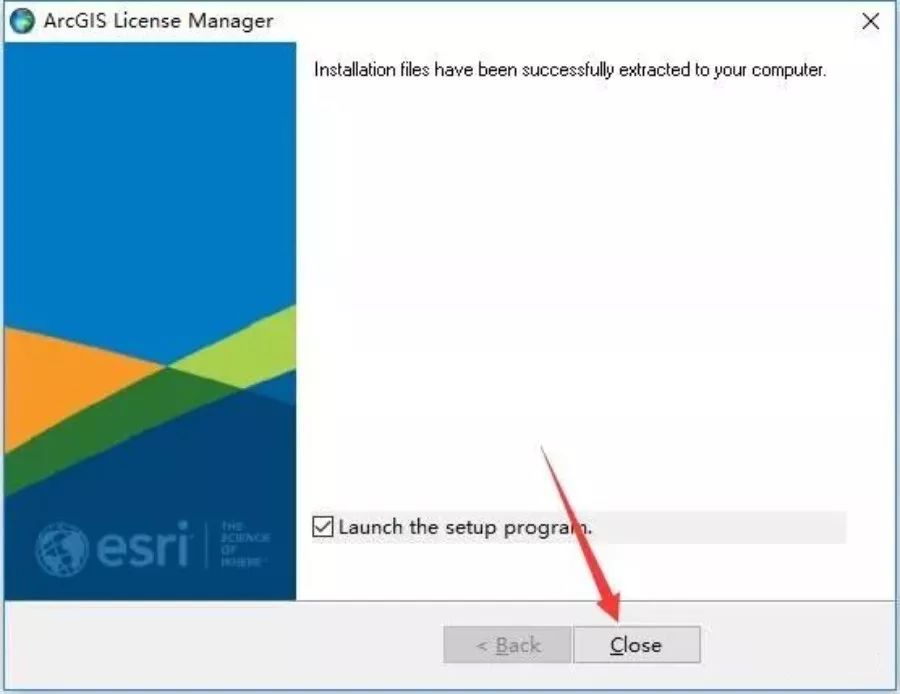
5. Click Close
6. Click Next
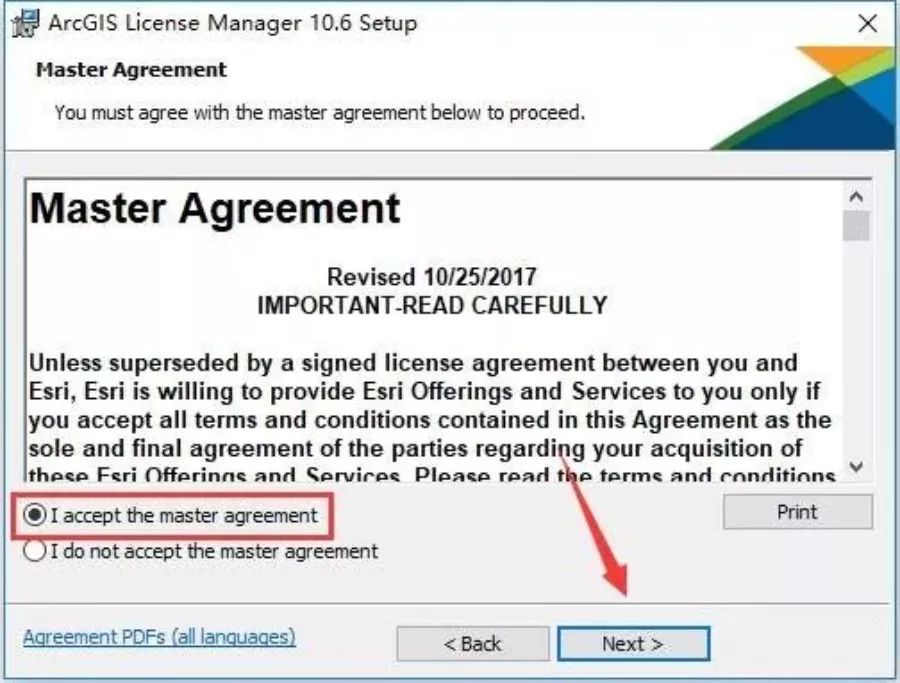
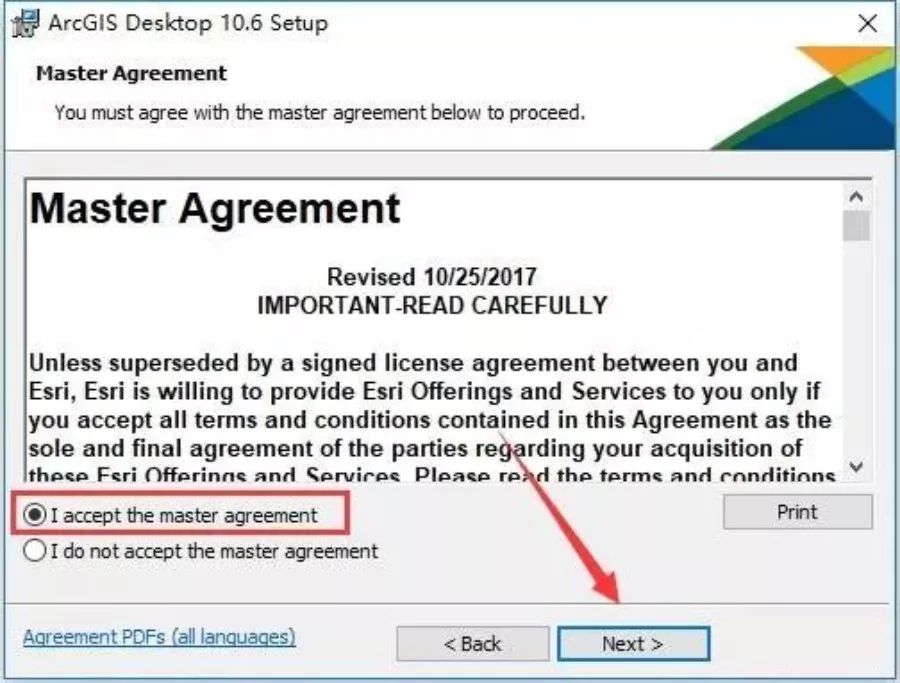
7. Select "I accept..." and click Next
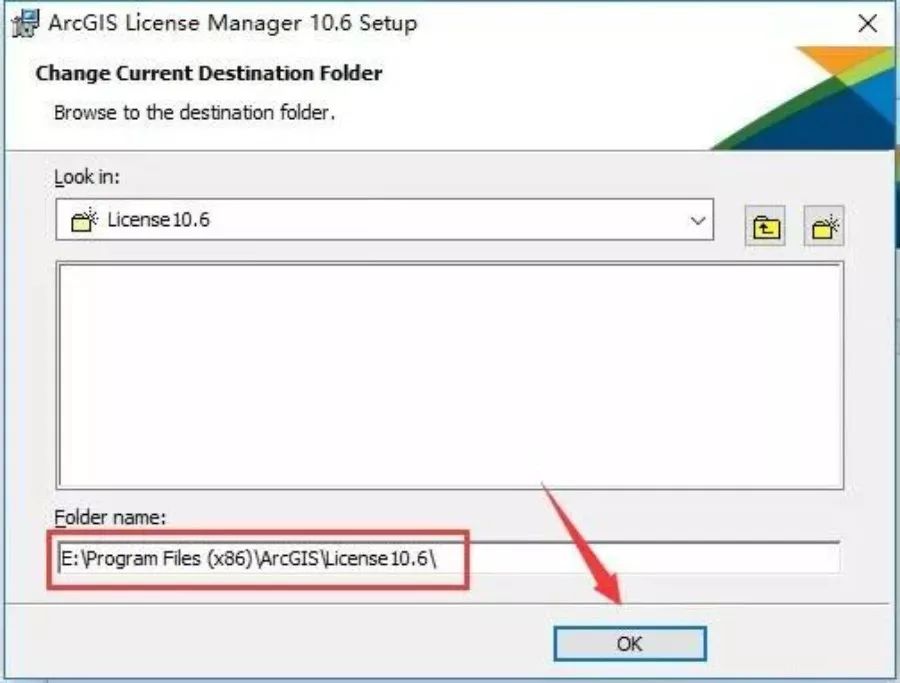
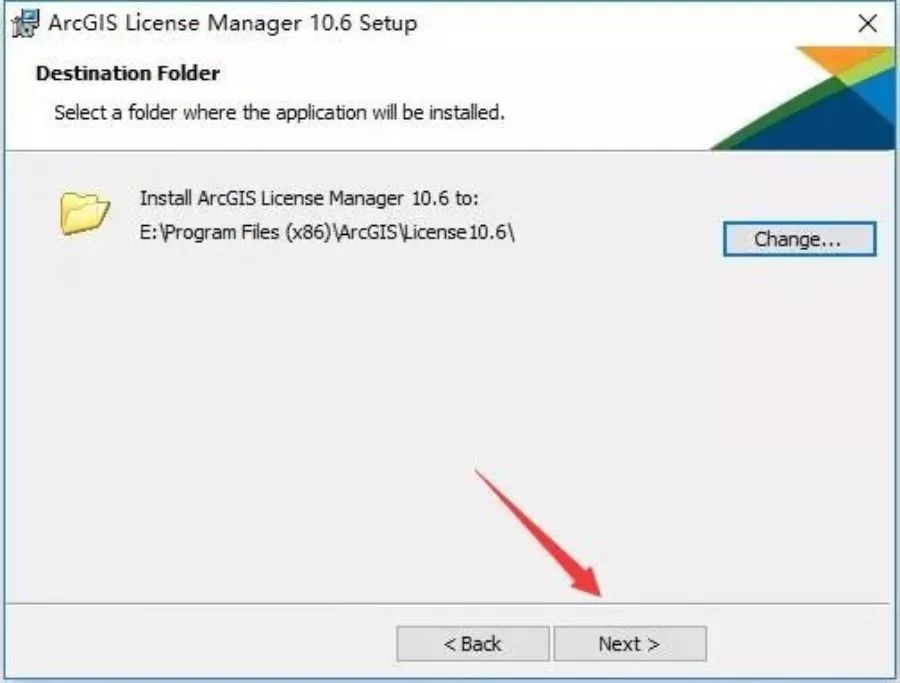
8. Click Change to modify the installation path

9. Directly change C to the drive you need to install to. In this example, we will install to drive E. Click OK.
10. Click Next
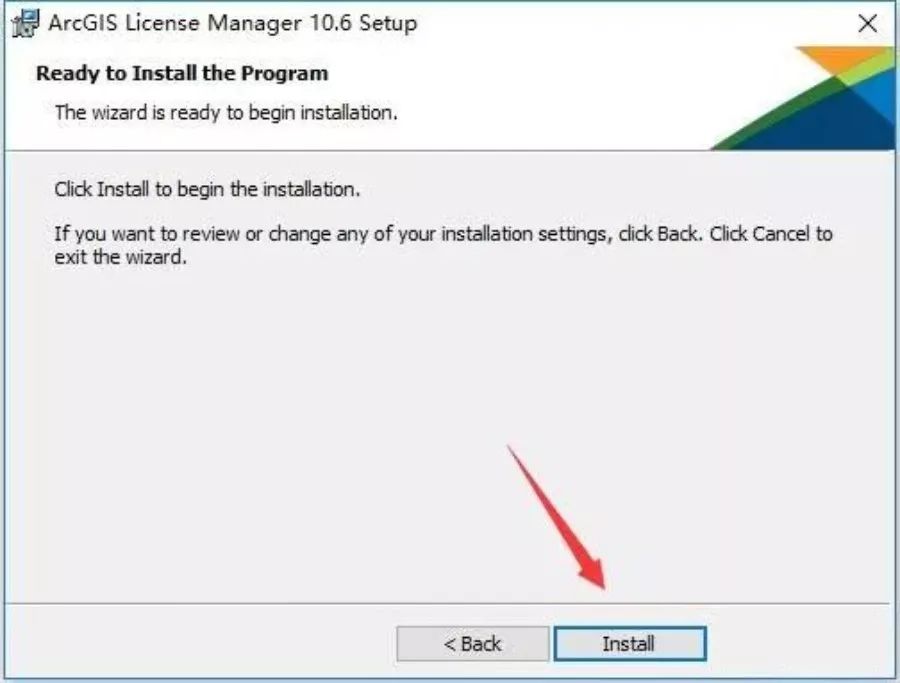
11. Click Install
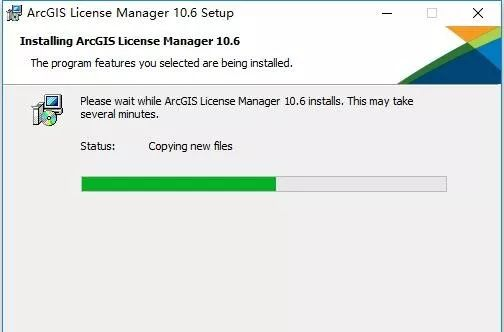
12.Installing...
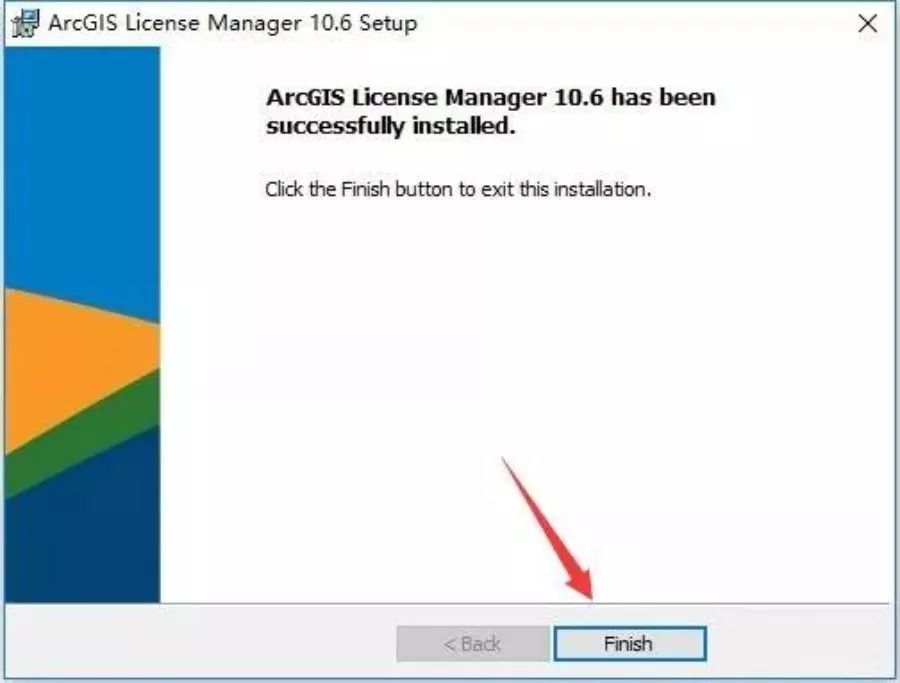
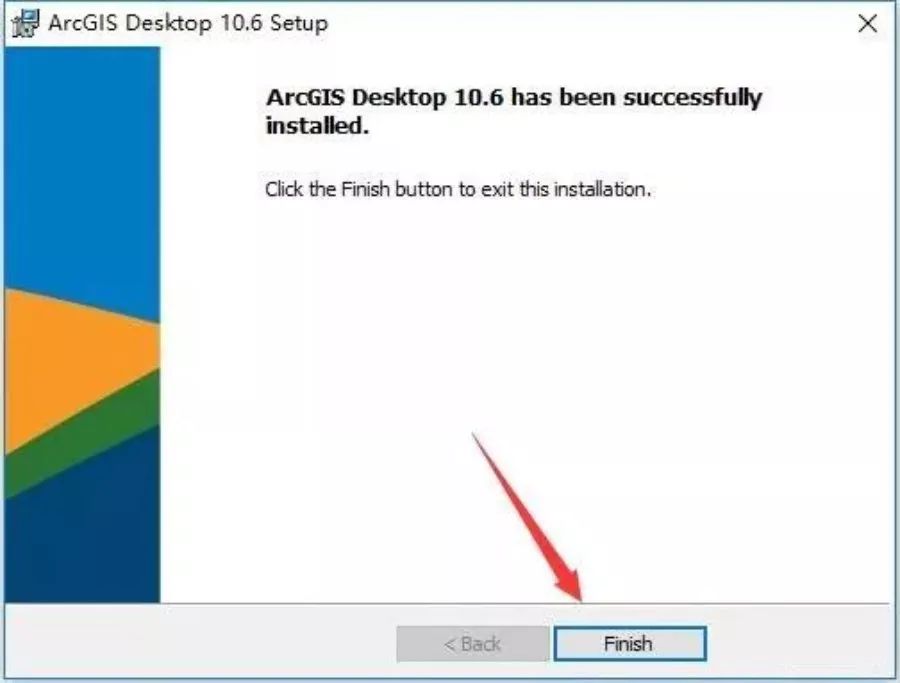
13. Click Finish
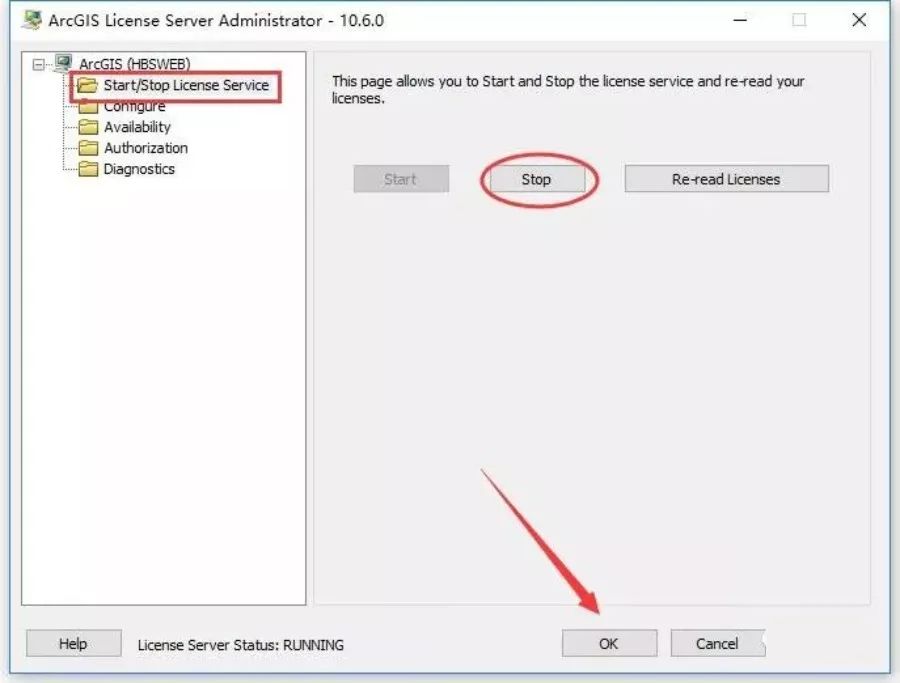
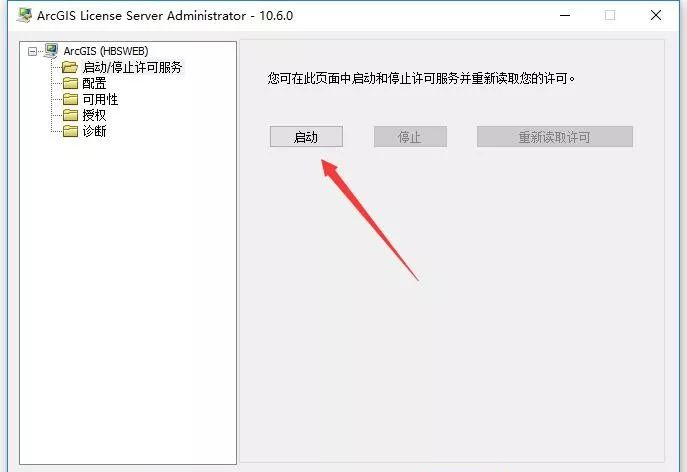
14. Select the Start/Stop License Service interface, click Stop, and then click OK
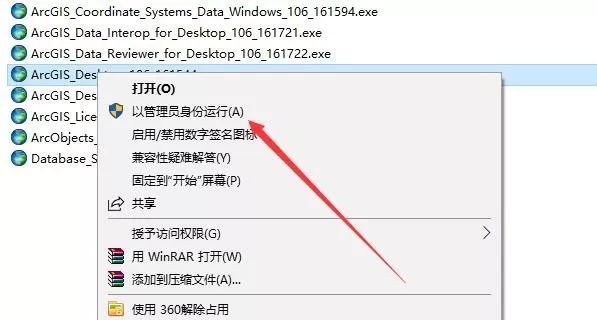
15. Return to the installation package, right-click to run the ArcGIS_Desktop program as administrator
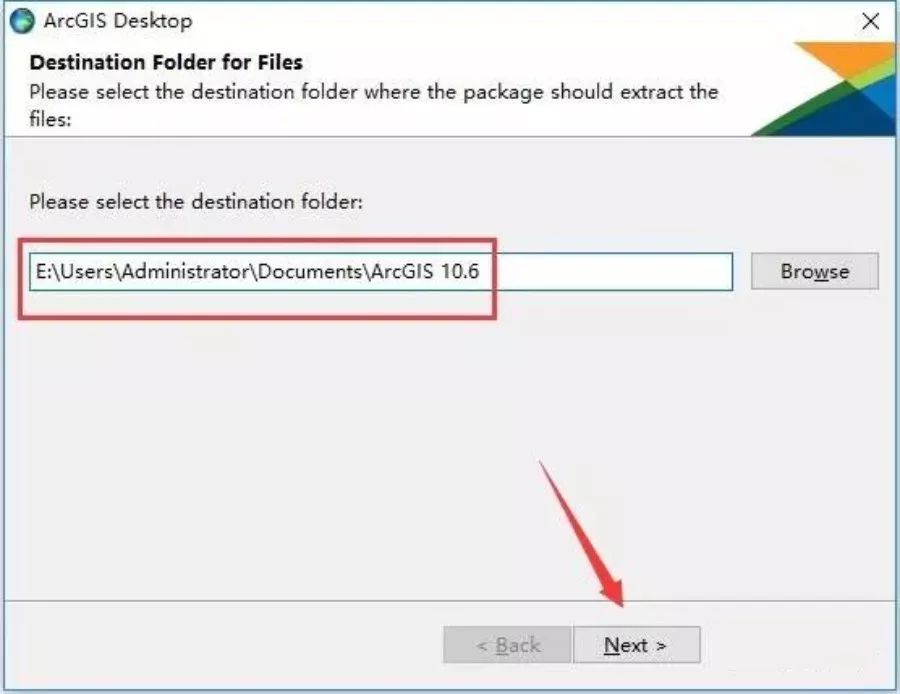
16. Directly change C to E and click Next
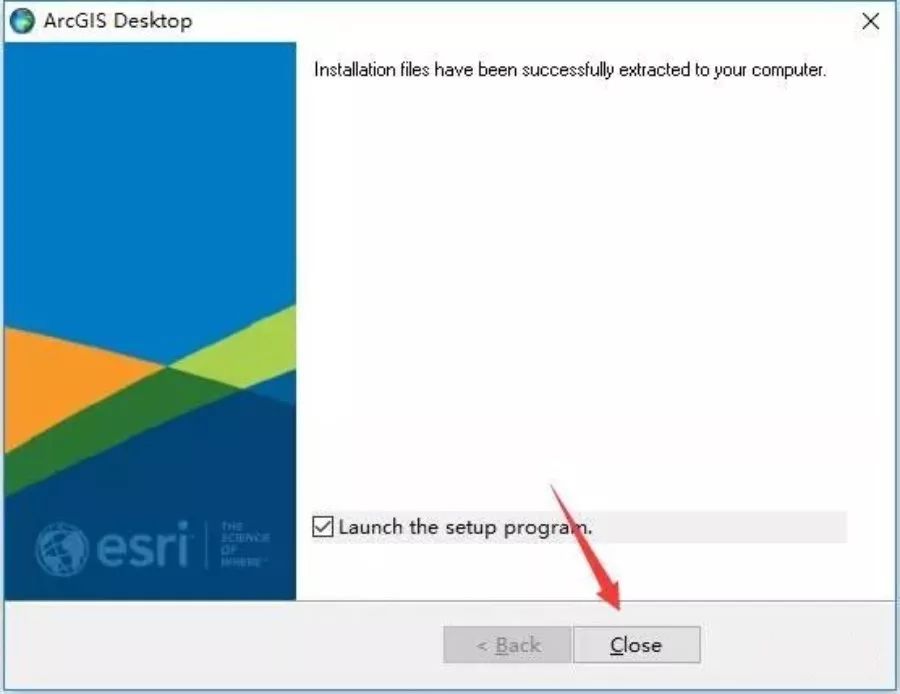
17. Click Close
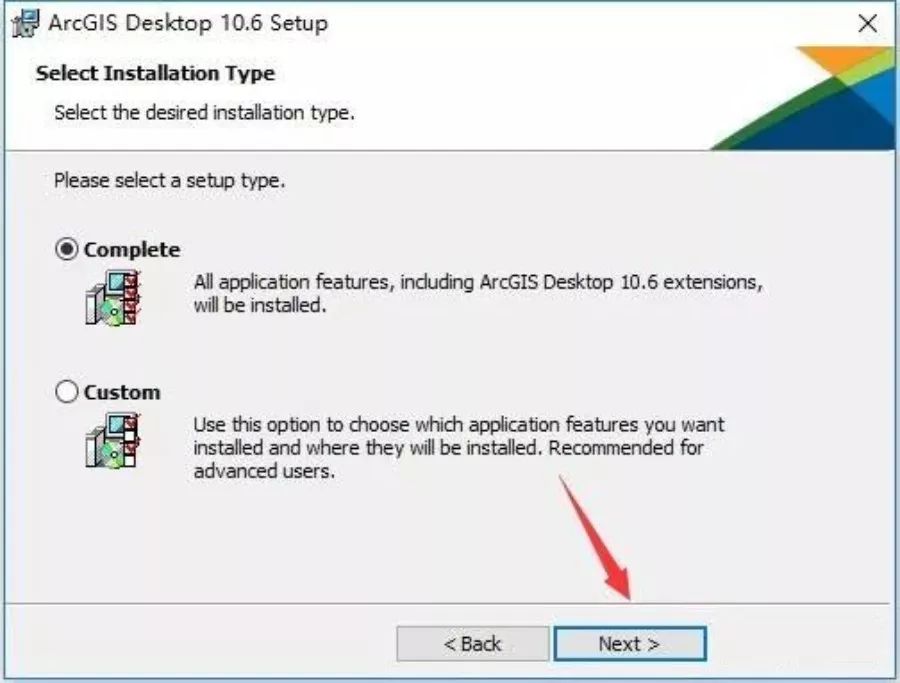
18. Click Next
19. Select "I accept..." and click Next
20. Click Next
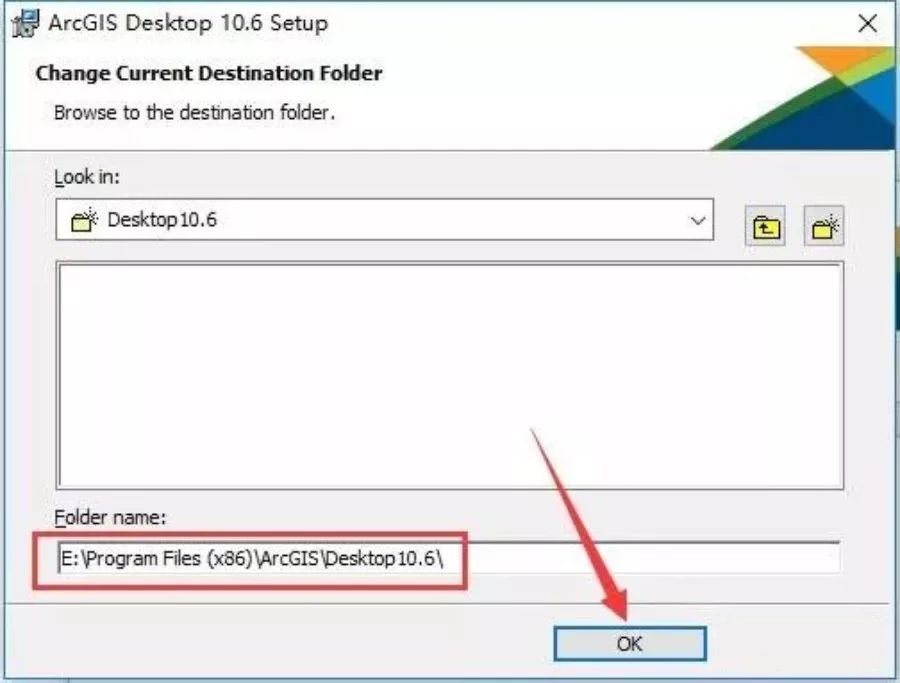
21. Click Change to modify the installation path
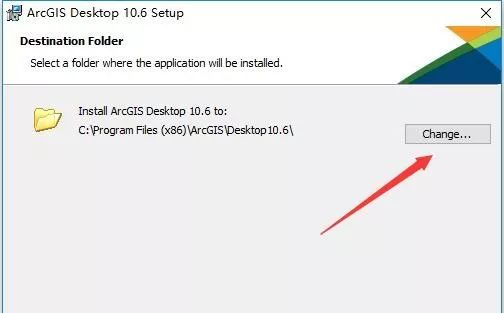
22. Directly change C to the drive you need to install to. In this example, we will install to drive E. Click OK.
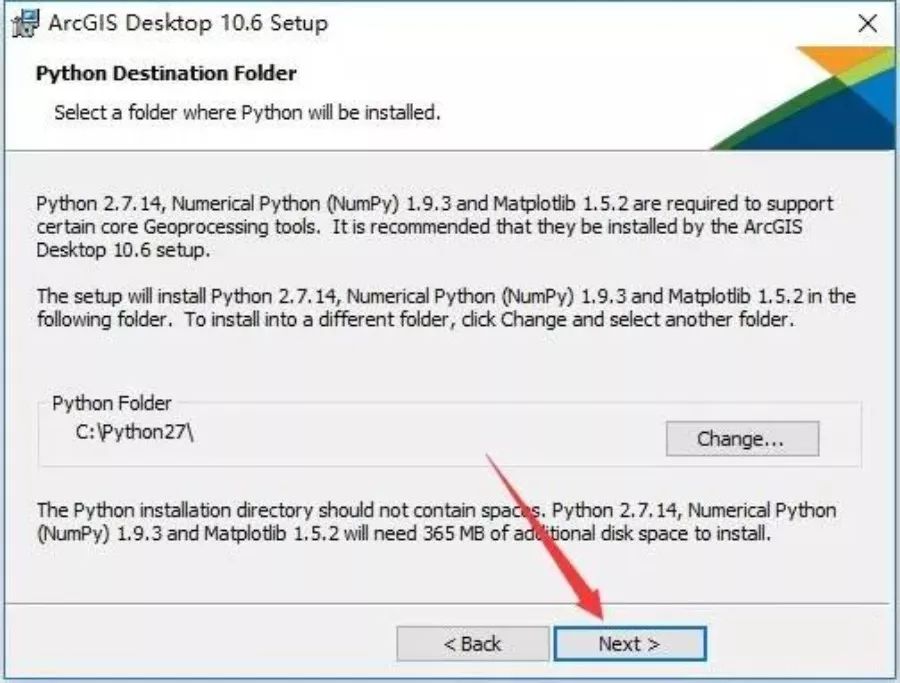
23. Click Next

24. Click Next
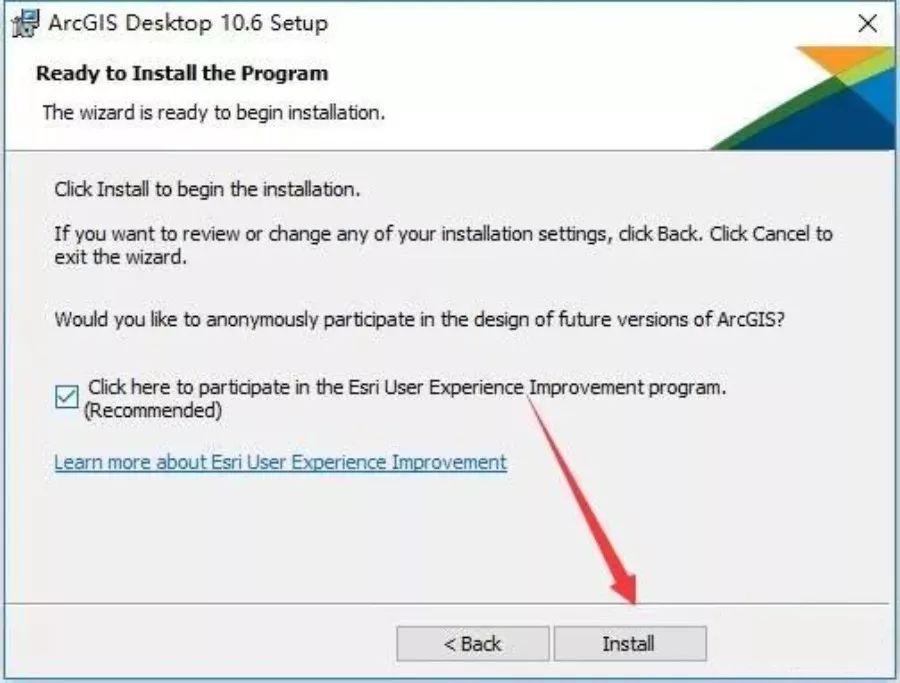
25. Click Install
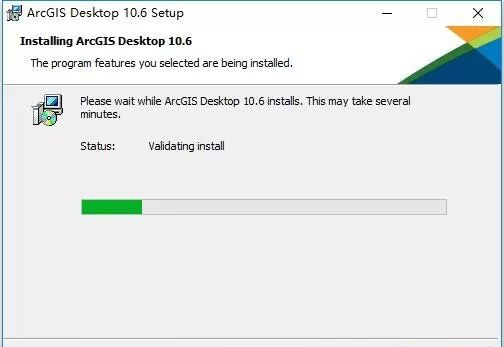
26. Installation in progress...waiting for installation to complete
27. Click Finish
28. Click Cancel
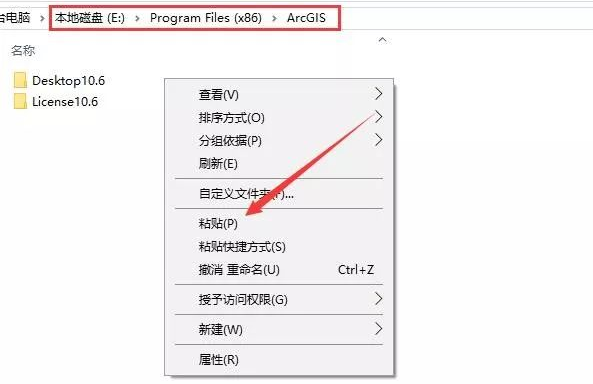
29. Return to the installation package, open the arcgis10.6 crack patch folder, and copy the following 2 folders to the software installation directory (refer to step 22 for the installation path)

30. Open Program Files (X86) and ArcGIS on drive E in sequence, right-click in the blank space and select Paste
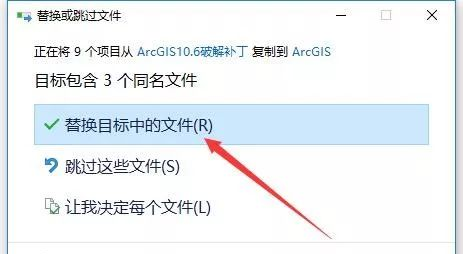
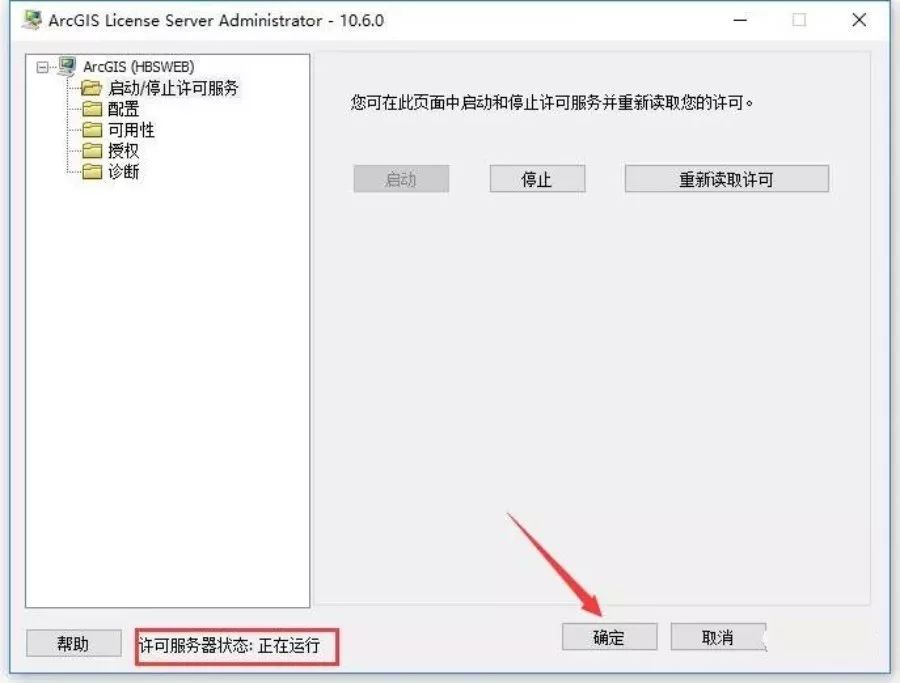
31. Select files in the replacement target
32. Open the License server Administrator program

33. Click Start
34. After startup, click OK
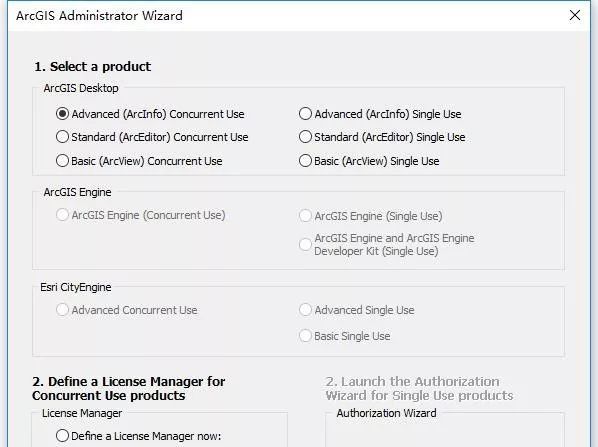
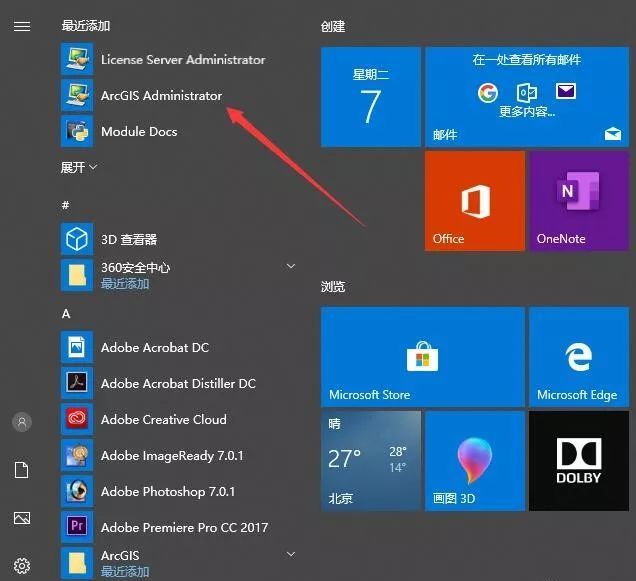
35. Open the ArcGIS Administrator program
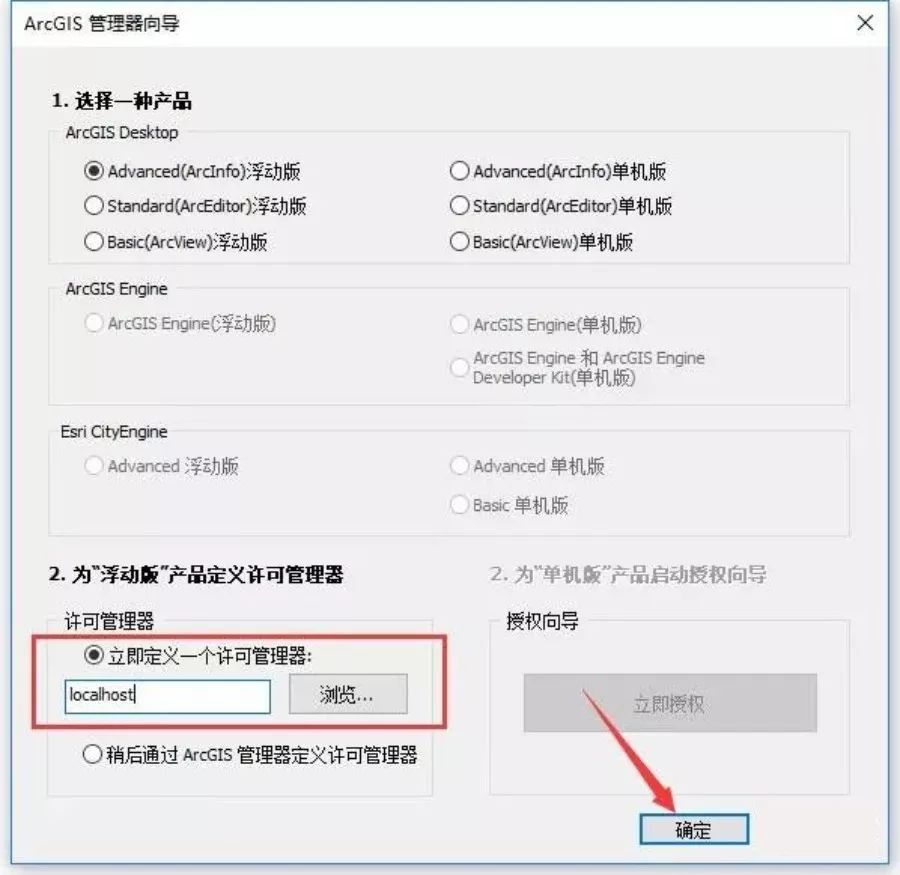
36. Select Define a License Manager Now, enter Localhost, and click OK
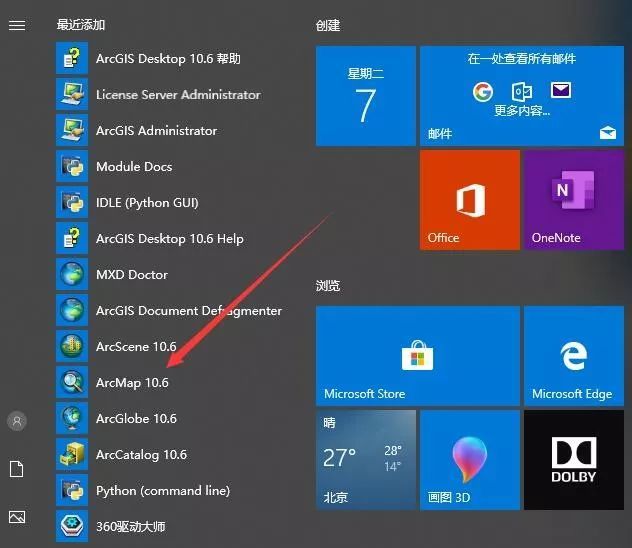
37. Select availability in the pop-up interface to view the license status.

38. If you need to use the Chinese version of the interface, return to the installation package, open the Chinese package folder, double-click to run the DesktopChinese_CN program to complete the Chinese operation.

39. Run AcrMap software
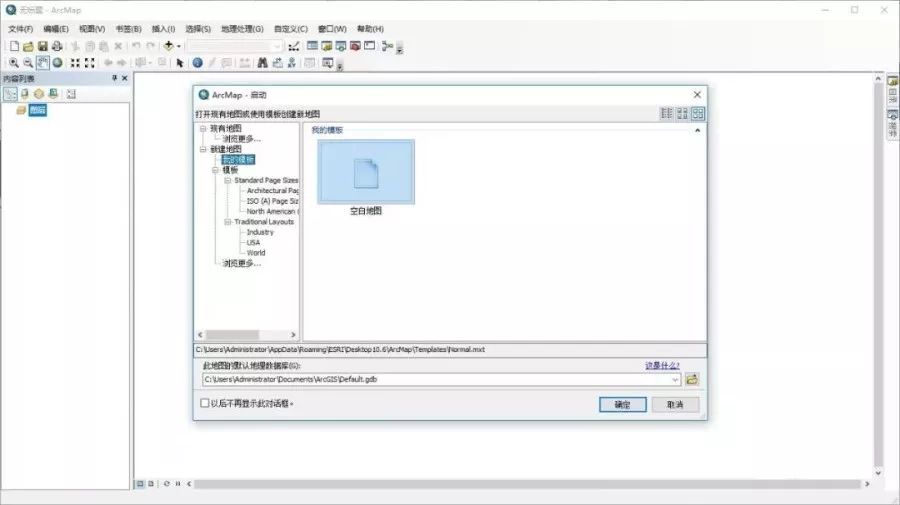
40. The software installation and cracking is successful, and the opening interface is as follows
Related tutorials: