Table of contents
- 1. Construction preparation
- Two, node.js installation
-
- 1. Download and install
- 2. Configure the default installation directory and cache log directory
- 3. Configure environment variables
-
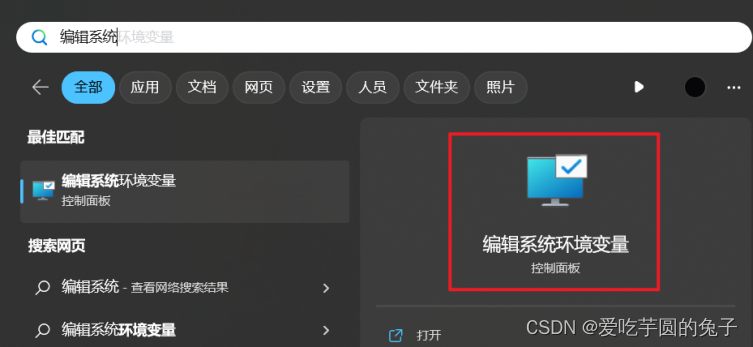
- ①. Press the win key and enter "Edit System Environment Variables", open and click the "Environment Variables" below
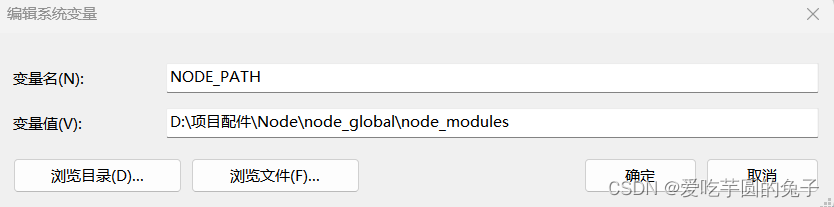
- ②. Create a new NODE_PATH variable under system variables, and enter the path of node_modules under the default installation directory node_global
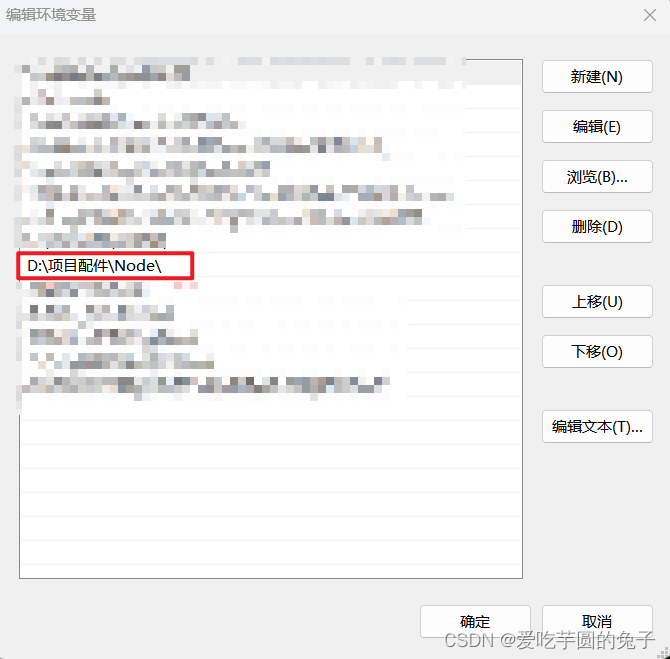
- ③. Enter the Path of the system variable, and enter the node.js installation path
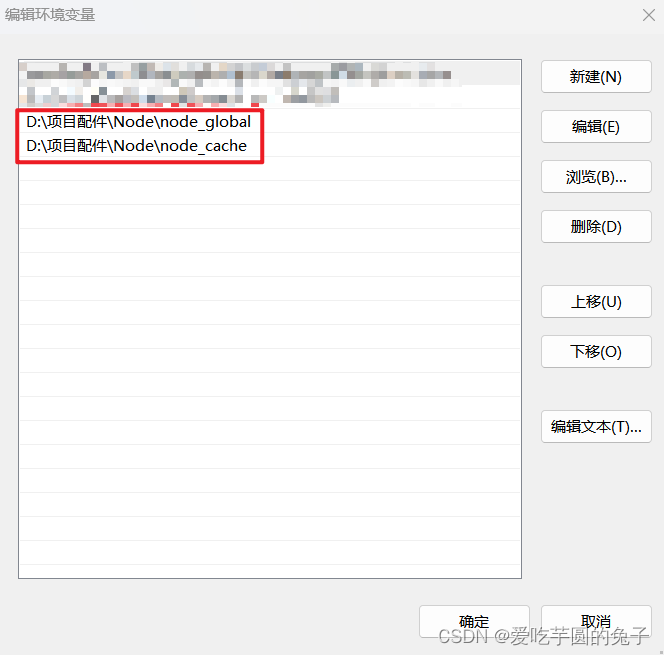
- ④. Enter the Path of the user variable, and enter the default module calling path of node.js
- 4. Configure Taobao Mirror
- 3. Install vue and scaffolding
- Fourth, create a vue3 project
-
- 1. Create a project
- 2. Select the installation version
- 3. Project requirements configuration
- 4. Select the vue version
- 5. Whether to use history router
- 6. Choose a CSS preprocessor
- 7. Select ESLint
- 8. Select additional Lint features
- 9. Bable and ESLint configuration location
- 10. Whether to save as the default configuration (if you choose yes, you need to create a default name yourself)
- 11. Created successfully
- 5. Start the project
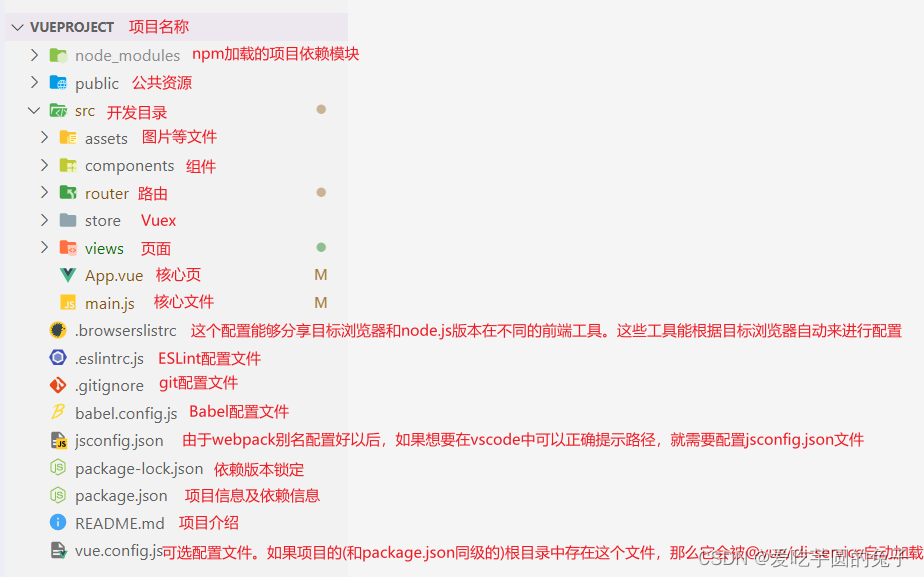
- Six, directory structure analysis
1. Construction preparation
- Any front-end development tool such as VScode/HBuilder
- node.js&npm local development environment
Two, node.js installation
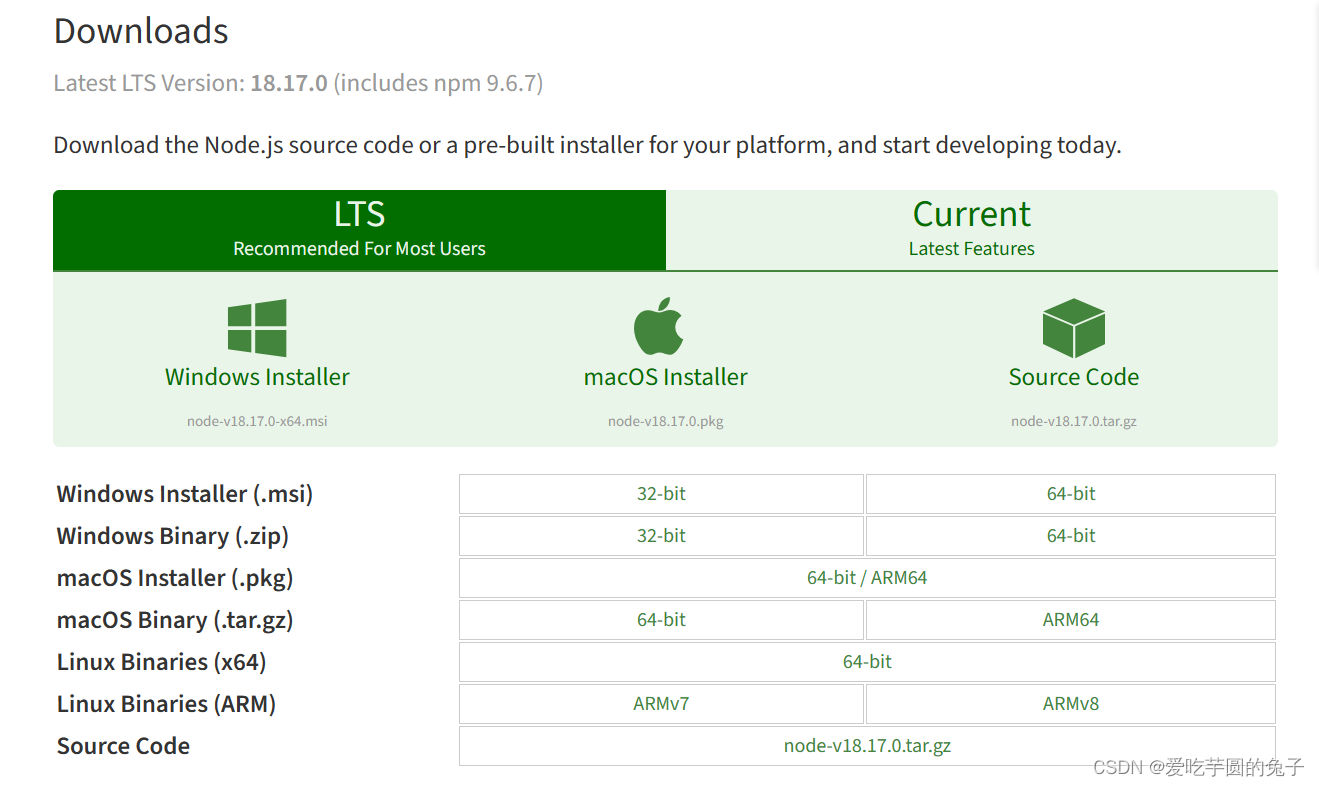
1. Download and install
Node.js official website: Node.js official website
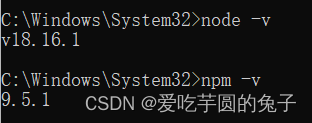
After the installation is successful, enter the following two commands in the CMD console to verify whether the installation is successful
#查看node版本
node -v

#查看npm版本
npm -v
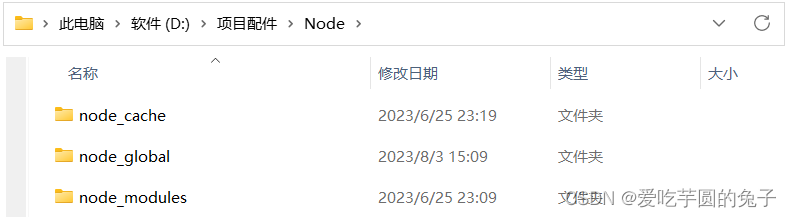
2. Configure the default installation directory and cache log directory
①. Create the default installation directory and cache log directory (my node.js directory is on the D drive, so create it directly under the node.js folder)
Since the installed modules will be installed to the C:\Users\username\AppData\Roaming\npm directory by default when executing the global installation statement, the C drive will easily become full over time (the C drive is large enough to ignore this step), Therefore, reconfigure the default installation directory and cached logs to other drive letters to save space on the C drive
②. Execute the command to configure the default installation directory and cache log directory to the folder just created
npm config set prefix "D:\项目配件\Node\node_global"
npm config set cache "D:\项目配件\Node\node_cache"

3. Configure environment variables
①. Press the win key and enter "Edit System Environment Variables", open and click the "Environment Variables" below

②. Create a new NODE_PATH variable under system variables, and enter the path of node_modules under the default installation directory node_global
D:\项目配件\Node\node_global\node_modules
③. Enter the Path of the system variable, and enter the node.js installation path
D:\项目配件\Node\
④. Enter the Path of the user variable, and enter the default module calling path of node.js
D:\项目配件\Node\node_global
D:\项目配件\Node\node_cache
4. Configure Taobao Mirror
Using NPM to install uses a foreign server, and timeout errors often occur. You can speed up the installation by modifying it to a domestic Taobao mirror. The Taobao NPM mirror is a complete npmjs.com mirror, and the synchronization frequency is currently every 10 minutes to ensure synchronization with the official service as much as possible
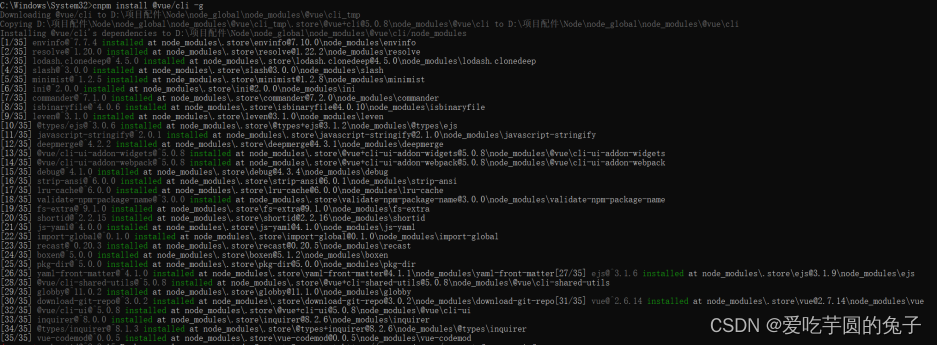
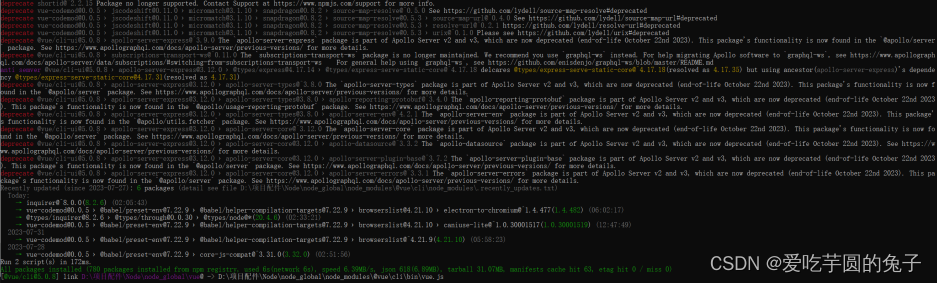
①, install cnpm
npm install -g cnpm --registry=https://registry.npm.taobao.org

②. Verify whether the installation is successful
cnpm config get registry

3. Install vue and scaffolding
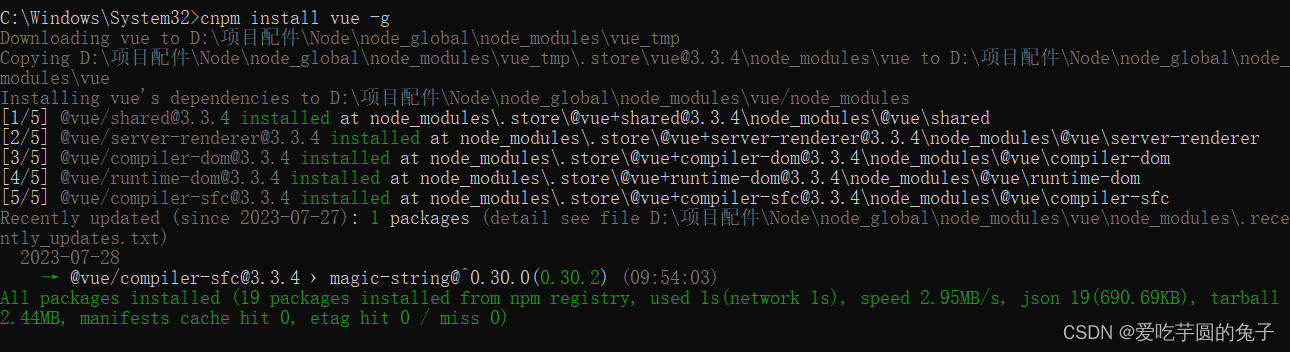
1. Install vue.js
cnpm install vue -g
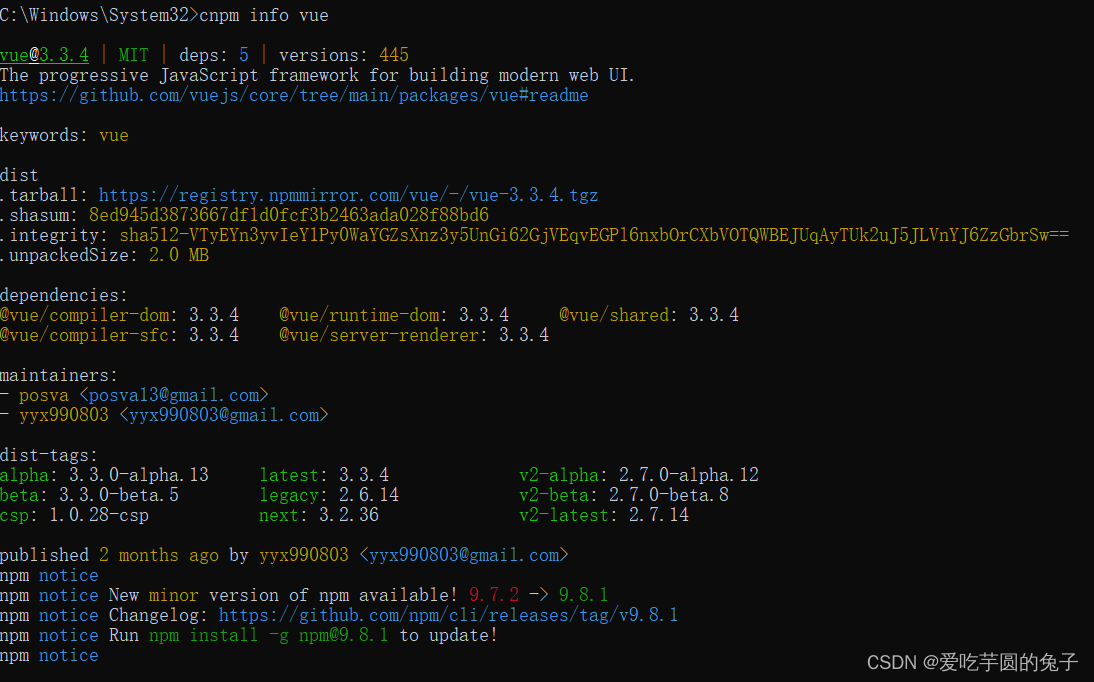
2. Verify that the installation is successful
cnpm info vue
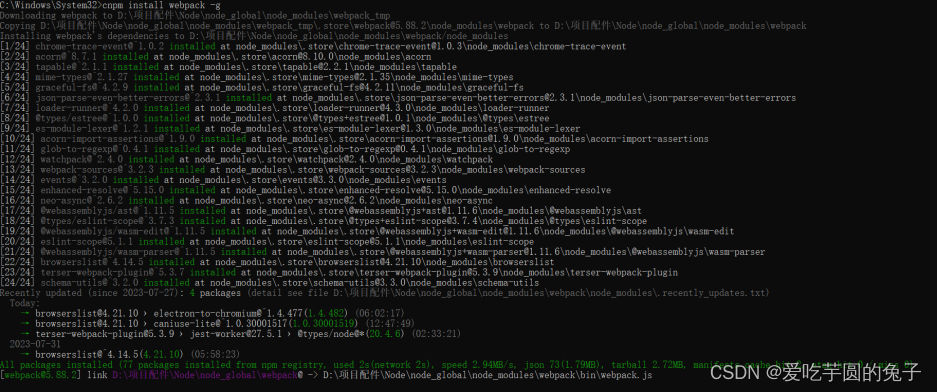
3. Install the webpack module
cnpm install webpack -g
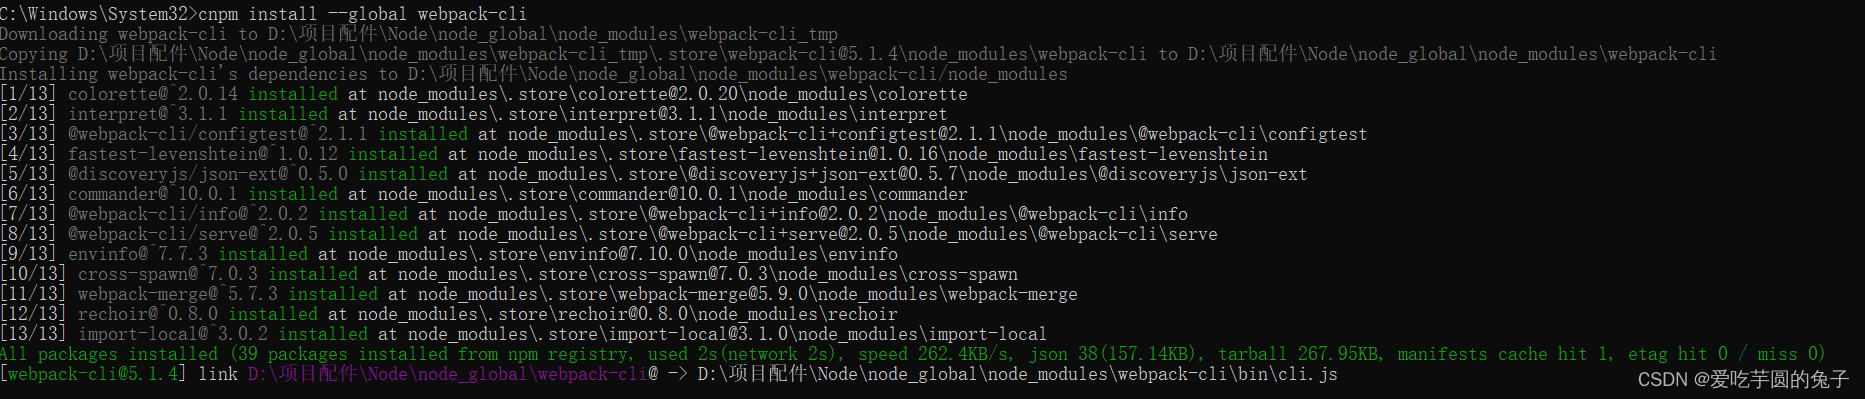
4. Install webpack-cli
cnpm install --global webpack-cli
5. Install vue-cli 3.x
cnpm install @vue/cli –g
Fourth, create a vue3 project
Open the cmd console as an administrator, enter the directory where you want to create the project, and start creating the project
1. Create a project
vue create [项目名称]
2. Select the installation version
Default installation of vue2
default installation of vue3
custom installation
Here I choose the third custom installation

3. Project requirements configuration
[* represents selection, according to the needs of your project, select the blank space, and press Enter to confirm after selection]
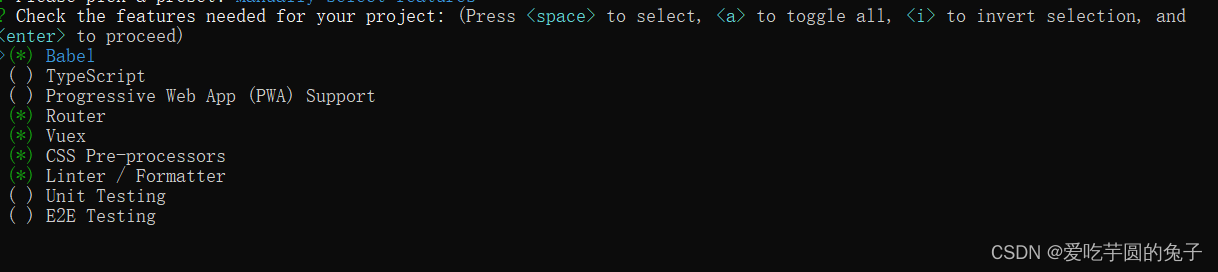
Babel (JavaScript compiler that converts code to backward compatibility)
TypeScript (programming language, recommended for large projects)
Progressive Web App (PWA) Support-APP uses
Router (routing)
Vuex (Vuex)
CSS Pre-processors (css pre-processors) processing)
Linter / Formatter (code style/formatting)
Unit Testing (unit testing)
E2E Testing (e2e testing)
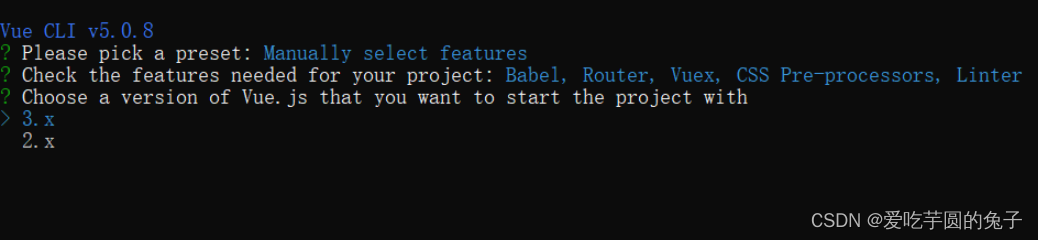
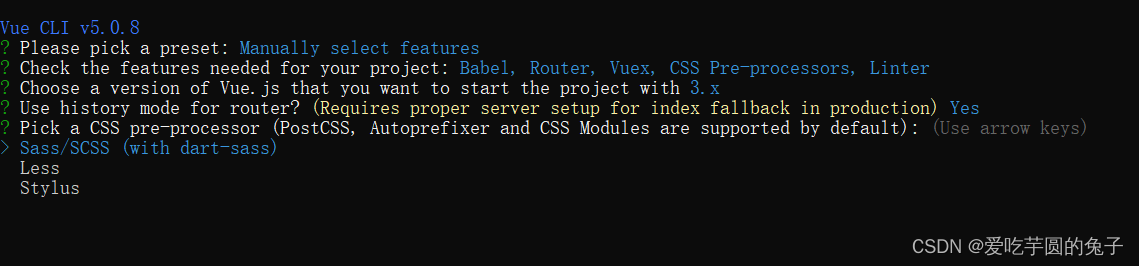
4. Select the vue version
I want to create a vue3 project, so here I choose 3.x
5. Whether to use history router
Vue-Router utilizes the browser's own hash mode and history mode features to implement front-end routing (by calling the interface provided by the browser) hash
: The # symbol in the browser url address bar (such as this URL: http://www .abc.com/#/hello, the hash value is "#/hello"), the hash is not included in the HTTP request (has no effect on the backend at all), so changing the hash will not reload the page
history: Take advantage of the new pushState( ) and replaceState( ) methods in the HTML5 History Interface (requires specific browser support). Single-page client application, history mode requires background configuration support

6. Choose a CSS preprocessor
7. Select ESLint
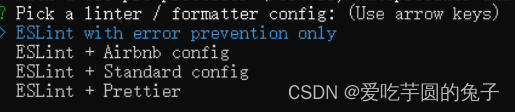
8. Select additional Lint features
Lint on save detects Lint and fix on commit after saving

9. Bable and ESLint configuration location

10. Whether to save as the default configuration (if you choose yes, you need to create a default name yourself)


11. Created successfully
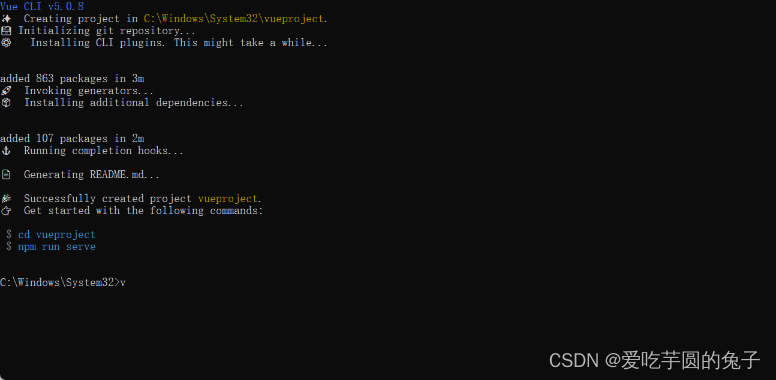
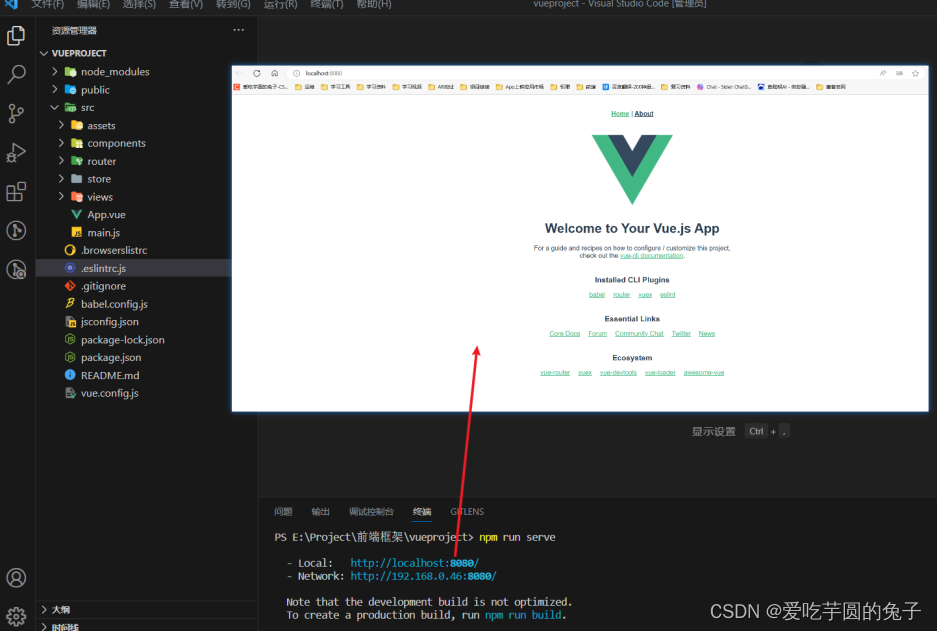
5. Start the project
According to the prompt in the successful creation, use the command to run the project
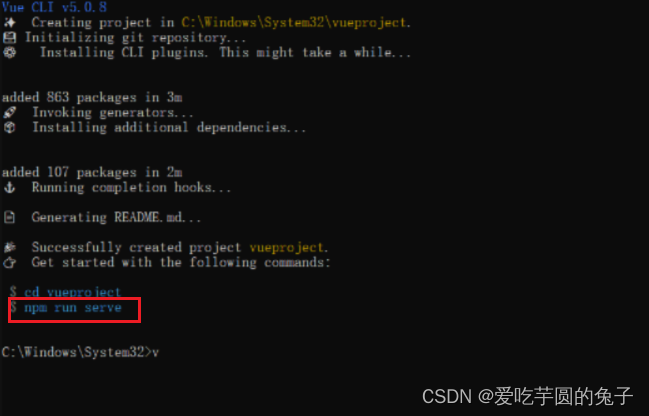
#项目运行
npm run serve
Six, directory structure analysis