If you installed Docker Desktop, you already have a full Docker installation, including Compose.
1. Install Docker Desktop on Ubuntu
prerequisites
To successfully install Docker Desktop, you must:
- meet system requirements
- Have a 64-bit version of Ubuntu Jammy Jellyfish 22.04 (LTS) or Ubuntu Impish Indri 21.10.
x86_64(oramd64) architecture supports Docker Desktop. - For non-Gnome desktop environments, you must install
gnome-terminal:
sudo apt install gnome-terminal- Uninstall a technical preview or beta version of Docker Desktop for Linux. Run the following command:
sudo apt remove docker-desktopTo clean up completely, delete $HOME/.docker/desktopconfiguration and data files at, /usr/local/bin/com.docker.cli symlinks at, and run the following commands to clean up remaining systemd service files:
 rm -r $HOME/.docker/desktop
 sudo rm /usr/local/bin/com.docker.cli
 sudo apt purge docker-desktop
Note: If you have installed a Docker Desktop for Linux technical preview or beta, you will need to remove any files generated by these packages, such as
~/.config/systemd/user/docker-desktop.service
~/.local/share/systemd/user/docker-desktop.service
Install Docker Desktop
The recommended way to install Docker Desktop on Ubuntu is in three steps:
Set up Docker's package repository .
Download the latest DEB package .
Install packages using apt
Install using repository
Before installing Docker Engine on a new host for the first time, you need to set up a Docker repository. After that, you can install and update Docker from the repository.
1. Set up the Docker package version library .
1) Set up the repository
-
Allow updating the package index and installing packages
aptusing the repository over HTTPS :apt$ sudo apt-get update $ sudo apt-get install \ ca-certificates \ curl \ gnupg \ lsb-release -
Add Docker's official GPG key:
$ sudo mkdir -p /etc/apt/keyrings $ curl -fsSL https://download.docker.com/linux/ubuntu/gpg | sudo gpg --dearmor -o /etc/apt/keyrings/docker.gpg -
Set up the repository with the following command:
$ echo \
  "deb [arch=$(dpkg --print-architecture) signed-by=/etc/apt/keyrings/docker.gpg] https://download.docker.com/linux/ubuntu \
  $(lsb_release -cs) stable" | sudo tee /etc/apt/sources.list.d/docker.list > /dev/null
2) Install Docker Engine
-
Update
aptthe package index to install the latest versions of Docker Engine, containerd and Docker Compose, or go to the next step to install a specific version:$ sudo apt-get update $ sudo apt-get install docker-ce docker-ce-cli containerd.io docker-compose-pluginapt-get updateGetting GPG errors while running ?Your default umask may not be set correctly, preventing the repo's public key file from being detected. Run the following command, then try updating your repository again:
sudo chmod a+r /etc/apt/keyrings/docker.gpg -
To install a specific version of Docker Engine, list the available versions in the repo, then select and install:
a. List the versions available in your repository:
$ apt-cache madison docker-ce

docker-ce | 5:20.10.16~3-0~ubuntu-jammy | https://download.docker.com/linux/ubuntu jammy/stable amd64 Packages
docker-ce | 5:20.10.15~3-0~ubuntu-jammy | https://download.docker.com/linux/ubuntu jammy/stable amd64 Packages
docker-ce | 5:20.10.14~3-0~ubuntu-jammy | https://download.docker.com/linux/ubuntu jammy/stable amd64 Packages
docker-ce | 5:20.10.13~3-0~ubuntu-jammy | https://download.docker.com/linux/ubuntu jammy/stable amd64 Packages
b. Use the version string in the second column to install a specific version, for example 5:20.10.16~3-0~ubuntu-jammy.
$ sudo apt-get install docker-ce=<VERSION_STRING> docker-ce-cli=<VERSION_STRING> containerd.io docker-compose-plugin -
hello-worldVerify that Docker Engine has been installed correctly by running the image.$ sudo service docker start $ sudo docker run hello-worldThis command downloads a test image and runs it in a container. When the container runs, it prints a message and exits.
Docker Engine is installed and running. The dockergroup was created, but no users were added to it. Needed to sudorun Docker commands with .
3) Add a user group (to manage Docker as a non-root user)
The Docker daemon binds to Unix sockets instead of TCP ports. By default, Unix sockets are owned by the root user, other users can only use sudo. The Docker daemon always runs as root.
If you don't want to dockerprepend the command sudo, create a group called Unix dockerand add the user to it. When the Docker daemon starts, it creates a dockerUnix socket accessible to group members.
To create dockergroups and add your users:
-
Create
dockergroups.$ sudo groupadd docker -
Add your user to
dockerthe group.$ sudo usermod -aG docker $USER -
Log out and log back in so that your group memberships are re-evaluated.
If testing on a virtual machine, it may be necessary to restart the virtual machine for the changes to take effect.
On a desktop Linux environment (such as X Windows), log out of the session completely, then log back in
On Linux, you can also run the following command to activate changes to groups:
$ newgrp docker -
Verify that you can run docker commands without sudo.
$ docker run hello-worldThis command downloads a test image and runs it in a container. When the container runs, it prints a message and exits.
If you run the Docker CLI command with sudo before adding the user to the Docker group, you may see the following error, which indicates that your ~/.docker/ directory is caused by the command not having permissions
sudo.
WARNING: Error loading config file: /home/user/.docker/config.json -
stat /home/user/.docker/config.json: permission denied
To fix this, delete the ~/.docker/ directory (it will be recreated automatically, but any customizations will be lost), or change its ownership and permissions with the following commands:
$ sudo chown "$USER":"$USER" /home/"$USER"/.docker -R
$ sudo chmod g+rwx "$HOME/.docker" -R
4) Configure Docker to start on boot
Most current Linux distributions (RHEL, CentOS, Fedora, Debian, Ubuntu 16.04 and later) use systemd to manage services that start when the system starts. On Debian and Ubuntu, the Docker service is configured by default to start at boot time. To automatically start other distributions for Docker and Containerd at boot time, use the following commands:
$ sudo systemctl enable docker.service
$ sudo systemctl enable containerd.service
To disable this behavior, use instead disable.
$ sudo systemctl disable docker.service
$ sudo systemctl disable containerd.service
2. Download the latest DEB package .
3. Use apt to install the package
$ sudo apt-get update
$ sudo apt-get install ./docker-desktop-<version>-<arch>.deb
NOTE: At the end of the installation process, aptan error is displayed due to installing the downloaded package. You can ignore this error message.
N: Download is performed unsandboxed as root, as file '/home/user/Downloads/docker-desktop.deb' couldn't be accessed by user '_apt'. - pkgAcquire::Run (13: Permission denied)The installation script included in the deb package completes several steps of configuration after installation:
Install script:
- Sets the capabilities of the Docker Desktop binary to map privileged ports and set resource limits.
- Add the DNS name of Kubernetes to the
/etc/hosts. - Create a link from
/usr/bin/docker/usr/local/bin/com.docker.cli
4. Start Docker Desktop
To start Docker Desktop for Linux, search for Docker Desktop on the Applications menu and open it. This will launch the whale menu icon and open the Docker Dashboard, reporting the status of Docker Desktop.
Alternatively, open a terminal and run:
$ systemctl --user start docker-desktopWhen Docker Desktop starts, it creates a dedicated context that the Docker CLI can use as a target, and sets it as the currently used context. This is to avoid conflicts with native Docker engines that might run on a Linux host and use the default context. When shutting down, Docker Desktop resets the current context to the previous context.
The Docker Desktop installer updates the Docker Compose and Docker CLI binaries on the host. It installs Docker Compose V2 and gives users the option to link it as docker-compose from the Settings panel. Docker Desktop installs a new Docker CLI binary that /usr/local/bin includes cloud integration in and /usr/local/bin/com.docker.cli creates a symlink to the old Docker CLI in .
After successfully installing Docker Desktop, you can check the versions of these binaries by running:
Note: If there is no problem executing the following commands on the current terminal, but if you find a permission problem when executing the docker version on a new terminal, just restart the system.
$ docker compose version
Docker Compose version v2.12.0

$ docker --version
Docker version 20.10.20, build 9fdeb9c

$ docker version
Client: Docker Engine - Community
 Cloud integration: v1.0.29
 Version:           20.10.20
 API version:       1.41
 Go version:        go1.18.7
 Git commit:        9fdeb9c
 Built:             Tue Oct 18 18:20:18 2022
 OS/Arch:           linux/amd64
 Context:           default
 Experimental:      true

Server: Docker Engine - Community
 Engine:
  Version:          20.10.20
  API version:      1.41 (minimum version 1.12)
  Go version:       go1.18.7
  Git commit:       03df974
  Built:            Tue Oct 18 18:18:08 2022
  OS/Arch:          linux/amd64
  Experimental:     false
 containerd:
  Version:          1.6.8
  GitCommit:        9cd3357b7fd7218e4aec3eae239db1f68a5a6ec6
 runc:
  Version:          1.1.4
  GitCommit:        v1.1.4-0-g5fd4c4d
 docker-init:
  Version:          0.19.0
  GitCommit:        de40ad0
To enable Docker Desktop to start at login, select Settings > General > Start Docker Desktop at login from the Docker menu .
Alternatively, open a terminal and run:
$ systemctl --user enable docker-desktopTo stop Docker Desktop, click the whale menu tray icon to open the Docker menu and select Quit Docker Desktop .
Alternatively, open a terminal and run:
$ systemctl --user stop docker-desktop5. Upgrade Docker Desktop
The Docker UI displays a notification when a new version of Docker Desktop is released. Every time you want to upgrade and run Docker Desktop, you need to download a new package:
$ sudo apt-get install ./docker-desktop-<version>-<arch>.deb6. Login and start
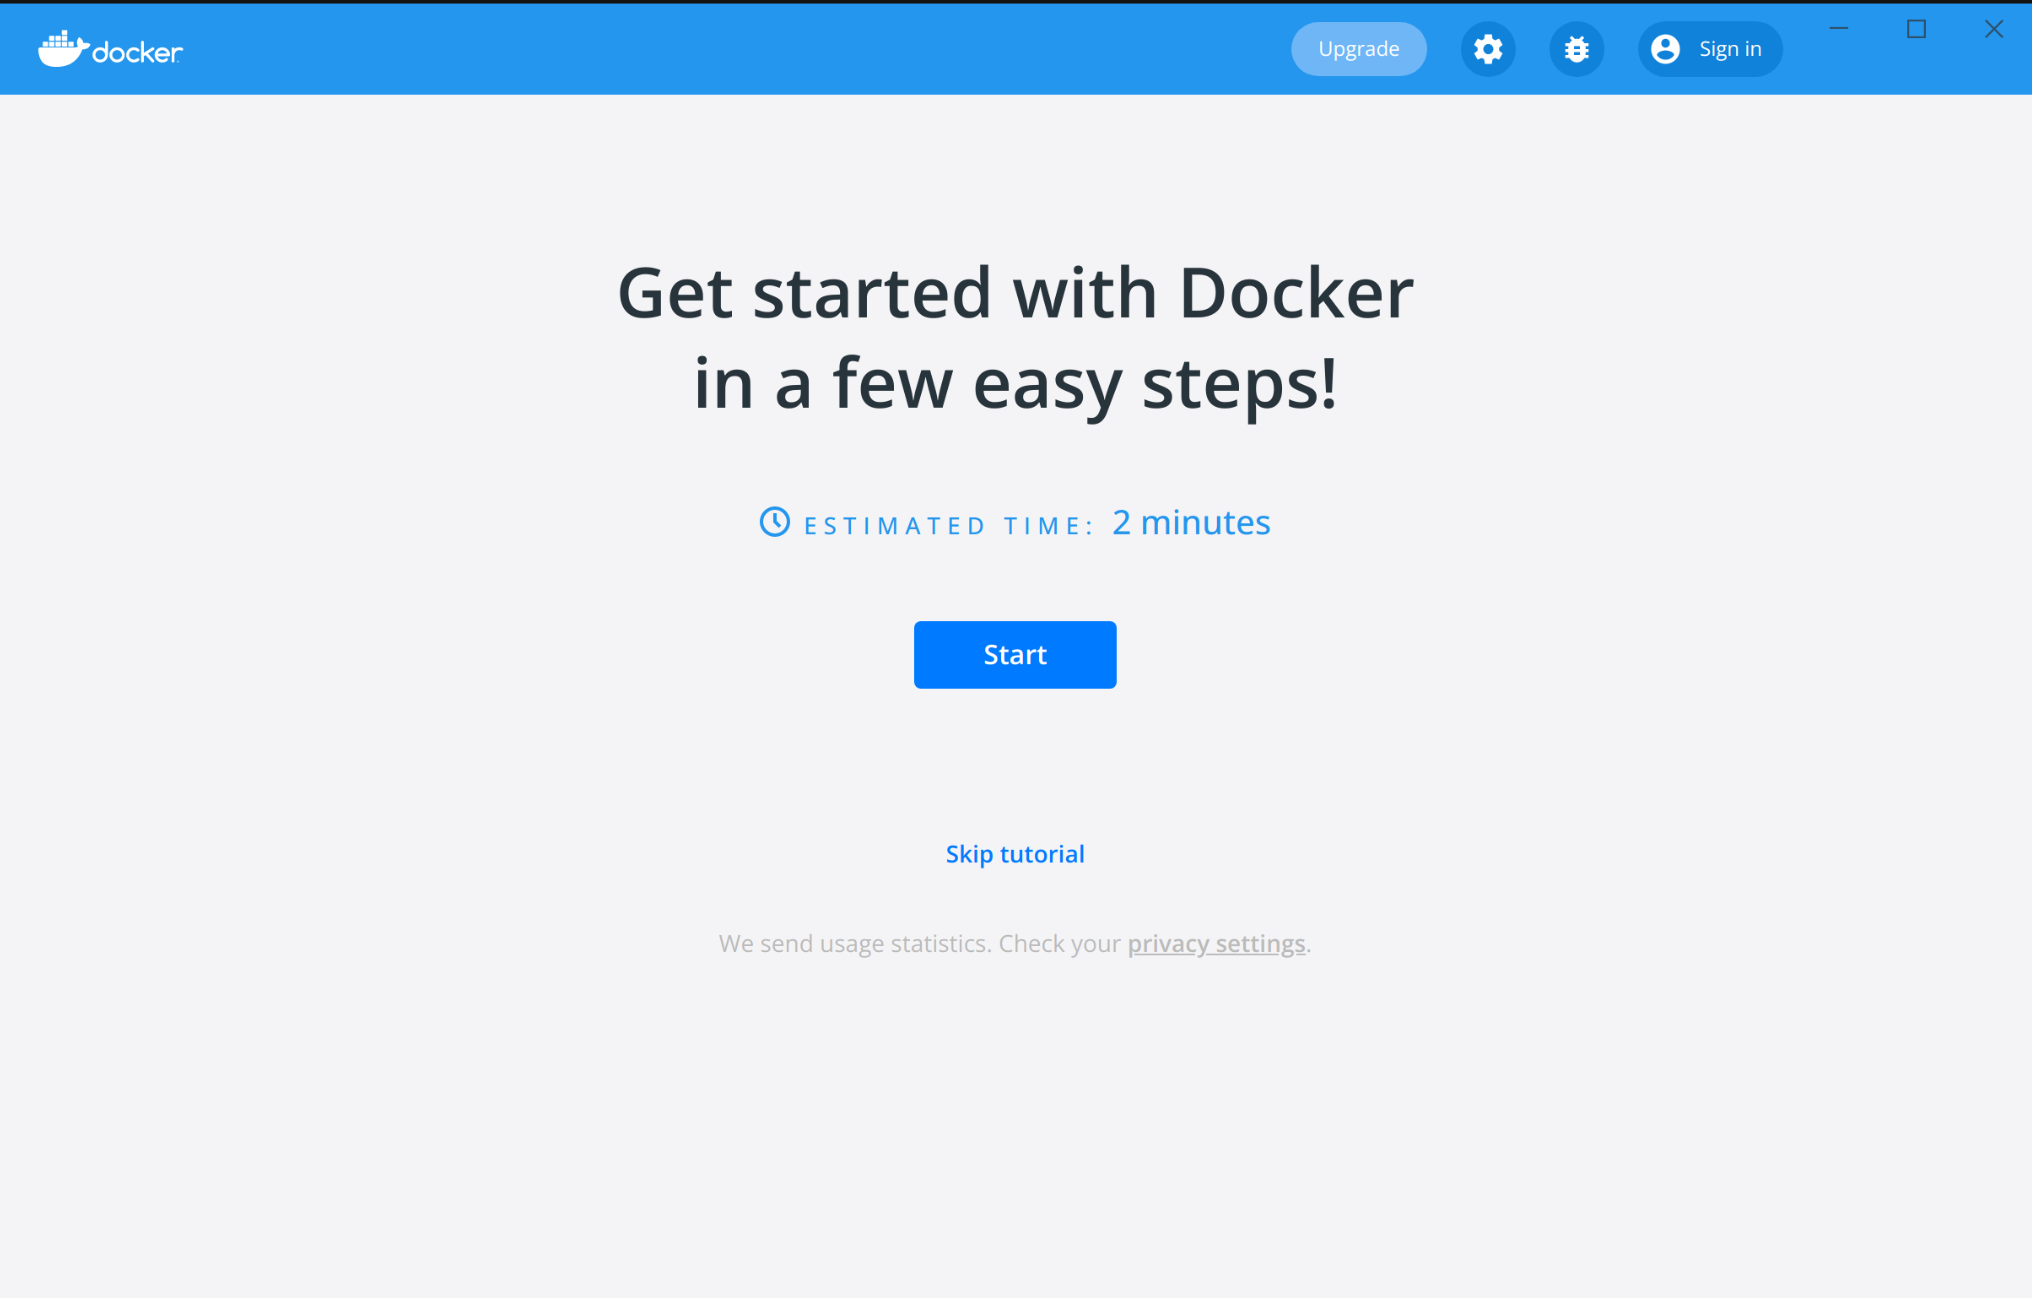
Quick Start Guide
After installing Docker Desktop, the quick start guide will launch. It includes a simple exercise of building a sample Docker image, running it as a container, pushing the image to Docker Hub and saving it.
To run the Quick Start Guide on demand, select , and choose Quick Start Guide.
For a more detailed guide, see Get started .
Login to Docker Desktop
It is recommended to authenticate using the Login/Create ID option in the upper right corner of Docker Desktop .
Once logged in, you can access the Docker Hub repository directly from Docker Desktop.
Authenticated users get a higher pull rate limit than anonymous users. For example, if you are authenticated, you get 200 pulls every 6 hours, while anonymous users get 100 pulls every 6 hours per IP address. For more information, see Download Rate Limiting .
two-factor authentication
Docker Desktop enables you to log in to Docker Hub using two-factor authentication. Two-factor authentication provides an extra layer of security when accessing your Docker Hub account.
Before you can log into your Docker Hub account through Docker Desktop, you must enable two-factor authentication in Docker Hub. For instructions, see Enable two-factor authentication for Docker Hub .
After enabling two-factor authentication:
-
Go to the Docker Desktop menu and select Login/Create Docker ID .
-
Enter your Docker ID and password, and click Login .
-
After a successful login, Docker Desktop will prompt you for a verification code. Enter the six-digit code from your phone and click Verify .
Credential Management for Linux Users
Docker Desktop relies on passes to store credentials in gpg2 encrypted files. Before you can log into Docker Hub from the Docker dashboard or the Docker menu, you must initialize the pass. ,A warning is displayed if you have not initialized pass Docker Desktop.
You can use the gpg key to initialize the pass. To generate a gpg key, run:
$ gpg --generate-key
...
GnuPG needs to construct a user ID to identify your key.

Real name: Fbbqt
Email address: [email protected]
You selected this USER-ID:
    "Fbbqt <[email protected]>"

Change (N)ame, (E)mail, or (O)kay/(Q)uit? O
...
pub   rsa3072 2022-03-31 [SC] [expires: 2024-03-30]
      7865BA9185AFA2C26C5B505669FC4F36530097C2
uid                      Fbbqt <[email protected]>
sub   rsa3072 2022-10-21 [E] [expires: 2024-10-20]
To initialize pass, run:
fbbqt@ubuntu:~$ pass init 7865BA9185AFA2C26C5B505669FC4F36530097C2
mkdir: created directory '/home/fbbqt/.password-store/'
Password store initialized for 7865BA9185AFA2C26C5B505669FC4F36530097C2
After initializing the pass, you can log into the Docker Dashboard and pull your private image. When using credentials with Docker CLI or Docker Desktop, the user may be prompted to enter the passphrase you set during gpg key generation.
$ docker pull fbbqt/privateimage
Using default tag: latest
latest: Pulling from fbbqt/privateimage
3b9cc81c3203: Pull complete
Digest: sha256:3c6b73ce467f04d4897d7a7439782721fd28ec9bf62ea2ad9e81a5fb7fb3ff96
Status: Downloaded newer image for fbbqt/privateimage:latest
docker.io/fbbqt/privateimage:latest