Table of contents
2. Create Nginx configuration file
3. Create an Nginx container and run it
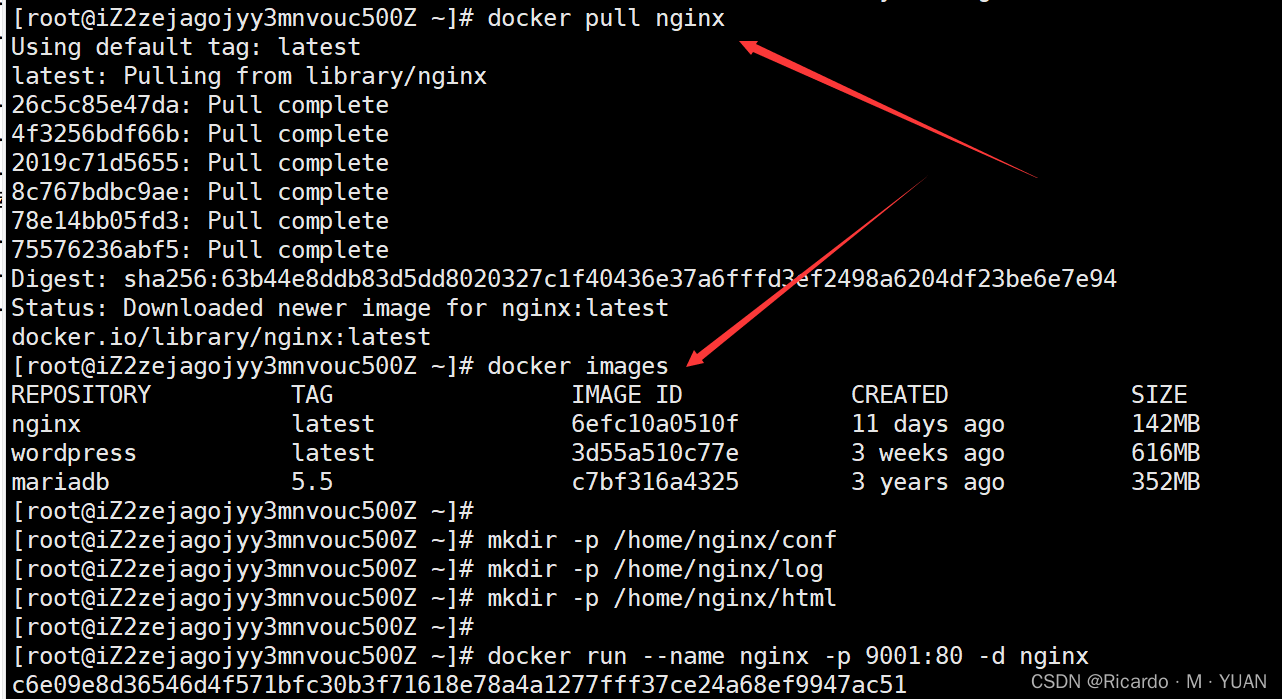
1. Download the Nginx image
| Order | describe |
|---|---|
| docker pull nginx | Download the latest version of the Nginx image (this command is equivalent to: docker pull nginx:latest ) |
| docker pull nginx:xxx | Download the Nginx image of the specified version (xxx refers to the specific version number) |
| docker images | Check all currently downloaded Docker images |
2. Create Nginx configuration file
Before starting, you need to create the configuration file (/home/nginx/conf/nginx.conf) mounted externally on Nginx.
The reason why you need to create it first is because the container of Nginx itself only exists in the /etc/nginx directory, and nginx.conf is not created by itself. File
When the nginx.conf file does not exist in the server and container, docker will create nginx.conf as a directory when executing the start command, which is not the result we want.
# 创建挂载目录
mkdir -p /home/nginx/conf
mkdir -p /home/nginx/log
mkdir -p /home/nginx/html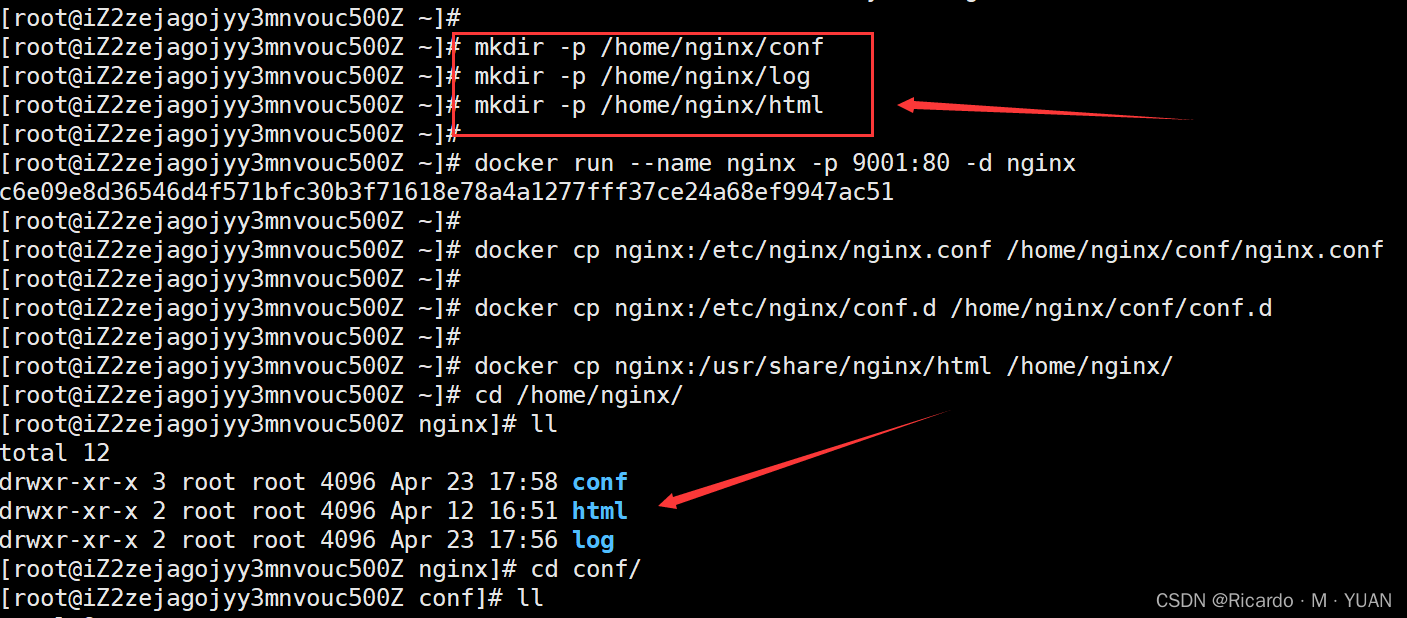
Copy the nginx.conf file and conf.d folder in the container to the host
# 生成容器
docker run --name nginx -p 9001:80 -d nginx
# 将容器nginx.conf文件复制到宿主机
docker cp nginx:/etc/nginx/nginx.conf /home/nginx/conf/nginx.conf
# 将容器conf.d文件夹下内容复制到宿主机
docker cp nginx:/etc/nginx/conf.d /home/nginx/conf/conf.d
# 将容器中的html文件夹复制到宿主机
docker cp nginx:/usr/share/nginx/html /home/nginx/
3. Create an Nginx container and run it
# 直接执行docker rm nginx或者以容器id方式关闭容器
# 找到nginx对应的容器id
docker ps -a
# 关闭该容器
docker stop nginx
# 删除该容器
docker rm nginx

# 删除正在运行的nginx容器
docker rm -f nginx
docker run -p 9002:80 --name nginx -v /home/nginx/conf/nginx.conf:/etc/nginx/nginx.conf -v /home/nginx/conf/conf.d:/etc/nginx/conf.d -v /home/nginx/log:/var/log/nginx -v /home/nginx/html:/usr/share/nginx/html -d nginx:latest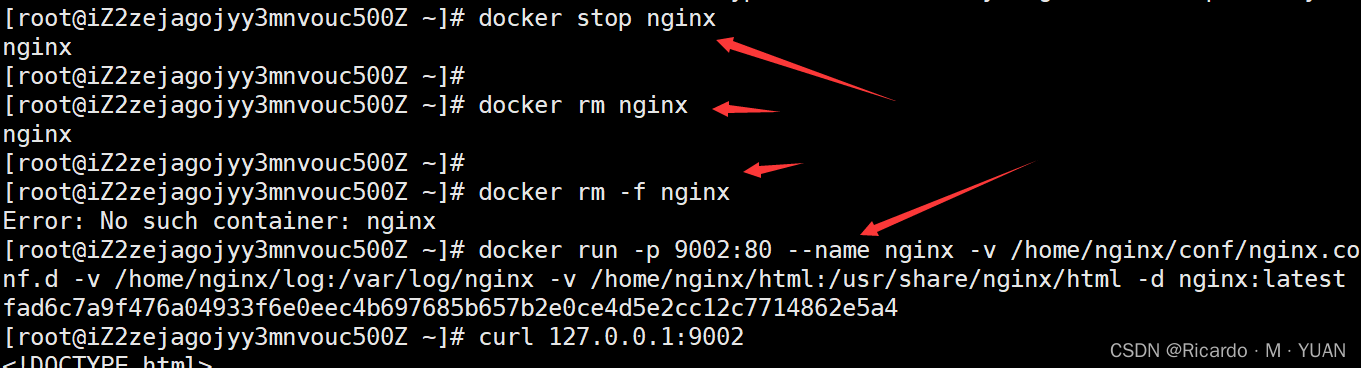
| Order | describe |
|---|---|
| –name nginx | The name of the container to start |
| -d | Background process |
| -p 9002:80 | Map the container's 9002 (the back one) port to the host's 80 (the front one) port |
| -v /home/nginx/conf/nginx.conf:/etc/nginx/nginx.conf | Mount the nginx.conf configuration file |
| -v /home/nginx/conf/conf.d:/etc/nginx/conf.d | Mount the nginx configuration file |
| -v /home/nginx/log:/var/log/nginx | Mount nginx log files |
| -v /home/nginx/html:/usr/share/nginx/html | Mount nginx content |
| nginx:latest | local running version |
| \ |
shell command newline |
12
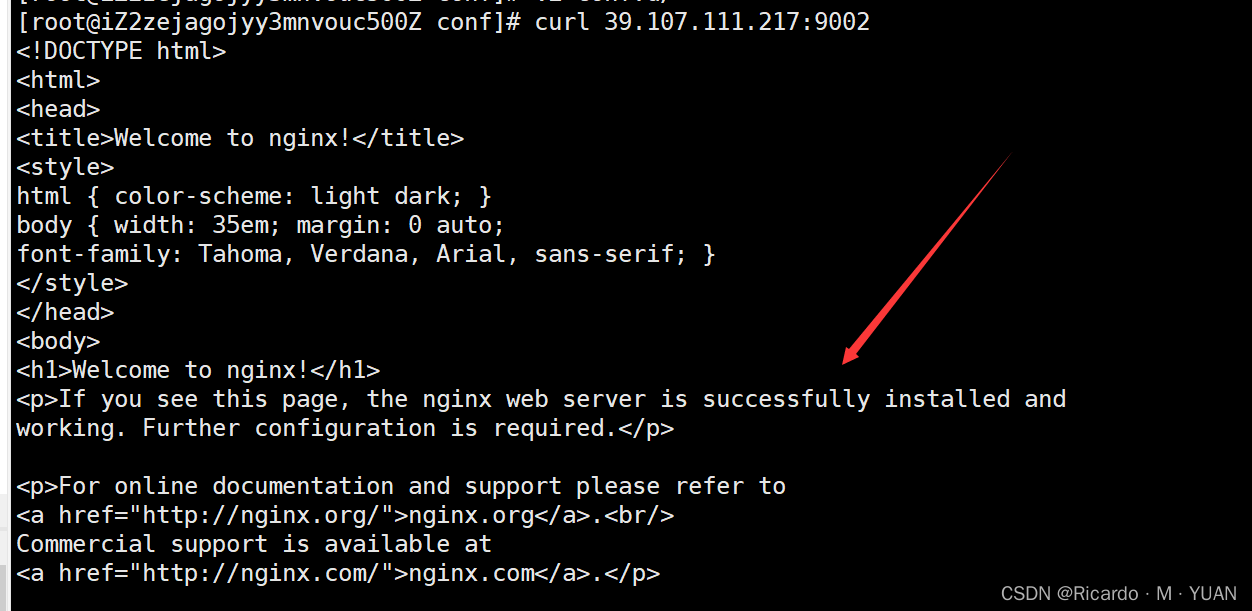
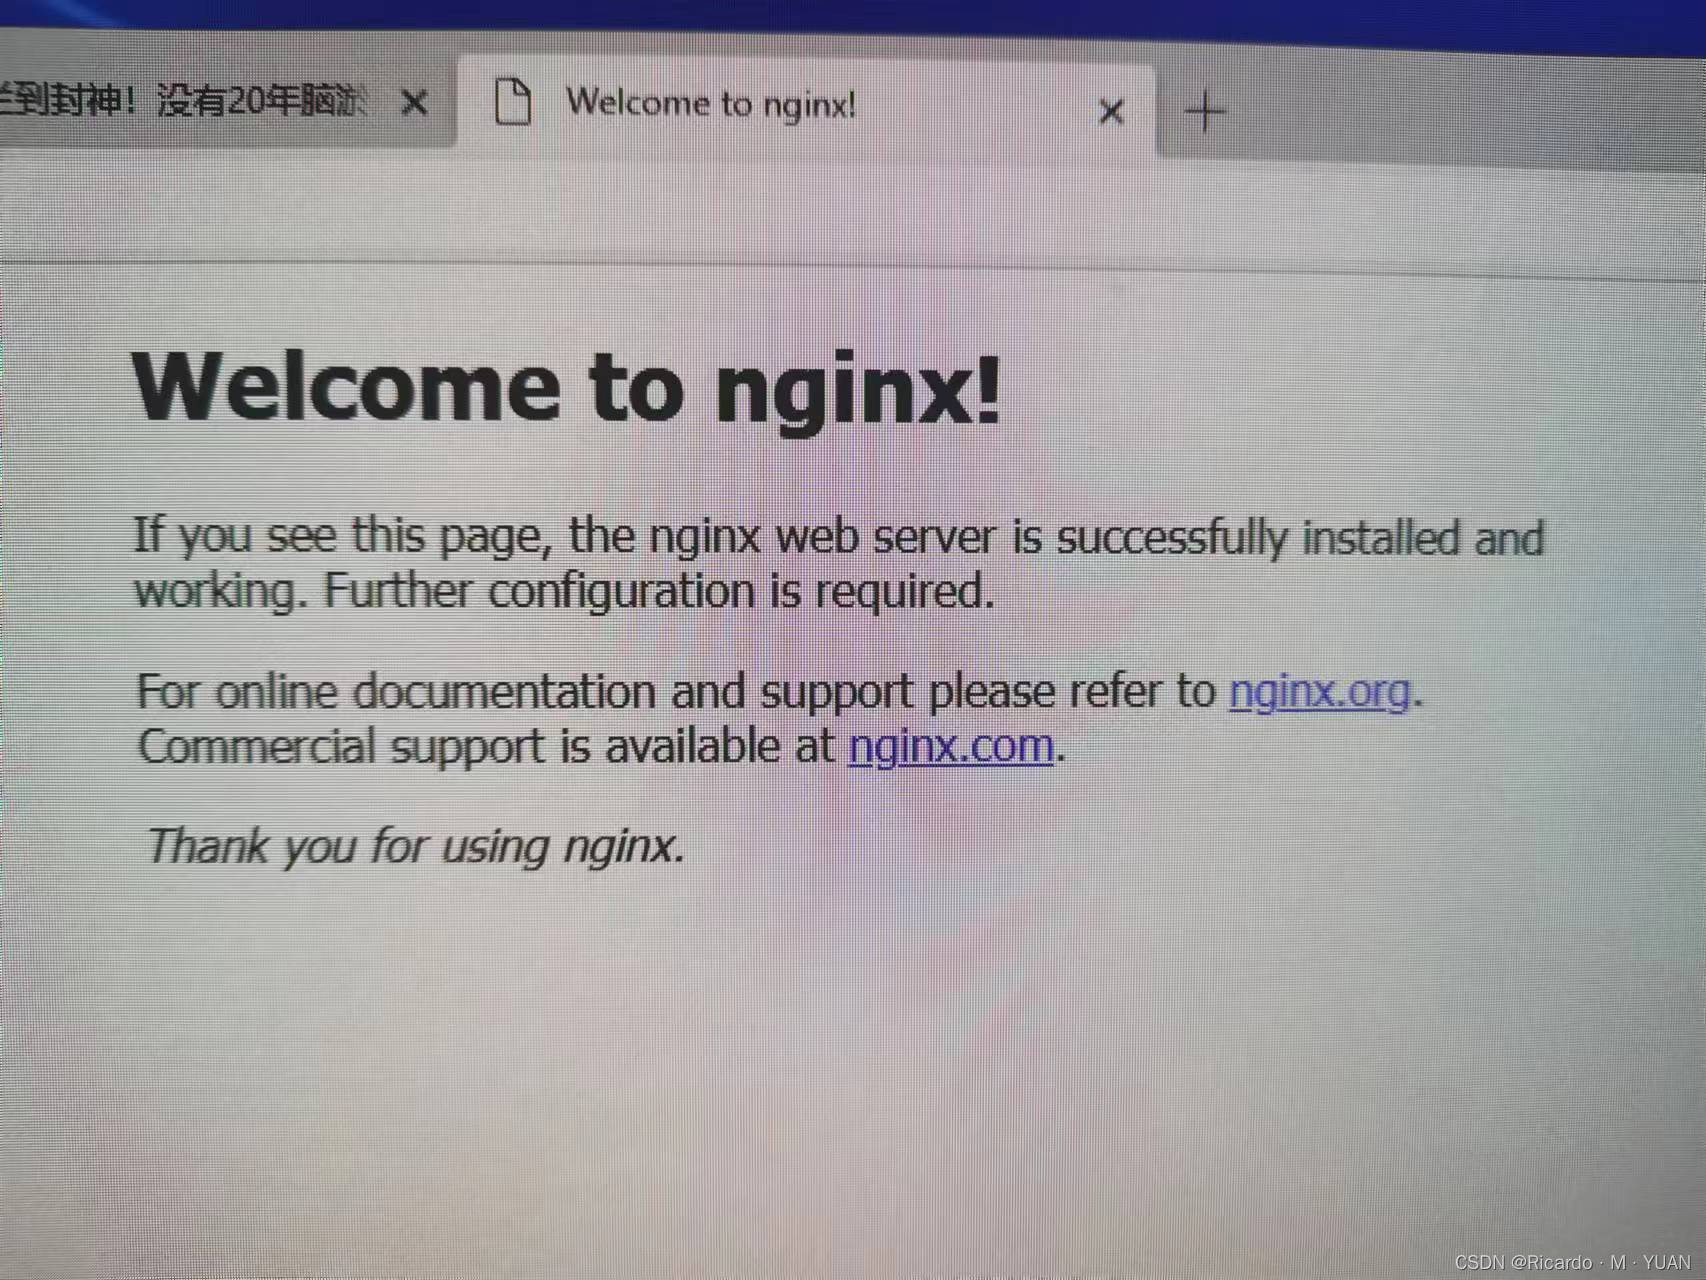
4. Check the effect
curl 127.0.0.1:9002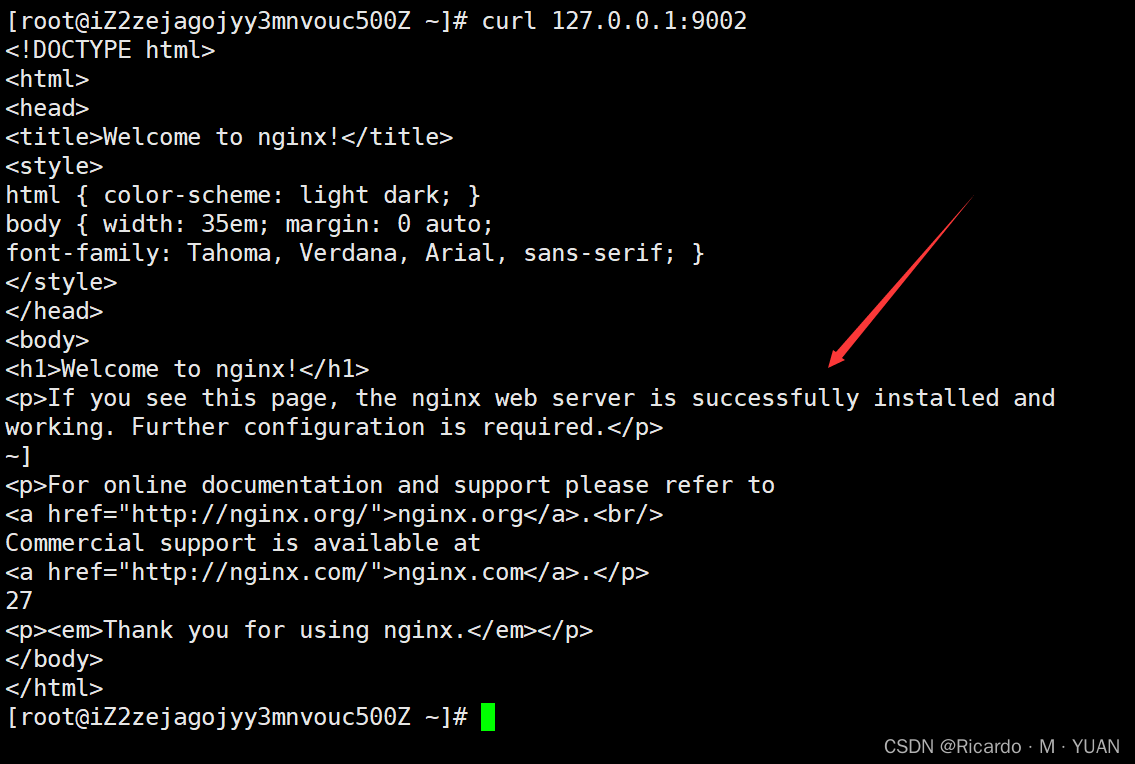
When entering the public network IP here to enter the viewing interface, it is found that the access is denied, and then go to the server console to add a firewall with this port number to allow it.
There is a problem here, and I have been stuck for more than an hour. It may be a problem with my browser. I enter the public network IP and port number in the address bar for no reason, and I enter the search interface instead of the service interface, but in the Linux system. Used in
curl 39.107.111.217:9002
This command (public network IP plus port number) can be accessed again, and then it can be accessed on other computers. It is a very strange problem.